
 |
| "As we reach for the farthest of stars, total annihilation is upon us." |
As part of the motivation to get our painting completed we had penned in this occasion as a welcome party for the newly painted models.
I have been dabbling a bit with the vanilla Combined Army lately and my friend had just finished some Myrmidons- so it was decided... to battle!
ARMIES
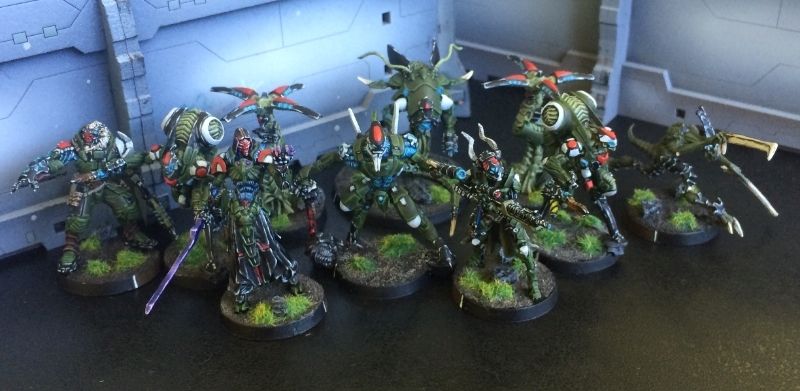
The Combined Army- Legio Fretensis
 |
| "Your extinction is inevitable." |
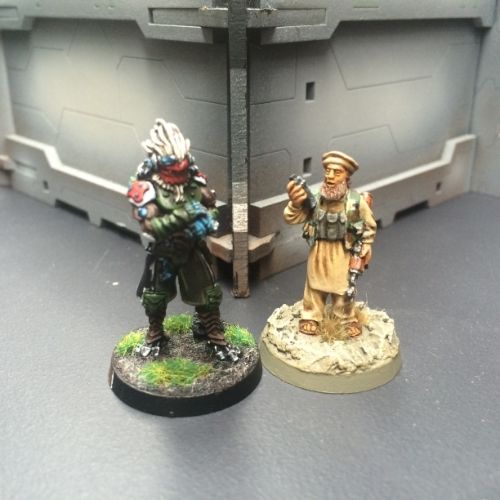
MAAKREP TRACKER- Dido- MULTI Sniper Rifle / Pistol, Knife. (1.5 | 33)
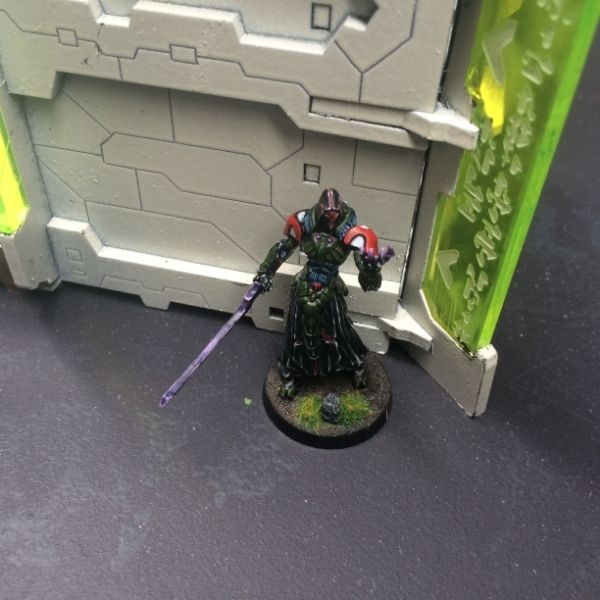
UMBRA LEGATE (Hacking Device Plus)- Hannibal- Boarding Shotgun, Flash Pulse / Pistol, DA CCW. (0.5 | 43)
2.5 SWC | 197 Points
There wasn't a lot of thought that went into this list.
Mandatory includes were the newly painted models from the Combined Army starter set- the Umbra Legate & the Maakrep Tracker. The rest of the list was a mad rush to fill in a 10 model combat group.
After fiddling around with the cheerleaders, I ruminated on an appropriate Lieutenant. I was leaning towards some cheap, generic Morat Vanguard- but after enjoying Strategos Level 1 so much with my Morats- I ended up plumping for a Skiavoros. Expensive- but No Wound Incapacitation and G: Mnemonica tipped the balance in its favour. It was also sporting a Plasma rifle! I loved these things in N2... time to see what it can do in N3.
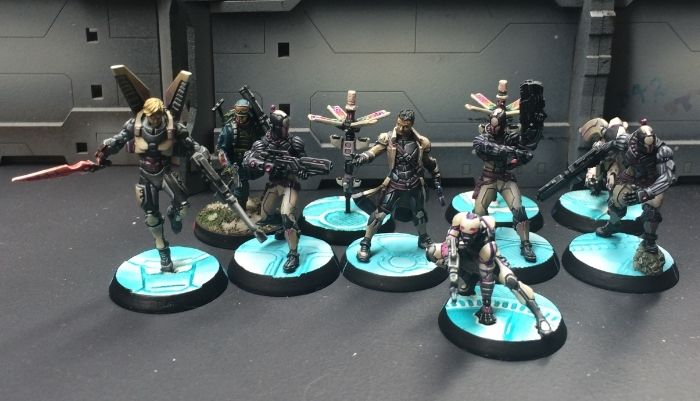
ALEPH- The Assault Subsection- STEEL PHALANX
 |
| "I would rather die fighting than live as a slave!" |
3.5 SWC | 196 Points
There are a few proxies in here:
> Phoenix is proxied by a Zouave with a rocket launcher
> Ekdromos Hacker is proxied by Diomedes
> Agema Marksman Mk12 is proxied by the Myrmidon spitfire
> Thrasymedes is proxied by the Daysus
The Steel Phalanx revolved around the Machaon-Phoenix-Myrmidon link team with a few supporting characters to round out the list.
I had to take a few moments to admire the paint work on these models. They look even better in Real Life than they do here.
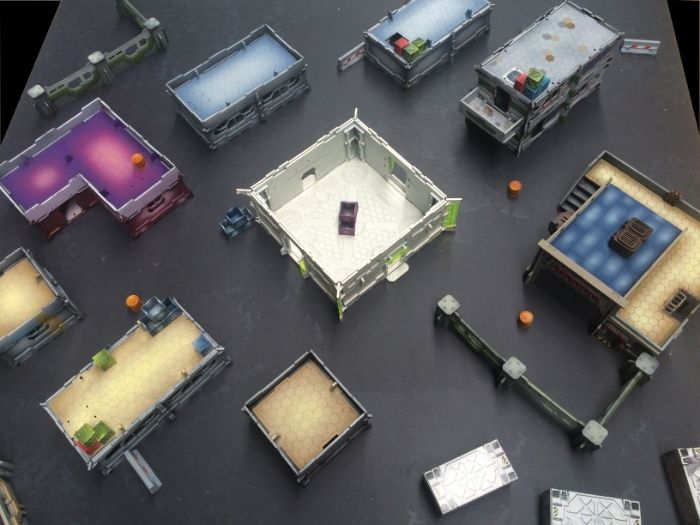
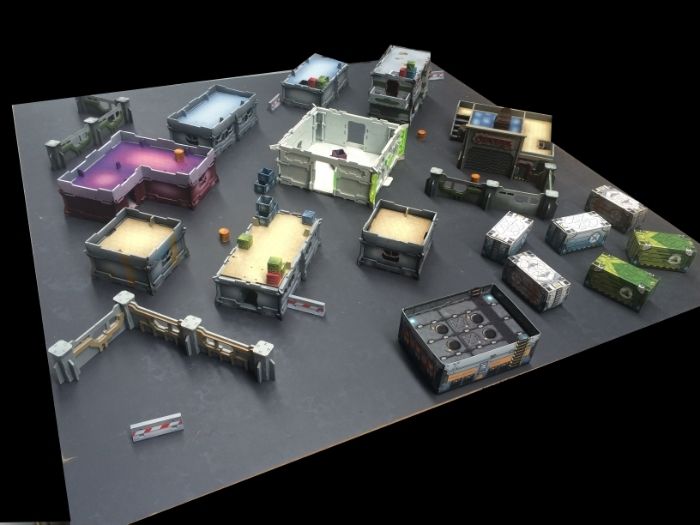
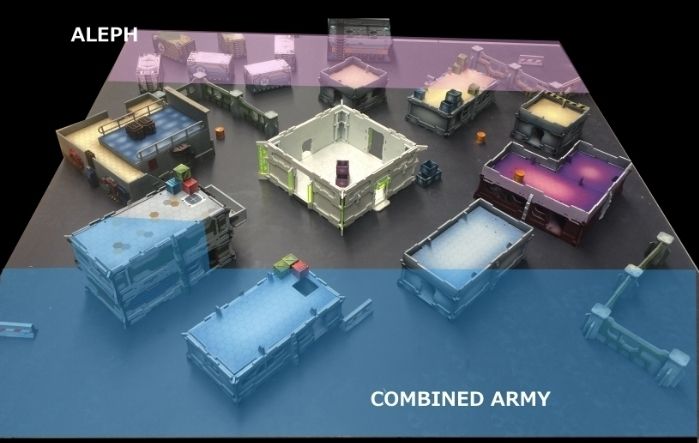
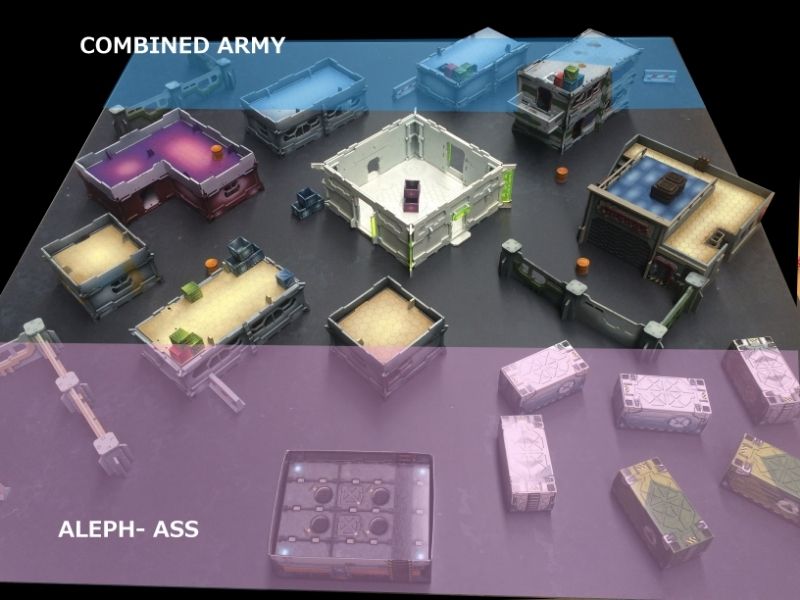
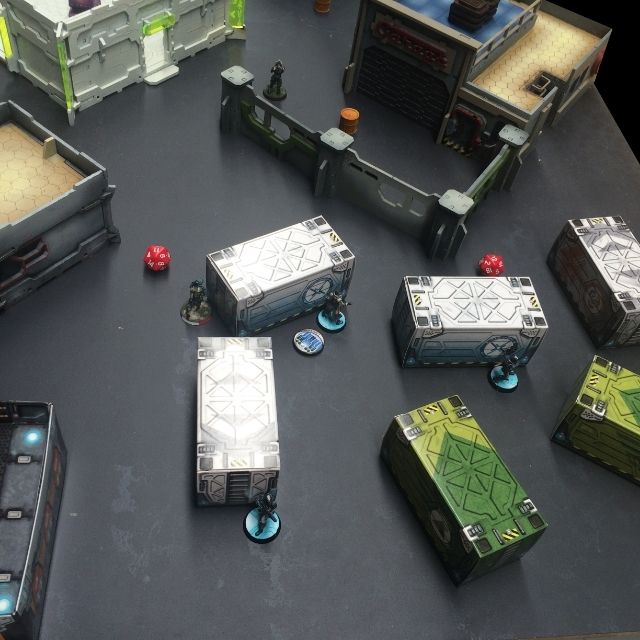
TERRAIN
 |
| AO Ferris. |
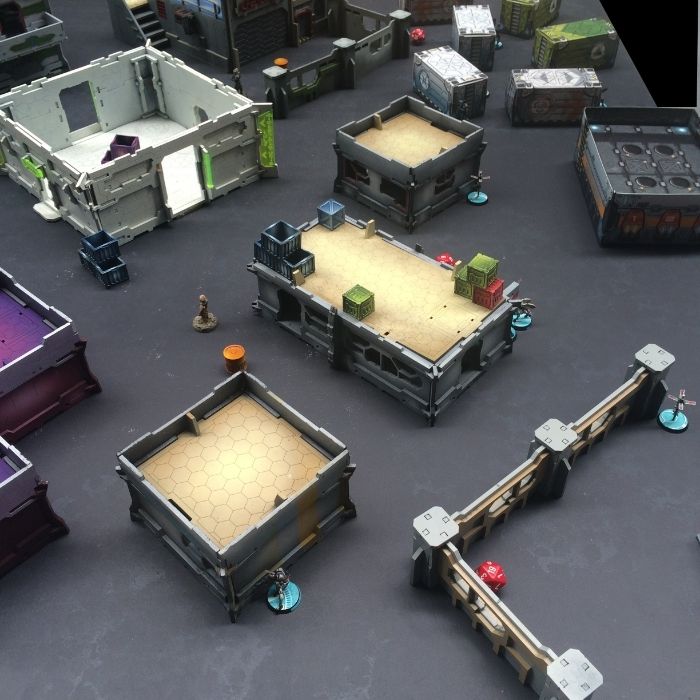
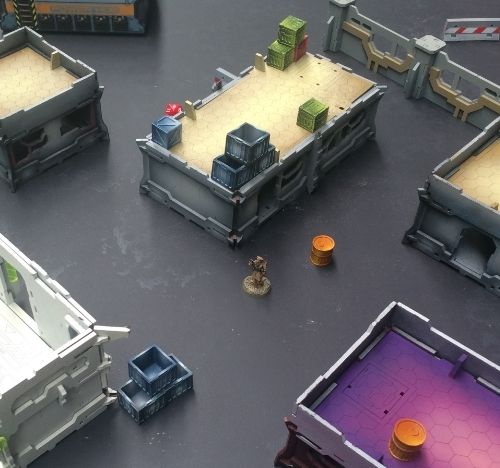
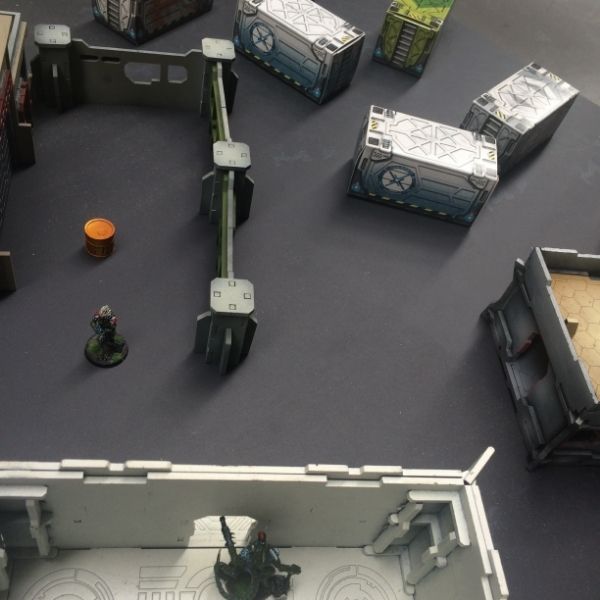
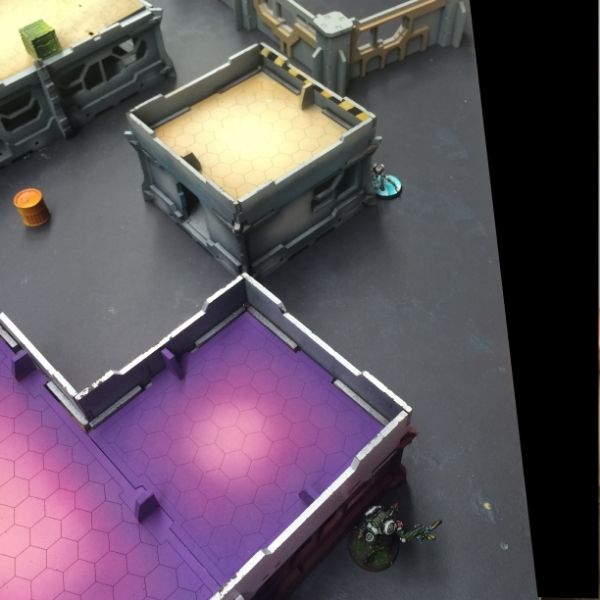
The key terrain features in this AO are:
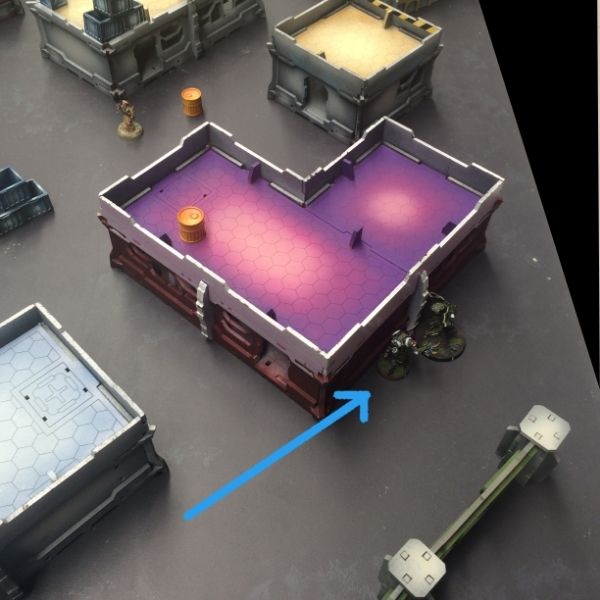
1. The Brothel. Easily identified by its bright purple roof.
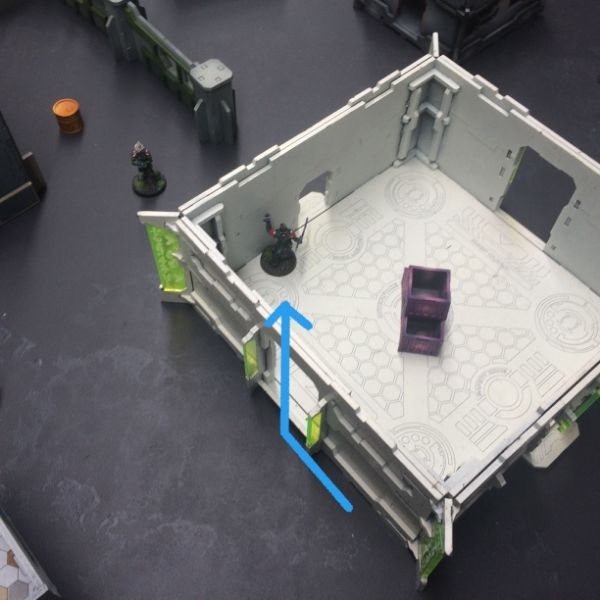
2. The Tower. A white square building of infinite height.
3. The Apartment Block. A two storey apartment structure.
4. The Garage.
5. The Container yard.
6. The Power Substation.
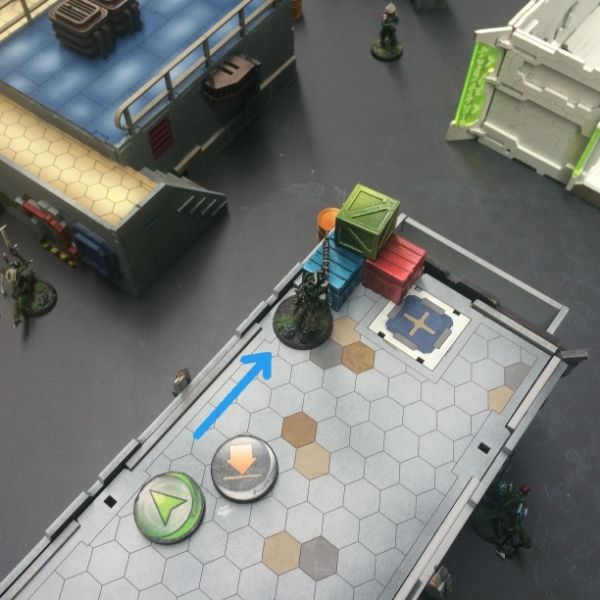
7. The General Store. Identifiable by the numerous storage containers on the roof.
MISSION
"Friendly forces must SEIZE AO Ferris No Later Than in 3 TURNS in order to prevent Enemy infiltration into surrounding AOs."
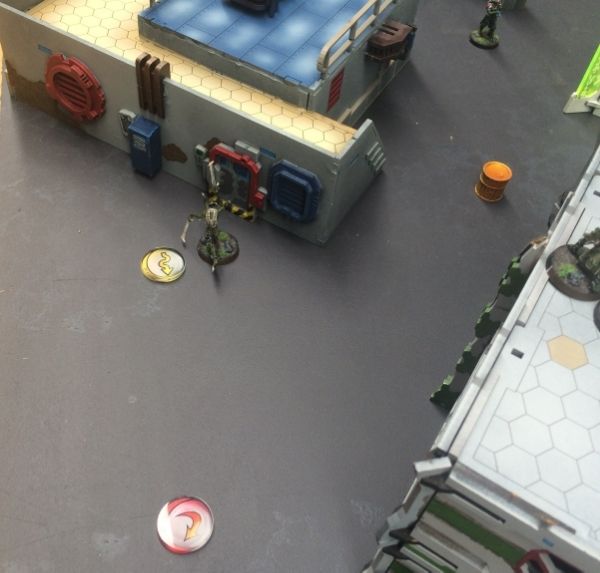
 |
| Consoles- Orange drums. |
Having played through all of the missions in the rule book now, Supremacy is the one I feel I've had the most experience with. I'm rather glad we rolled up this mission because Nimbus Zone annoys me to tears!
For those of you unfamiliar with Supremacy the premise is simple. The middle of the board is divided into quadrants and whoever has the most points of figures in the quadrant dominates it. Victory Points (VPs) are awarded at the end of each game turn for whom has the most Quadrants.
Also, in each Quadrant are consoles- which when activated by a Specialist- confer additional VPs.
There are also two additional Classified Objectives- conferring 1VP each.
Speaking of which....
CLASSIFIEDS
Combined Army: HVT Innoculation and Extreme Prejudice
ALEPH- Steel Phalanx: Extreme Prejudice and HVT Spotlight
LIEUTENANT ROLL OFF
The Combined Army is famous for its high WIP Lieutenants- I guess it's time to see whether it's true!
ALEPH rolled a "6" and I rolled a "15".
Success! Clearly the experimenting with the Combined Army is paying off!
Without thinking about, I elected to go first... then remembered that this is "Supremacy"- where the advantage generally lies in going second.
Oops.
With that decided, the ALEPH player elected choose the side with the container yard. Clearly lots more hiding room back there!
DEPLOYMENT
 |
| AO Ferris viewed from the ALEPH side. |
CA Deployment
 |
| Key terrain is the Apartment Block. |
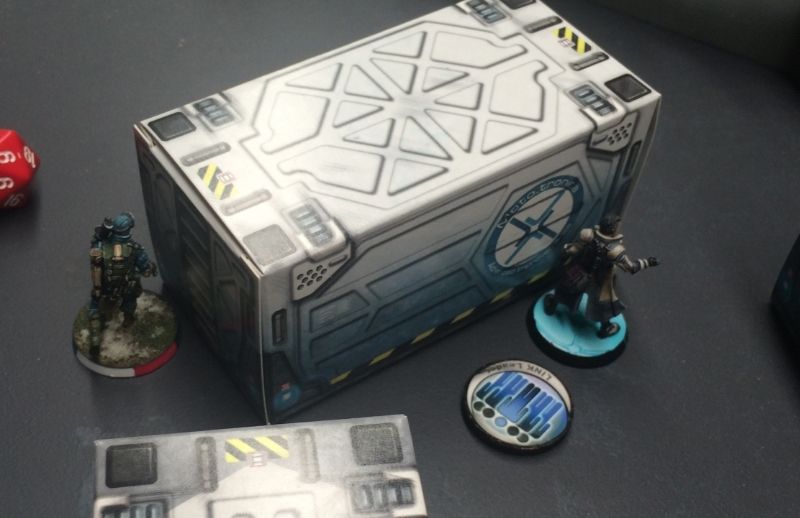
I started by landing my Imetrons- and fortuitously they both passed their PH rolls. I'm quite pleased with their PH increase in N3 as it has increased their reliability.
 |
| Protected corner- landings successful! |
 |
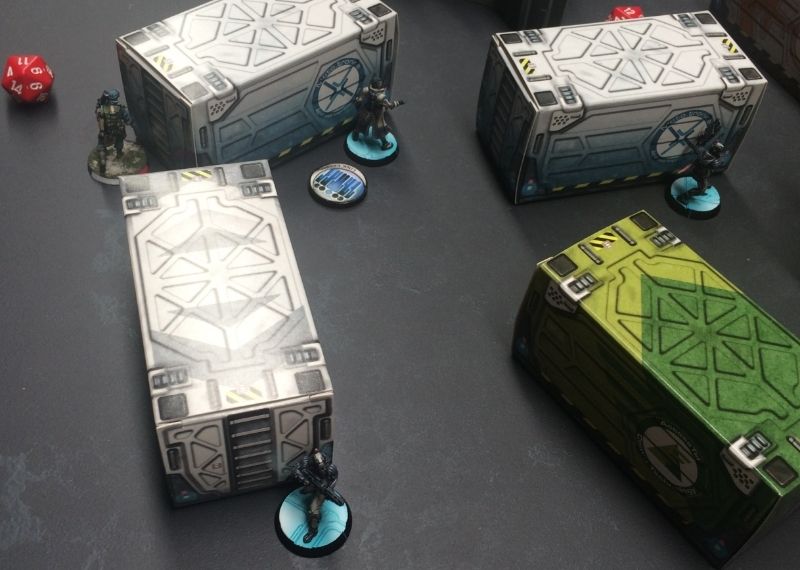
| Ikadron and Imetron hide behind the Apartment Block. |
 |
| Sovereign- my Skiavoros- also hides behind the Apartment Block. |
 |
| Second Imetron and Vanguard hacker- Seneca- also take total cover close by. |
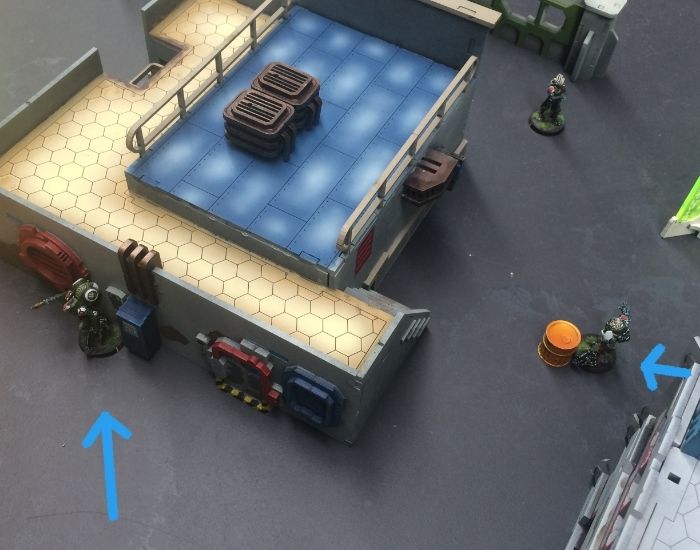
Then to the right of my line, close to the brothel, I put my M-Drone- Toby- and my second Ikadron.
 |
| Positioned on my right flank. |
 |
| Time to check out those fleshy delights. |
ALEPH Deployment
HVTs
The HVTs were placed in the sequence dictated in the rules- but for ease of reporting, I've put it in here.
I put my Morat HVT out in the open- between the Garage and the Tower.
The ALEPH HVT was positioned out in the open also- just outside the General Store.
... Or was he caught in the act of leaving the Brothel? Some Mayanet investigate journalism will have to go on after this battle!
THE BATTLE BEGINS...
COMBINED ARMY Turn 1
The ALEPH player pre-empted my turn by expending one Command token to deprive me of two orders. Not unexpected- but at least partially mitigated by Strategos Level 1.
With that out the way, Impetuous orders go first!
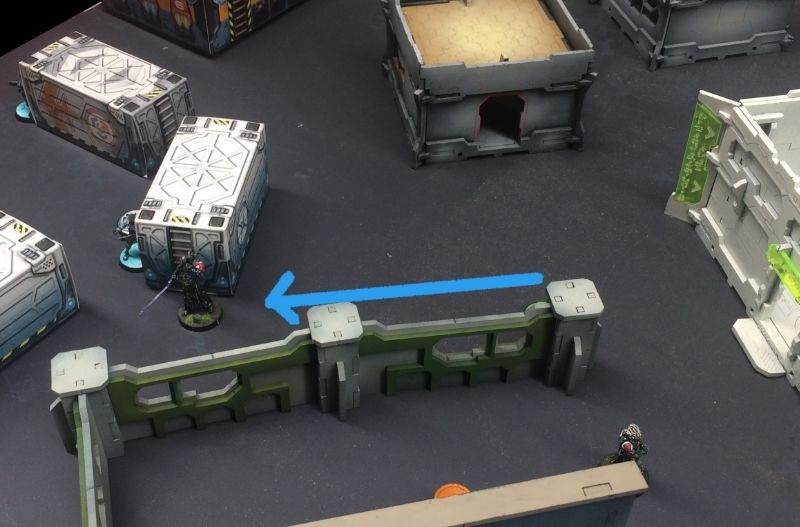
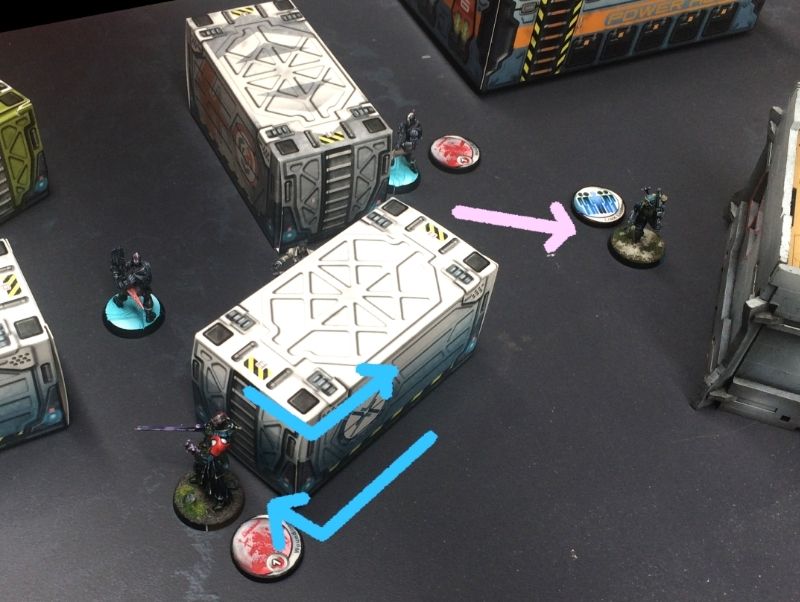
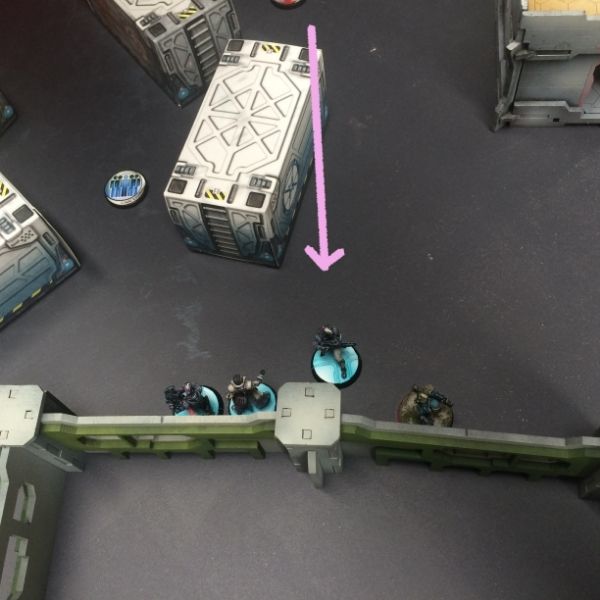
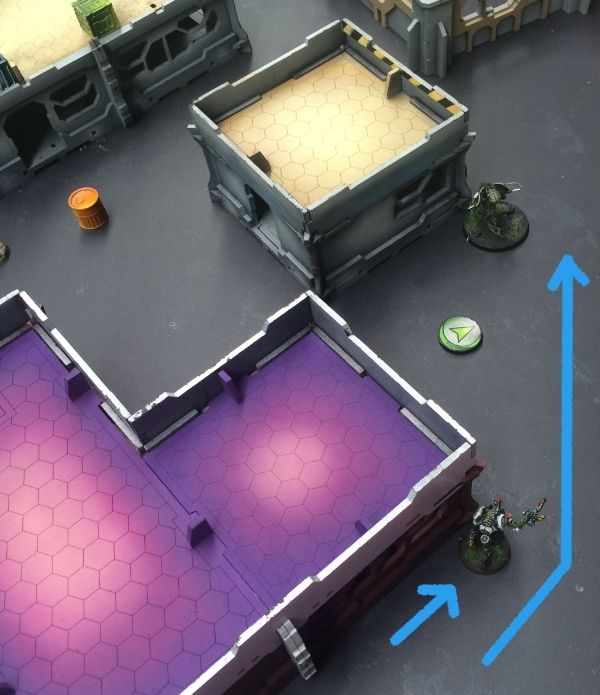
My ever faithful dross unit- the Gaki- bounded out from behind the Apartment and dashed across some open ground towards the Garage. He could smell some Myrmidons close by!
The watchful Agema Mk12- camped behind the distant General Store- shot twice but each time either missed or had the Gaki dodge out of the way.
Dido stared down her scope and fired on the distant Phoenix who elected to fire back.
I don't really like the odds of my sniper rifles- two dice versus two dice- it is rather risky! Still, I have to learn to wean myself off HMGs and maybe this will do it.
The exchange goes my way (luckily) and Dido lands a DA round on Phoenix.
Unfortunately he has the temerity to pass both ARM saves and ducks back out of view. What?!
The silver lining with that is that at least all the over-watching ALEPH figures are now firmly hiding from me....
... time for a Co-ordinated move!
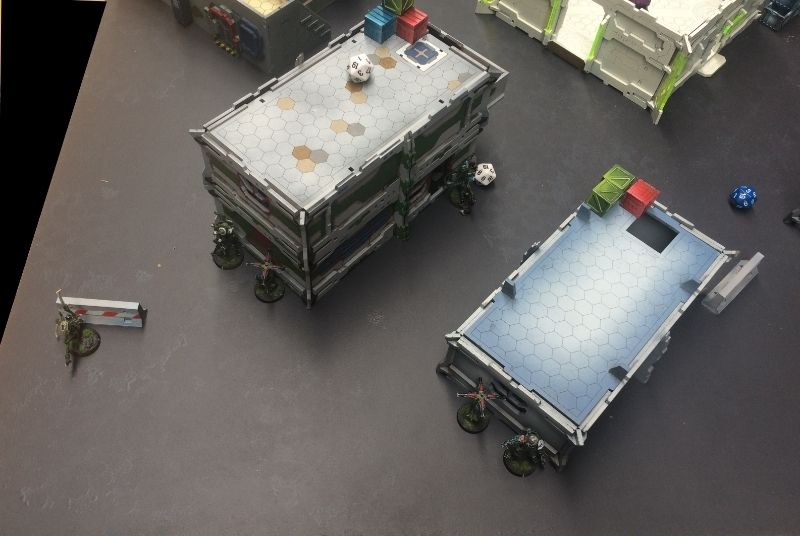
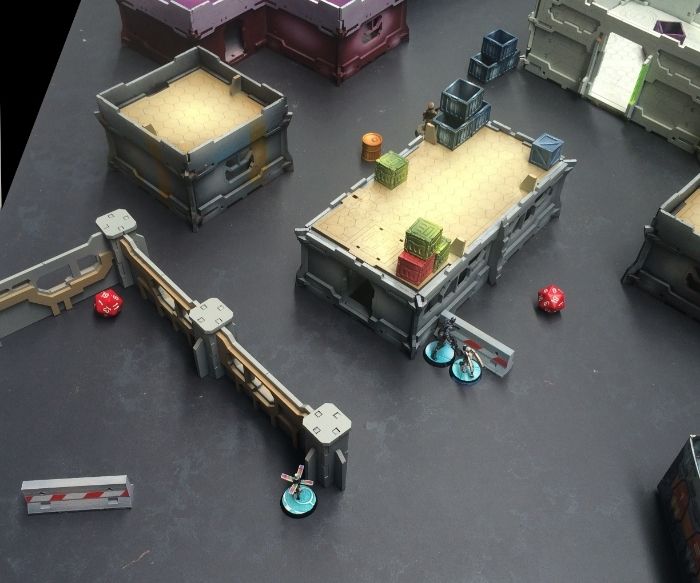
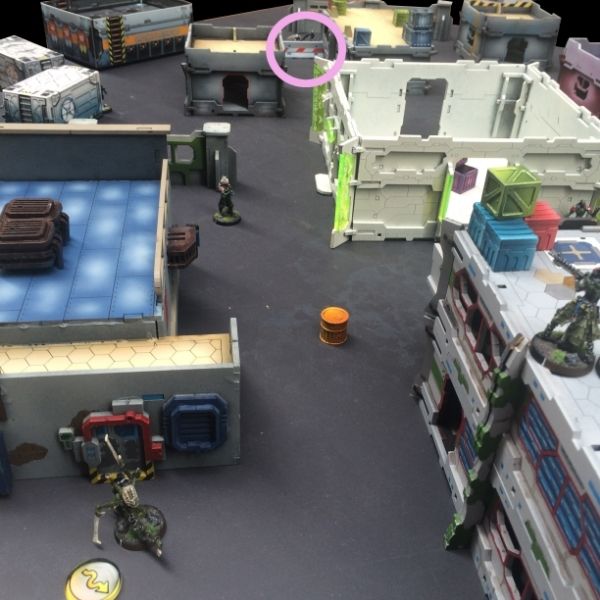
 |
| General Store, Container yard and Power station are prominent. |
It would seem that aerial deployment was the way to go this game, as both ALEPH Netrods landed well on target- and in total cover.
One landed behind the General Store in cover of a wall. Where as the second landed in front of the Power Station but behind one of the block house buildings.
 |
| General Store- defended by Agema Mk12 and supported by a Yudbot. |
 |
| Close up- Agema Mk12 (proxied by Myrmidon Spitfire)- gorgeous paint job. |
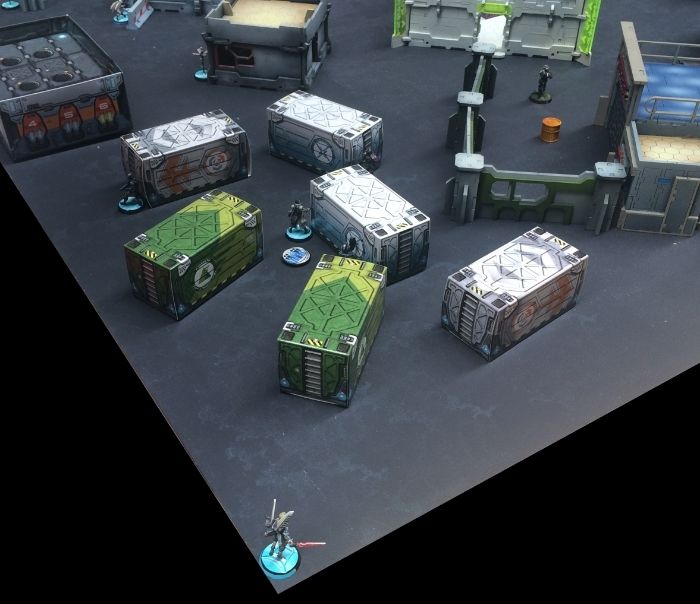
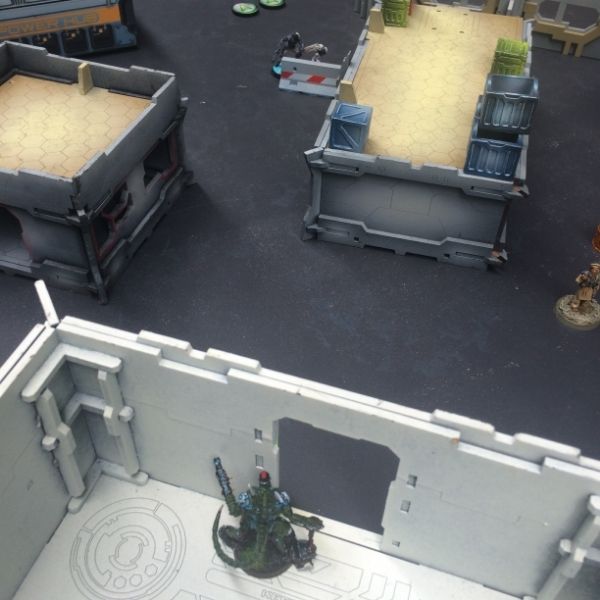
With the Agema covering down the the open area around The Tower, the remaining ALEPH forces- their dreaded Phoenix/ Machaon link team- congregated in the Container Yard.
 |
| Myrmidon link team. |
 |
| Close up: Phoenix and Machaon take cover behind a container. |
 |
| Every approach covered. |
RESERVE Deployment- CA
Having Strategos Level 2 is quite handy!
Using Advanced Deployment- I put the Umbra Legate up against the Tower. The closer to the enemy the better!
And after seeing all those ALEPH in the Container Yard, I had to pin them in place.
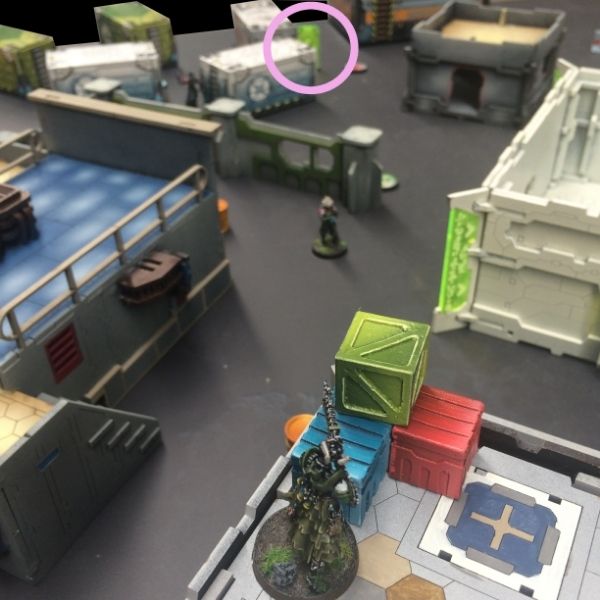
I put Dido, my Maakrep, (armed with the very important multisniper rifle- AND MSV2)- on the roof of the Apartment block to hopefully take out a few stray ALEPH figures. Ha! ODD? What's that?
RESERVE Deployment- ALEPH
And a final view of the ALEPH battle line...
Having Strategos Level 2 is quite handy!
 |
| Reading up on the Impersonate program! |
 |
| I sense a presence I haven't felt since.... |
 |
| Spying Phoenix in the distance... |
RESERVE Deployment- ALEPH
 |
| Thrasymedes (proxied by a Daysus) infiltrates forward- closer to contest the Brothel |
 |
| "We are programmed to receive... you can check out any time you like... but you can never leave"- Hotel Paradiso |
HVTs
 |
| The Morat Anthropologist studies a primitive native. |
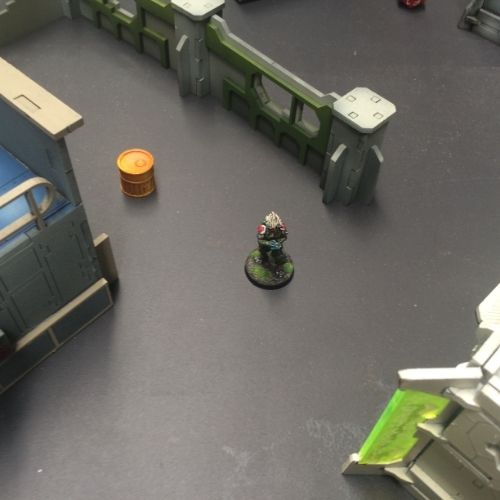 |
| Just a few more minutes and I'll have all the data I need.... |
 |
| It's not what it looks like! |
... Or was he caught in the act of leaving the Brothel? Some Mayanet investigate journalism will have to go on after this battle!
THE BATTLE BEGINS...
COMBINED ARMY Turn 1
The ALEPH player pre-empted my turn by expending one Command token to deprive me of two orders. Not unexpected- but at least partially mitigated by Strategos Level 1.
With that out the way, Impetuous orders go first!
 |
| Wow! Much hungry! Such dodge! Wow! |
 |
| Pow! Pow! Drat! |
 |
| I see your ODD and raise you MSV2! |
I don't really like the odds of my sniper rifles- two dice versus two dice- it is rather risky! Still, I have to learn to wean myself off HMGs and maybe this will do it.
The exchange goes my way (luckily) and Dido lands a DA round on Phoenix.
Unfortunately he has the temerity to pass both ARM saves and ducks back out of view. What?!
The silver lining with that is that at least all the over-watching ALEPH figures are now firmly hiding from me....
... time for a Co-ordinated move!
 |
| Dido takes up a better position on the Apartment roof. |
 |
| Hannibal moves into the Tower. |
 |
| Toby and a faithful Ikadron skirt around the Brothel. |
I got a bit slack with my unit facings here- many of them facing in bad directions. I was so excited to use a Co-Ordinated Move I totally forgot the basics of good Infinity play!
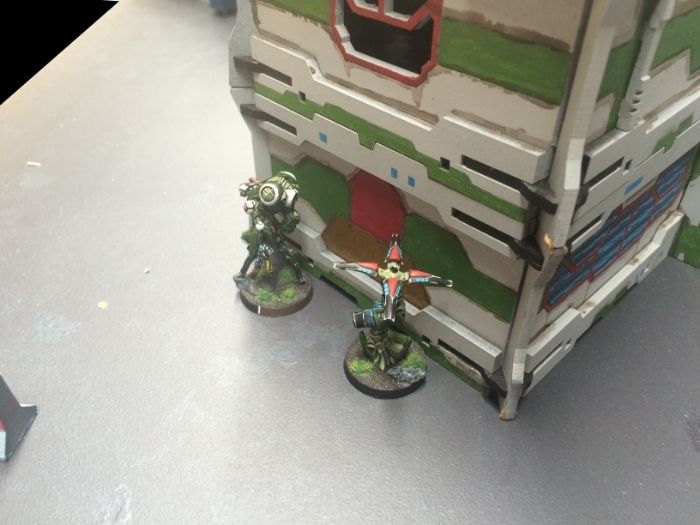
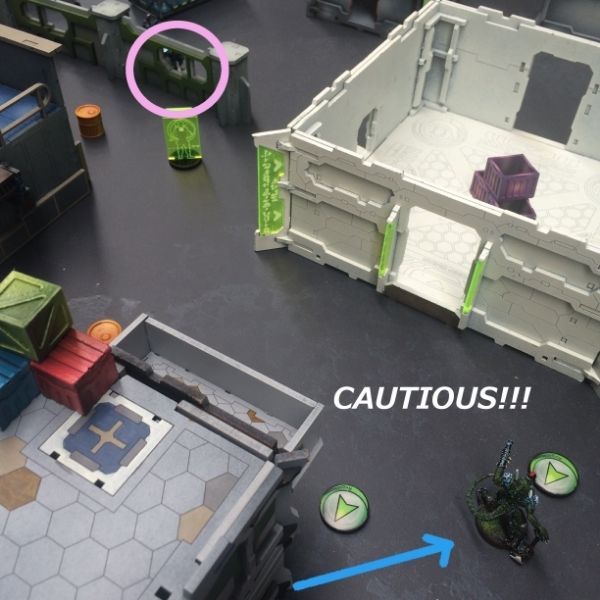
With Hannibal- the Umbra Legate- in position in the Tower, it was time to sneak him out.
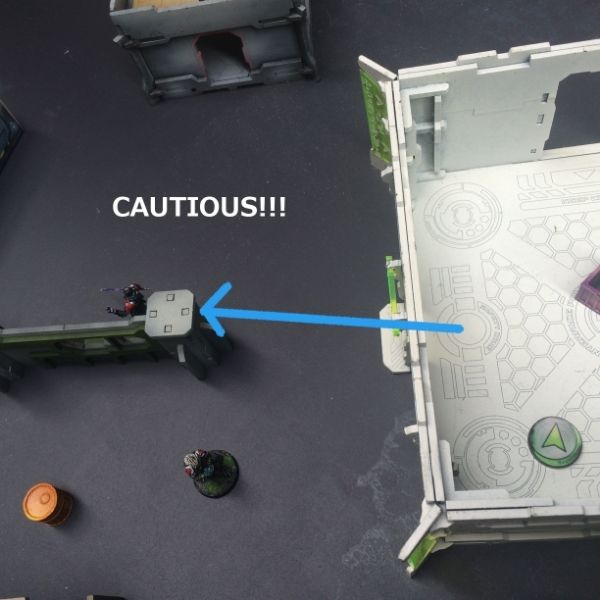 |
| 6" cautious move... awesome! |
Utilizing Hannibal's 6" first movement, I cautious moved him past the line of fire of the Agema Mk12 around the corner store. That X-Visor makes him quite a good deterrant.
 |
| I would like to taste some ALEPH kidneys.... |
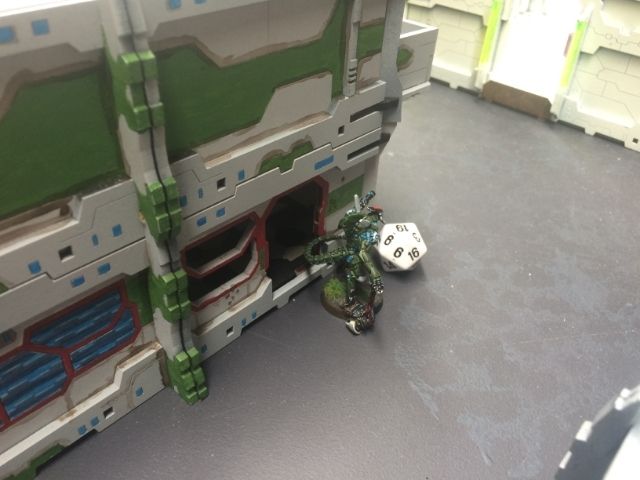
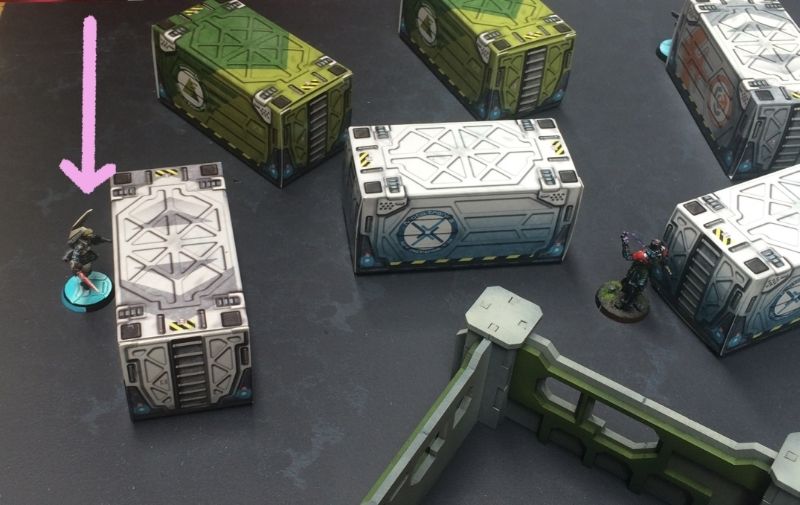
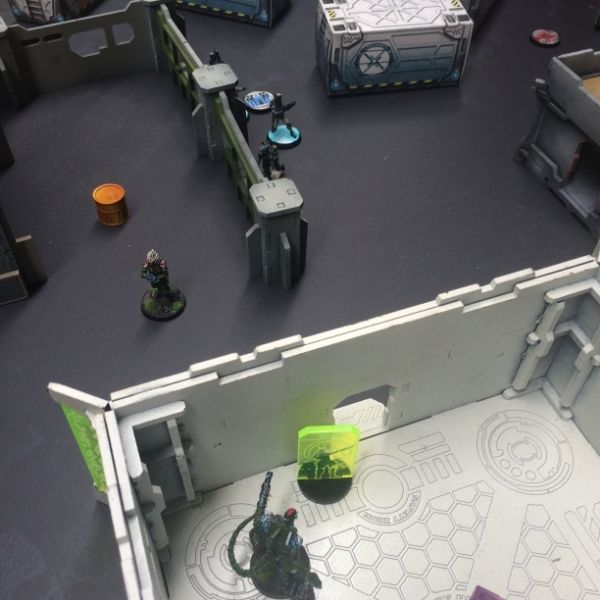
Once past that danger zone, Hannibal made a bee line for the container yard.
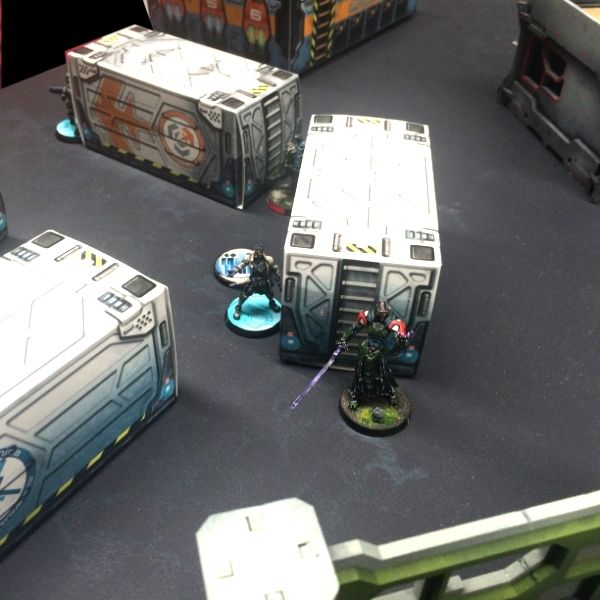 |
| I have fava beans and a nice chianti!!! |
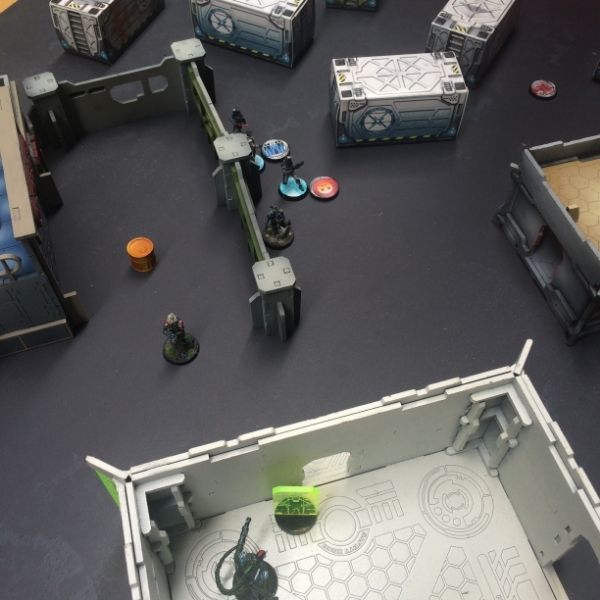
As tempted as I was to charge into close combat- I didn't fancy taking a combi rifle shot to the face. And seeing Phoenix just behind Machaon... I had an idea.
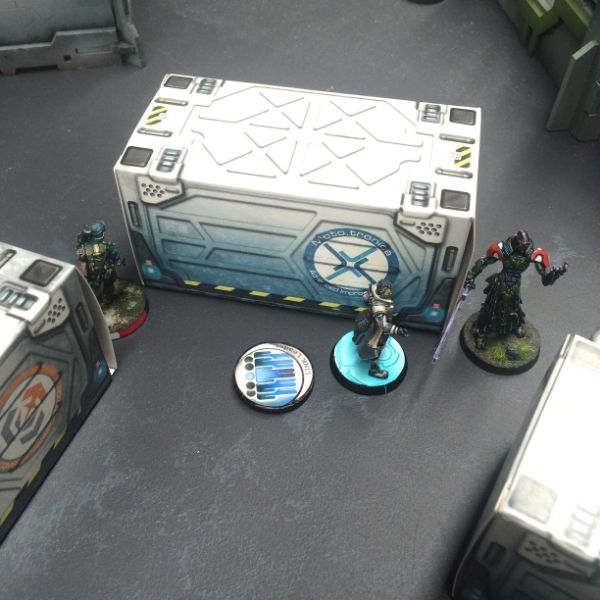 |
| Shotgun! |
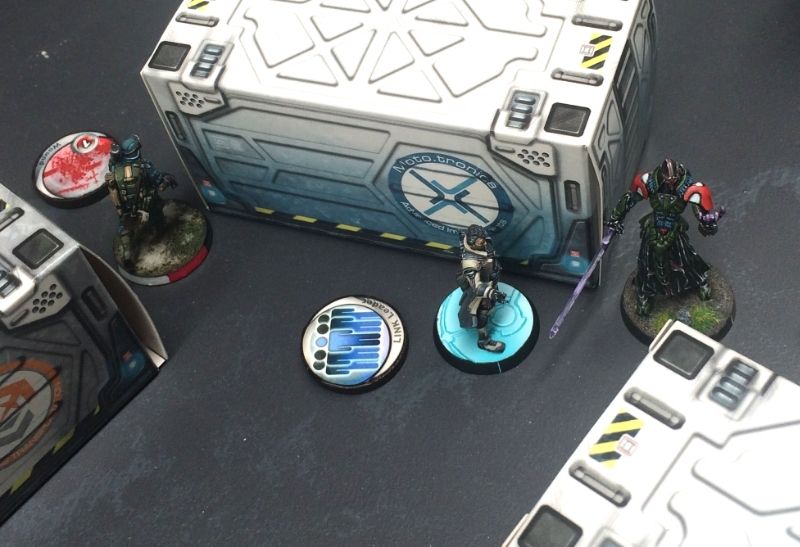
With a wild leer on his evil face, Hannibal rounded the corner and gave both barrels. The ALEPH link team wisely opted to dodge.
The +6 to hit for the shotgun was cancelled out by Machaon's ODD and that was pivotal.
 |
| Hannibal waves his hands in consternation. |
Only one blast landed home- and Machaon dodged out of the way anyway. Wretched creature.
Phoenix wasn't as lucky though failing his dodge roll and taking a wound.
Both ALEPH figures darted into cover- clearly relieved at such a lucky escape.
 |
| Now I have you! |
Phoenix, though, was now out of cover and in view of Dido who rubbed her hands with glee. She fired down onto the seasoned veteran who ARO'd with return fire.
 |
| ... Or not!!! |
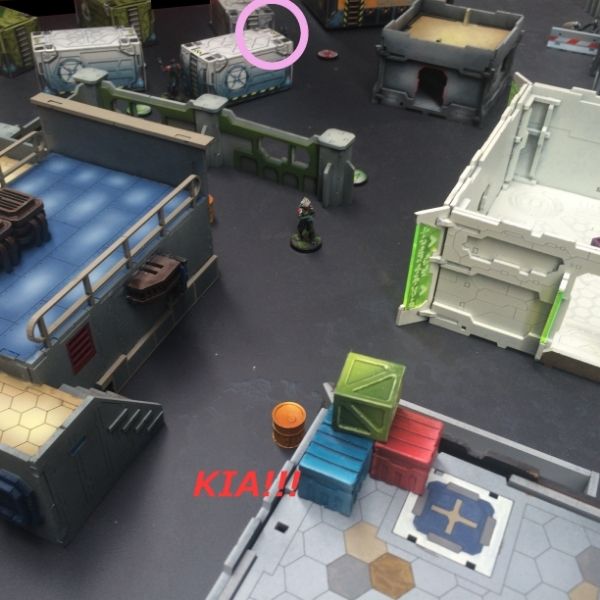
Phoenix critted with his return fire and Dido burned to death in her perch as the heavy rockets slammed home.

ALEPH Steel Phalanx... such b.s.!!!
 |
| One barrel for each of you! |
Mightily annoyed by Phoenix outshooting my sniper, I let Hannibal fire his shotgun at both Machaon and Phoenix who both shot back.
Despite the exchange of fire, everyone emerged unscathed. Including Hannibal who luckily shrugged off two pistol hits from Phoenix and a combi-rifle round from Machaon.
That blasted link team was still intact- but at least the Umbra was still in one piece.
For now.
STEEL PHALANX Turn 1
 |
| Ekdromoi walking on... whilst Machaon contemplates being "Engaged" by the Umbra. |
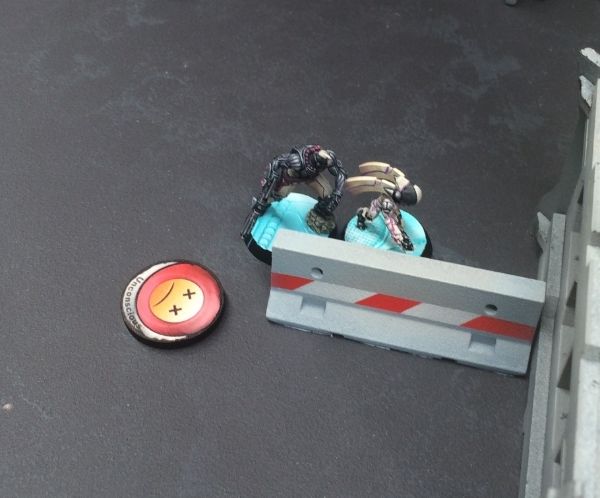
The first move from ALEPH was a Ekdromoi hacker who was supposed to land amongst my back line. Fortunately for me- and maybe for him too- he scattered off the table and walked on into the Container yard area.
Then he began carefully skirting Hannibal.
 |
| Moving steathily.... |
 |
| ... And now in position- strike! |
Having moved out of Hannibal's LOF, the Ekdromoi hacker cast "Carbonite". I ARO'd with "Sucker Punch" but rolled poorly... missing totally.
Not that it mattered because the Ekdromoi got his cast on a critical and the Umbra Legate found himself doing the Han Solo....
... Which made him a very tempting target for Machaon.
Machaon fired 4 burst from his combi rifle at Hannibal- who could only 'Reset' (which he did). Also, very luckily, only 1 burst landed home but Hannibal failed his ARM save and took a wound.
Thank goodness for No Wound Incapacitation.
Leaking vile black ichor- Hannibal- darted behind the white cargo container and away from Machaon.
Leaking vile black ichor- Hannibal- darted behind the white cargo container and away from Machaon.
 |
| Phoenix laughs! |
Smelling blood in the air, Phoenix moved out of cover and fired on the hapless Umbra Legate who attempted to dodge.
The range was short- very short though- meaning Phoenix had to opt for his pistol. Rounds sing out but Hannibal manages to win the face to face and dodge back around and away from the link team that is corralling him like a confused sheep.
 |
| Hannibal is bouncing from spot to spot like a pin ball! |
 |
| A temporary stay of execution.... |
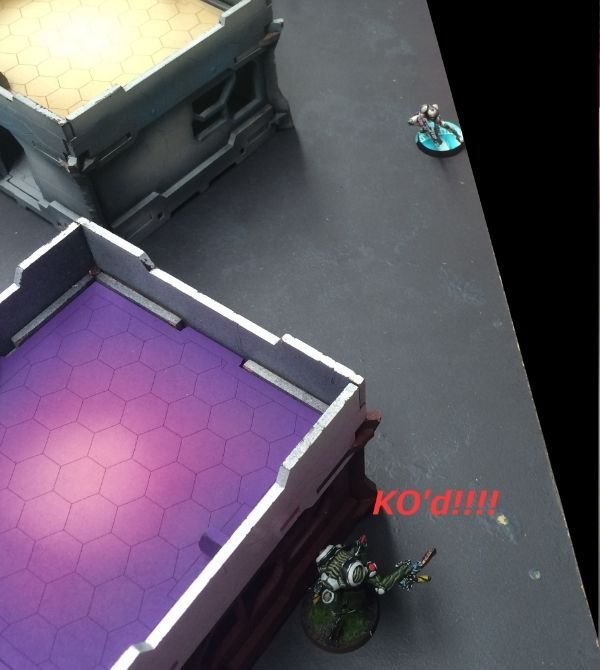
The finishing blow was coming.
 |
| Engage- Urgh! |
The nearby Myrmidon closed in and hosed Hannibal with twin chain rifles. The Umbra Legate attempted to engage with his dodge roll but failed dismally with a "17". Then to add insult to injury, he failed both his armour saves and was killed instantly.
No martial arts shenanigans for his Umbra Legate.
 |
| Advance! |
With the Umbra Legate killed, the Myrmidon- Machaon- Phoenix link team advanced to the cover of the wall of the Garage yard.
 |
| So close! |
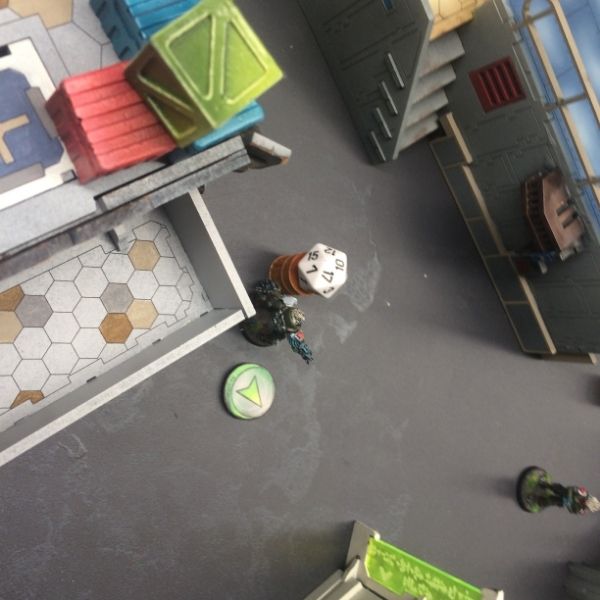
The Ekdromoi hacker- falling just short of the nearby console- moved to the roller door of the Garage to take cover.
VICTORY POINTS- TURN 1
Combined Army: 2 Quadrants
Steel Phalanx: 2 Quadrants
Score:
Combined Army 1VP
Steel Phalanx 1VP
COMBINED ARMY TURN 2
It was annoying to have lost both my Maakrep and the Umbra in Turn 1 without having accounted for any enemy.
Curse ALEPH and their Assault Subsection!
Well, that be as it may, it was my turn now and Impetuous Orders go first!
 |
| Wow! Such close! Much hungry! Wow! |
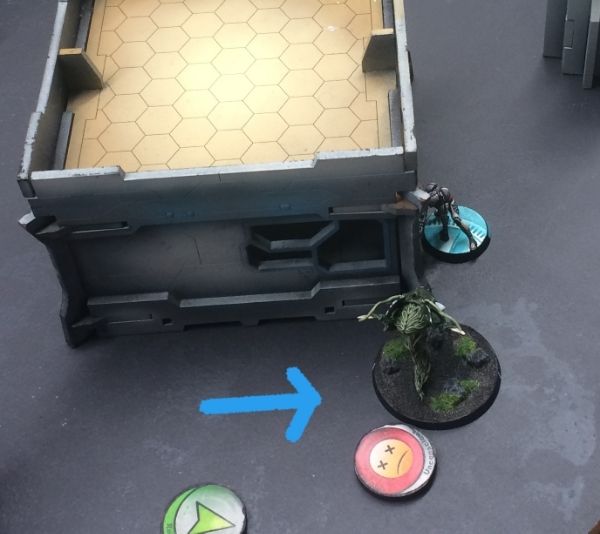
Smelling the Ekdromoi on the other side of the garage, my Gaki enthusiastically clambered over the wall and raced along the roof.
Hearing a scrabbling noise, the Ekdromoi tried to turn but failed his Dodge roll to change face.
The Myrmidon link team DID pass its roll though and one of the chain rifle Myrmidons turned to look through the hole in the wall and into the Garage yard.
 |
| Wow! Much excite! Such doge! Much Irregular! Wow! |
I contemplated catapulting the Gaki over into the Myrmidon link team- but I guessed that the distance was too far and abandoned the idea.
It would've been nice but I'll settle for the tasty Ekdromos right below!
 |
| YUMMY!!! |
Whenever I get one of these little critters into close combat- I laugh! And so did the Ekdromos- whose martial arts level 3 made short work of the Gaki.
As the Gaki fell unconscious, though, it exploded- catching the Ekdromoi in the blast and shredding him in a cloud of gore.
Not bad for 4 points!
 |
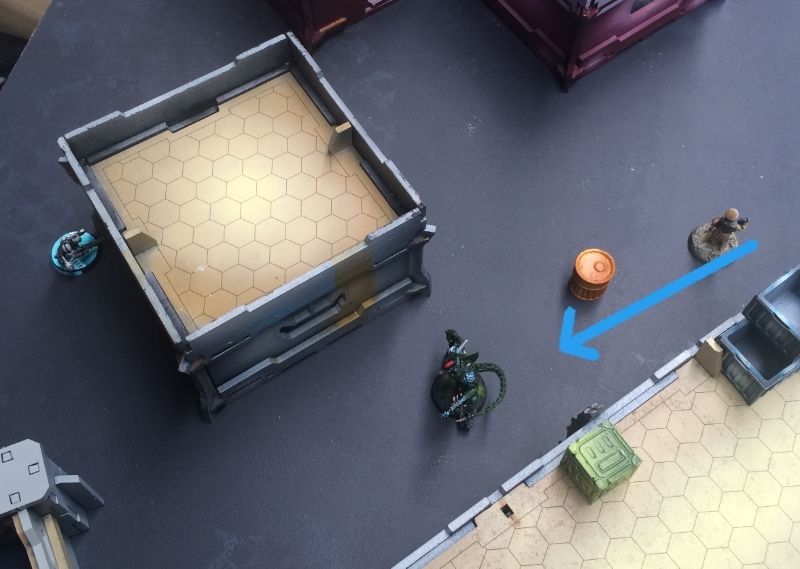
| Sneaky sneaky. |
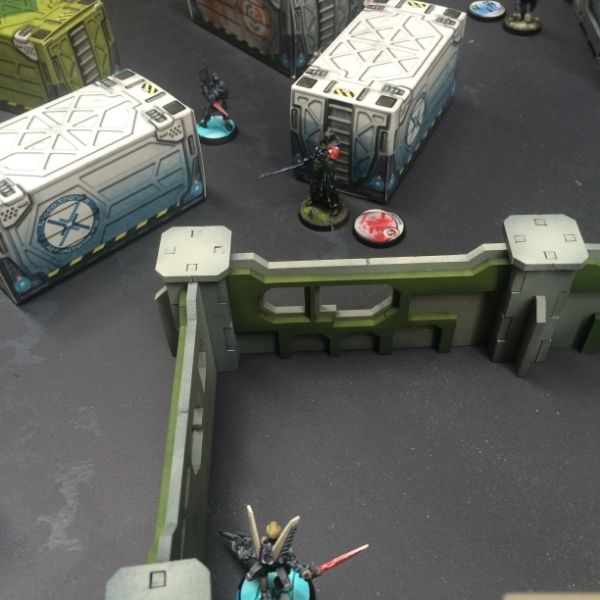
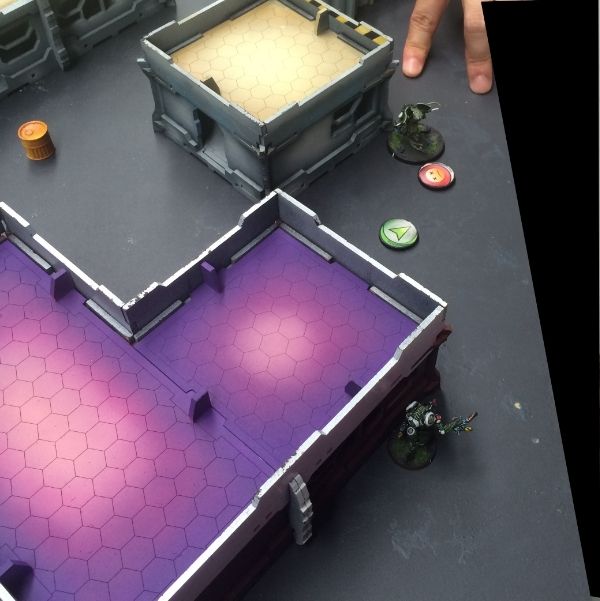
Mindful of Phoenix's heavy rocket launcher, Sovereign- my Skiavoros- cautiously moved out from behind the Apartment and made for the Tower.
 |
| Organics.... |
Stomping his cybernetic legs forward, Sovereign spied a Myrmidon out of cover and let fly with his plasma rifle.
The Myrmidon responded by trying to throw smoke.
 |
| Mortals... |
The Skiavoros won the face to face roll surprisingly enough and knocked the Myrmidon unconscious.
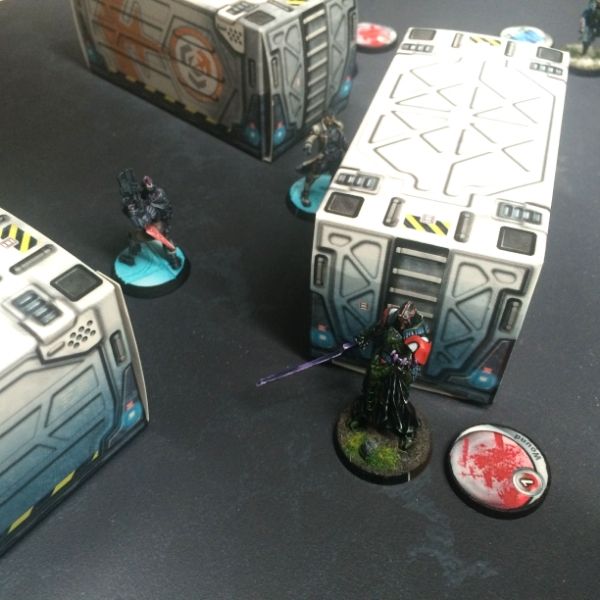
Now if only he could get a bead on Phoenix without being exposed....
 |
| Another Cautious Move. |
Now in the right spot, Sovereign spied the link team all lined up and fired....
... Phoenix fired back.
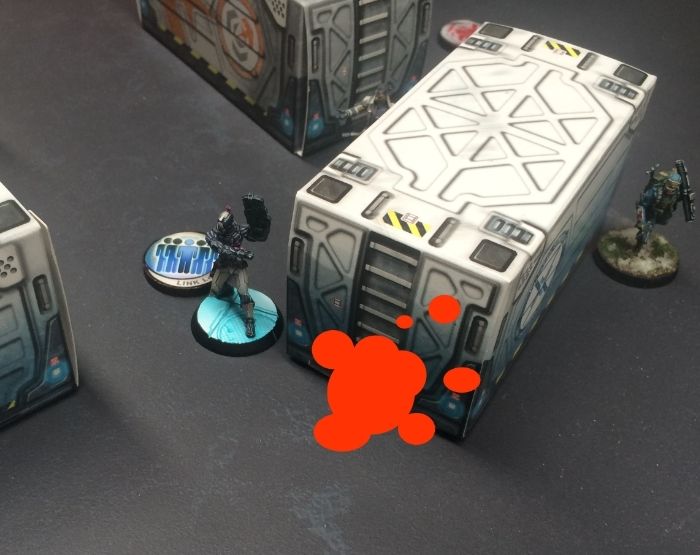
 |
| I am the vanguard of your destruction! |
Hitting twice with the Plasma rifle, Sovereign revelled in the destruction as the humans vanished in the incandescent cloud.
 |
| Sniffing the vapourized fat and admiring the scorch marks. |
 |
| ... Plasma... |
When the smoke cleared there was nothing left of the link team. I love plasma!!!
With that flank secure, it was time to move what was left of my force into position.
Co-Ordinated Move time!
 |
| Sovereign the Skiavoros moves to cover the General Store |
 |
| An Ikadron moves up from the Apartment Block to claim the Quadrant with the Garage |
 |
| M-Drone and Ikadron advance around the Brothel. |
 |
| Toby moves in to shoot at Thrasymedes with his combi-rifle |
Much to my disgust, Thrasymedes also was sporting ODD and to make matters worse- he critted with his SMG knocking the M-Drone unconscious.
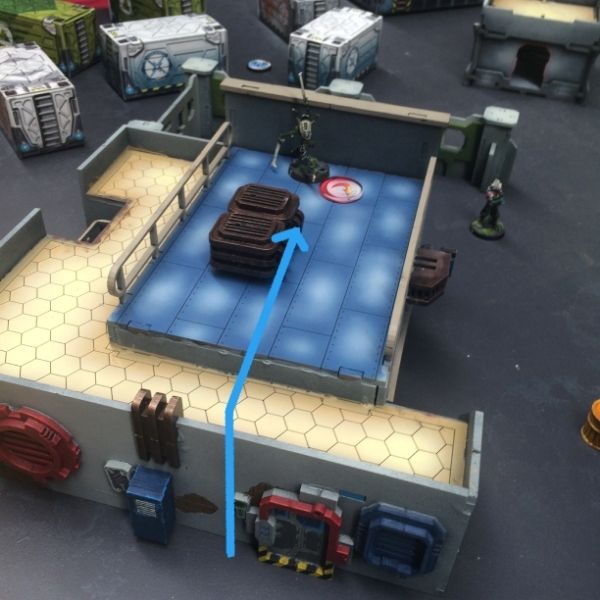
With my final order, I sent my Morat Vanguard hacker- Seneca- forward from the Apartment towards the Tower and it's nearby console.
Overall- quite a good turn! I was disappointed with the M-Drone failing to take out Thrasymedes but the Skiavoros catching the entire Myrmidon link team in a torrent of plasma more than made up for that.
How would the Steel Phalanx respond?
STEEL PHALANX Turn 2
In addition to losing the link team the Steel Phalanx found itself in Loss of Lieutenant.
To get around this problem of everyone being Irregular, ALEPH expended two Command Tokens to convert the Netrod orders into Regular orders for the pool.
 |
| Sneaking forward |
Thrasymedes crept forward towards the fallen M-Drone.
 |
| Splat! |
Coup-de-grace!
 |
| Thrasymedes lines up the Ikadron. |
SMG rounds pepper the Ikadron as it returns fire with his light flamethrower.
 |
| I shall dream of electric sheep....ZZzzzz |
Thrasymedes shrugs off the flames and hits the Ikadron who is knocked unconscious.
Satisfied- he ducked back into cover.
 |
| Agema marksman gets into position. |
The Agema Mk12 moved along the jersey barrier to shoot at the Skiavoros taking cover in the Tower and it responded with a single Burst from its plasma rifle.
 |
| Unlucky! |
The Agema hit twice but the Skiavoros proved to be a luckier- winning the face to face roll.
Sovereign's plasma bolt knocked the Agema to the ground- kiling him- and finished the ALEPH turn.
VICTORY POINTS TURN 2
Combined Army: 2 Quadrants
Steel Phalanx: 0 Quadrants, 1 Classified Objective
Score:
Combined Army: 4VPs
Steel Phalanx: 2VPs
COMBINED ARMY Turn 3
Editor's note: The Steel Phalanx was in retreat by this stage but we had forgotten about it and played through to turn 3. I actually didn't know how much Thrasymedes was worth and presumed he was 40-something points.
With the Agema gone, it was time for mopping up.
I expended a command token for a Co-Ordinated move to get my forces into a better position.
My remaining Ikadron hid itself behind the garage and my Vanguard hacker made his way to a console.
Now in place, Seneca (my Morat Vanguard hacker), attempted to hack open the console.
With another VP in the bag, it was time to finish the Steel Phalanx.
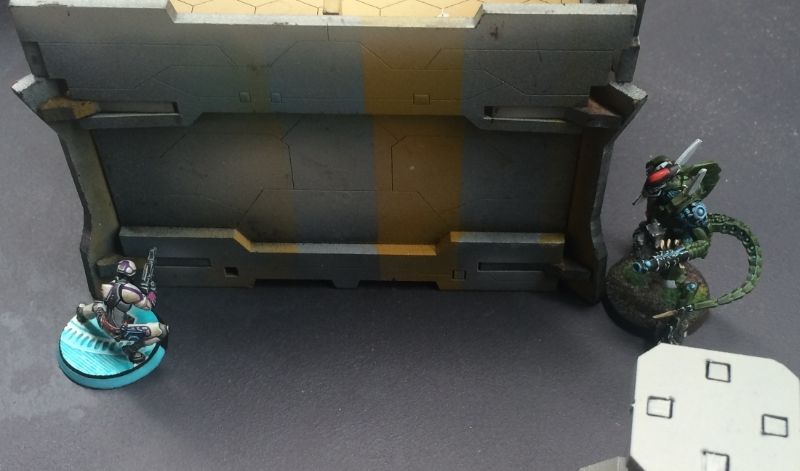
Thrasymedes snapped off a shot with his SMG as the Skiavoros rounded the corner but it flew wide.
Score:
Combined Army: 4VPs
Steel Phalanx: 2VPs
COMBINED ARMY Turn 3
Editor's note: The Steel Phalanx was in retreat by this stage but we had forgotten about it and played through to turn 3. I actually didn't know how much Thrasymedes was worth and presumed he was 40-something points.
With the Agema gone, it was time for mopping up.
I expended a command token for a Co-Ordinated move to get my forces into a better position.
 |
| Sovereign makes his way towards Thrasymedes. |
 |
| Move- move! |
Now in place, Seneca (my Morat Vanguard hacker), attempted to hack open the console.
 |
| Success! |
 |
| Closer.... |
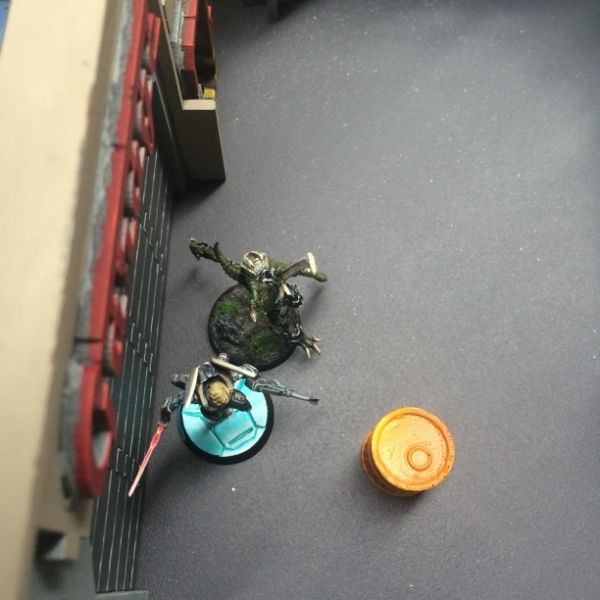
 |
| Your destruction is at hand. |
Sovereign however didn't miss and the cyan plasma bolts rendered Thrasymedes into a scorch mark on the pavement.
ALEPH CONCEDES.
COMBINED ARMY VICTORY!!!!
CONCLUSION
Well, as my first introduction to plasma in N3 I can say that I am a big fan.
The Skiavoros landing his plasma template onto the link team was a game changer- particularly after losing the Umbra Legate and the Maakrep sniper.
I don't think I used the Umbra Legate that well. With the benefit of hindsight, I realised I should have gone into close combat with Machaon rather than counting on ballistic weapons to deal with ODD. ALEPH's naturally high PH makes their dodge rolls much more likely to succeed.
As for the Maakrep sniper- I think I'll trade her in for a HMG. Without being able to muster up either mimetism or ODD she is too easy to hit- and rolling two dice in active turn makes every attack a real gamble.
I hope you enjoyed the read and until next time- Happy Gaming Everyone!
Great recap, thank you!
ReplyDelete