
 |
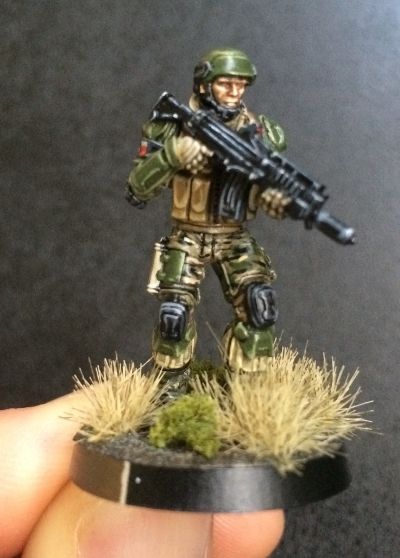
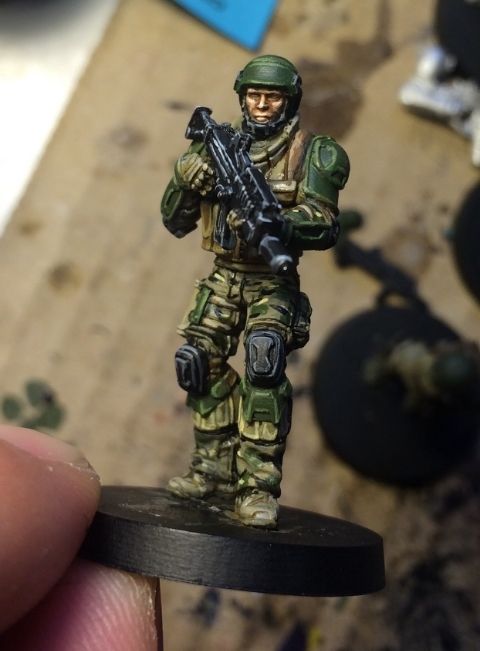
| Digging in on the Cadian Gate. |
As I was painting this guy up- trying out different techniques- I was struck by how similar he looked to the Cadians of the Imperial Guard. Which is just as well. Because I've always had a soft spot for Imperial Guard....
But enough reminiscing- would you like a delivery of Freedom?
With an entirely new faction, I tried out A LOT of new painting techniques for this guy. I'll talk about them later (more for me to come back them as a reference), but for now- more pictures!
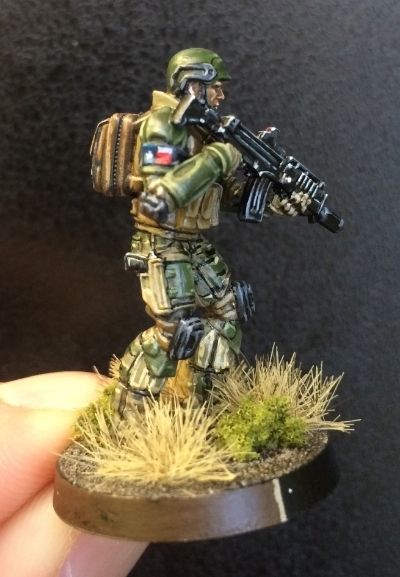 |
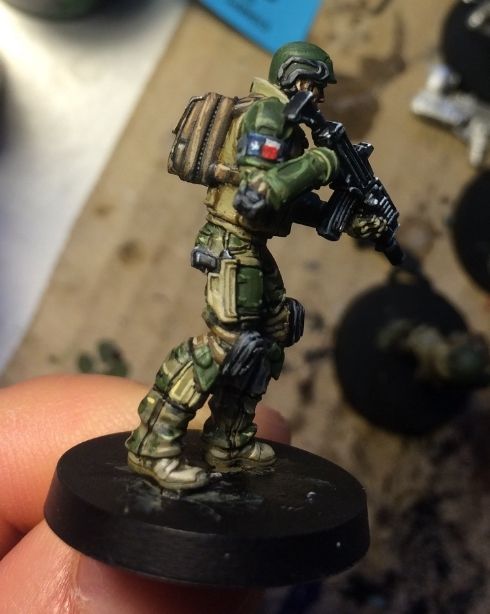
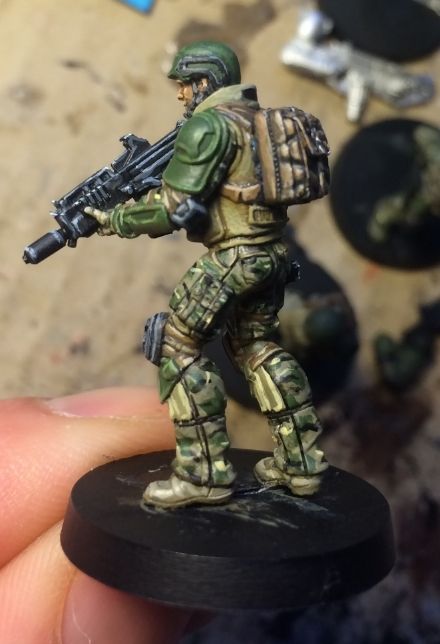
| Don't mess with Texas! |
 |
| Carapace armour. |
The armour plates I experimented around with several times before I stopped. I'm not set on how I painted it and it is likely I'll change the colours around again on the next grunt.
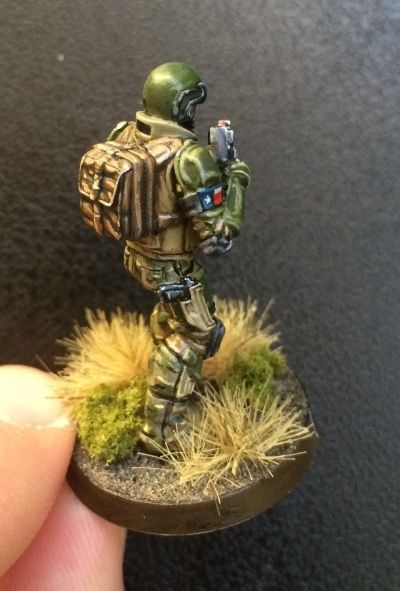 |
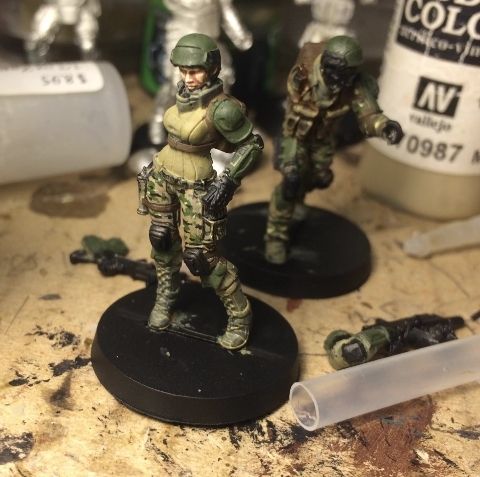
| Patrol heavy. |
I'm most happy with the back pack- of course I shamelessly pilfered from a fantastic tutorial from Minotauro Studios- so the credit is more his than mine.
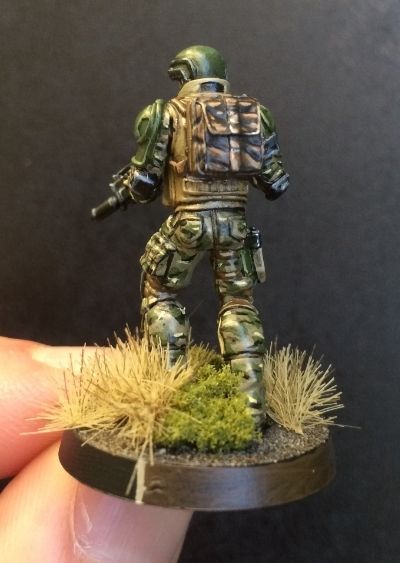 |
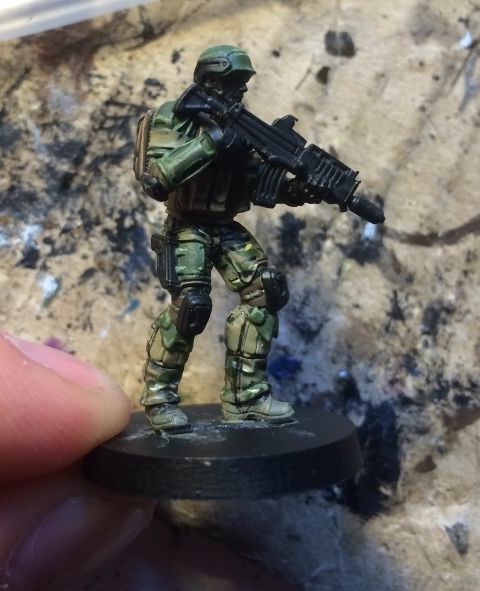
| Keep walking. |
He looks pretty smart for table top, which is exactly the level of detail I want.
Now for the recipes... and you WILL need a wet palette, some thinner and a really good brush.
CAMOUFLAGE
 |
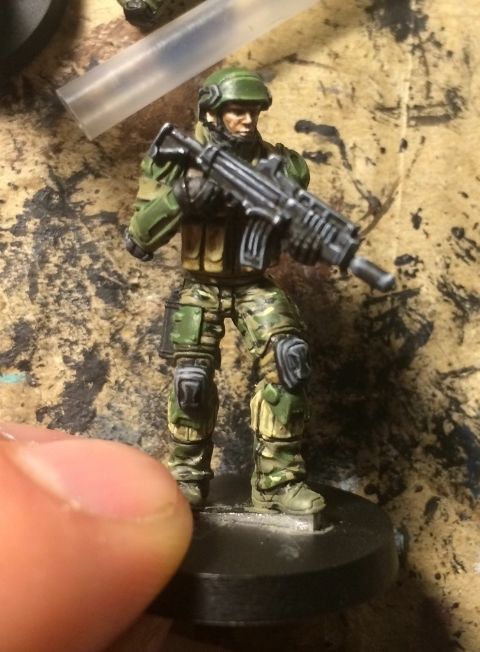
| Cam. |
First thing I painted was the Multicam/ Navy AOR2/ MARPAT pattern on the camouflage. I will freely admit that I plagiarised from Angel Giraldez (bless him!).
1. Base VMC Khaki,
2. Highlight VMC Cam Beige WW2,
3. Splotches VMC Reflective Green,
4. Dash/ blobs- black,
5. Dash/ blobs (sparingly) VMC Dark Sand.
6. Black lining with thinned out black paint- essential!!!
Needless to say you need a sharp pointed brush and preferably a 'wet palette' to thin the paints out just a bit. I'd also like to note that the dashes and blobs are quite jagged- I guess to give the idea of a digicam style of pattern. I didn't do it this well on this grunt.
RIFLE and Other Black Bits
Credit has to go to Minotauro Studios again for the awesome step by step on his Spetsnaz. I didn't have Basalt Grey so I substituted VMC Dark Grey for Basalt Grey.
1. Basalt Grey. Wash Black.
2. Highlight Basalt Grey. (Wash Hull Red for depth- which I didn't do- but plan to for my next figure).
3. Repaint grooves black. Highlight with a mix Basalt Grey and White.
4. Spot highlight with Ghost Grey.
Having a good brush with a fine, firm point is key!
The black pads I got real fed up with so I abbreviated the whole process....
1. Highlight Dark Grey.
2. Secondary highlight with VGC Cold Grey.
GREEN ARMOUR PLATES
This I'm not sold on, so I'll continue to experiment.
1. VMC Cam. Olive Green.
2. Glaze of VMC Uniform Green.
3. Somehow Reflective Green got mixed into the wet palette greens and made a nice looking green and so I highlighted with that a bit.
4. Highlight Citadel Death World Forest
5. Highlight edges with Citadel Nurgling Green.
The green plates have come out a bit... bright. I like the earthy WW2 tone of greens so I'll try to mix it up and maybe simplify the whole mix.
BACK PACK
Again from Minotauro Studios... (can you tell that I love this guy's skill?).
1. Base VMC Chocolate Brown.
2. Wash with Dark Prussian Blue.
3. Repaint with Chocolate Brown (leaving recesses with wash).
4. Highlight Flat Earth.
5. Highlight the smaller raised areas again with Flat Earth mixed with Bone White (I used Ivory).
6. Final highlight with Bone White (I mixed in more Bone White).
SKIN
1. Brown Sand base.
2. Wash Chocolate Brown. Then re-highlight with Brown Sand.
3. Highlight... Brown Sand mixed with Basic Skintone in a 50:50 mixture.
4. Highlight with Basic Skintone.
5. Glaze with Cavalry Brown.
6. Final highlight with Basic Skintone mixed with Ivory.
CONCLUSION
I experimented a fair amount, copied a lot and I'm reasonably happy with how the miniature turned out.
I totally overdid the base and the green is a bit off but the faction is off to a good start. I'll refine things as I go and I'll report back with the next Grunt on the production line.
Until next time, Happy Hobbying!
1. Base VMC Khaki,
2. Highlight VMC Cam Beige WW2,
3. Splotches VMC Reflective Green,
4. Dash/ blobs- black,
5. Dash/ blobs (sparingly) VMC Dark Sand.
6. Black lining with thinned out black paint- essential!!!
 |
| Camouflage with black lining. |
RIFLE and Other Black Bits
 |
| Rifle was a bit fiddly. |
1. Basalt Grey. Wash Black.
2. Highlight Basalt Grey. (Wash Hull Red for depth- which I didn't do- but plan to for my next figure).
3. Repaint grooves black. Highlight with a mix Basalt Grey and White.
4. Spot highlight with Ghost Grey.
 |
| Rifle highlights. |
 |
| Black pads. |
1. Highlight Dark Grey.
2. Secondary highlight with VGC Cold Grey.
GREEN ARMOUR PLATES
 |
| Almost Kasrkin |
1. VMC Cam. Olive Green.
2. Glaze of VMC Uniform Green.
3. Somehow Reflective Green got mixed into the wet palette greens and made a nice looking green and so I highlighted with that a bit.
4. Highlight Citadel Death World Forest
5. Highlight edges with Citadel Nurgling Green.
The green plates have come out a bit... bright. I like the earthy WW2 tone of greens so I'll try to mix it up and maybe simplify the whole mix.
BACK PACK
|
| Back pack. |
1. Base VMC Chocolate Brown.
2. Wash with Dark Prussian Blue.
3. Repaint with Chocolate Brown (leaving recesses with wash).
4. Highlight Flat Earth.
5. Highlight the smaller raised areas again with Flat Earth mixed with Bone White (I used Ivory).
6. Final highlight with Bone White (I mixed in more Bone White).
SKIN
 |
| Last bit of skin for a while... thank goodness! |
2. Wash Chocolate Brown. Then re-highlight with Brown Sand.
3. Highlight... Brown Sand mixed with Basic Skintone in a 50:50 mixture.
4. Highlight with Basic Skintone.
5. Glaze with Cavalry Brown.
6. Final highlight with Basic Skintone mixed with Ivory.
CONCLUSION
I experimented a fair amount, copied a lot and I'm reasonably happy with how the miniature turned out.
I totally overdid the base and the green is a bit off but the faction is off to a good start. I'll refine things as I go and I'll report back with the next Grunt on the production line.
Until next time, Happy Hobbying!
No comments:
Post a Comment