 |
| Credit: Unknown. |
It's been a long time between games for me- but even more so for my regular (semi-regular?) gaming group. So it was my pleasure to host and watch two beautifully painted armies smash into each other in furious combat.
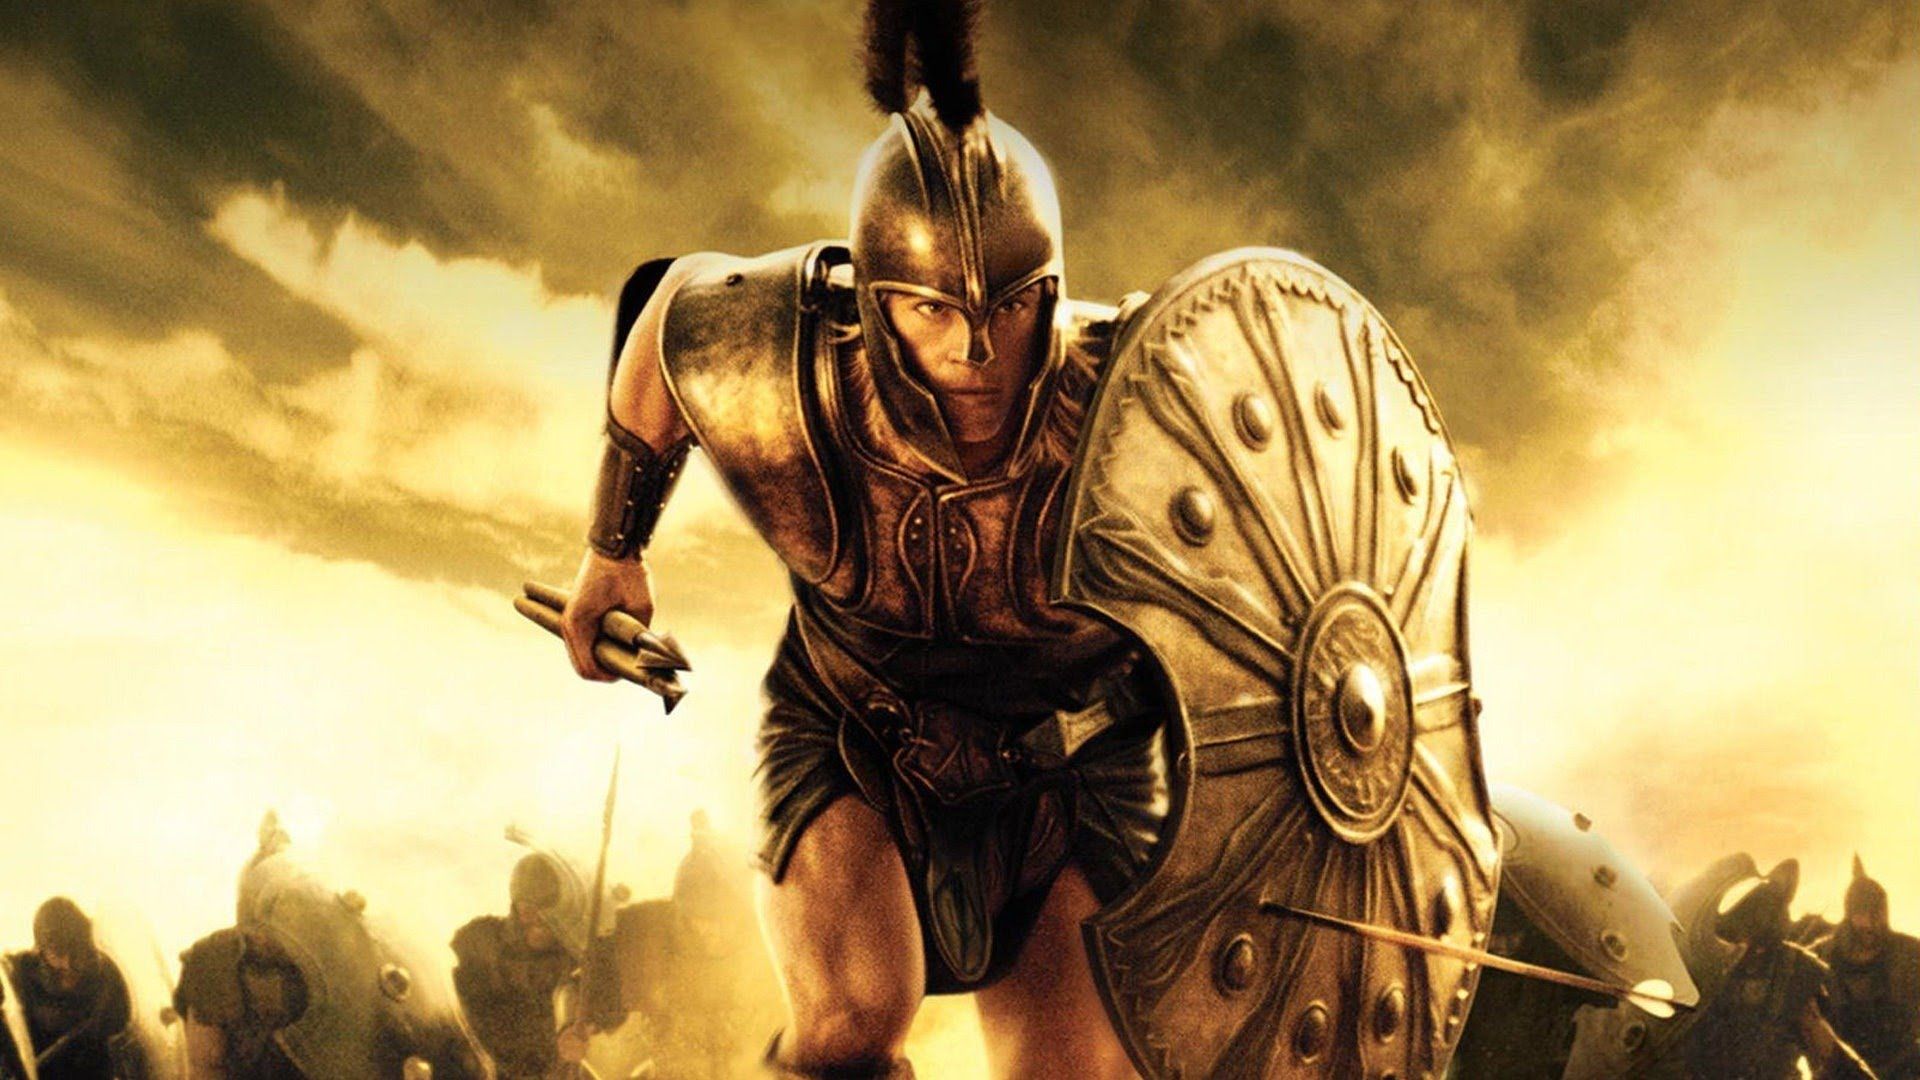
Both armies have had some serious painting done and it was time for the Dragao to take on Achilles in hoplite armour backed up by Hector!
It was set to be a clash of Homeric proportions... and I was not disappointed!
ARMIES
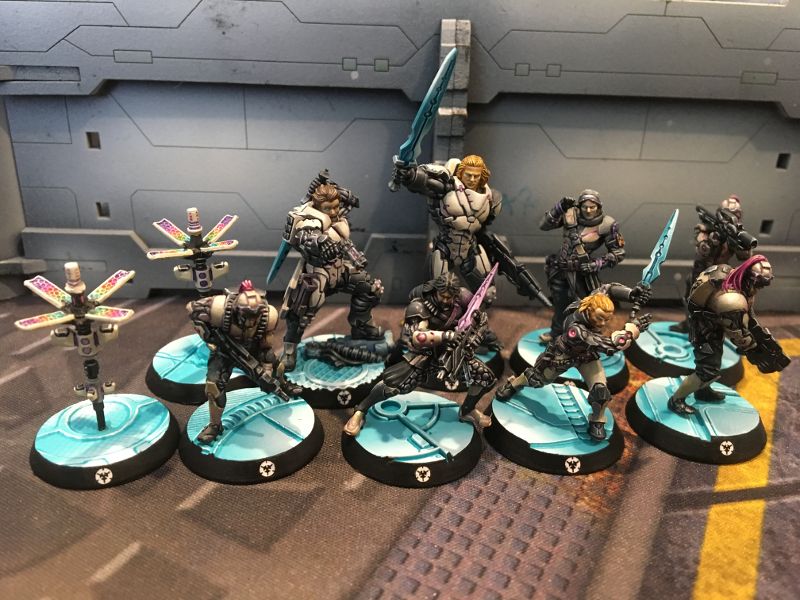
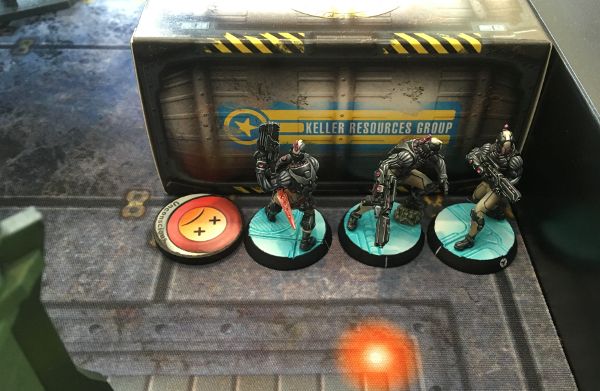
Steel Phalanx
 |
| You worry about 10 orders? That is why no one will remember your name! |
 |
| Heroic. |
This was not a hard core list! I'm certain everyone has seen the Interplanetario 2016 Steel Phalanx list... and this isn't it.
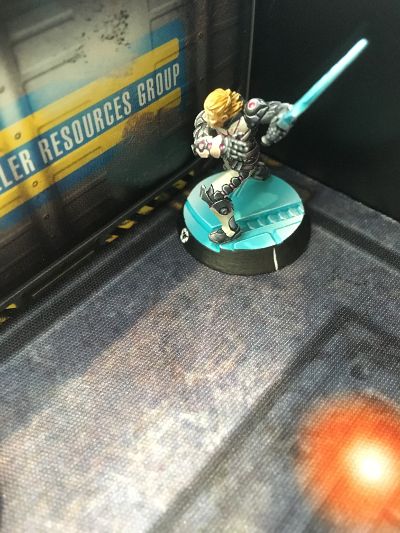
The list is built around Hector with his gaggle of Thorakites and Achilles dragging around Patroclus.
It doesn't button push that well or have any long distance shooting.
It just does....
 |
| ... This! |
Entertainment value!
PanOceania
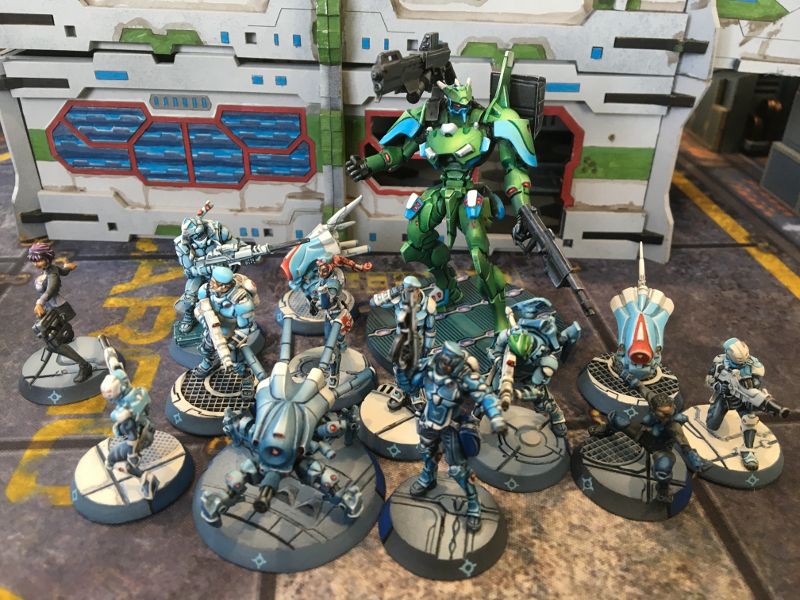 |
| It's just Business... Lord Business! |
 |
| Sorry I left out the Lt!... |
... And the Akalis (it was on the second page).
With the Dragao taking up one third of the army, PanO was still able to fit in a TR bot, an Akalis, a Nisse and a few button pushers.
As a Combined Army player, where everything is expensive, I could only look on enviously.
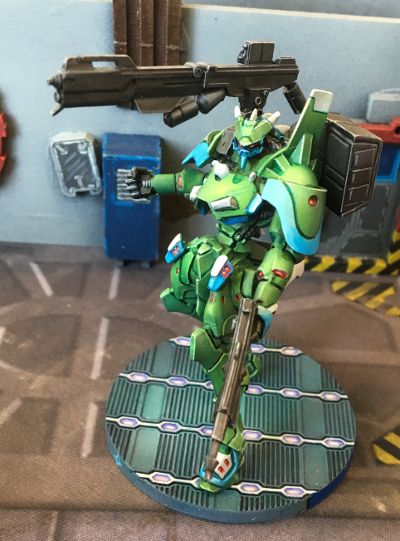 |
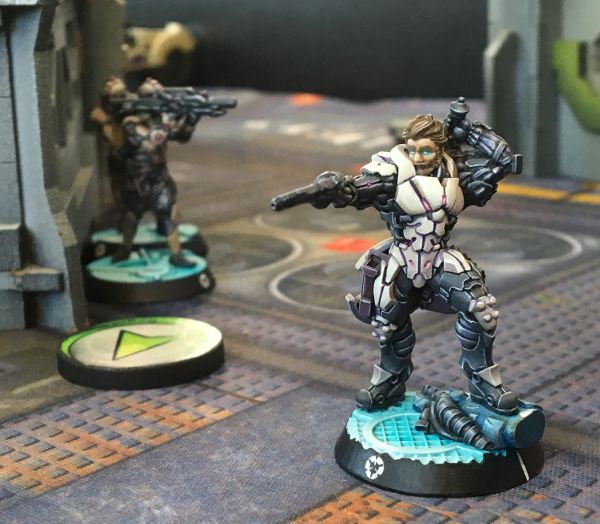
| I am not afraid of Achilles. |
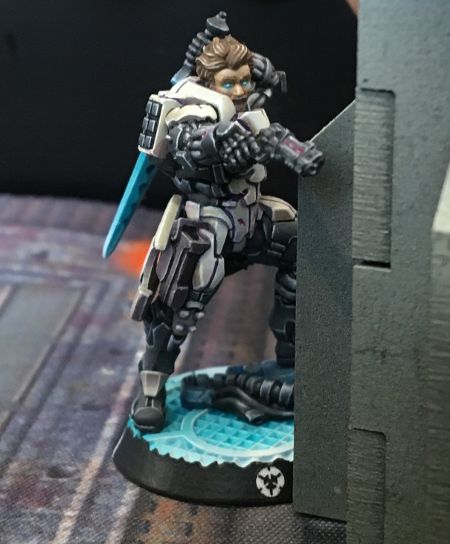
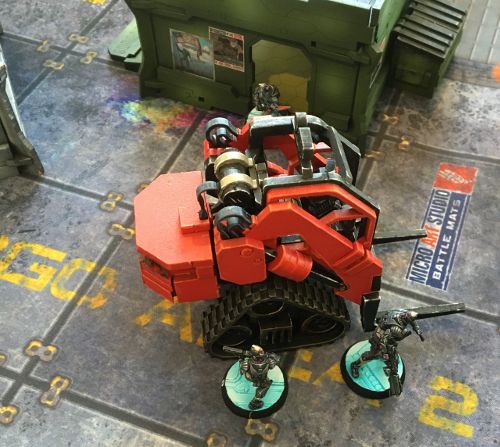
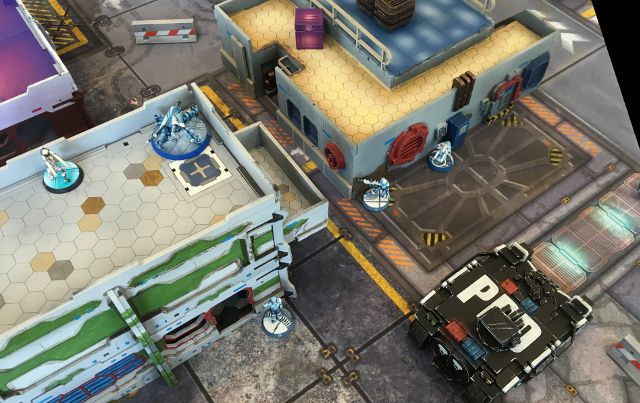
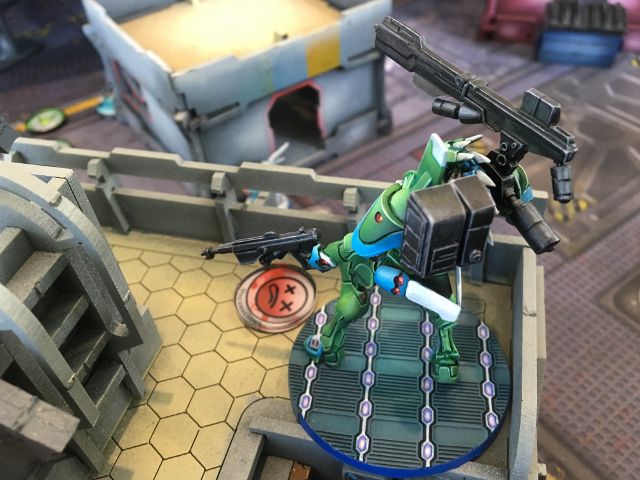
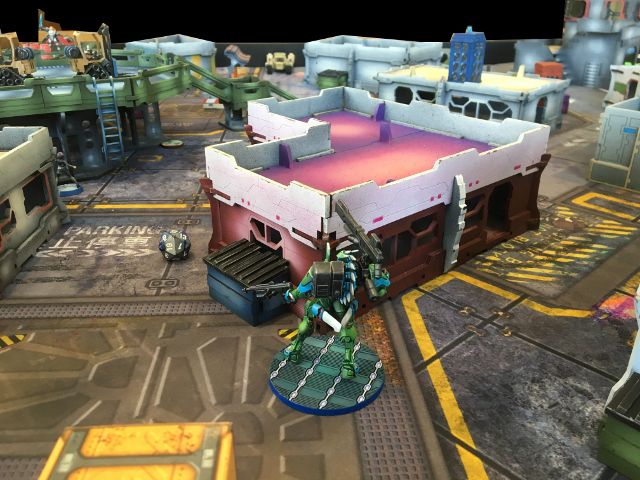
The Dragao is the centrepiece of the army. For the uninitiated amongst you, the Dragao carries a HMRC- for burst 5, damage 15 goodness! Undoubtedly it would prove to be a tough nut to crack for the Steel Phalanx.
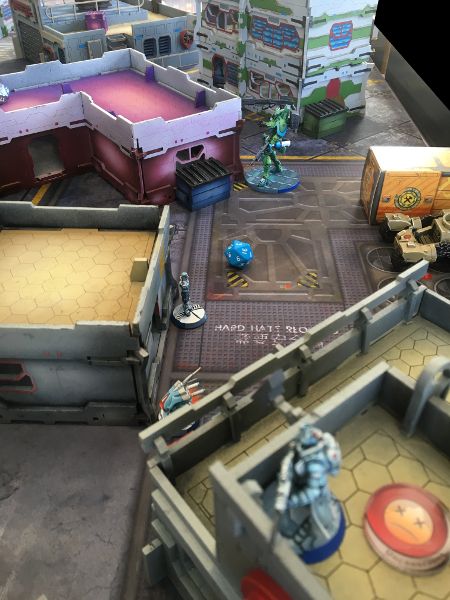
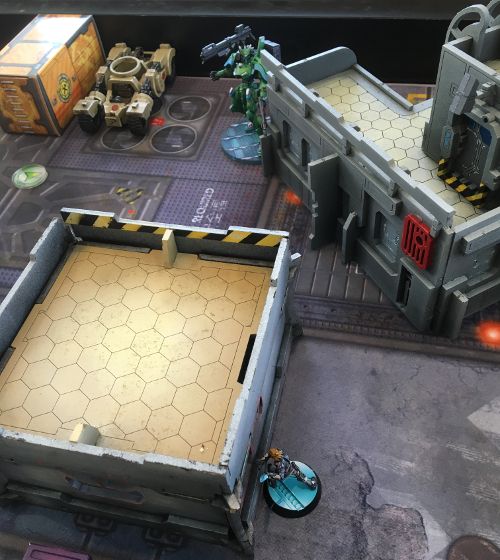
TERRAIN
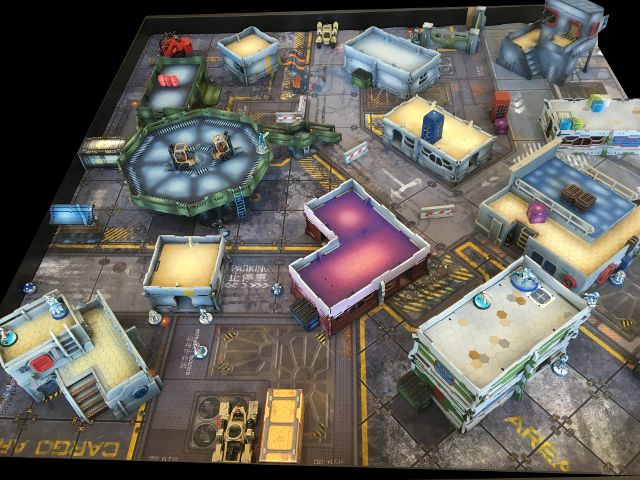
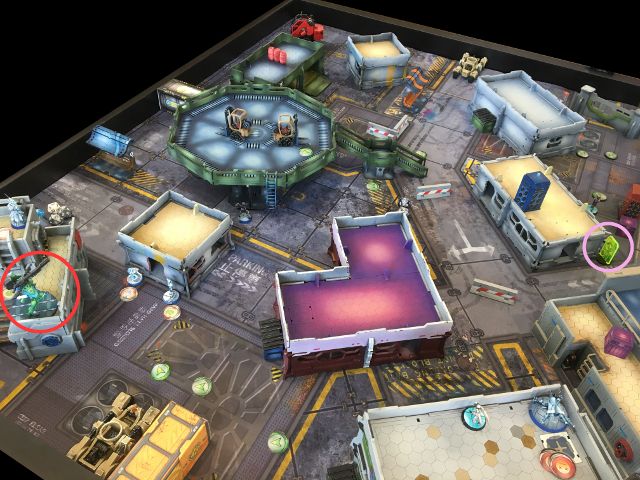
 |
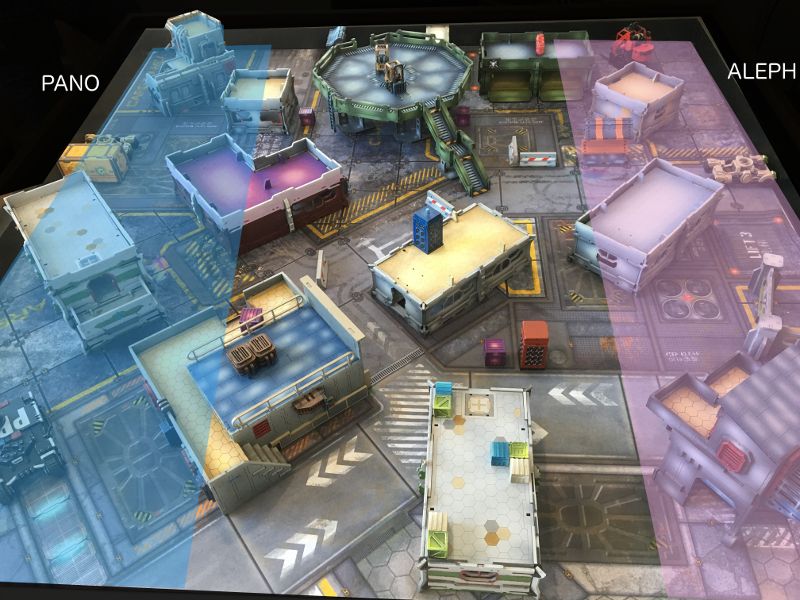
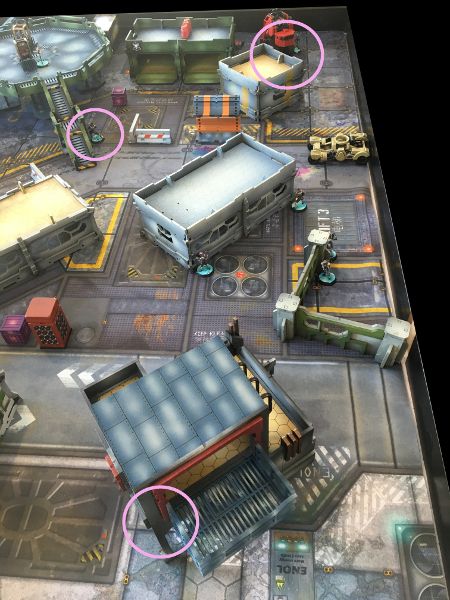
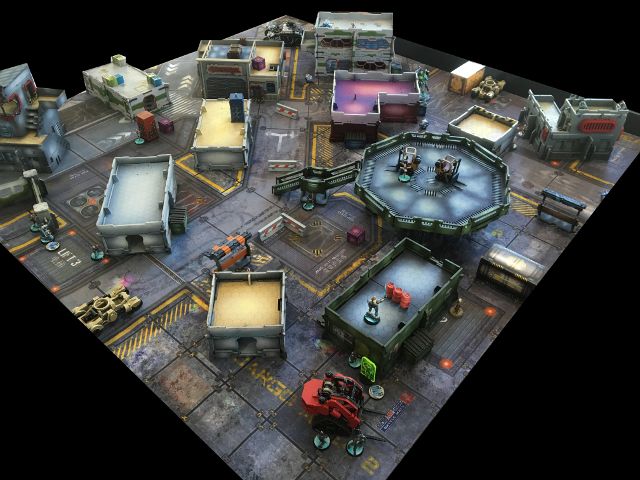
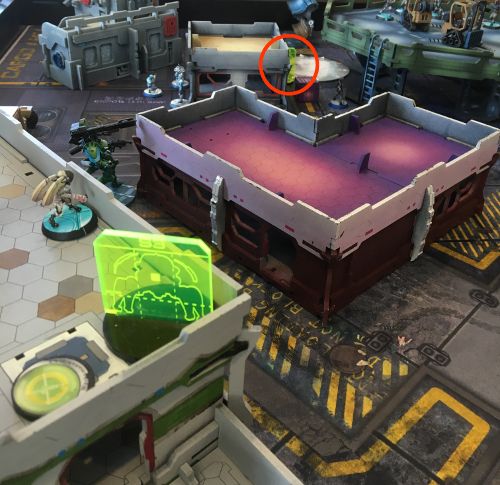
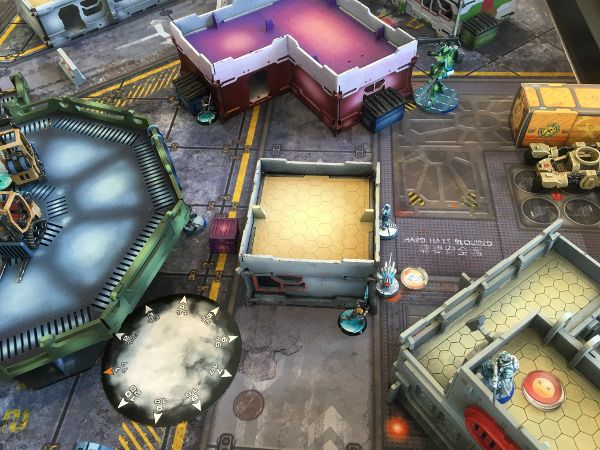
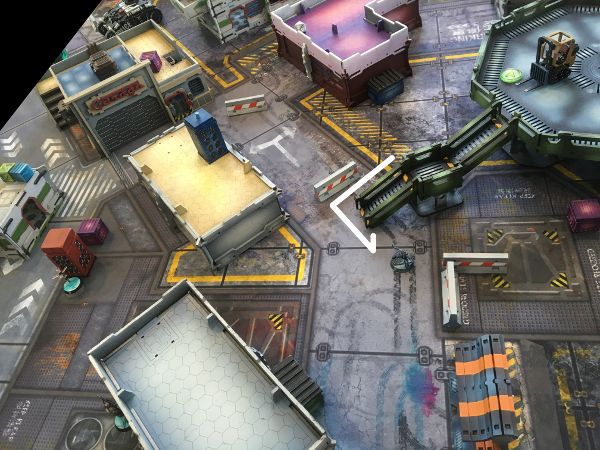
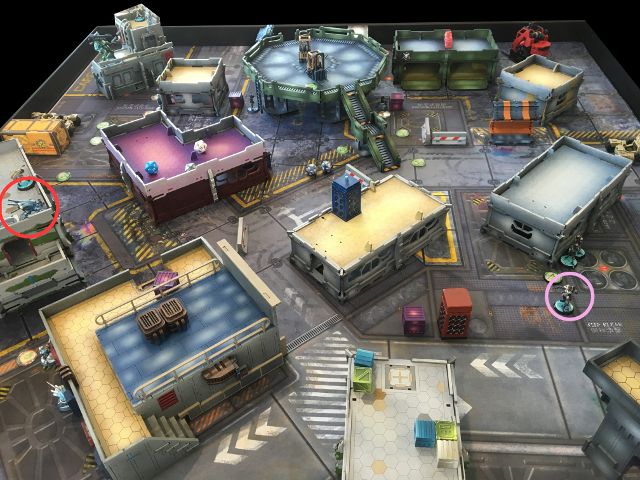
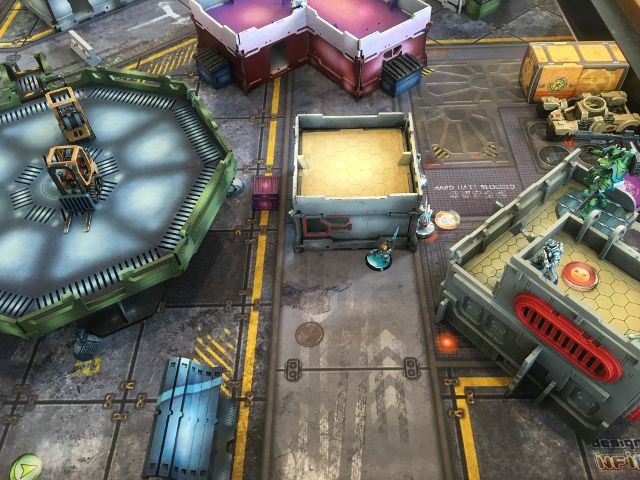
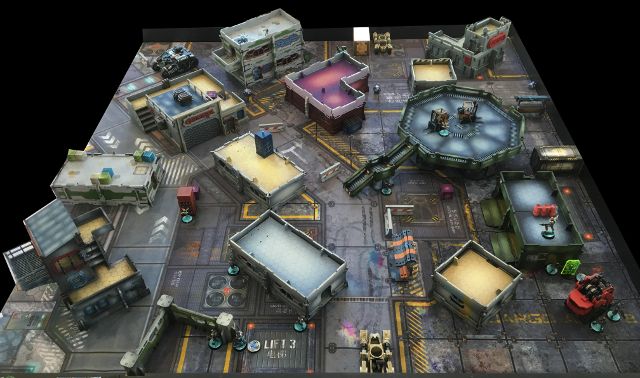
| Key terrain is numbered. |
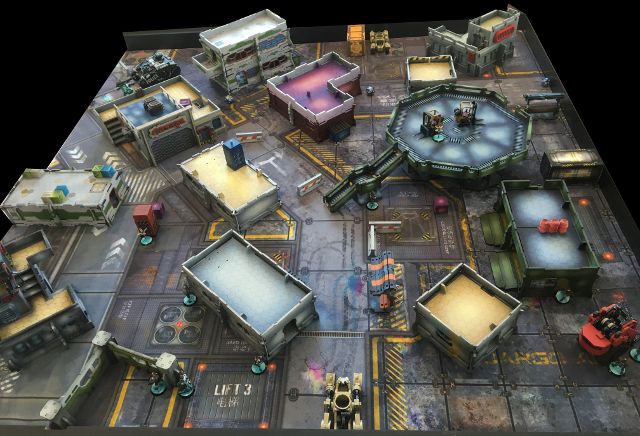
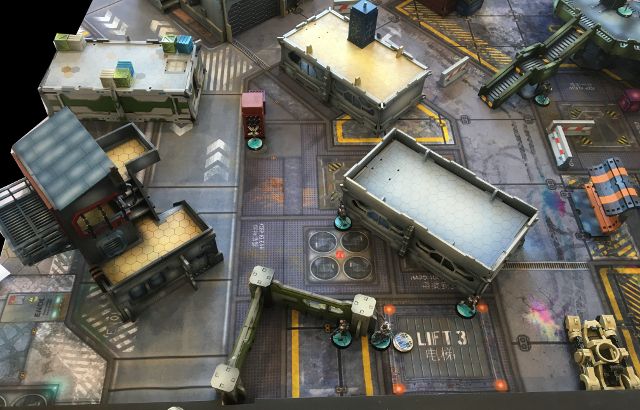
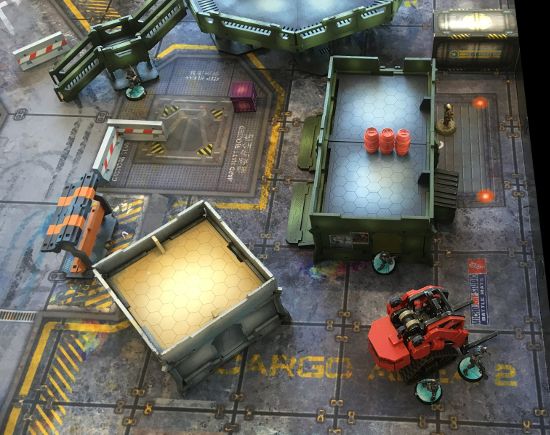
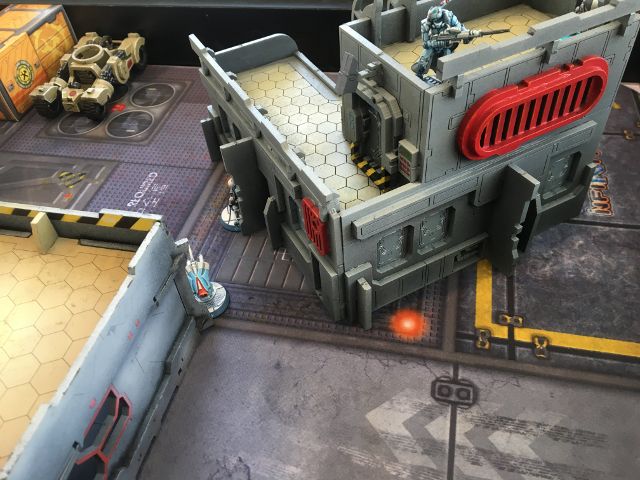
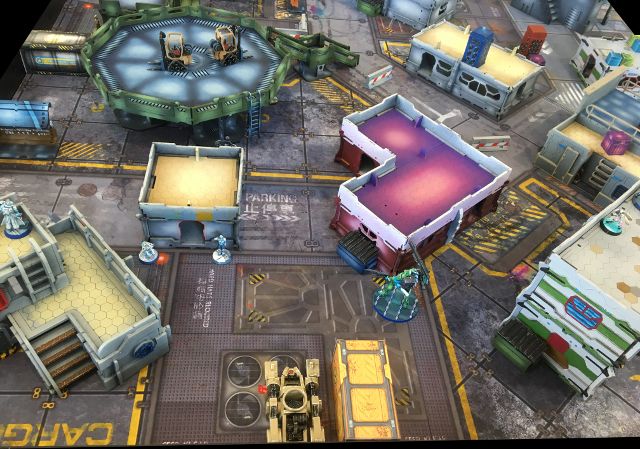
Some new terrain was recently added to the pile and I wanted to see it in action. The key features to note are:
1. Administration building- a split level 2 storey building.
2. Landing Pad
3. Mess Hall
4. Apartment Block- a two storey building with balcony.
5. Storage
6. The Garage
7. Loading Dock.
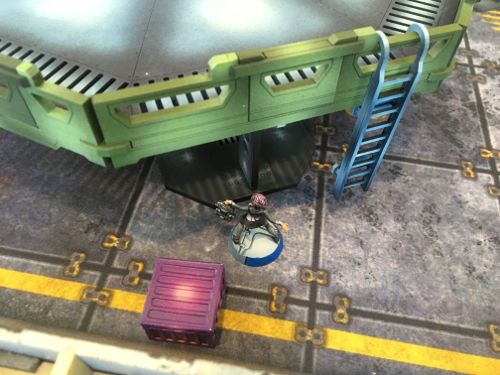
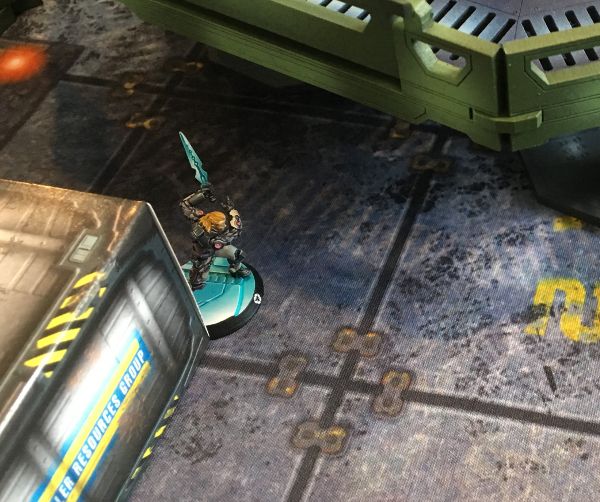
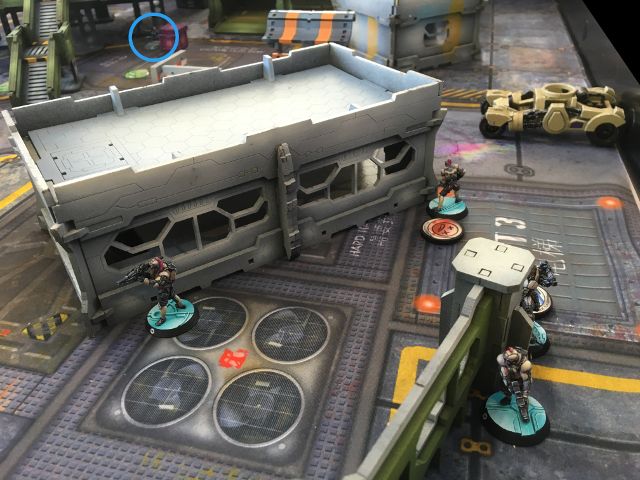
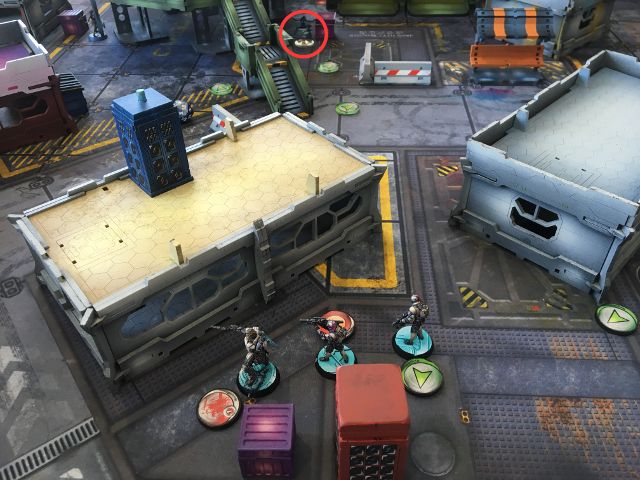
 |
| A mysterious visitor watches the battlefield! |
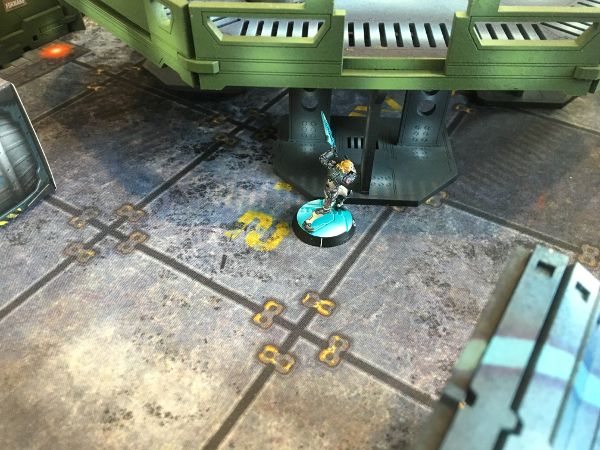
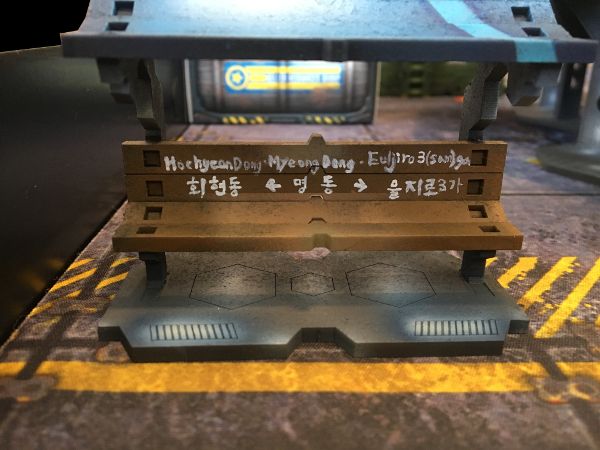 |
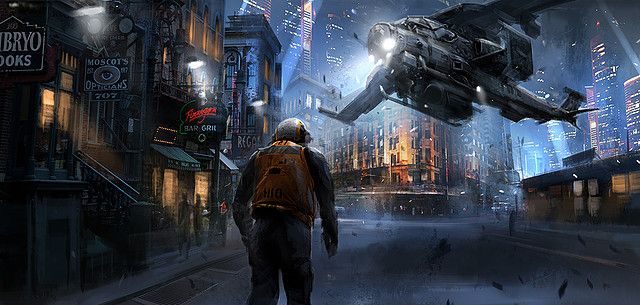
| Next stop... Euljiro Sam Ga. |
MISSION
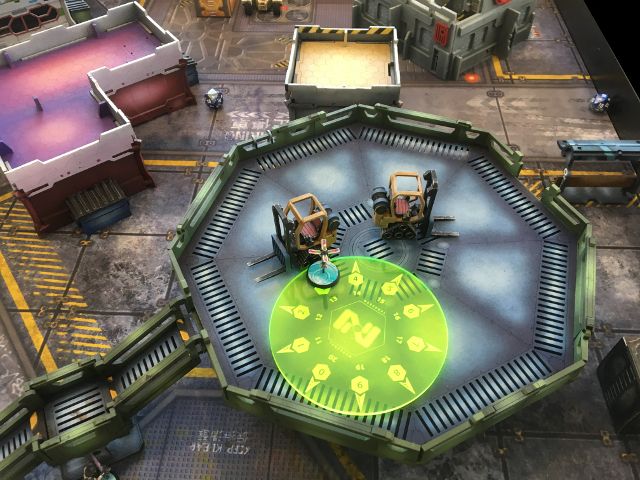
The mission was Safe Area.
The no man's land between the two deployment zones is divided into four quadrants. Points are awarded at THE END of the game for dominating more quadrants than your opponent.
There are also consoles in the centre of each quadrant which can be captured (also at the end of the game for 1 point).
Finally there is 1 classified mission per player (which can be traded in for scoring perks at the end of the game).
Classifieds
Both players traded in their classifieds.
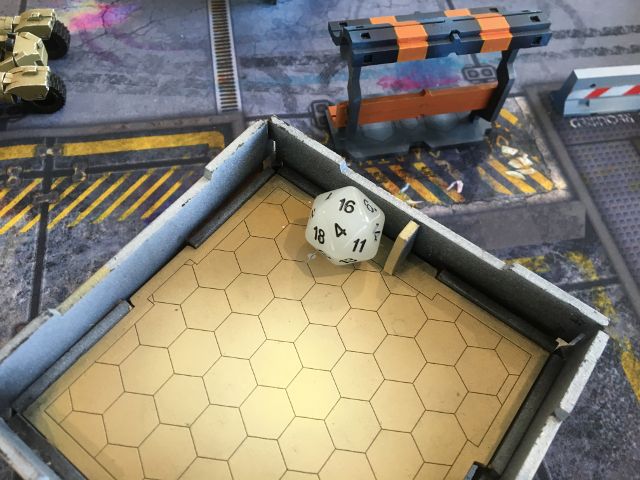
LIEUTENANT ROLL OFF
PanO failed their WIP roll with a hefty 17 and ALEPH rolled a 4.
ALEPH elected to determine turn order and chose to go second.
PanO determined deployment side and forced ALEPH to deploy first.
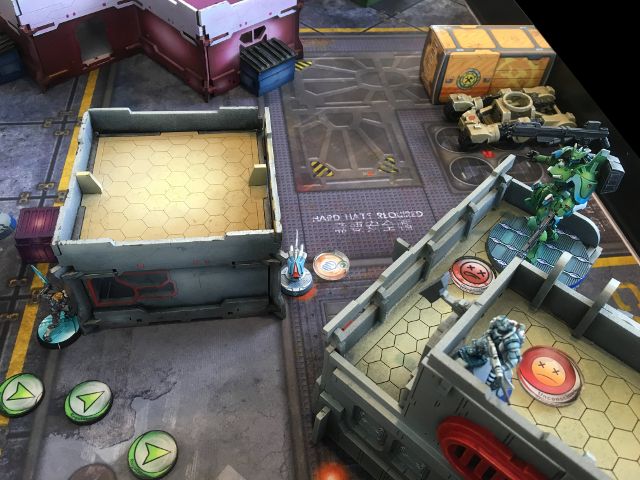
DEPLOYMENT
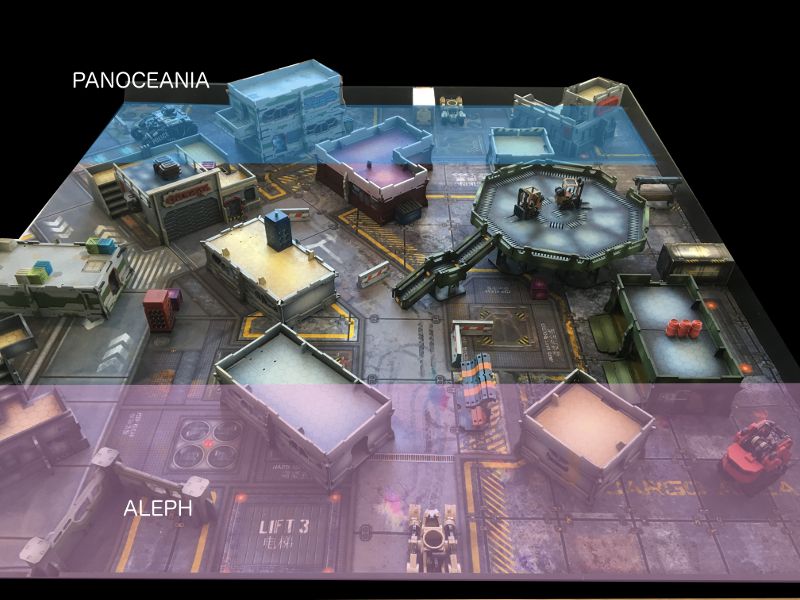
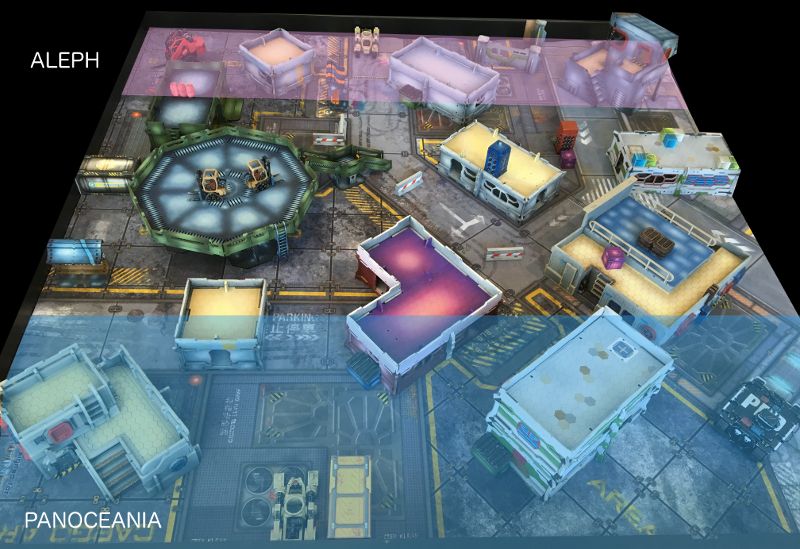
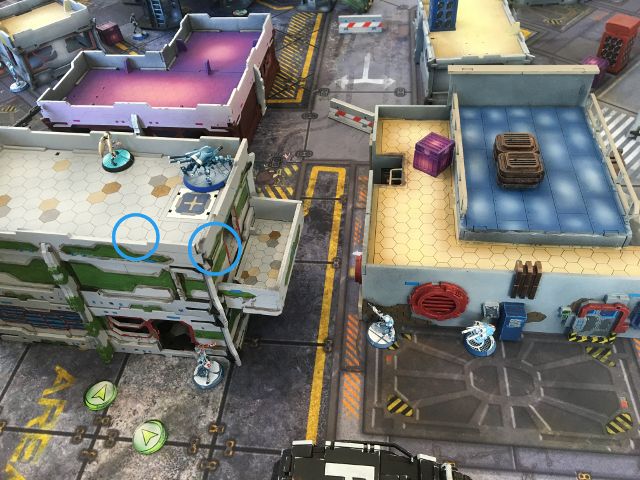
 |
| PanO takes the relatively higher ground. |
 |
| View from the other side- ALEPH has relatively more open ground. |
Steel Phalanx Deployment
 |
| Assault Sub Section assaults the elevated terrain! |
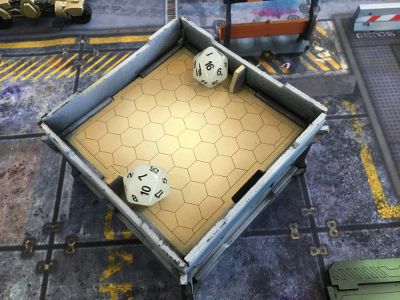
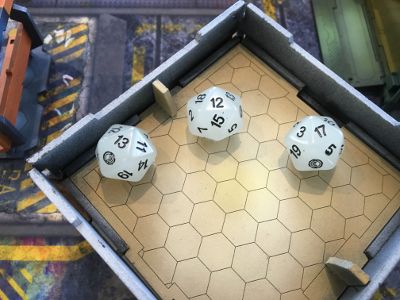
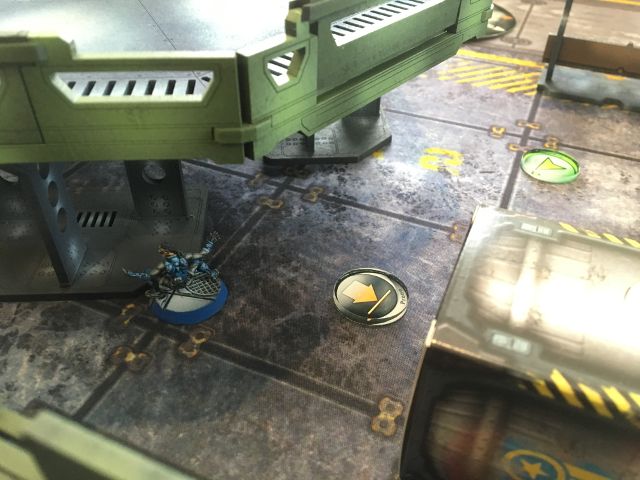
The first thing to sort out were the netrods...
 |
| Ahah! |
The first one landed on target on the landing pad. (How fitting!)
 |
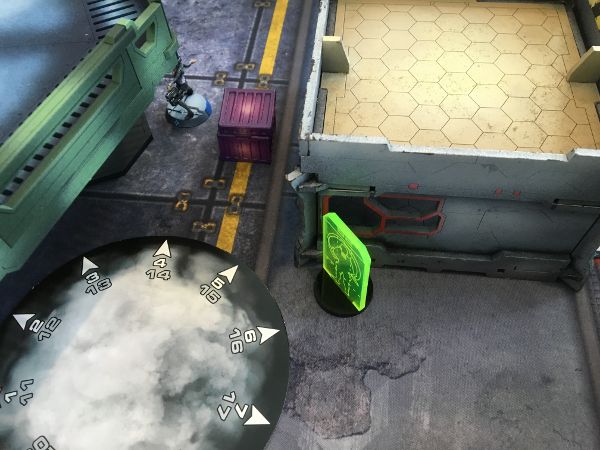
| Second time! |
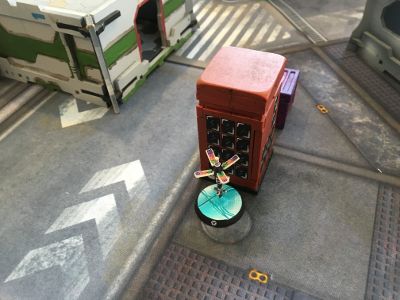
The second also landed on target- in the cover of the red phone booth in front of the loading dock.
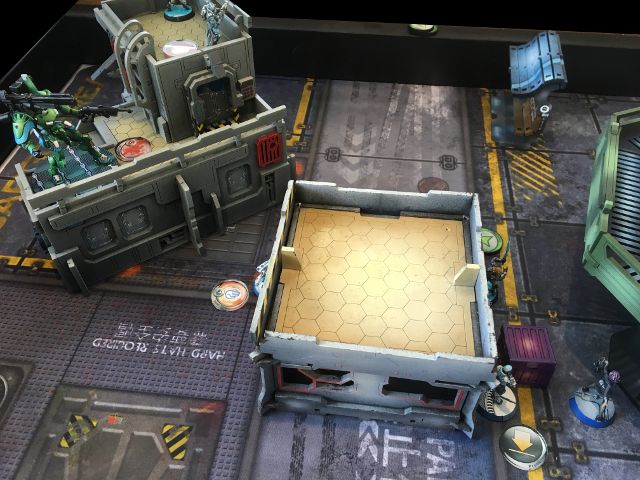
 |
| The army deploys. |
With the netrods all on target, the rest of the Steel Phalanx force took up their positions.
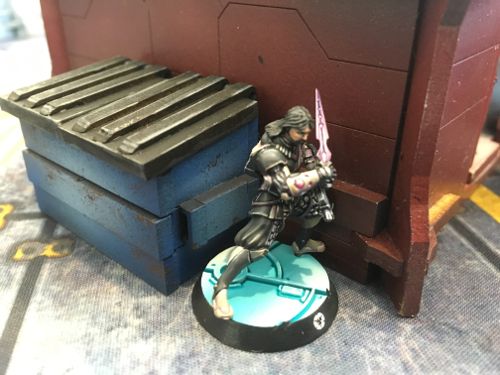
 |
| What did you say about me exceeding my download limit? |
Firstly, Thamyris took up position under the awning of loading dock on the left flank- no doubt itching to fire off a few repeaters and hack an unsuspecting TAG.
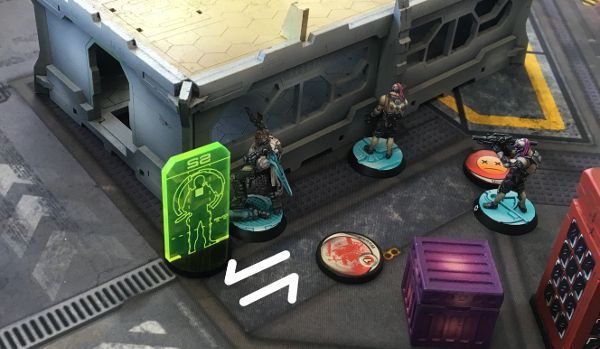
 |
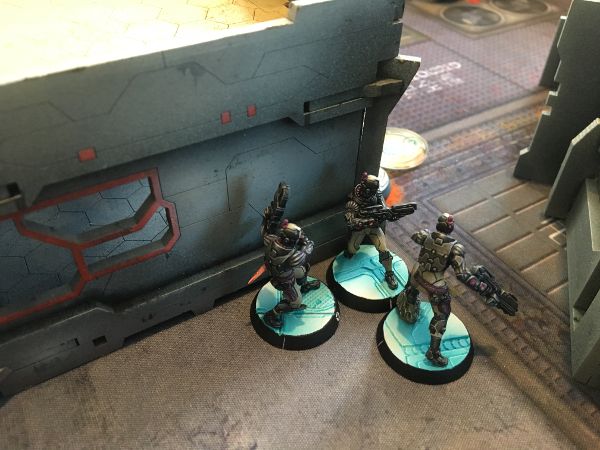
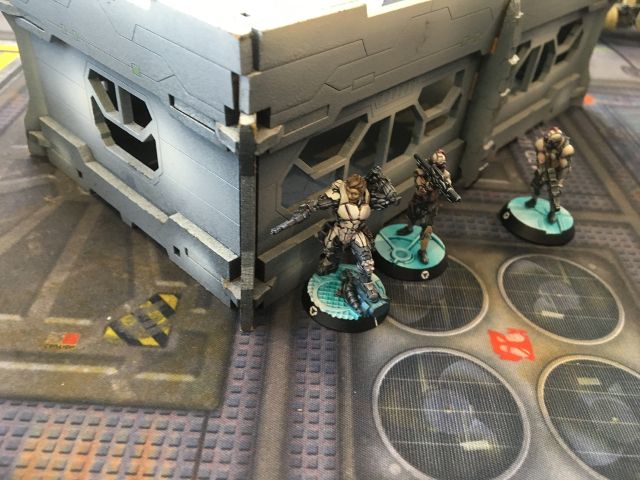
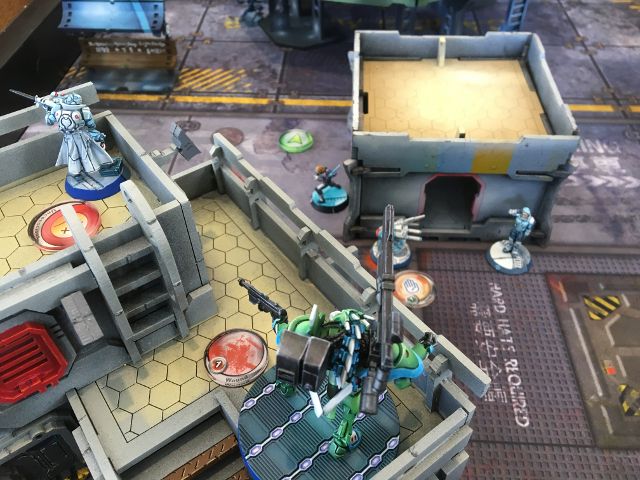
| Hector and Friends. |
Hector and his band of merry Thorakites hid behind the storage building in the centre of the ALEPH line- with the Thorakites toting the light rocket launcher peeking out from around the corner.
 |
| Rocket launcher watches the distant apartment. |
 |
| Hector directs the fire team from behind a wall. |
With that lethal looking fire team sorted out...
 |
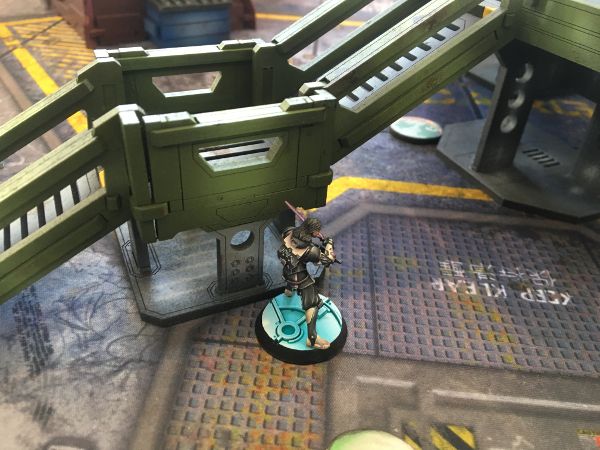
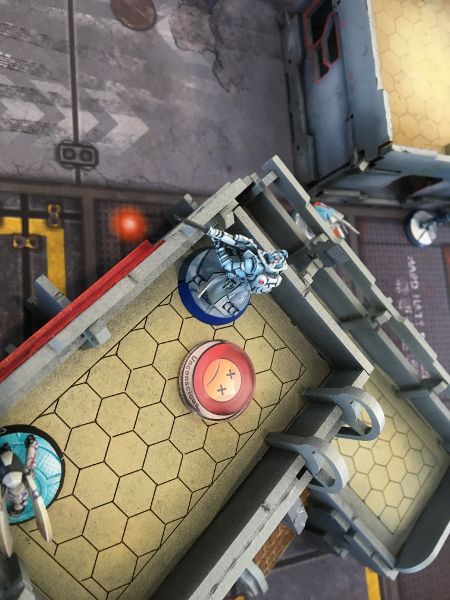
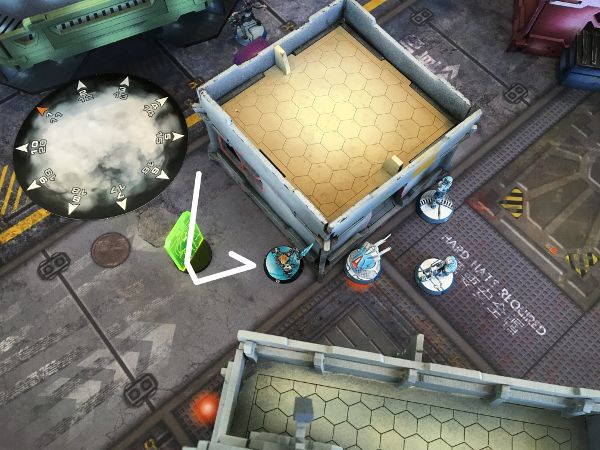
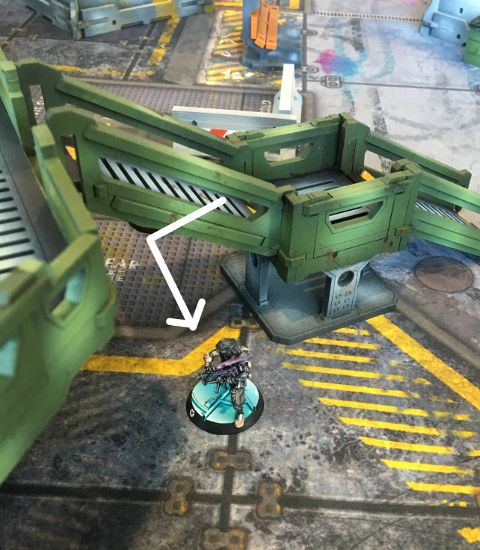
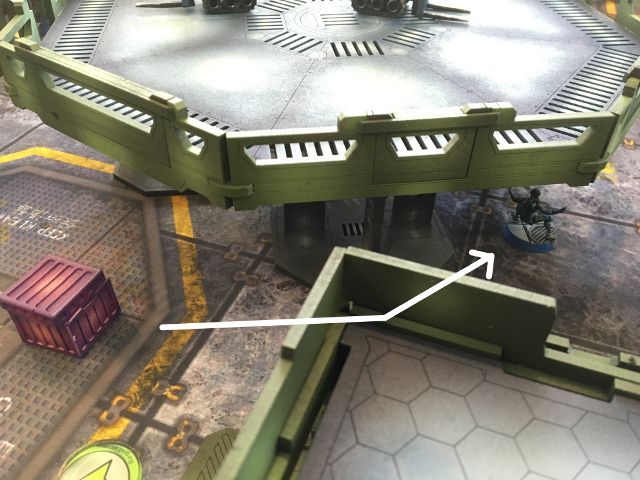
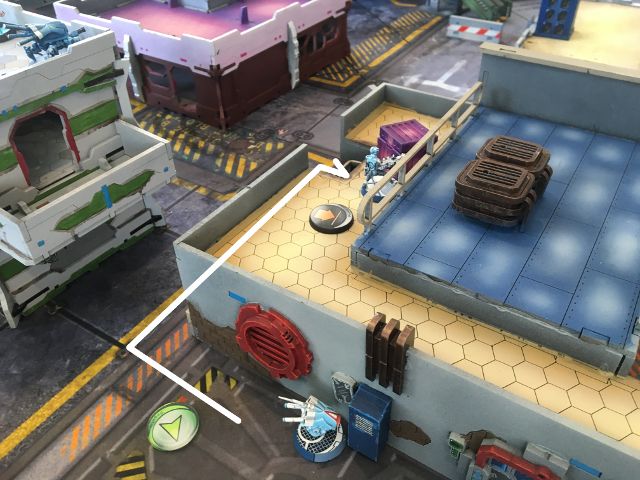
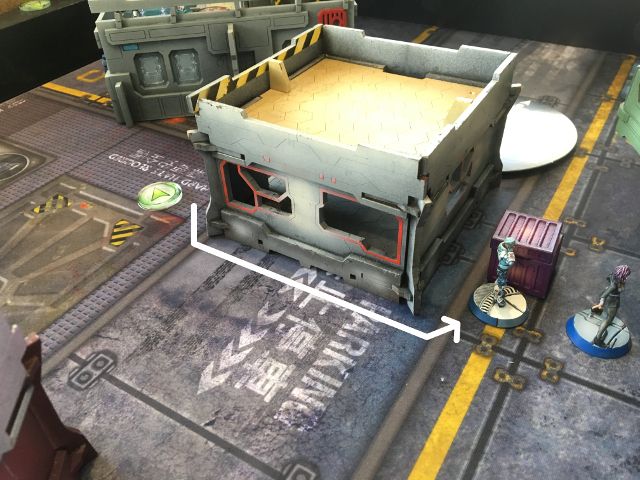
| Infiltrated... |
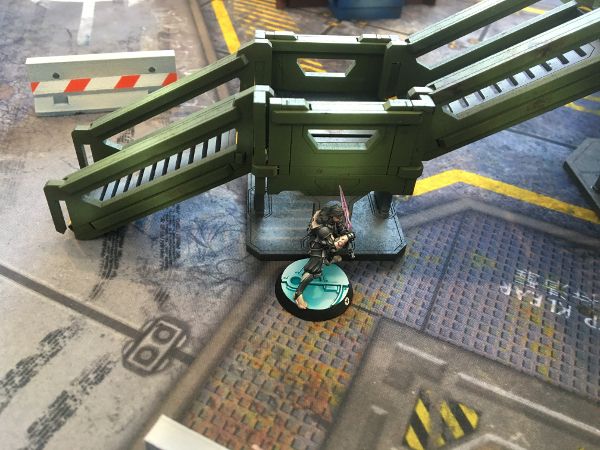
Thrasymedes infiltrated up into a quadrant and took up position in total cover behind the walkway up to the landing pad.
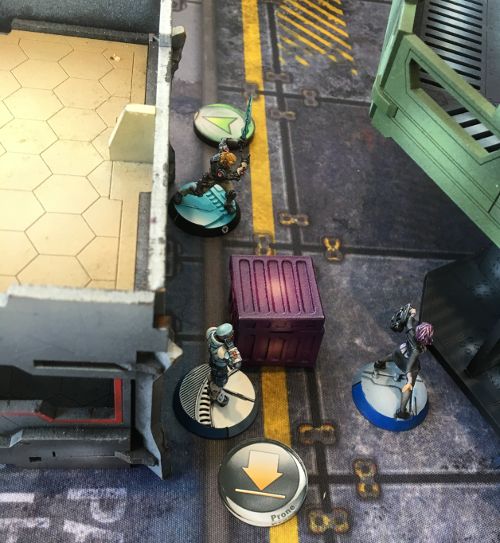
 |
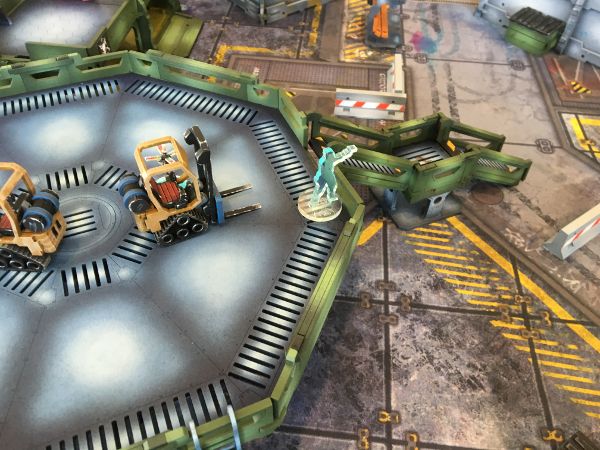
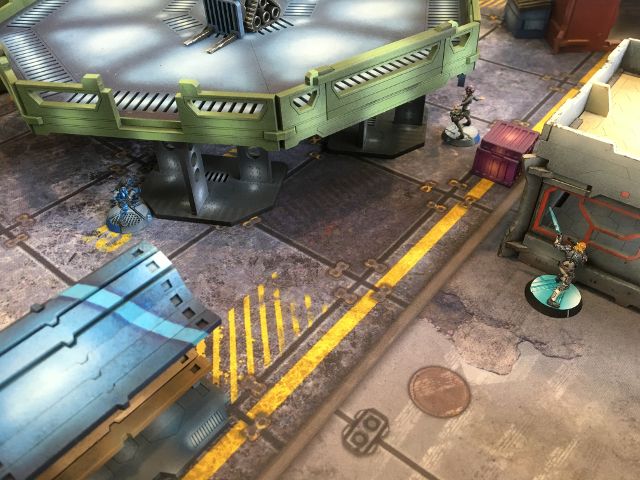
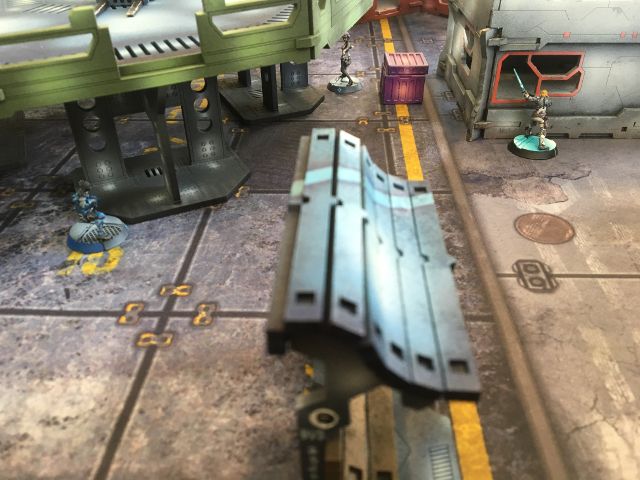
| Myrmidons on the right flank. |
Three Myrmidons took up position on the right flank around the Mess Hall and the big red fork lift behind it.
Patroclus- impersonating a Myrmidon threw out two Holo echoes unbeknownst to the PanOceanian forces.
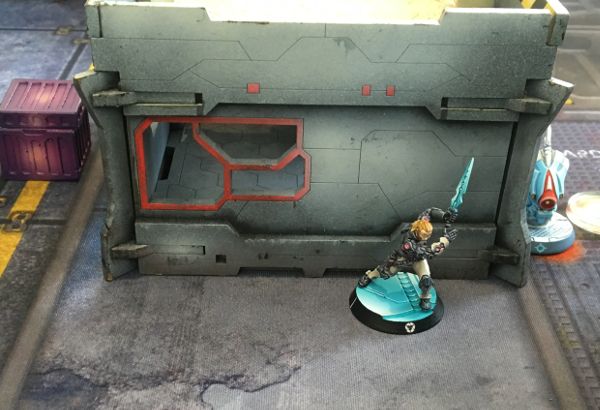
 |
| Patroclus playing mind games with PanO with his Holo-echoes. |
 |
| Summary |
With ALEPH deployed it went onto PanOceania.
PanOceania Deployment
 |
| Who wants a TAKOS?! |
With most of the best observation of the battlefield from the PanOceanian side of the board, it made sense to make the most of it.
With that in mind, the ARO pieces went in first.
 |
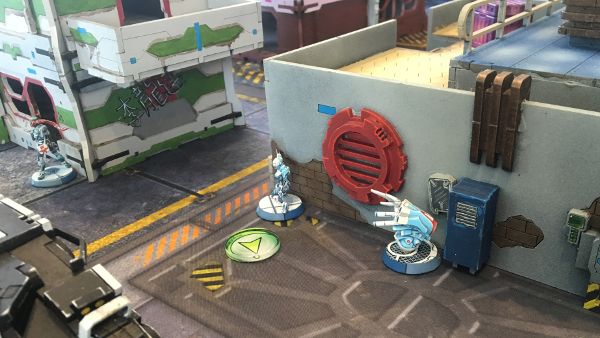
| Left flank. |
The PanO left flank was anchored with the Nisse perched atop the Administration block. A palbot (proxy) provided some measure of first aid (just in case!).
An auxilia and his aux-bot guarded the approach and a Machinist watched the other side.
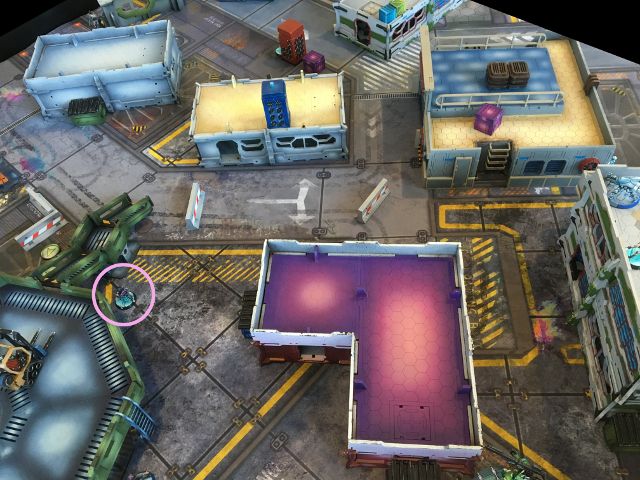
 |
| Civilian. |
The PanO civilian (the CSU) can be seen at the base of the landing pad.
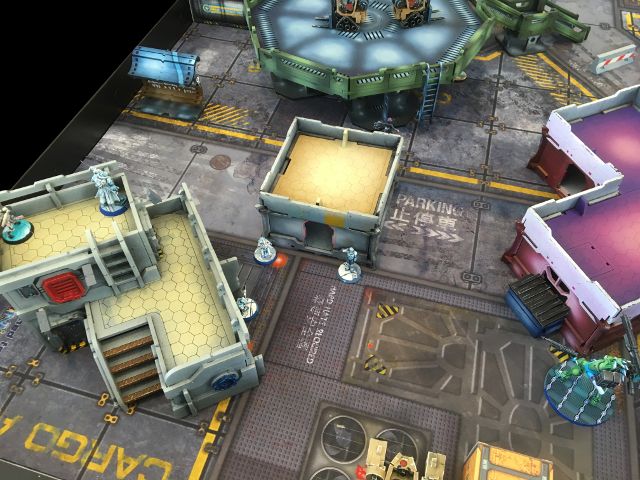
 |
| PanO centre and right flank |
The TR HMG remote took a commanding position on the roof of the apartment building- supported by a palbot and a Trauma Doc on the ground.
(The picture still has a machinist- the Machinist was replaced by the trauma doc).
 |
| Hiding within the apartment. |
 |
| Hacker and Lt. |
Also hidden within the apartment building on the ground floor were the Fusilier lieutenant and the Fusilier hacker.
Finally the second Auxilia and his aux-bot guarded the right flank- up against the back wall of the garage.
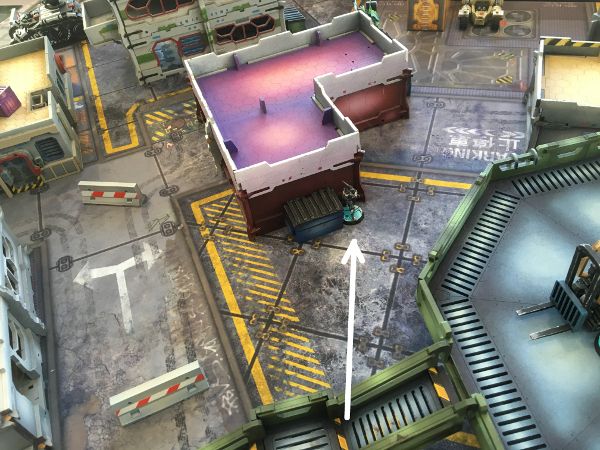
 |
| Hidden deployment! |
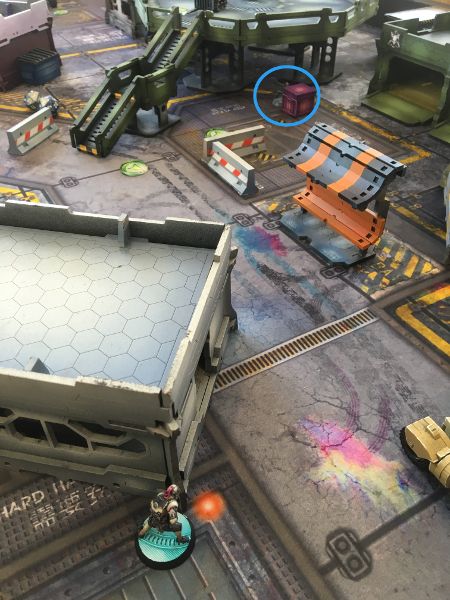
The Crocman infiltrated his way up onto the landing pad.
 |
| And leaves a present... |
 |
| PanO Summary |
 |
| Achilles eyes where the Dragao is.... |
 |
| The Dragao rubs his metal hands with glee. |
PanOceania Turn 1
Expending a command token, the Steel Phalanx deducted two orders from the PanO order pool. With that out of the way, it was time for some shooting!
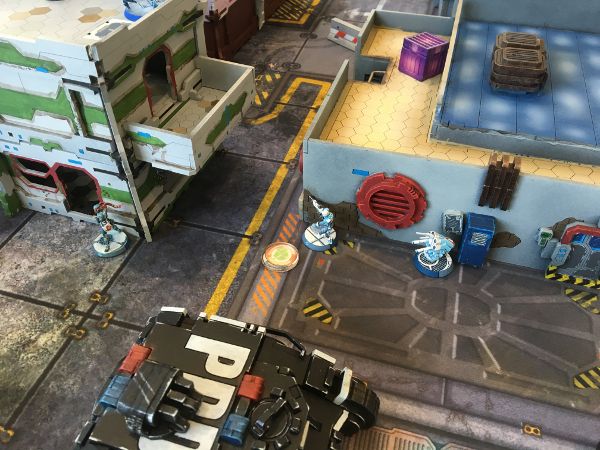
 |
| Death from above! |
Seeing Thamyris off on his own, a cunning Akal Commando dropped from the sky (with some hacking assistance).
Thamryis tried to hack the aerial deployment without any luck and the PanO drop troop landed safely behind the cover of the Loading dock.
 |
| Nanopulser! |
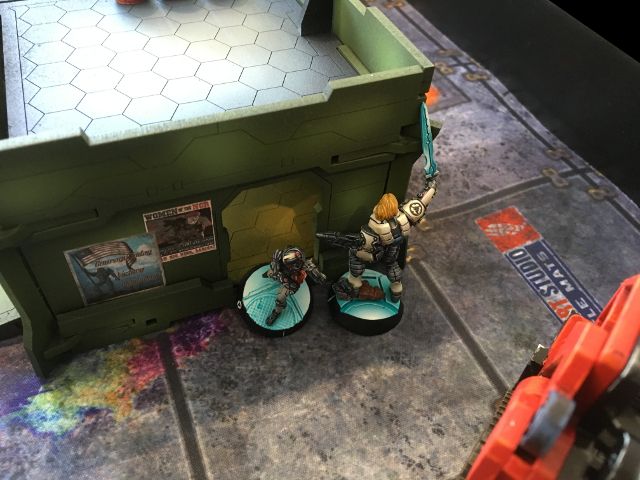
Peaking around the corner, the Akalis blazed away with his combi rifle whilst Thamyris desperately nanopulsered him in response.
Sadly for the ALEPH personality, the nanopulser bounced off the Akalis' armour- and then to add injury to insult, the combi rifle knocked Thamyris unconscious.
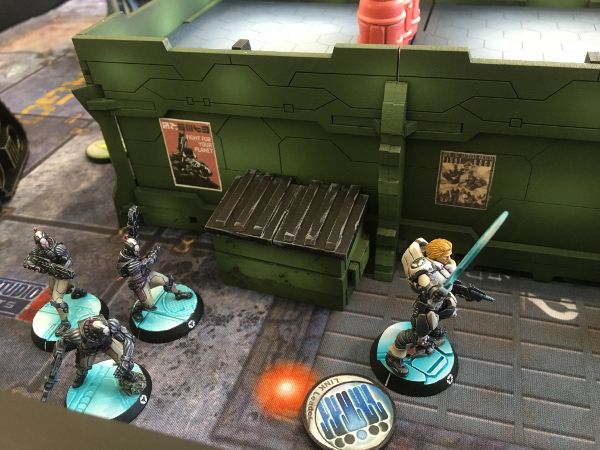
 |
| A link team.... |
Now on the hunt for more game, the Akalis rounded the corner of the Loading Dock and engaged the Thorakites LRL up against the supply building.
The Thorakites lost the face to face roll and took two burst to the face....
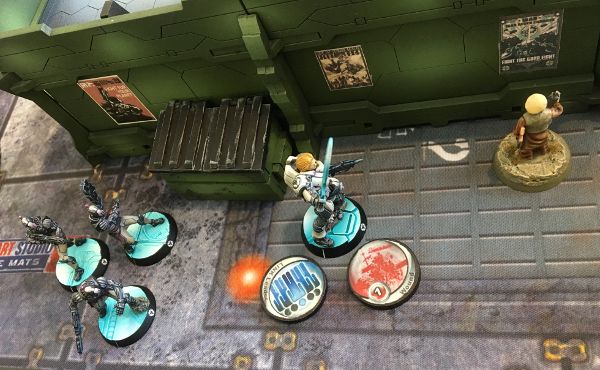
 |
| Only to pass both armour checks! |
Incredulous, the Akalis engaged again only to find himself on the wrong side of a light rocket launcher which burned him to a crisp!
Unlucky!
 |
| Trying to pick things off.... |
Spending an order to boost the TR remote with Marksmanship Level 2- the Sierra HMG bot then blazed away at the Thorakites LRL which had so annoyingly killed the Akalis.
Unluckily, for the capitalists, the usual flurry of dice rolls results in very little.
And eventually when a burst did hit- the HMG round bounced off the the plucky ALEPH figure as he beat a hasty retreat.
Claiming the scalp of ALEPH's only hacker was a good catch for PanO, though it was only through good luck that ALEPH escaped losing another model.
Steel Phalanx Turn 1
 |
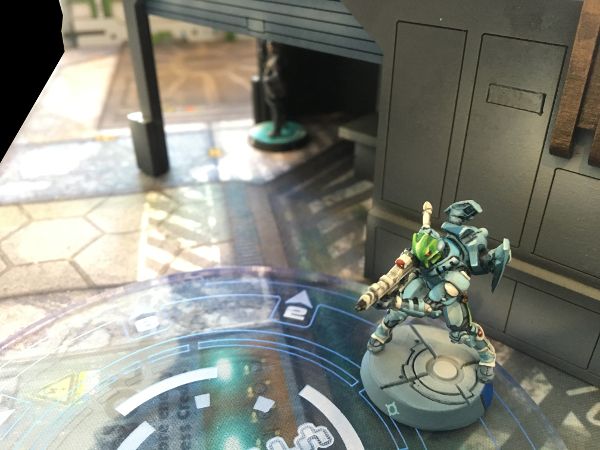
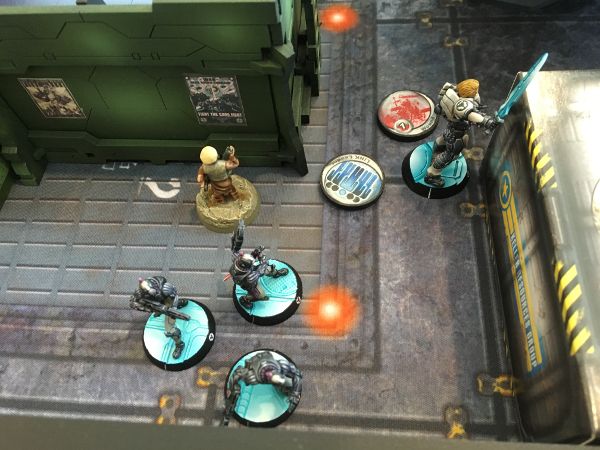
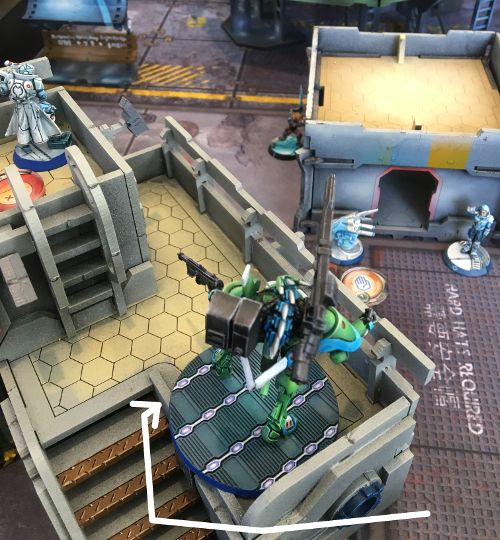
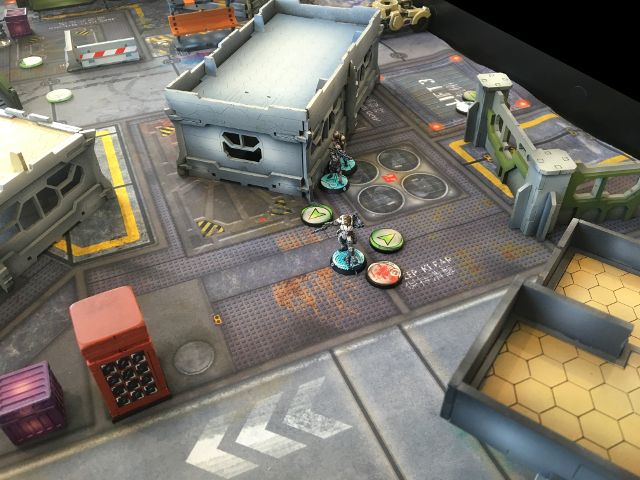
| Thrasymedes likes living dangerously. |
Aiming to rid the board of mines, Thrasymedes edged into view- triggering the device- clearly having greater confidence in his dice rolls than I do!
Still, his superior PH came into play and he successfully dodged the blast much to the ALEPH player's relief.
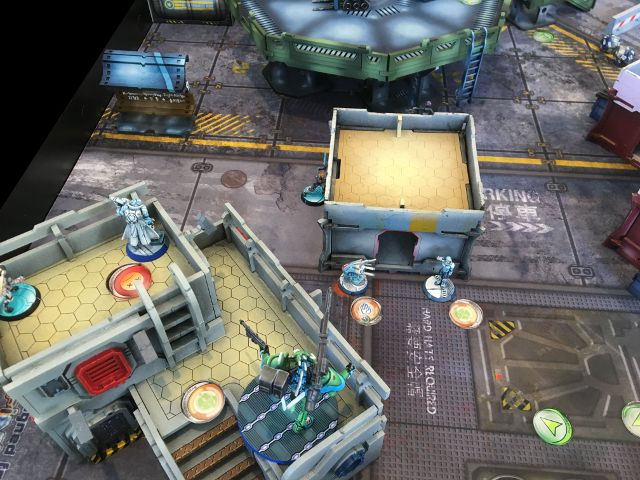
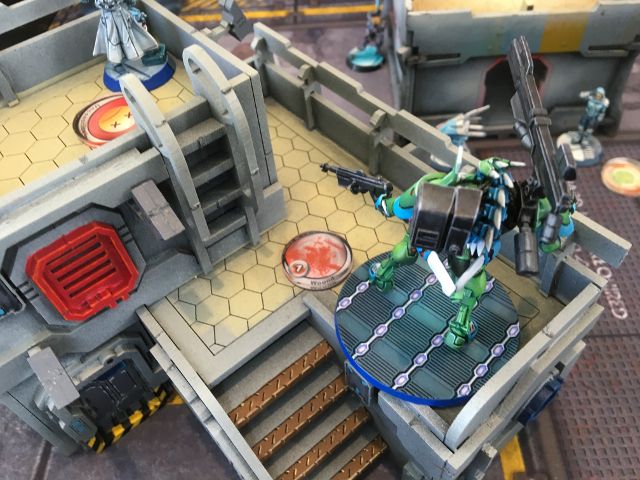
 |
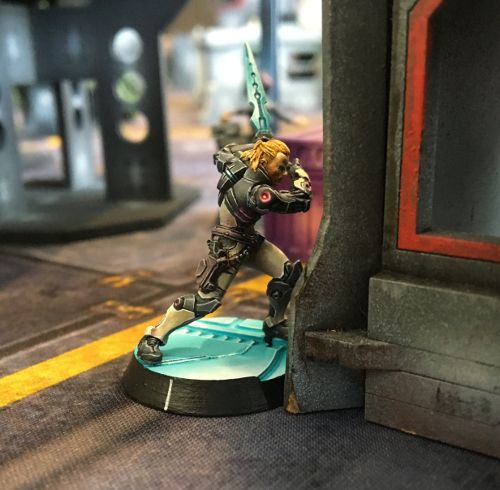
| It's time! |
With much anticipation, the juggernaut that is Achilles in hoplite armour leapt forward with his spitfire blazing.
 |
| Gaggle of Myrmidons in tow... |
 |
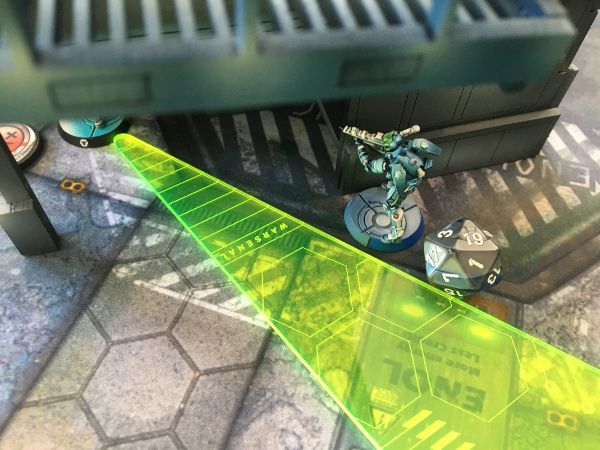
| You want me to hit him in his heel?! |
The overwatching Nisse sniper fired back- and found Achilles was firing with a -9 to hit!
The odds were good and a Double Action round slammed into Achilles' breast plate.
 |
| Ooof! |
Undeterred, Achilles charged forward- spraying the Nisse with the spitfire- hoping to drown the sniper in cyan bolts.
 |
| But the Nisse makes his rolls well on his one ARO burst (needing 16 or less). |
 |
| Achilles makes it to cover.... |
 |
| But fails his ARM rolls to the sniper DA round! |
 |
| Wrekt! |
 |
| Nisse. |
 |
| The Nisse chortles in his perch. |
In a moment of stunned silence, the Steel Phalanx paused to regroup.
 |
| Patroclus mourns over the body of Achilles. |
 |
| Before spurring into action! |
Darting in and out around the corner of the container, Patroclus fired on the Nisse that took out Achilles.
 |
| Vengeance! |
With the Nisse dead, Patroclus leapt ahead.
 |
| The Dragao looks over at the commotion. |
 |
| Patroclus! Patroclus! |
 |
| Who's the man now!? |
Alarmed by the bounding ALEPH personality, the Auxilia dodged out of view.
 |
| The Auxilia dodges out of Patroclus' field of view. |
Not that he needed to....
 |
| Patroclus throws smoke and then charges completely through it. |
Only to find himself in the cross hairs of the TR remote on the apartment roof top!
 |
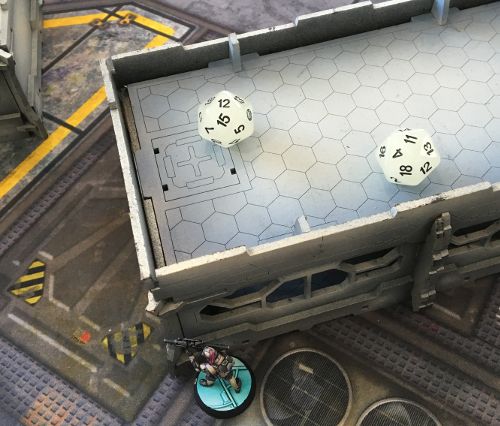
| I have you now! |
The TR remote- with an unopposed roll- hits three times.
 |
| Patroclus makes all 3 ARM saves! |
Chased by the hail of HMG fire, Patroclus ducked back around the building.
 |
| Safely out of view. |
 |
| But still in the fight. |
Looping out from his hiding spot, Patroclus managed to spy the Auxilia without triggering the Aux-bot.
The Auxilia snapped off a shot in response, but it wasn't enough and the human was gunned down mercilessly.
 |
| Patroclus takes a breath after his kill. |
With Patroclus safe from the aux-bot, it was time for someone else to have a play.
 |
| Thrasymedes advances. |
 |
| He doesn't want to challenge the Dragao does he? |
 |
| Thrasymedes takes cover. |
 |
| My SMG is AP!!! |
So despite losing Achilles, the Steel Phalanx defiantly charged forward- Patroclus single handedly taking on the PanO left flank and breaking it.
 |
| Wake the sleeping Dragon. |
It did however, bring him to the attention of the ever deadly Dragao.
PanOceania Turn 2
 |
| Patroclus re-echoes. |
Completely out of view of any PanO figures, Patroclus re-echoed...
... but would it save him from the deadly Dragao?
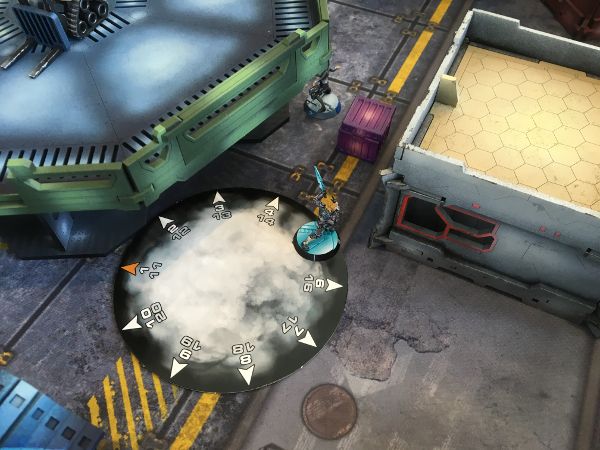
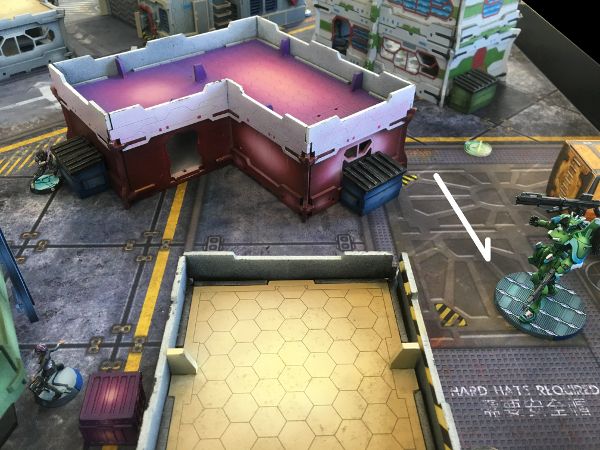 |
| Dragao moves towards the PanO left. |
 |
| HMRC time! |
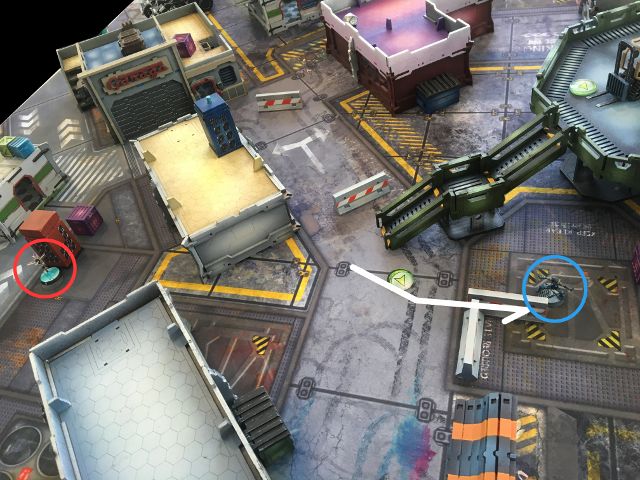
Shifting to the vulnerable left flank, the Dragao found itself staring at two possible targets.
 |
| Thrasymedes faces the brunt of the firing. |
Focussing all 5 burst on Thrasymedes, the Dragao finds much to his annoyance that he is shooting with -9 to hit!
Tricksy ALEPH!
Unsurprisingly, Thrasymedes wins the face to face with a dodge roll and he ducks behind the dumpster.
 |
| Not so fast. |
Moving back into a better range band, the Dragao waited for the AROs....
 |
| And fires all 5 burst into Thrasymedes again. |
This time the TAG crits- and with shock ammo- blows Thrasymedes into atoms.
 |
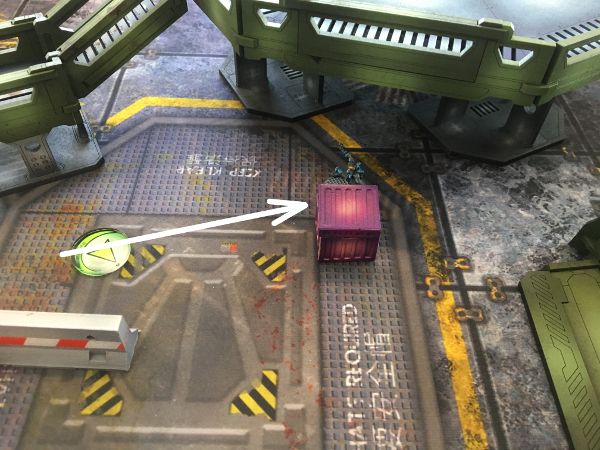
| Patroclus dodges unopposed. |
Patroclus- having dodged back out of view- now found himself in the uncomfortable position of having the undivided attention of the giant killing machine.
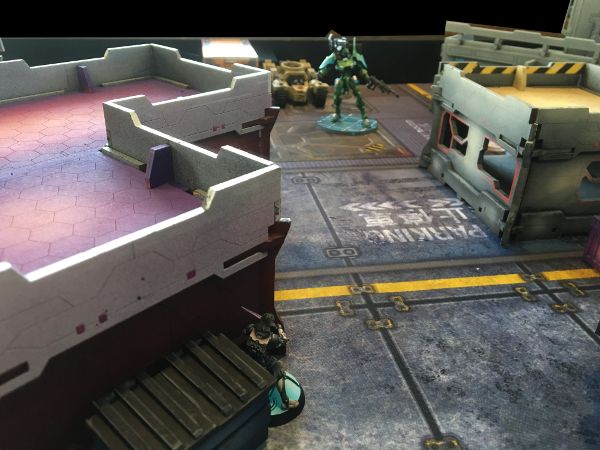
 |
| The Dragao moves up onto the Administration block... |
... and spying Patroclus cowering a short distance away- unleashes the HMRC.
Unluckily, the range bands weren't that favourable for the Dragao and Patroclus successfully pops smoke!
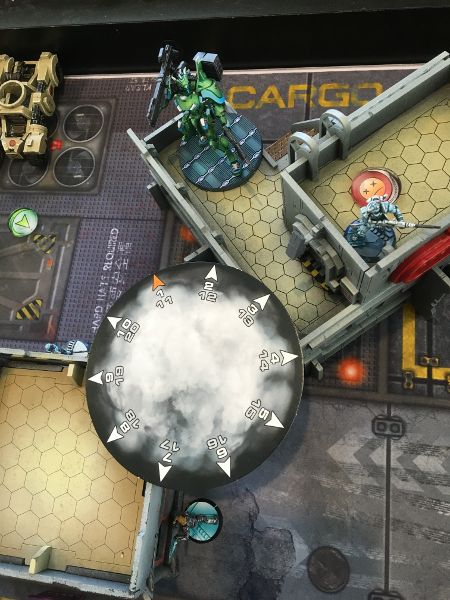 |
| A lucky escape! |
... Much to the disgust of the Dragao!
Disappointed, PanO went after some easy kills....
 |
| The Crocman appears. |
 |
| And takes out a Netrod. |
Having developed a taste for easy kills now, the Crocman advanced down the walkway....
 |
| And moves into position to shoot down the other Netrod. |
 |
| Boom! |
Seemingly on a roll, the Crocman then went after the nearest console...
 |
| Getting some cover... |
 |
| And finding a Thorakites armed only with an SMG! |
 |
| Splat! |
With a hail of lead, the Crocman knocked the Thorakites unconscious.
Now in a solid position, PanO burned a command token to flick on multiple Suppression Fires.
 |
| Blaze away! |
 |
| More blazing away! |
 |
| Most blazing away!... on Patroclus!!! |
Steel Phalanx Turn 2
It was time to play big.
 |
| Time to do what Achilles could not! |
Hector advances into position....
 |
| And takes a deep breath.... |
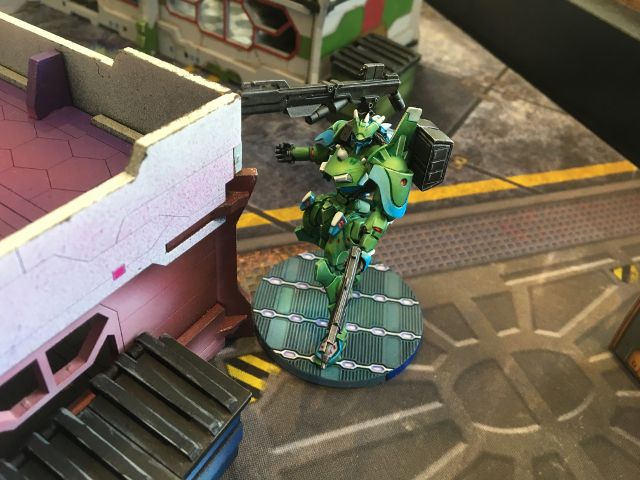
Ducking out from around the corner, Hector sprays his plasma rifle at the TR HMG bot on the apartment roof.
 |
| The deadly figures unleash on each other. |
 |
| And they shall know no fear! |
Unfortunately, being a bad range band for his rifle proves decisive and the Sierra wins the face to face roll... and puts a wound on Hector for his trouble!
 |
| Undeterred! |
 |
| Hector advances, heedless of HMG shots! |
In that exchange, Hector finally catches a break- critting the TR Remote and putting it into it's second level of unconscious state.
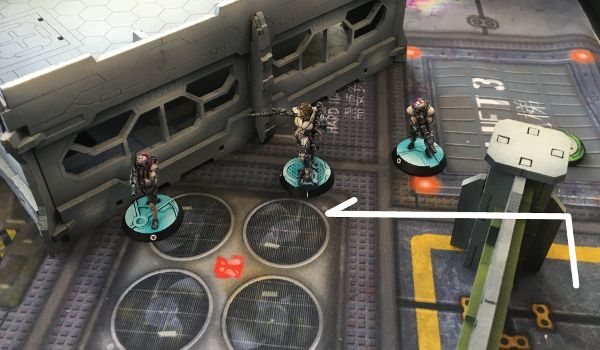
 |
| Hail of lead. |
His lackeys are not so fortunate- both running afoul of the Crocman on suppression fire to their flank...
Hector though, perhaps smelling a change in the winds of fortune, can see bigger game.
 |
| Dragao! |
 |
| I'll do what that pretty boy couldn't do! |
 |
| Gasp! |
Breaking its Suppression Fire, the Dragao misses with it HMRC ARO against Hector's plasma rifle.
Hector in turn hits with two burst- and the Dragao fails a BTS save and causing a wound.
ALEPH has hit back, but is it enough?
PanOceania Turn 3
 |
| Crocman... |
With the Crocman seeming to be the deadliest figure on the battlefield, he broke his suppression fire state and made his way around the landing pad.
 |
| And shoots Patroclus from behind! |
 |
| Surely it doesn't get easier than this! |
Patroclus must have sacrificed the right chicken before the battle because despite the Crocman hitting twice- Patroclus makes his armour save!
 |
| Patroclus fails his guts check and spins around.... |
 |
| ... facing the Dragao and the Crocman. |
 |
| The Dragao lights up Patroclus |
In spite of the poor range band, the Dragao fires onto Patroclus with the B5 HMRC.
 |
| Only for Patroclus to smoke his way out of it! |
With Patroclus again safe from the Dragao, attention turned elsewhere on the battlefield.
 |
| Auxilia ready! |
On the PanO far right, the Auxilia FO pushed forward into the nearest quadrant.
 |
| Claiming a console as well. |
Where as a similar thing was happening on the PanO left flank too...
 |
| Claiming a second console. |
The machinist darted forward, eventually dropping prone next to the console and the block house wall.
 |
| Secure another quadrant. |
With two consoles secured and the Dragao watching the smoke cloud hiding Patroclus, the Crocman moved back around the landing pad and to secure another quadrant.
Steel Phalanx Turn 3
Three orders left... can the Steel Phalanx do anything to break the PanO domination of the game?
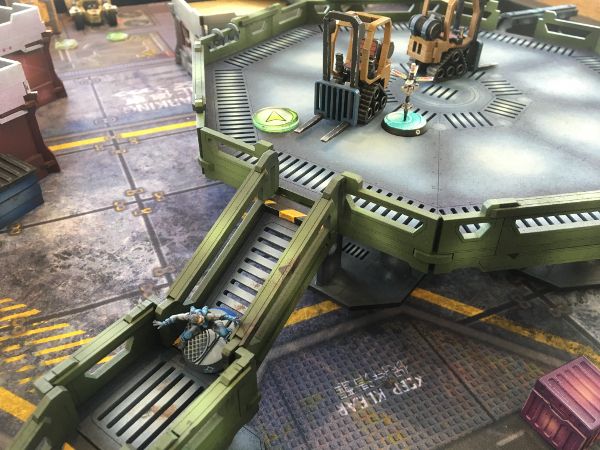
 |
| Big pay offs, need big gambles! |
First order, Patroclus moves behind the block house to contest the nearest quadrant.
The Machinist snaps off a shot with his combi-rifle but misses!
The Dragao bathes him with the heavy flamer- but Patroclus' armour holds!
Now safely behind cover- Patroclus fires with his spitfire but misses completely!
 |
| I have you now! |
Second order, Patroclus puts all four burst into the Machinist and crits him to death.
With that- Patroclus has forced a draw- two Quadrants each and the modified classified card negating the other captured console....
... but Homeric epics don't finish without heroic challenges of honour!
 |
| Patroclus comes back to challenge the Dragao. |
There is the matter of Achilles' sullied honour to sort out!
Third order, Patroclus moves into view of the Dragao and blazes away with his spitfire.
The Dragao AROs with its heavy flamer allowing Patroclus to fire his spitfire unopposed and he hits the TAG 4 times!
 |
| Oh no!!! |
Despite being in cover- the Dragao fails two armour saves and is taken out of the battle.
 |
| Patroclus celebrates as a torrent of flame races towards him.... |
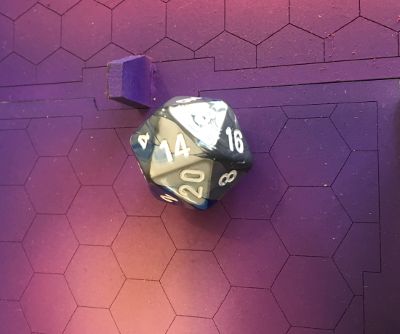
Would this act of vengeance cost the Steel Phalanx the game? It all hinges on Patroclus last armour roll against the Dragao's heavy flamer.
 |
| Pass! |
 |
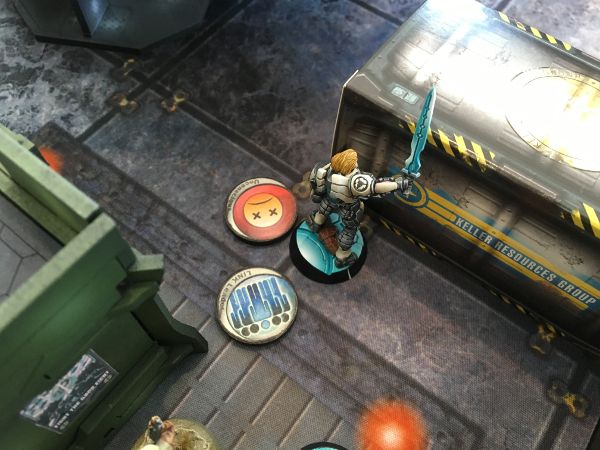
| Patroclus- winners are grinners. |
Draw!
CONCLUSION
 |
| Who is The Man now?! |
A highly entertaining game!
I really thought the Steel Phalanx was finished after Achilles was taken out and the Thorakites killed. Despite spending most of the game on the ropes, Patroclus- the unlikely hero- was able to burn all his nine lives to pull his side back from defeat.
I think if the Dragao and the Crocman had both gone on suppressive fire (admittedly taking a free ARO from Patroclus in the process) it would have made Patroclus' life a lot harder. With Patroclus actually inside the PanO deployment zone- he would have been locked in and unable to contest the nearest quadrant.
Still, stranger things have happened- Patroclus' seemingly invulnerable armour for one!- so who knows?
Until next time, Happy Hobbying.


This was a fun read. Now i am angry about me for always forgetting to take enough pictures when playing a game. Again, fun to read and very nice documentation. :)
ReplyDeleteThis was a brilliant battle report. Bravo Zulu!
ReplyDeleteGreat write up, thanks. Those were 2 beautiful armies!
ReplyDeleteThanks for the kind comments everyone! Hopefully I'll be able to put my Ariadna force into a batrep by the end of the year.
ReplyDelete