
 |
| Credit: PARK Jon Wong |
And it was time to try out Onyx!!!
Sadly, I hadn't painted up my new remotes, Unidron support weapons or even my second Umbra (there's a lot on the painting table!). So in order to make the 300 point cap it was down to bringing the biggest model I could get...
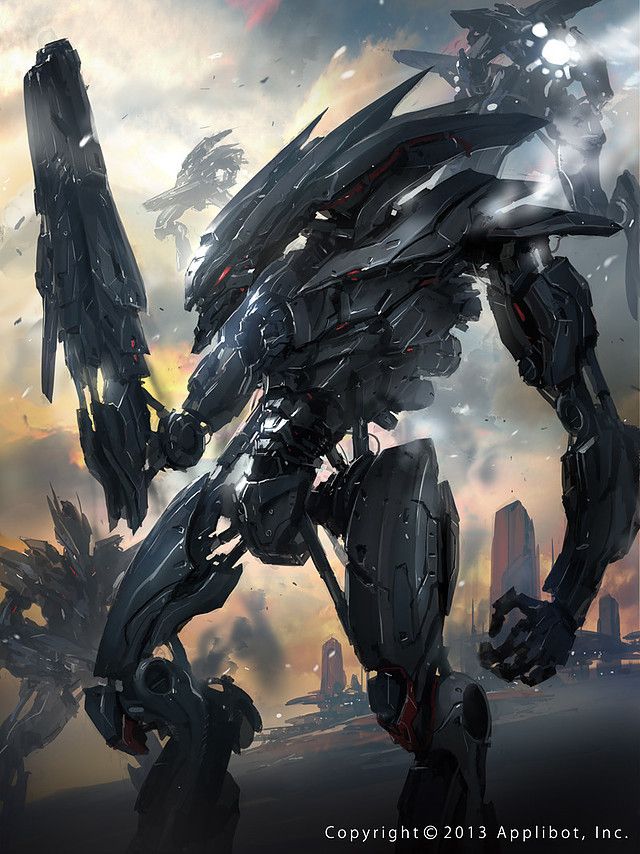
... the Sphinx!
ARMIES
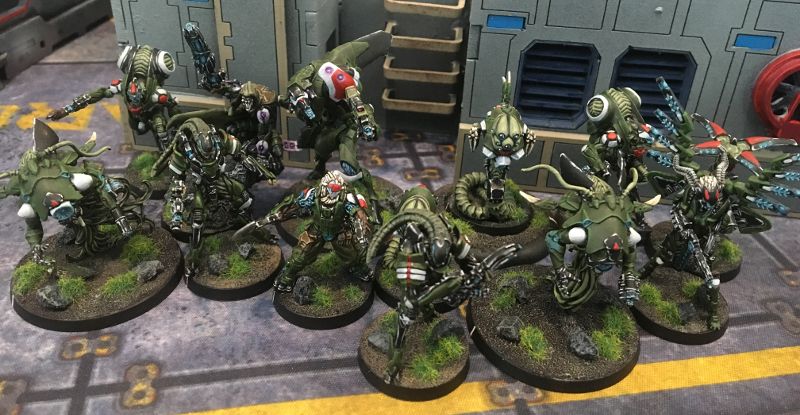
Onyx First Contact Force
 |
| I am the vanguard of your destruction! |
 |
| The list! |
The Sphinx having "multi-terrain" in its profile made it ideal in making its way through the exclusion zone in the middle of the board. (Multi-terrain allowing it to ignore the movement penalties and scamper into the enemy side of the table).
My second combat group was designed to remain hidden (literally!) until the PanO side had declared which civilians were going to be rescued and then cut them off from reaching the PanO deployment zone.
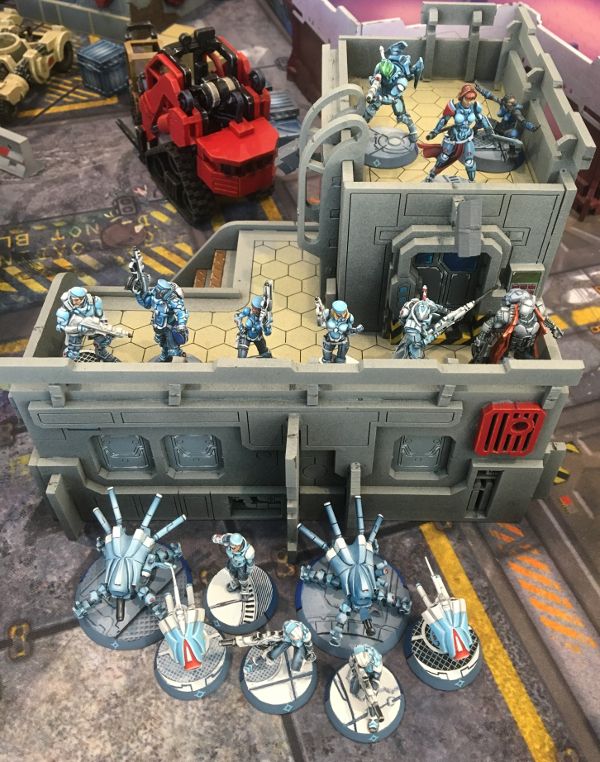
PanOceania
 |
| Defenders of the Human Sphere |
───────────────────────────────────────────── ─────
GROUP 1

GROUP 2
5 SWC | 299 Points
I am always noticing how PanO is able to make flexible lists.
It was notably specialist heavy- with the ever annoying Joan of Arc, Nisse Sniper and TR remote making up their offensive and defensive pieces.
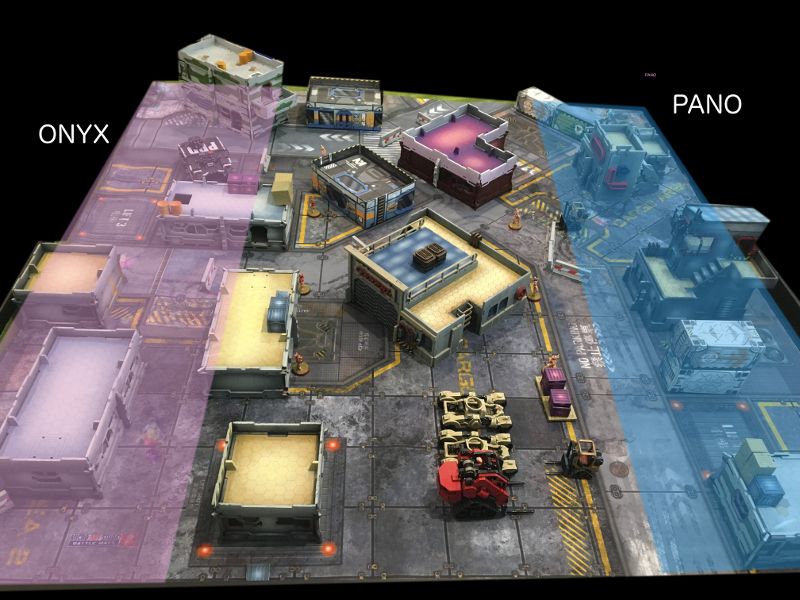
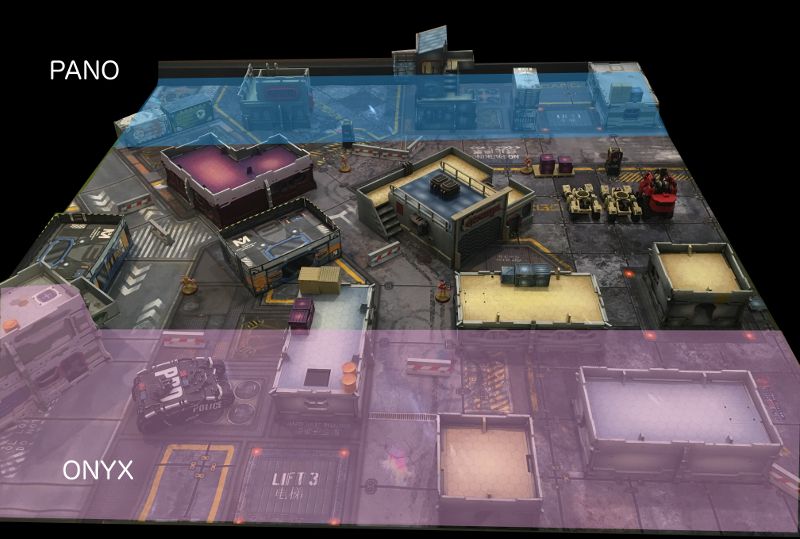
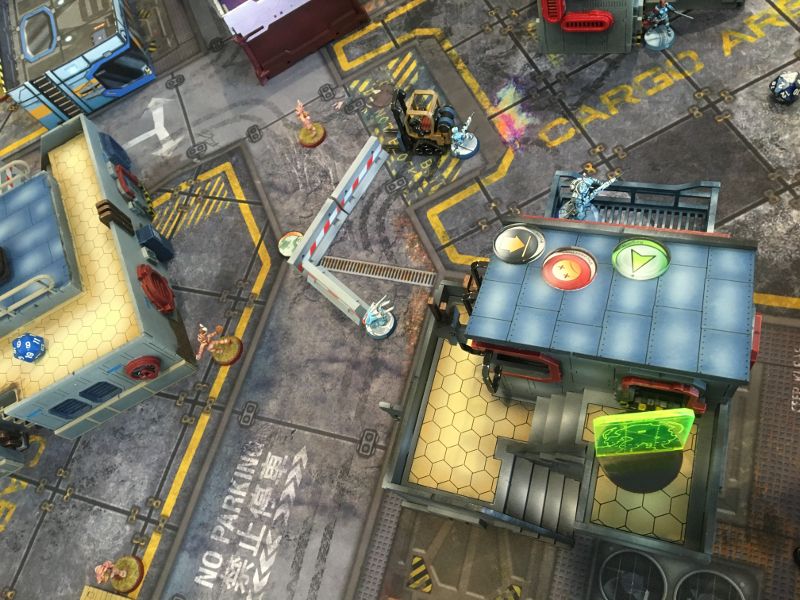
TERRAIN
 |
| Looking at the table sideways! |
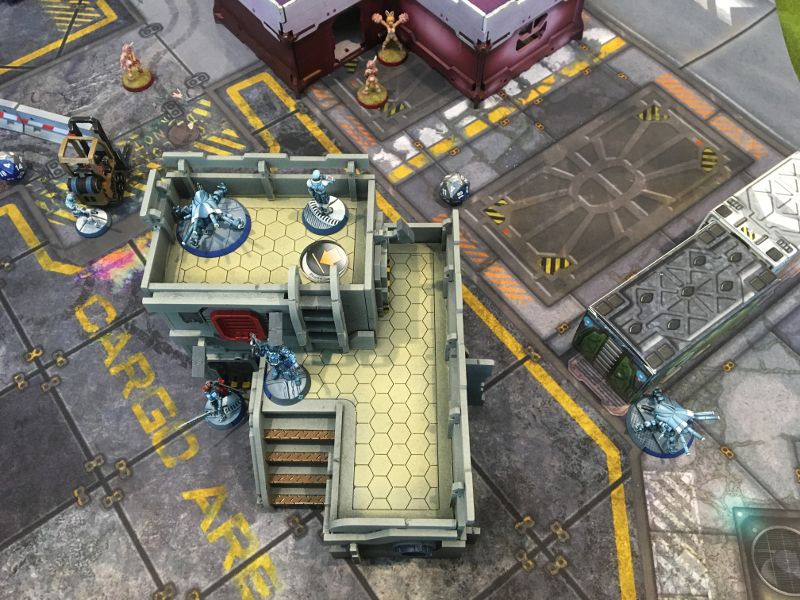
1. Apartment- 2 storey structure
2. Administration block- 2 storey split level structure
3. Loading Dock- 2 storey split level structure
4. Supply House
5. Block House- single storey yellow roofed square building.
6. The Car park
MISSION
 |
| Orientated the right way! |
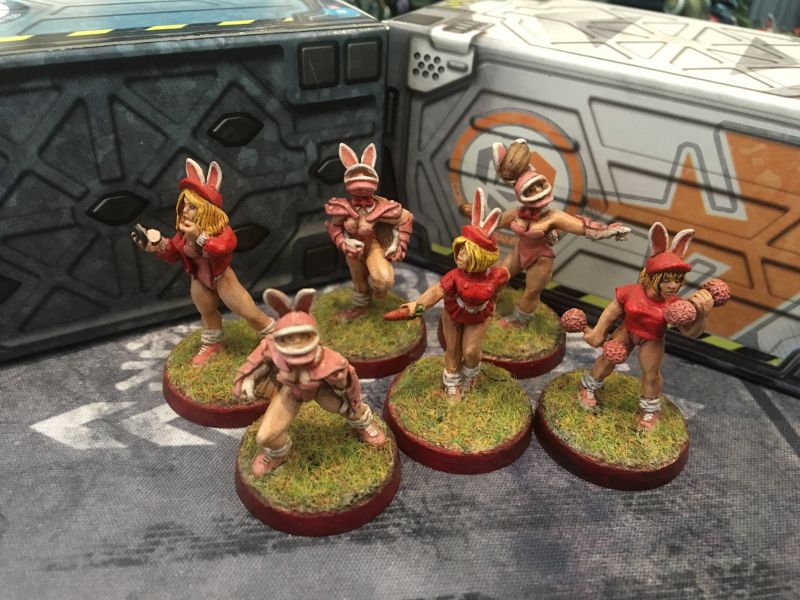 |
| Some of the civilians to be rescued! |
Clearly they had some knowledge of match fixing that needed sorting out!
Classifieds
In addition to the main mission, each side gets one classified each.
Onyx: Forward observe
PanO: Unknown
LIEUTENANT ROLL OFF
I started off poorly- failing my WIP roll- and the humans easily passed their Lieutenant WIP roll.
After a quick survey of the table, PanO opted to choose deployment sides and make me deploy first.
I opted to go first....
... Alpha strike or bust!
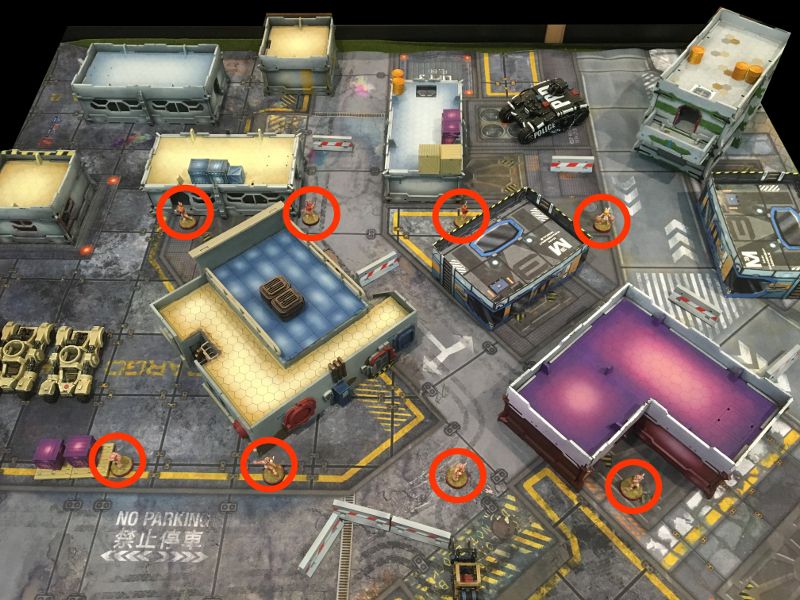
DEPLOYMENT
 |
| Deployment zones. |
The centre are 8" on either side of the centre line is termed an "exclusion zone"- with no infiltration, forward deployment or aerial deployment. Notice that the civilians form the very edge of that zone.
Onyx Deployment
 |
| Onxy Deployment Zone. |
 |
| That's close! |
Hopefully a sign of good things to come!
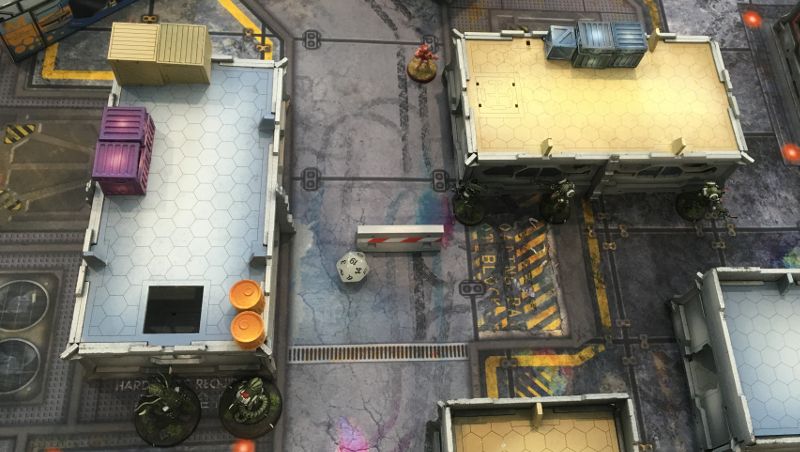
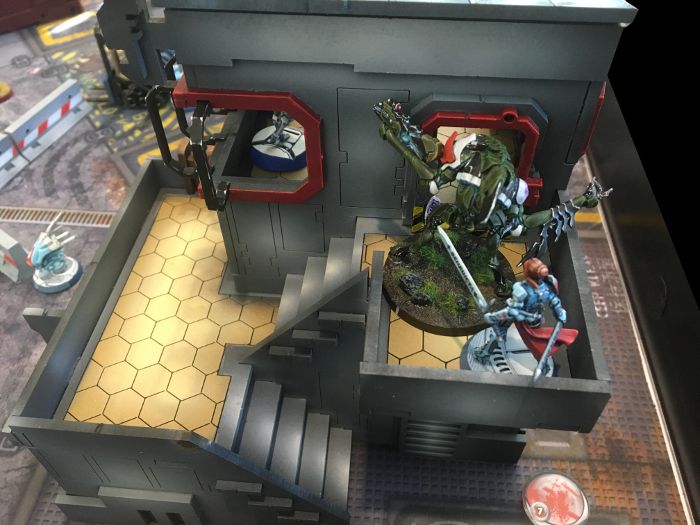
With the Imetron sorted out, I anchored my left flank by putting the ever annoying total reaction HMG Q-Drone on the roof of the Apartment. And I paired it with a slave drone to repair it in case (in the inevitable case?) of it being knocked unconscious.
I hid my Nexus lieutenant behind the apartment. Without either the Morat rule or G: Mnemonica, losing a Lieutenant in Onyx is a very bad thing.
Then to watch over the first two civvies in the open, I put one of my Unidrons in cover behind the police car. A somewhat pitiful figure- it could at least go dogged hopefully cranking out a second shot before getting blown to smithereens!
 |
| The Onyx middle. |
 |
| Hide! Hide! |
 |
| Keep hiding! |
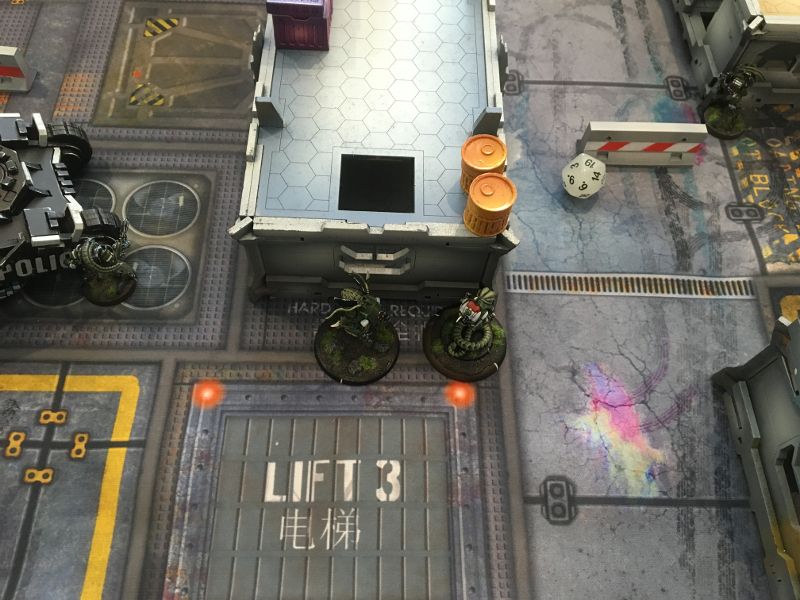
In the centre of my line, I hid my R-drone and Dr. Worm- hopefully keeping them out of trouble.
Then behind the Supply building, I positioned my two Ikadrons and another Unidron.
I still let some of them peak out to cover the civilians. The Exclusion zone shooting penalties ( -1 B) actually put ARO-ing at less of a disadvantage- so it something I was keen to exploit.
Covering the last civilian on my right flank- I hidden deployed my Noctifer. With my right flank being decidedly weak looking, I hoped this guy would catch a few marauding humans coming this way completely unaware!
... but watched over by the Q-Drone.
PanOceania Deployment
The PanO deployment was centred around the Administration Block and the Loading Dock as they offered the best views of the battlefield.
Then behind the Supply building, I positioned my two Ikadrons and another Unidron.
I still let some of them peak out to cover the civilians. The Exclusion zone shooting penalties ( -1 B) actually put ARO-ing at less of a disadvantage- so it something I was keen to exploit.
 |
| My Noctifer... |
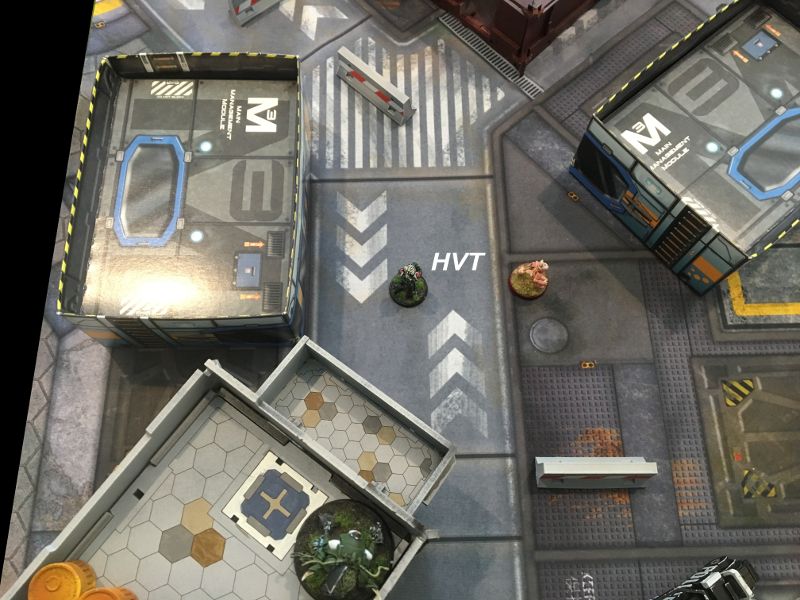 |
| HVT out in the open... |
PanOceania Deployment
 |
| PanO Deployment Zone |
 |
| Lots of firepower! |
 |
| Guarding the PanO left flank. |
 |
| Firepower on the Loading Dock. |
Taking up position on the roof of the Loading Dock- a Fusilier HMG looked down onto the Q-Drone on the other side of the board. The Nisse sniper guarded the balcony and a Fusilier paramedic hid out close by.
 |
| Administration Block. |
The Administration block was just as well defended- with the TR HMG remote facing out on the roof and supported with a prone engineer.
A Fusilier hacker hid out on the first floor and Joan of Arc stood in cover in the shadows of the building.
 |
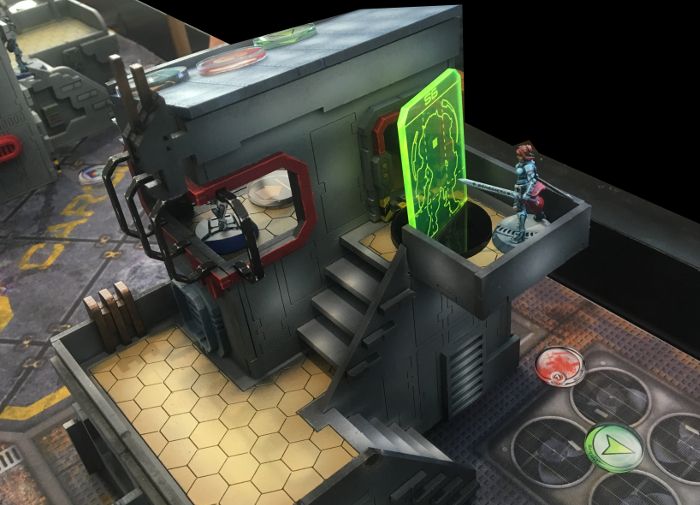
| FO remote. |
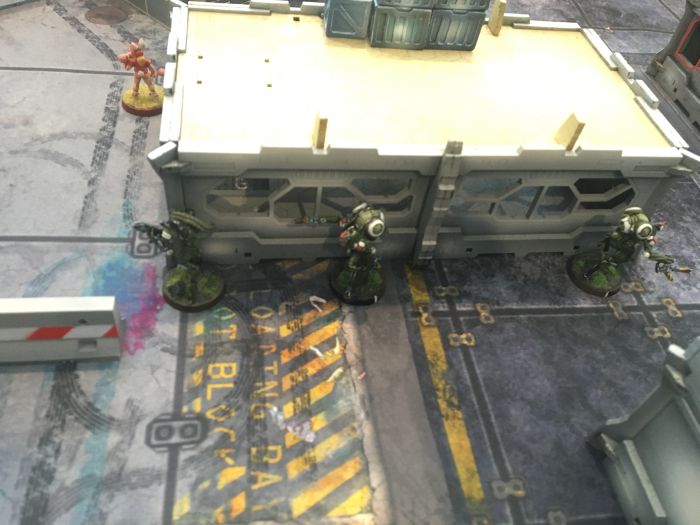
Finally, the FO/ Sensor Remote was positioned in cover behind some cargo containers watching the rightmost civilian... and the HVT (the Cheerleader waving her pom-poms at the sky).
RESERVE Deployment- Onyx
 |
| Sphinx! |
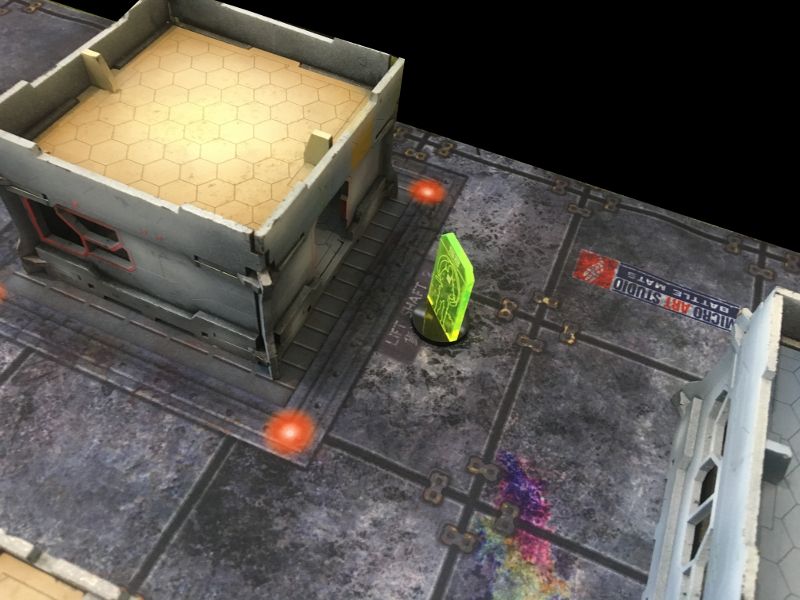
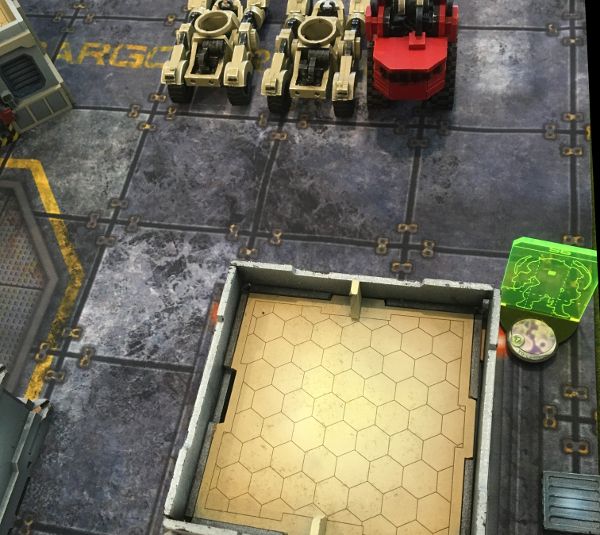
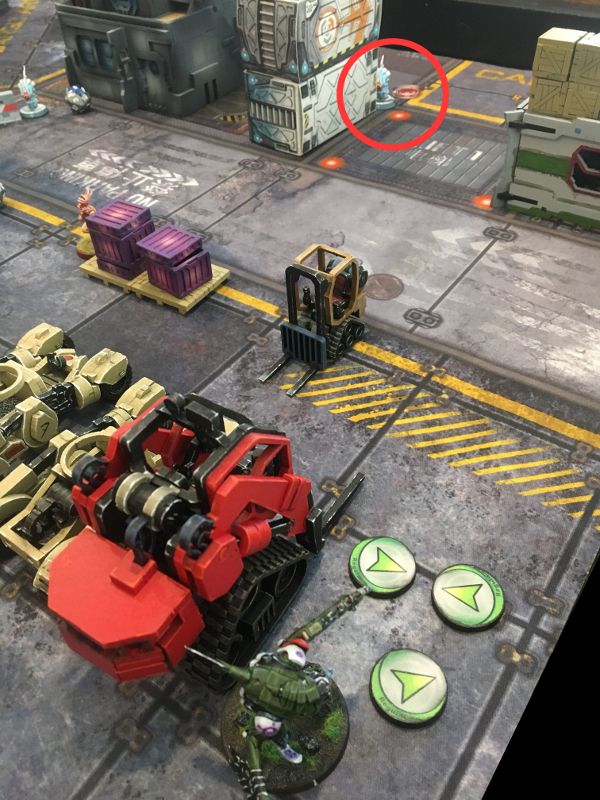
Despite the relatively open nature of the board- I noticed the car park could serve as a useful bit of cover- and so positioned my Sphinx accordingly on my right flank (next to the hidden Noctifer!)
RESERVE Deployment- PanO
Hidden deployment!
THE BATTLE BEGINS...
Onyx Turn 1
Using one of their command tokens, PanO opted to deduct my order pool by 2 orders. Not unexpected but annoying all the same. I wasn't going to be alpha striking as hard as I wanted to on 8 orders but I wasn't going to make the same mistakes I have done in the past!
If you have a big hitting model- you better use it....
With almost the entire PanO forces suddenly staring intently at this newcomer- half of them opted to hold their ARO, whilst the other half opted to 'Discover'.
Hidden deployment!
THE BATTLE BEGINS...
Onyx Turn 1
Using one of their command tokens, PanO opted to deduct my order pool by 2 orders. Not unexpected but annoying all the same. I wasn't going to be alpha striking as hard as I wanted to on 8 orders but I wasn't going to make the same mistakes I have done in the past!
If you have a big hitting model- you better use it....
 |
| An enormous TO camo marker appears and advances forward! |
 |
| Discovered! |
 |
| ... but the Sphinx moves into total cover with it's second short skill! |
A 6" move is amazing- as is multiterrain (in this scenario)- allowing the Sphinx to move into the total cover of the giant forklift.
Despite being discovered, the Sphinx was halfway up the board. It's camouflage was its best defence- but I couldn't recamo with that dastardly aux-bot watching.
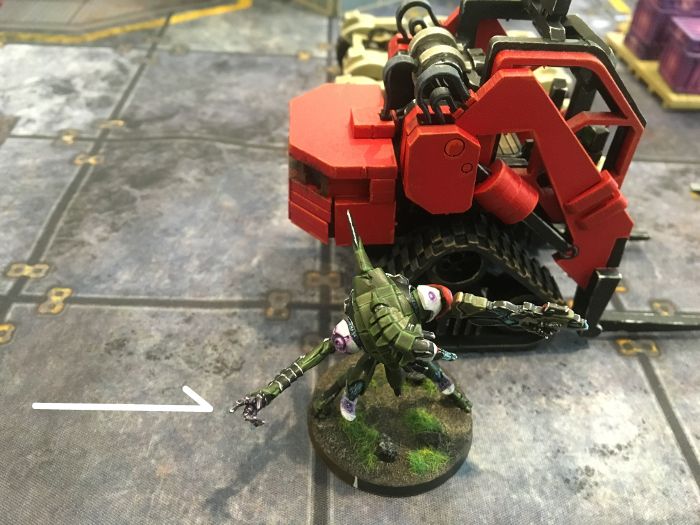
Two orders worth of spitfire shots later- the Aux-bot was finally put down.
With Aux-bot no longer watching, the Sphinx recamouflaged and continued it's advance.
 |
| A few short skills later! |
Two orders worth of spitfire shots later- the Aux-bot was finally put down.
With Aux-bot no longer watching, the Sphinx recamouflaged and continued it's advance.
 |
| Sneaking around the flank. |
 |
| Surprise!!! |
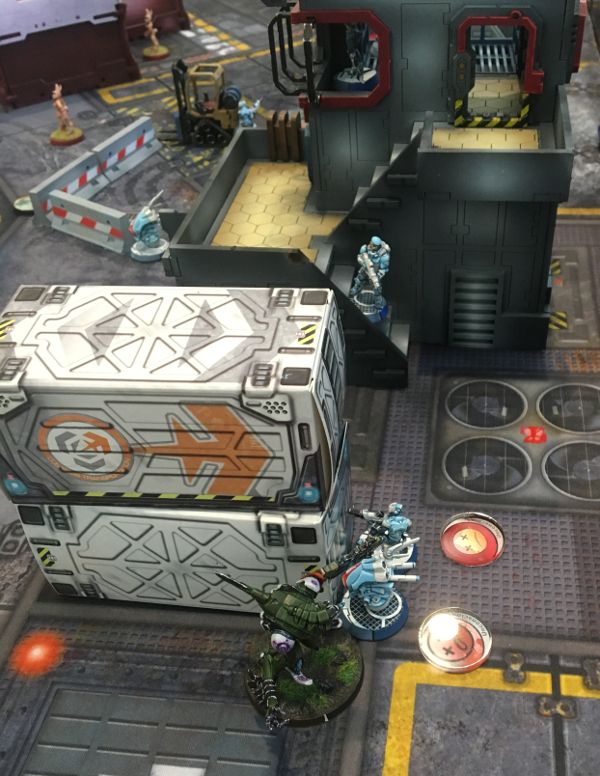
Weathering a desperate fusillade from the TR remote (who luckily missed with most of its shots), the Sphinx rushed the corner of the cargo containers and double flamed the humans behind.
The Auxilia succumbed to the flames but the lucky Fusilier passed both his dodge rolls and darted up the stairs of the Loading Dock.
 |
| Forward! |
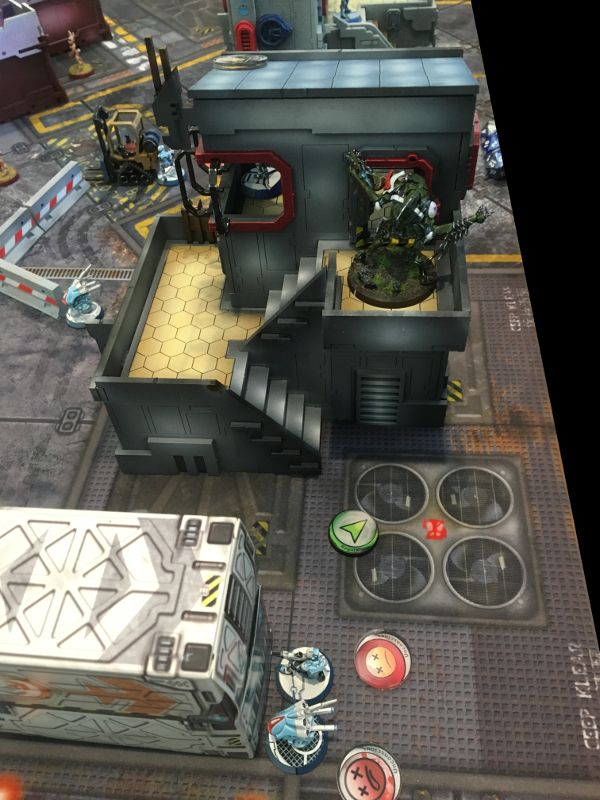
Not to be deterred, the Sphinx moved towards the Loading Dock- gunning down the Fusilier with its spitfire before clambering up the wall onto the second level.
Making the most of the stealth that comes from having camouflage, the Nisse sniper and doctor had no inkling of what was about to occur!
 |
| A horrified Nisse and Doctor are bathed in flames! |
... only to successfully dodge out of the way or pass their armour saves!
How annoying!
And to rub some salt into the wound, shooting the Sphinx's flame throwers meant that the PanO TR remote was able to shoot with impunity...
 |
| ... With a -9 modifier to hit!!! |
I had done a small amount of damage to the humans and the Sphinx was in a good position to stop them racing forwards to rescue their civilians.
Hopefully it would be enough to hamper their first turn.
Panoceania Turn 1
 |
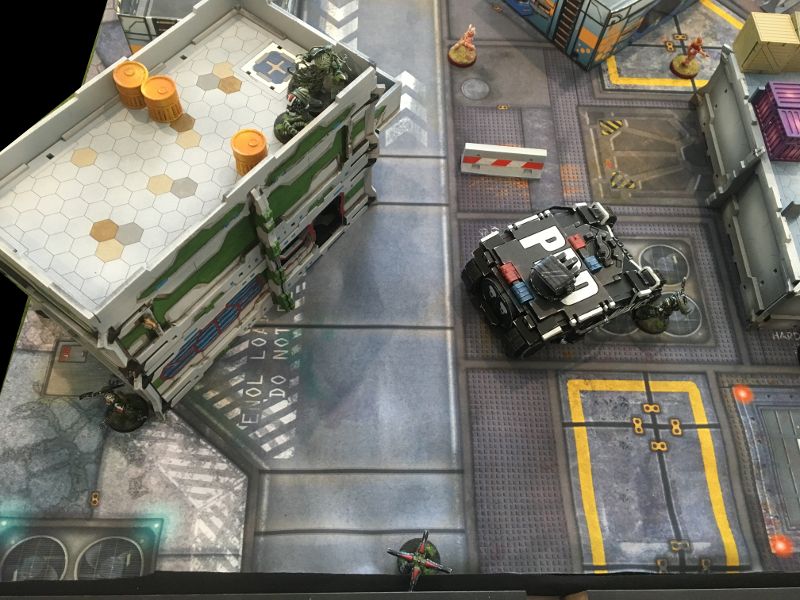
| Time to take out the Q-Drone... |
The Sphinx was a thorn in the side of PanO but so was the Q-Drone on the apartment block.
The Fusilier HMG- prone on the roof of the Loading Dock- opened up with her HMG. From her position, the Q-Drone had no cover but it still kept its mimetism which proved very useful!
 |
| ... Only to fall to the Q-Drone's return fire. |
Quite fortuitously- for me- the Fusilier lost the face to face roll and was bowled over by the Q-Drone's HMG.
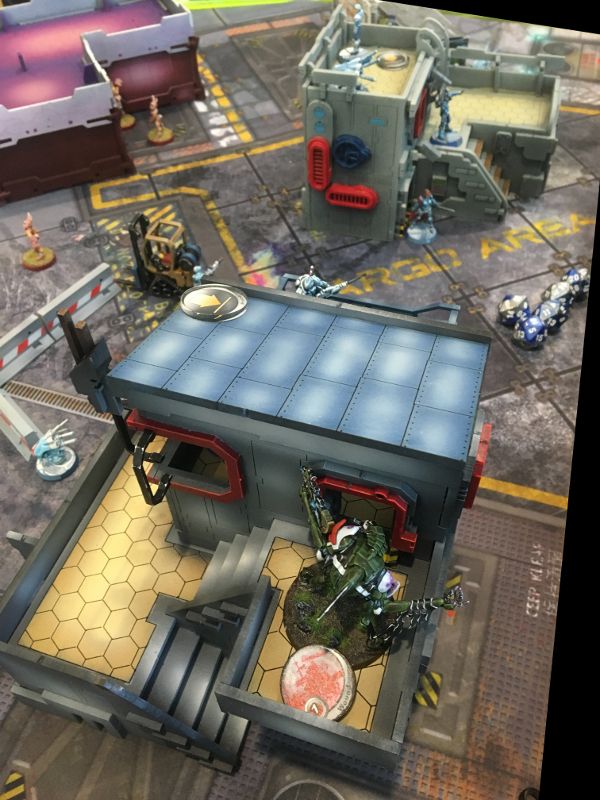
... And then began climbing...
 |
| Covered by the Q-Drone... |
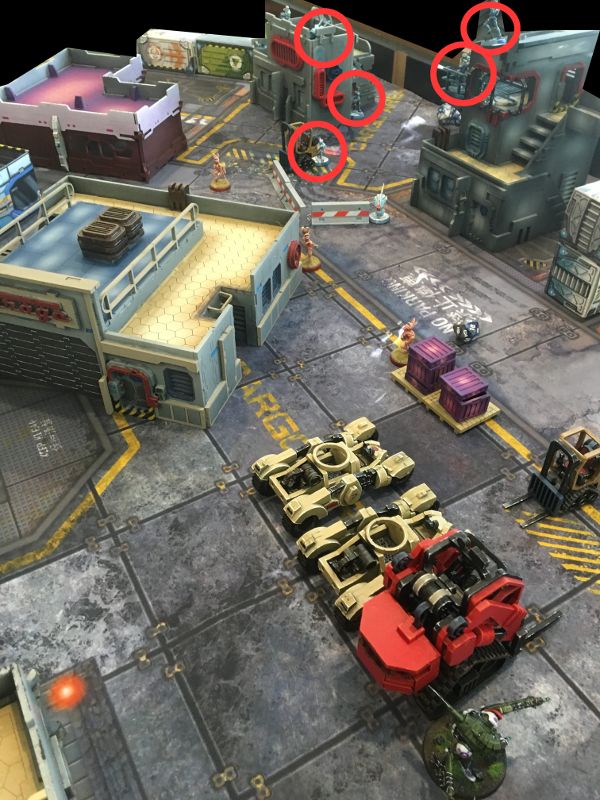
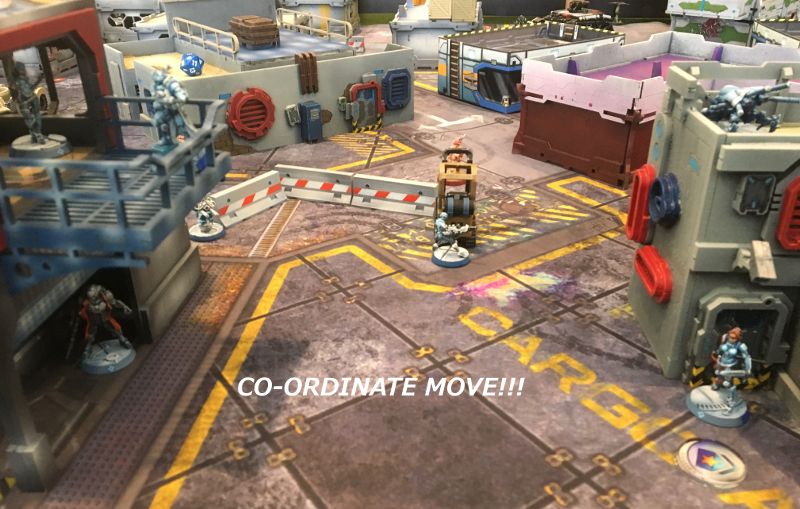
With both the Q-Drone and the Sphinx covering the Administration Block and the Loading Dock in a crossfire- the humans opted to Co-ordinate Move.
Joan, the Bounty Hunter and the FO/Sensor Remote moved towards the Loading Dock- hoping to sneak behind the Sphinx.
Unfortunately, the Bounty Hunter found himself in view of the Q-Drone and was gunned down in a hail of HMG shells whilst desperately trying to dodge out of the way.
Even Joan found herself caught up in the crossfire- taking a wound from the Sphinx's spitfire as she made her way forward.
 |
| HMG bursts galore! |
There is a time for heroes to make their name... and PanO decided it was time for Joan!
Determinedly moving forward- she dodged two rounds of fire from the Q-Drone- helped in no small part by the unhelpful dice (how can a TR HMG fail to hit at all?!).
 |
| Safety! |
Having made it into the total cover of the Loading Dock, Joan snuck into behind the Sphinx.
 |
| Getting into position... |
 |
| And into CC! |
Making it to the balcony, she launched herself into the back of the Sphinx.
 |
| God Wills It!!! |
Utilizing her martial arts level 3 skill- she dropped the Sphinx CC value by -3 and increased her own by +3.
... and then promptly rolled a 1.
The Sphinx whirled and struck back....
 |
| Crit! |
Critting with its explosive close combat weapon!
 |
| Joan is taken by surprise! |
Joan failed her other 2 additional armour rolls and disappeared in a shower of gore.
There was a moment of stunned silence....
... and PanOceania conceded.
ONYX VICTORY!!!
CONCLUSION
The Sphinx proved to be absolutely pivotal!
Despite not killing all that much in the active turn- it was able to get into a good position- and get covered by the Q-Drone with its total reaction HMG. The Nisse sniper and TR Remote found themselves hamstrung, having to face free shots from either the Sphinx or the Q-Drone if they did anything.
As it stood, PanO would have struggled to come back with a mightily reduced order pool, being in Loss of Lieutenant and with that rampaging Sphinx sitting quite comfortably in cover- ready to wreck face in the active turn and being covered by the Q-Drone in reactive turn.
That all being said, I had ridiculously good luck at the critical times.
The face to face roll between my Q-Drone and the Fusilier HMG could have gone either way and needless to say, the Sphinx critting Joan dead was a total statistical outlier.
I think the plan was sound though. Even if the Sphinx had died, it inflicted enough damage on turn 1 to allow my forces to probably grab a civilian (maybe 2) and bring back at least one into the deployment zone.
I have to stress this is not an ideal list all this considered. It was cobbled together from what I had painted- but I'm glad luck went my way!
Until next time.
Cool batrep! Glad to see the Sphinx in action - I haven't used mine yet at all. Great painted minis, too!
ReplyDeleteThanks! The Sphinx is a funny one- such an order sink. I'd try and link Unidrons to give a second a hard hitting unit to the list and bring a hacker to make the most of Assisted Fire etc.
DeleteI played this mission with an Onyx force on Saturday. My Malignos forward observer was man of the match because it was able to hidden deploy near one of the civilians, then grab one and race back to the deployment zone. He also bagged the enemy leutenant along the way. The other unit that was great was the five man unicorn link. The missile launcher with assisted fire on it was great along with the TR drone.
ReplyDelete