

This was a 300 point friendly game at the local gaming club pitting my MAF against a soft-ish Caledonian Highlander Army.
I was getting coached along by my opponent- and a very savvy player at that!
I'll try to include the key points in the write up so everyone who reads this will get some "ahhhh!" factor out of the batrep.
ARMIES
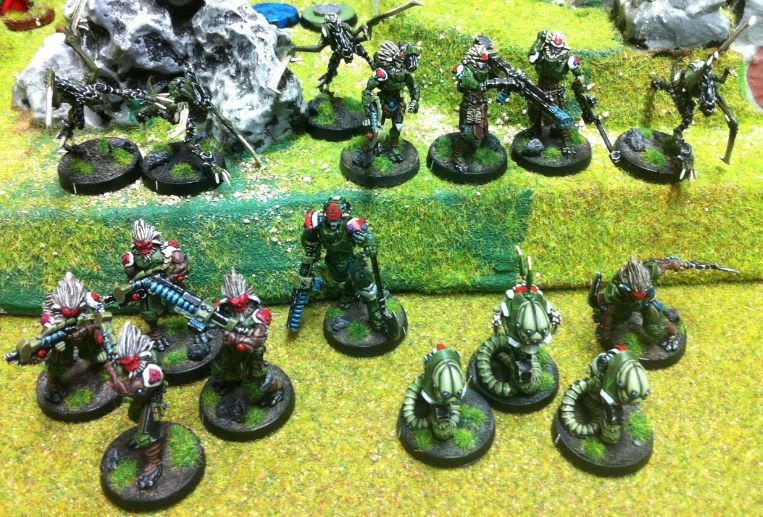
217th Morat Expeditionary Force
Combat Group #1
Vanguard- combi rifle. Marc Antony.
Vanguard- combi rifle. Trajan.
Vanguard- combi rifle. Quintus.
Vanguard- HMG. Bacchus.
Kurgat Engineer- autocannon. Vespasian.
Kurgat Engineer- Mk12. Titus.
Yaogat- combi rifle + panzerfaust- Lieutenant. Octavian.
Sogarat- HMG. Invictus.
Daturazi- chain rifle. Nero.
Medchanoid. Galen aka Dr. Worm.
2x Slave drones
Combat Group #2
4x Preta- chain rifles + mines
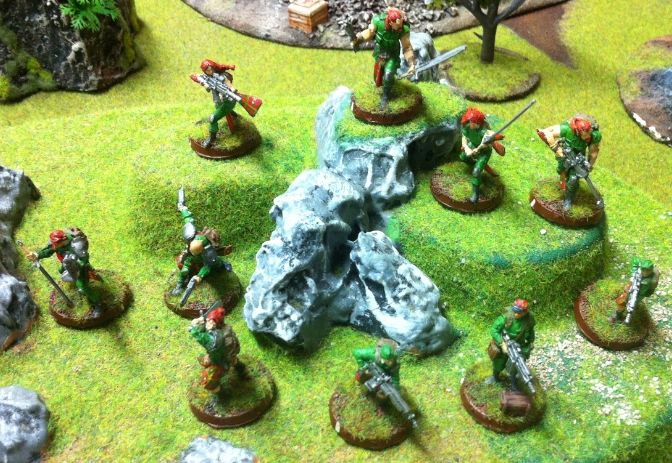
Caledonian Highlander Army
William Wallace
Wulver- Mk 12
Wulver- Mk 12
Wulver- (?heavy) shotgun
Wulver- T2 rifle
Highlander Grey- T2 rifle
Highlander Grey- HMG
Caledonian Volunteer- Rifle
Caledonian Volunteer- HMG
Intel- Doctor
MAP
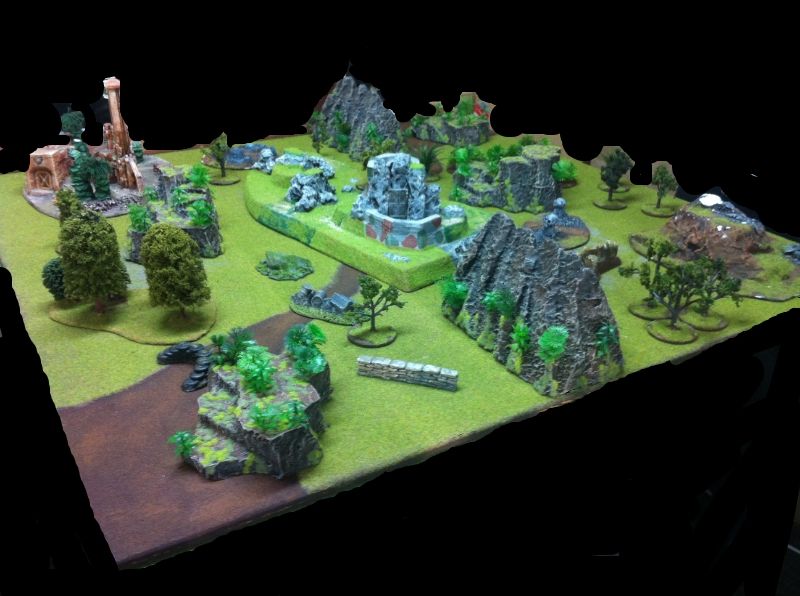
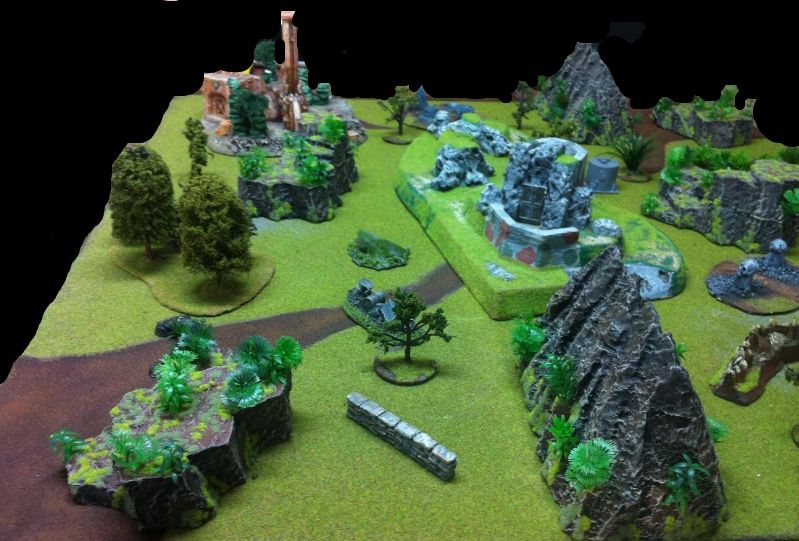
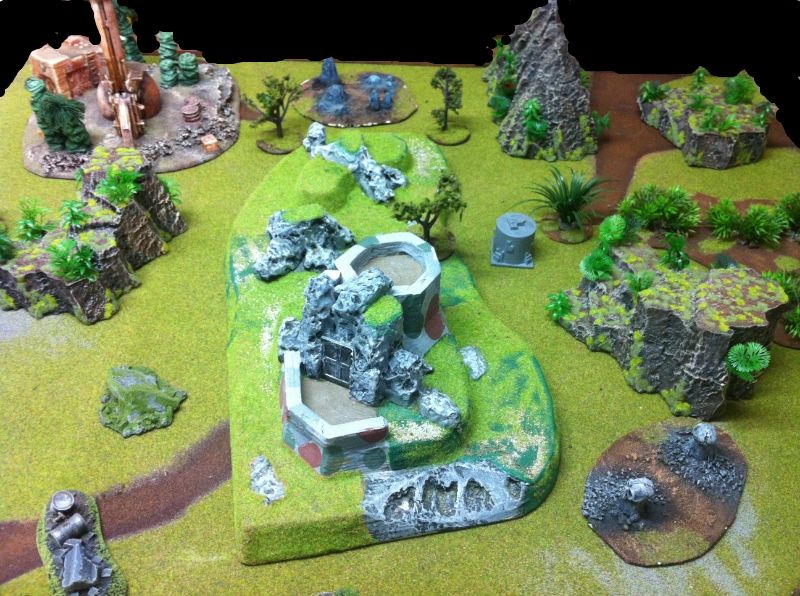
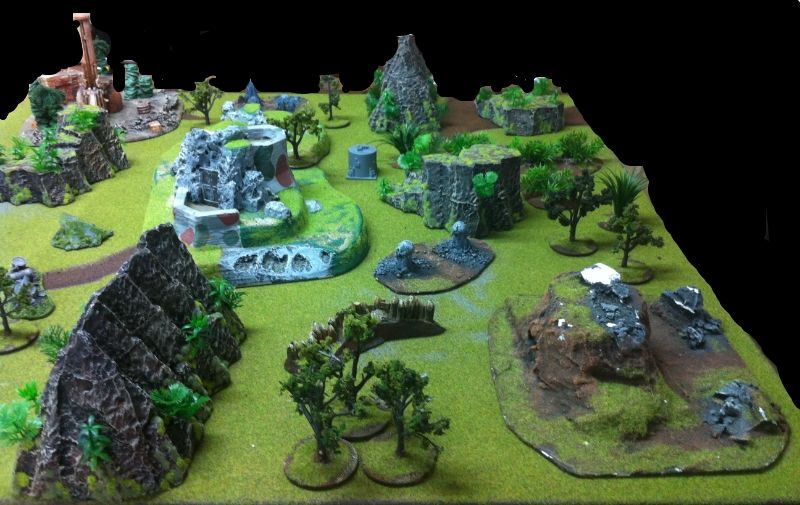
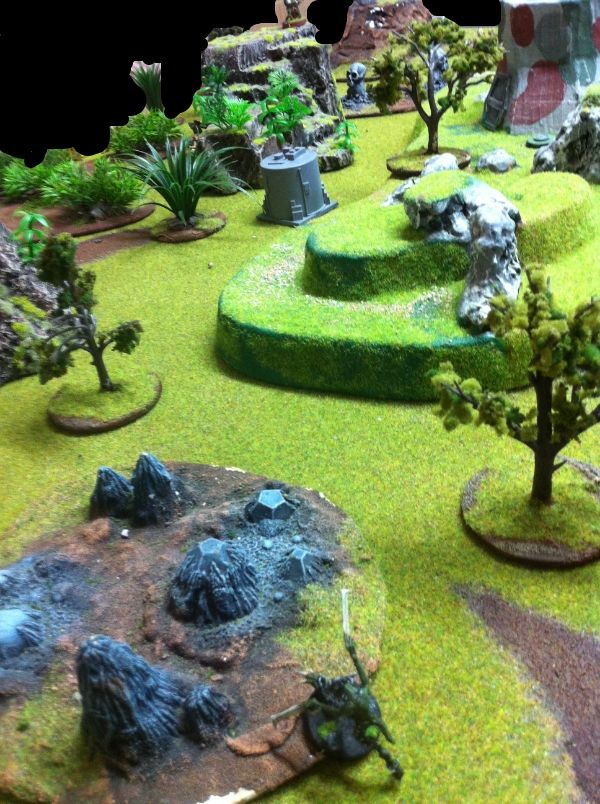
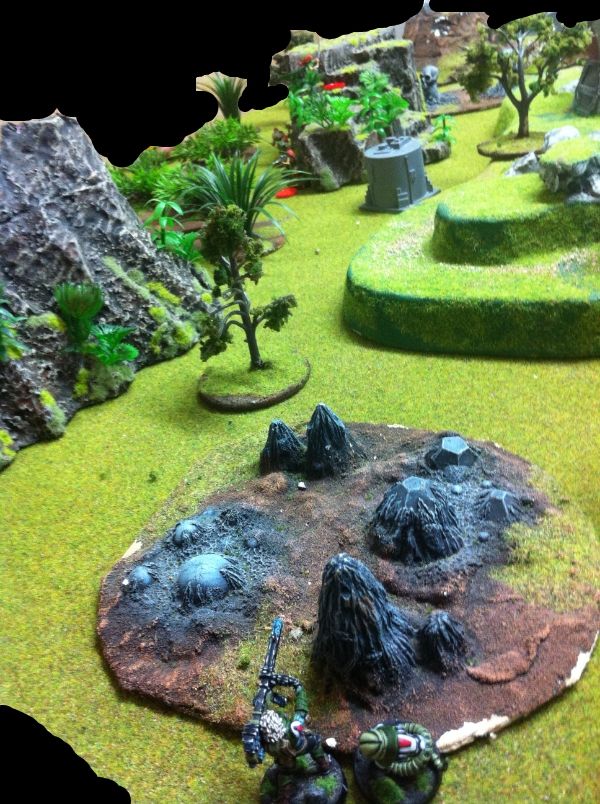
This was a fairly dense terrain map with lots of hills and vegetation.
 |
| Looking to the north east from the south west corner |
The hills/ mesas were considered to be completely grown over by vegetation- counting as cover from view. Cover from fire was counted (i.e. +3 armour roll) only if rocky obstructions were in the line of fire as per the usual rules.
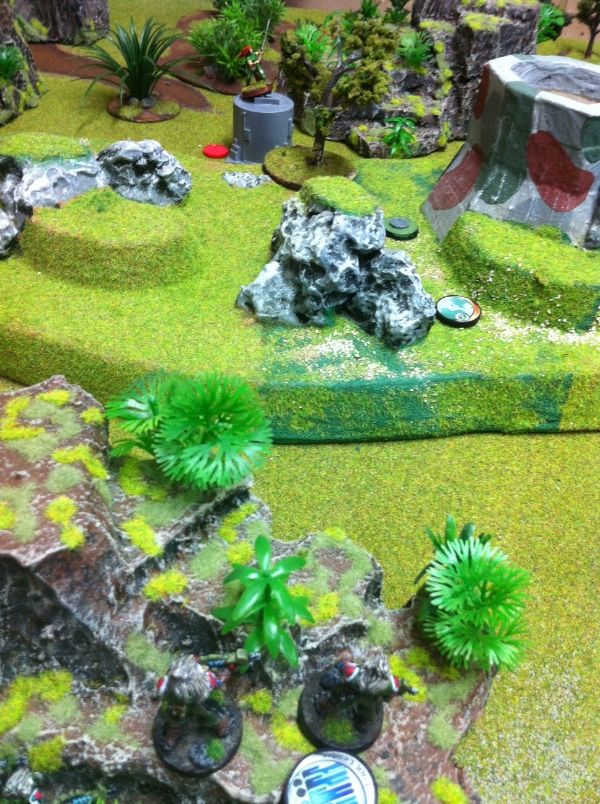
The key terrain pieces were:
 |
| Southern table edge, looking from WEST to EAST |
1. The ramshackle distillery in the south west.
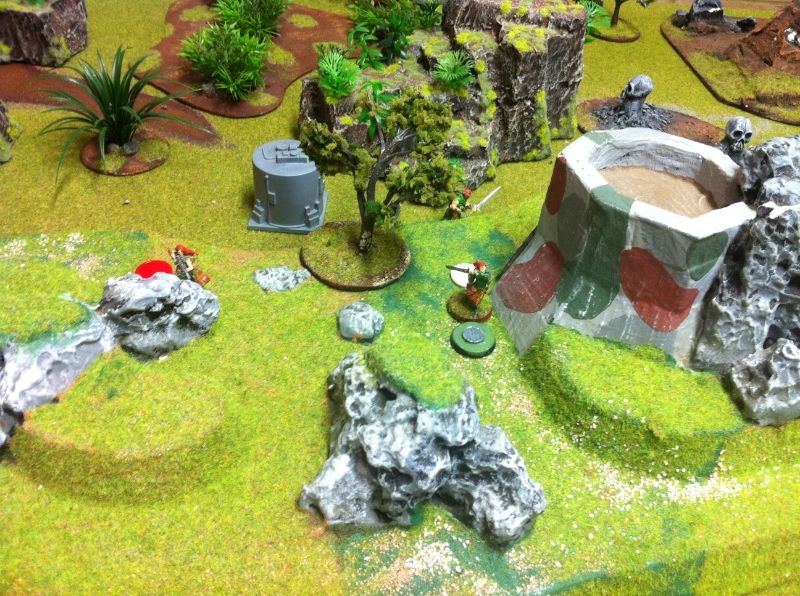
 |
| Central bunker and nearby water tank |
2. The central hill top bunker.
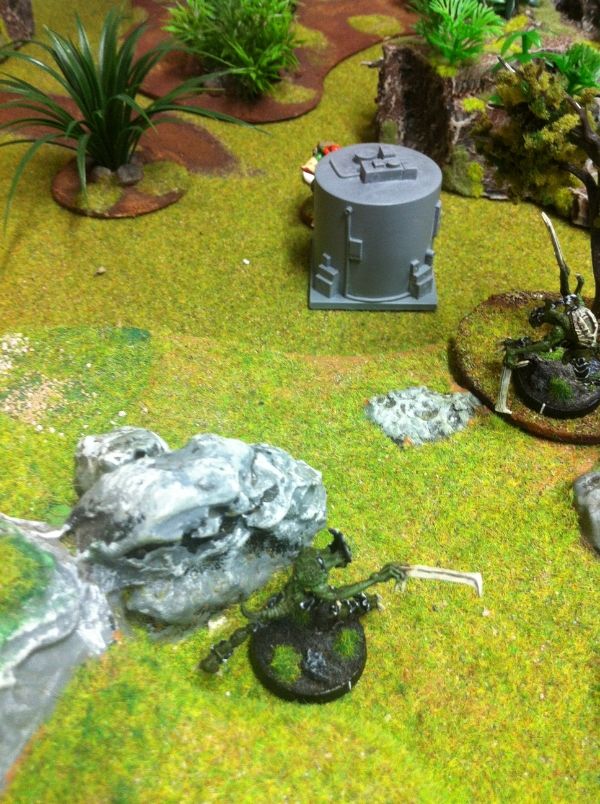
3. The water tank in the centre
 |
| Northern deployment zone looking from WEST to EAST. |
4. The snow capped cave in the north east
5. Mesa in the northern deployment zone
6. Two ragged ridges- one in the east, one in the west
MISSION
Friendly forces must Capture the beacons in Green Valley.
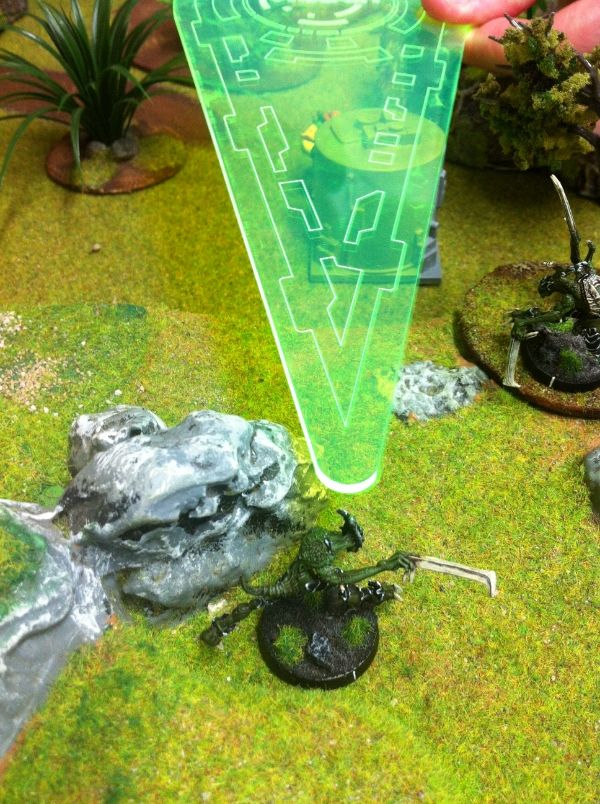
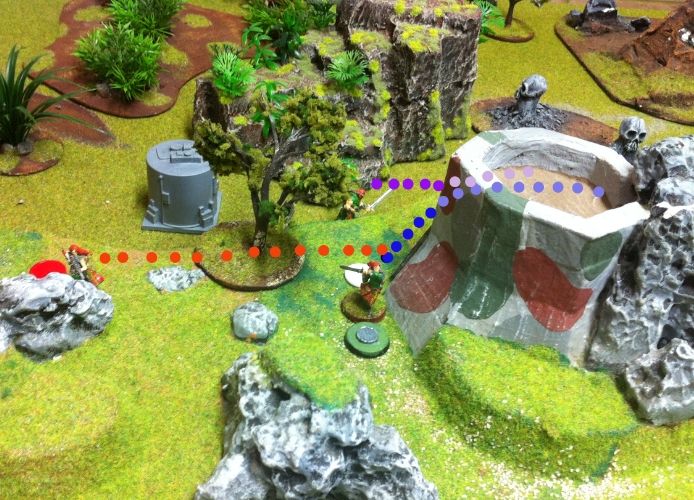
The beacons were spread diagonally across the board. One in the corner of your deployment zone- worth 1 point. One in the centre of the map- worth 2 points. One in the opposite corner of the enemy's deployment zone- worth 3 points.
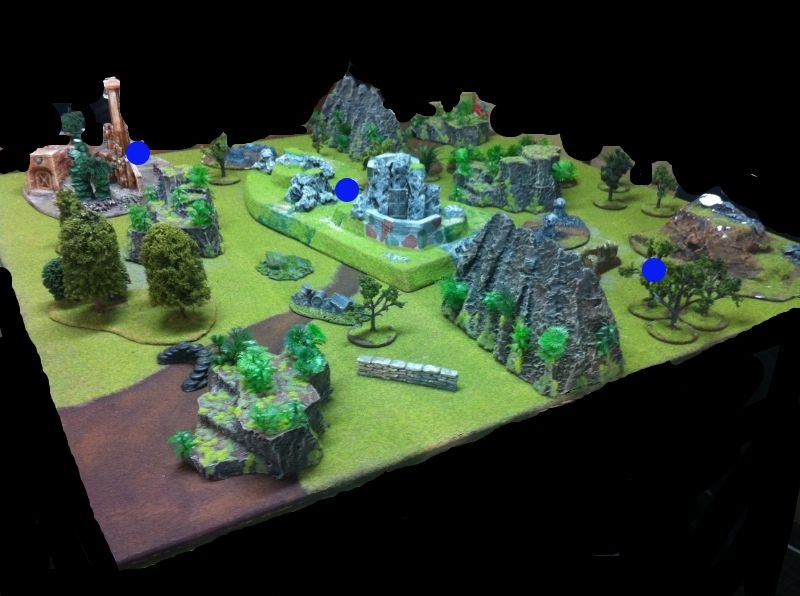 |
| Approximate locations of the beacons are in blue. |
Each beacon needs a standard WIP roll from a specialist to capture it. Once captured- it can be rendered neutral by an enemy specialist WIP roll. If rendered neutral, anyone can then attempt to capture the neutral beacon with a normal WIP roll.
LIEUTENANT ROLL OFF
I actually lost the Lt. WIP roll and my opponent- in order to let me have a go, elected to select board edge and allowed me to go first. It was quite gracious as he has won several tournament games in one player turn when he has had the fortune to go first.
I ended up on the southern edge of the field- with the distillery on my left (where "my" beacon was).
DEPLOYMENT
MAF
 |
| MAF battle line looking from the distillery in the east to the western edge |
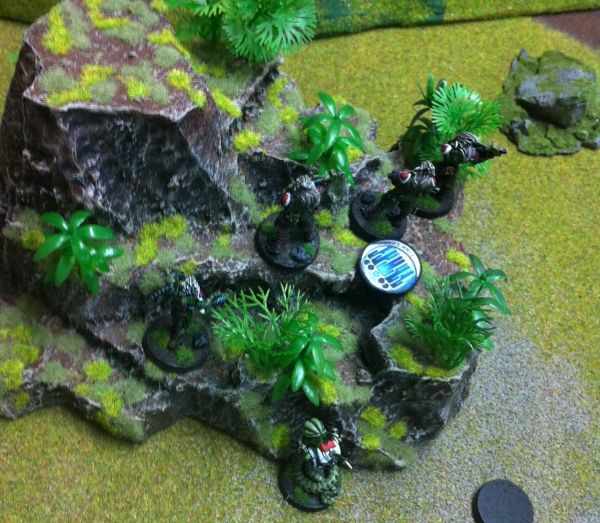
The hill in the centre of my line was a key bit of terrain for me, so I put the majority of the army there.
 |
| Good fields of fire. |
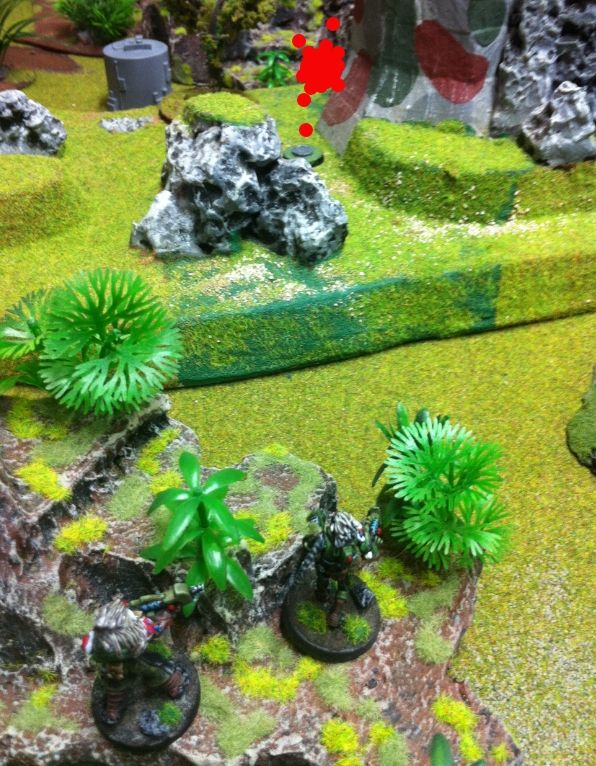
My vanguard link team with the HMG held the centre hill in my deployment zone. My Yaogat Lieutenant and Doctor Worm hid safely behind the rocky cover- completely hidden.
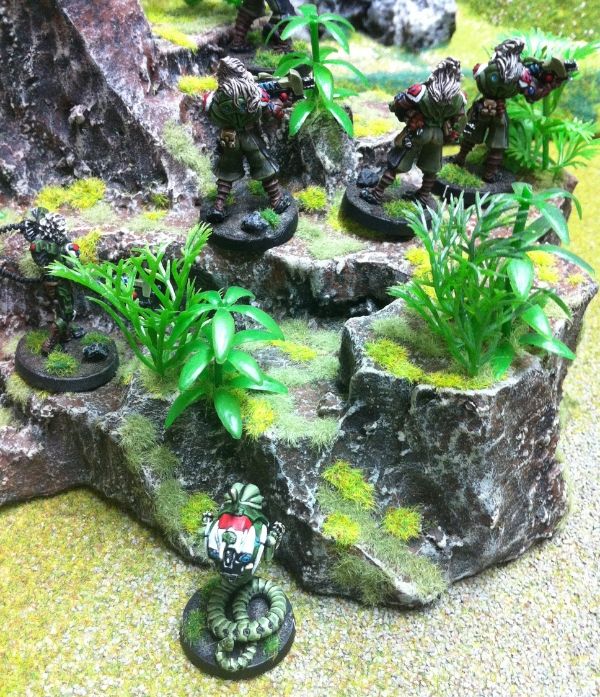 |
| Octavian is not going to get killed turn 1 this time! |
 |
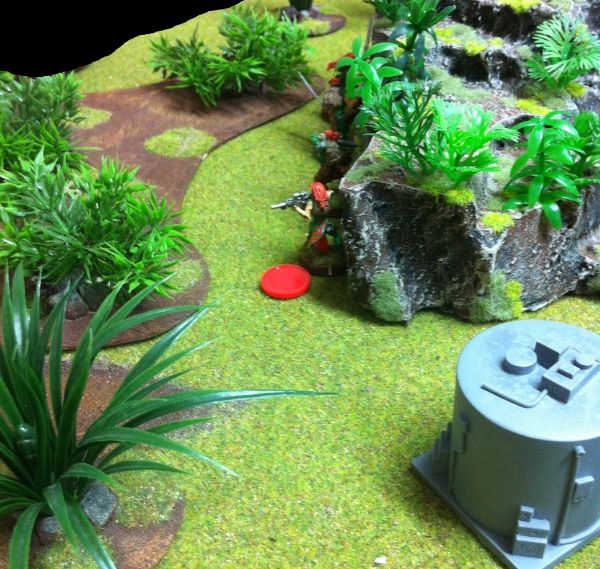
| In the distillery |
In the distillery- I hid the Kurgat autocannon and a slave remote to watch over him.
 |
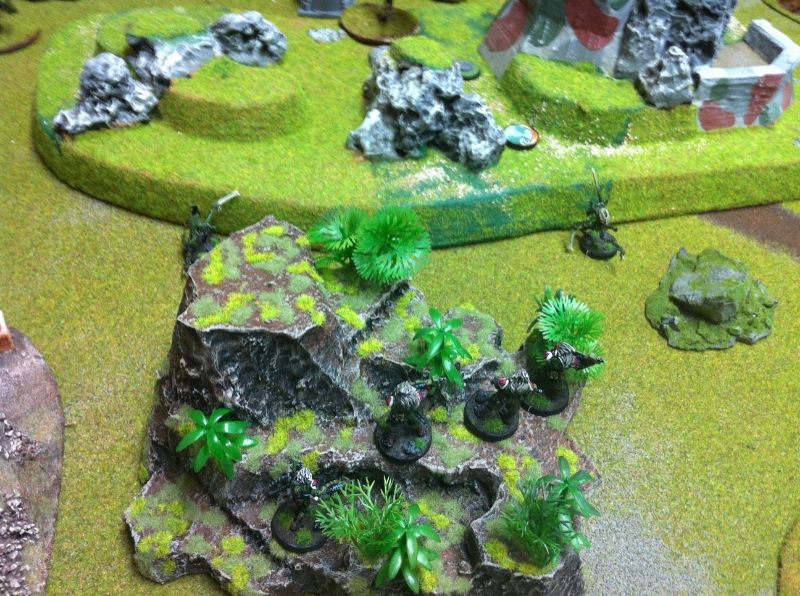
| Impetuous troops on the right with supporting slave drone in the bushes. |
On my right- I placed my Kurgat with the Mk 12, the bulk of my impetuous troops (including Nero- my Daturazi) and another slave drone to hopefully resuscitate any downed models.
 |
| Reserve is placed. |
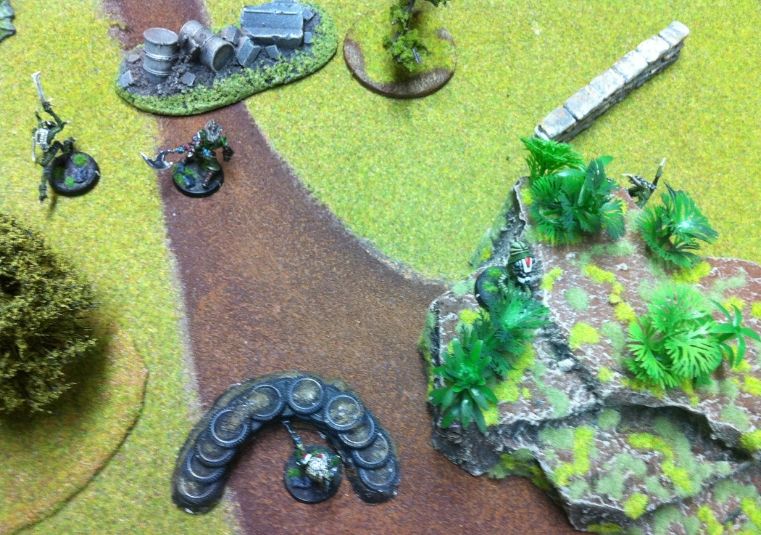
After my opponent's deployment, I placed Invictus, my Sogarat, on the right flank to help the squishy impetuous troops out.
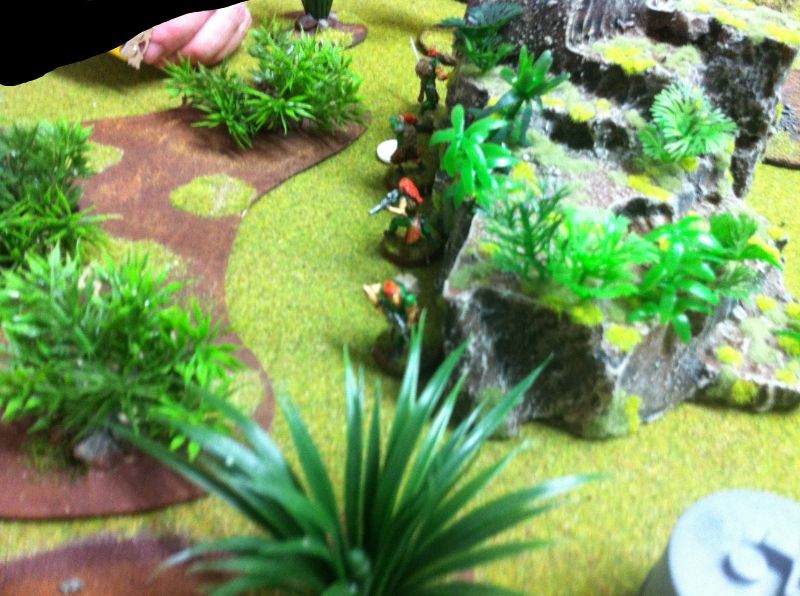
CHA
 |
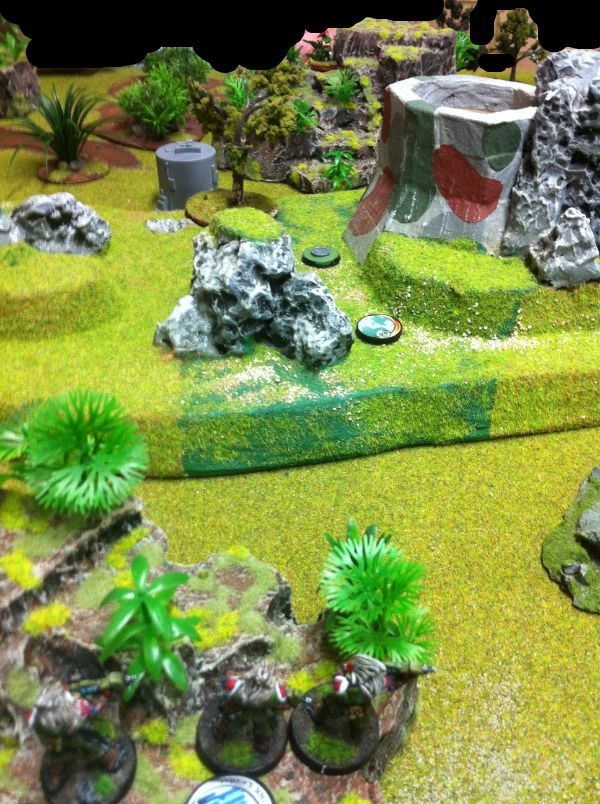
| Behind the northern mesa |
The Wulver link team- with Wallace- hid behind the northern mesa. On either end of the team, a Wulver with a Mk12 covered the flanks.
 |
| Grey by the western ridge. A Grey with HMG atop the mesa. |
The two Highlander Greys were split apart to cover the approaches to the northern deployment zone. The Grey with the T2 rifle was placed by the western ridge. The Grey with the HMG was put in reserve and eventually placed atop the mesa.
Exposed did you say?
Absolutely, but since the MAF had the first turn- and all my impetuous troops had to go first, this Grey was going to have a great time gunning down the Pretas and Daturazi who would be mindlessly surging forward. And my covering fire (on regular orders) wouldn't be able to do squat about it since they can only activate AFTER the impetuous troops have fulfilled their orders.
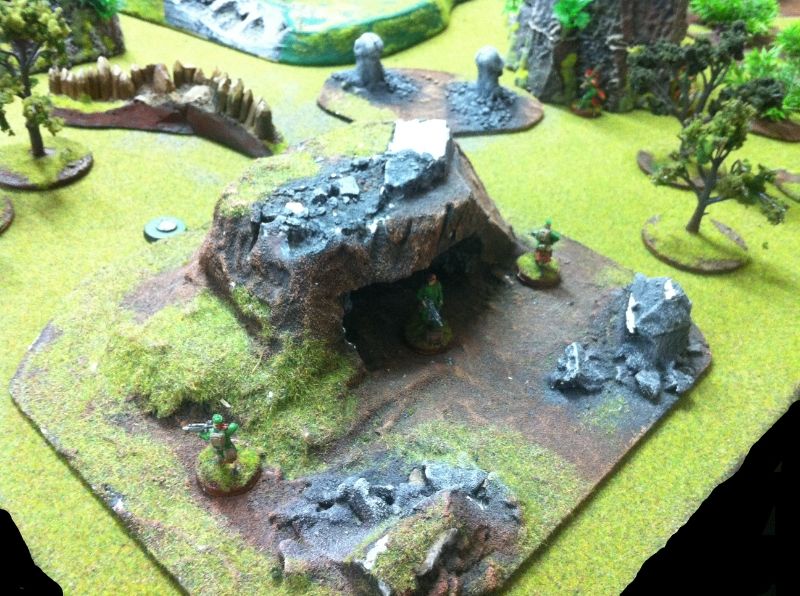 |
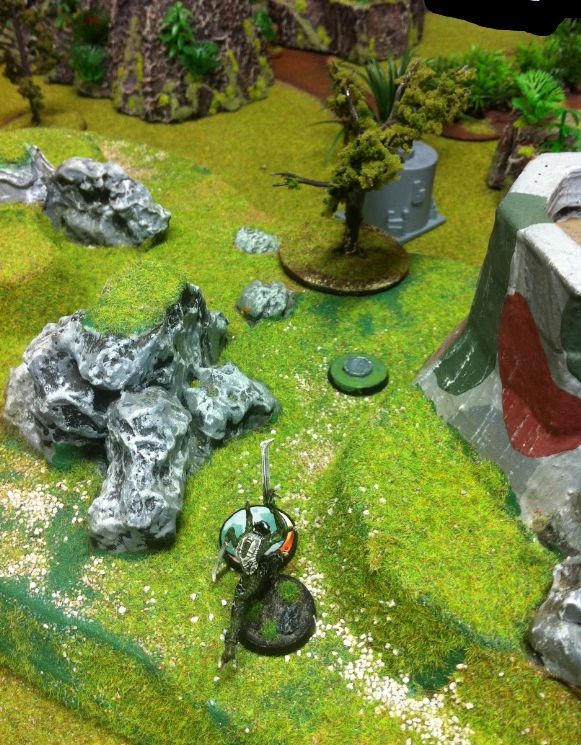
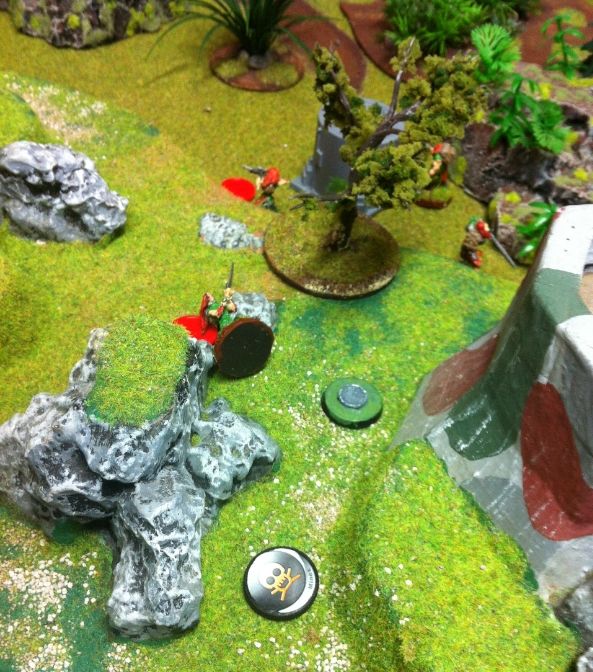
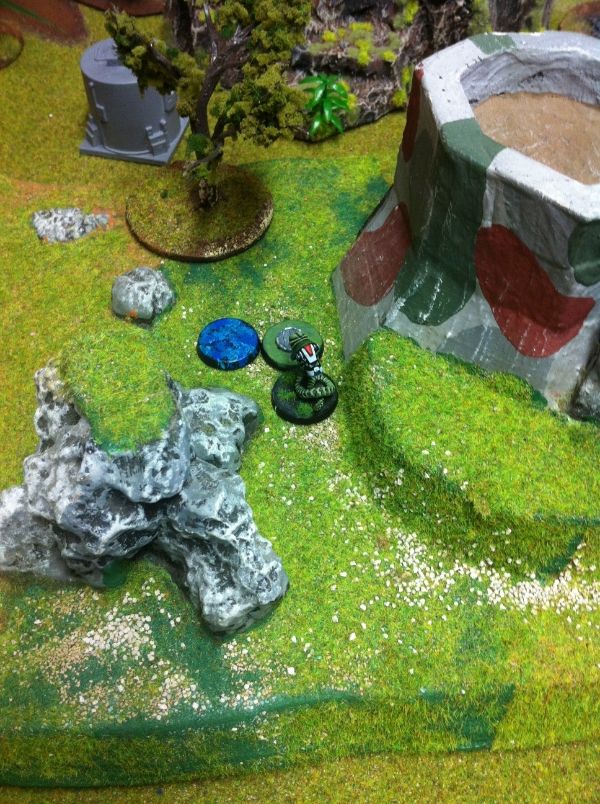
| North east corner of the map. Beacon easily visible. |
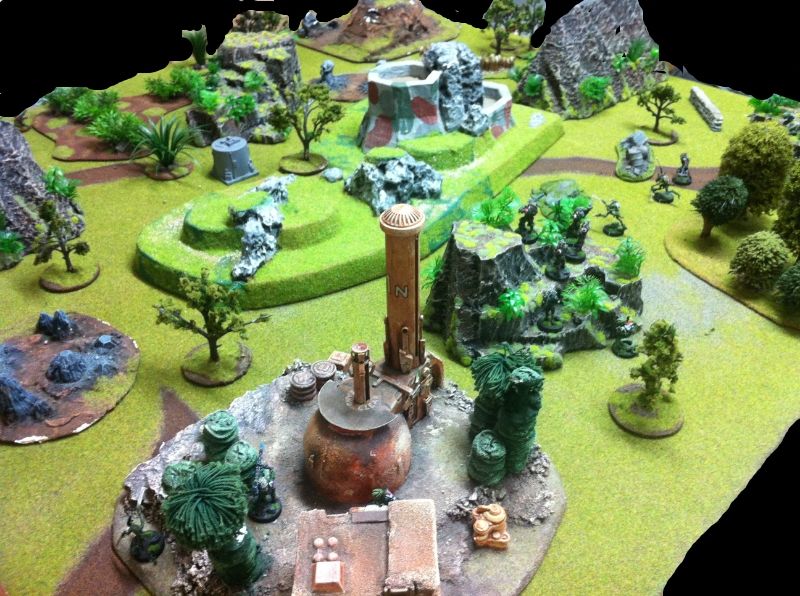
The INTEL medic guy hid in the cave and was guarded by two Caledonian volunteers. The one with the HMG spied down the eastern edge of the cave, seeing a distant Daturazi sunning himself in a fire lane....
GAME BEGINS....
TURN 1- MAF
Impetuous orders go first. Uh-oh. Now I can see how it can be turned into a distinct disadvantage....
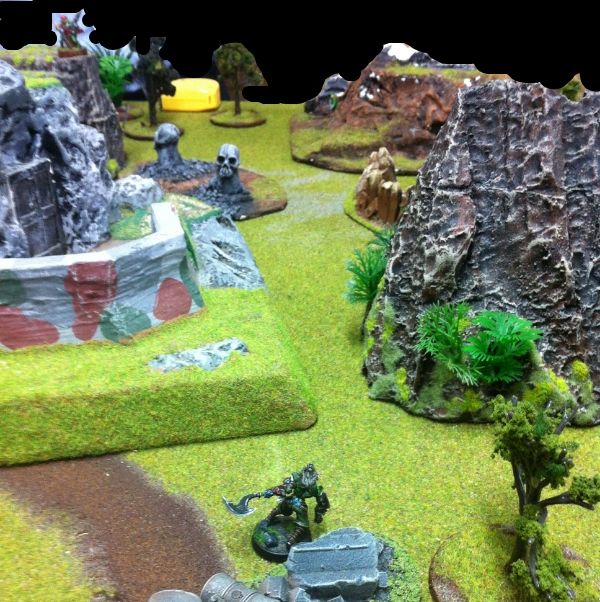 |
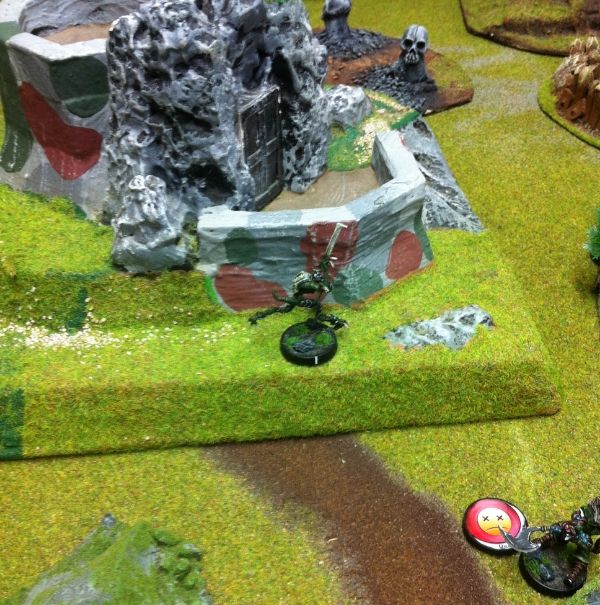
| Foaming at the mouth, Nero vaults the barricade... |
In an attempted clever move, Nero jumps the barricade and rushes towards the distant Volunteer with HMG. Readying his smoke grenade to cover the inevitable ARO he fumbles the pin and it is dropped useless to the floor (I rolled a 17!). The Caledonian rolls a 'critical' hit and Nero is knocked unconscious!
 |
| Charging a machine gun and losing your smoke grenade is not healthy. |
 |
| What's a T2 rifle? |
One Preta makes it up behind the bunker on the hill only to spy a distant Highlander Grey lining it up with a T2 rifle. The shot rings out and the Preta tries to dodge. The critter fails miserably and the T2 shot hits home bursting the the alien apart. No dogged for you!
 |
| I'll be cautious! |
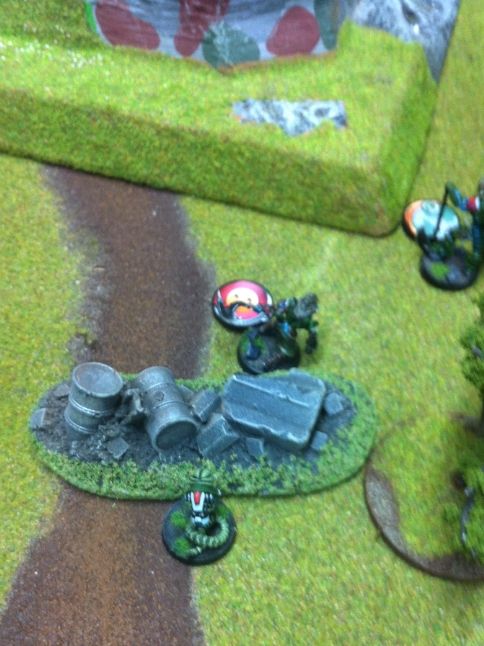
Having one Preta fall prey to the T2 rifle and with that HMG covering all the open ground, another one of my Pretas runs up into cover behind the bunker.
 |
| Charge!!! and Dodge!!! |
The Preta close to the distillery races out towards the rocky cover of the stalagmite field- and into the field of view of the Grey with the HMG. The Highlander hits with his ARO, but the Preta dodges successfully.
 |
| Chicken dancing will not save you now |
My last Preta runs past the unconscious form of Nero and cops a HMG round from the overwatching Highlander Grey in the face. Ha ha! Time to use some Dogged skill. With his irregular order, the alien keeps running and drops a mine- being hit again by the Grey HMG in the process- killing him outright.
 |
| Such speed. Many HMG. Much mine..... Urgh! |
With that the impetuous orders were done. And.... that didn't go that well.
I knew I had been outplayed already- and it wasn't even midway through the first player turn!
 |
| Bacchus lines up the annoying Highlander Grey HMG.... |
Bacchus sprayed fire liberally at the Grey HMG. Suprisingly, only two rounds hit home- one of which was saved. But that was enough and the Grey was knocked unconscious. To make doubly sure that human wasn't coming back, Bacchus unloaded a full burst into the fallen Grey again- killing him.
 |
| Time to get the other Grey! |
Bacchus climbed up onto the highest ledge and spied the other Grey in cover behind the western ridge. Unleashing a five dice burst, he hit three times. Unbelievably, the Grey survived all three hits! Well, maybe not that unbelievably- they are well armoured AND in cover. Either way, the lucky human elected to fail his guts roll and withdrew out of sight.
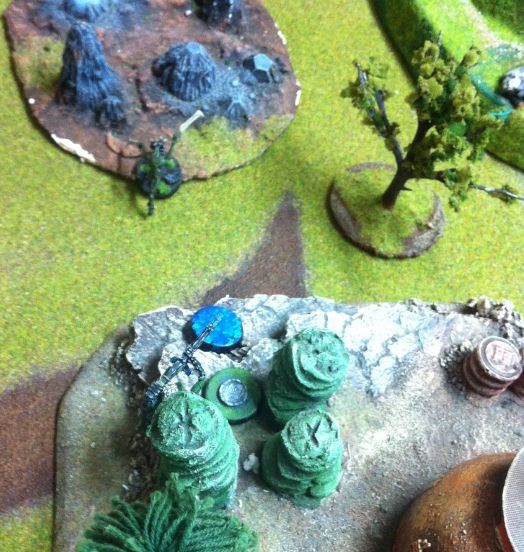 |
| Objective time! |
 |
| I got a big gun! Want to fire it! |
 |
| I see a Wulver! |
Vespasian lined up the nearest Wulver in the Wulver link team and the two traded shots....
 |
| ... *sigh*... |
I shouldn't have been surprised if I actually thought about it. The Wulver is in a link team of 5. That's BS +3 on a high BS model. The modifier bonus for range is negated by my modifier for cover. I on the other hand, have no bonuses. And he's rolling the same number of dice as me- Burst 2 autocannon = burst 2 from the Wulver (1 for ARO and 1 for link team).
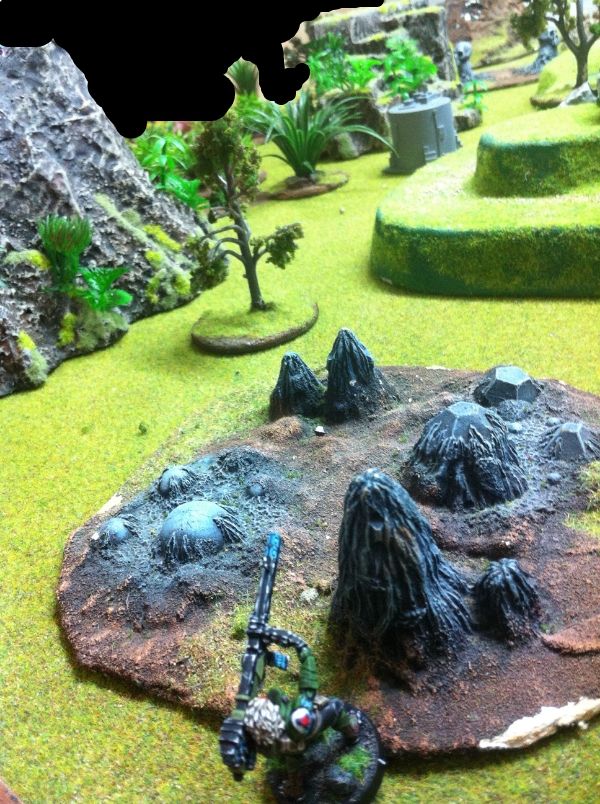
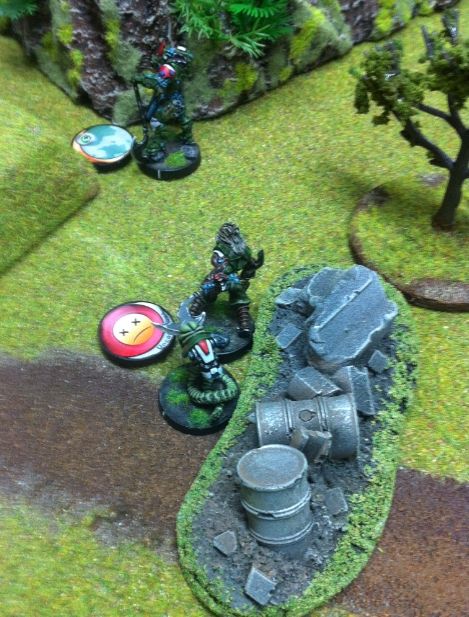
Squishy Kurgat engineers....
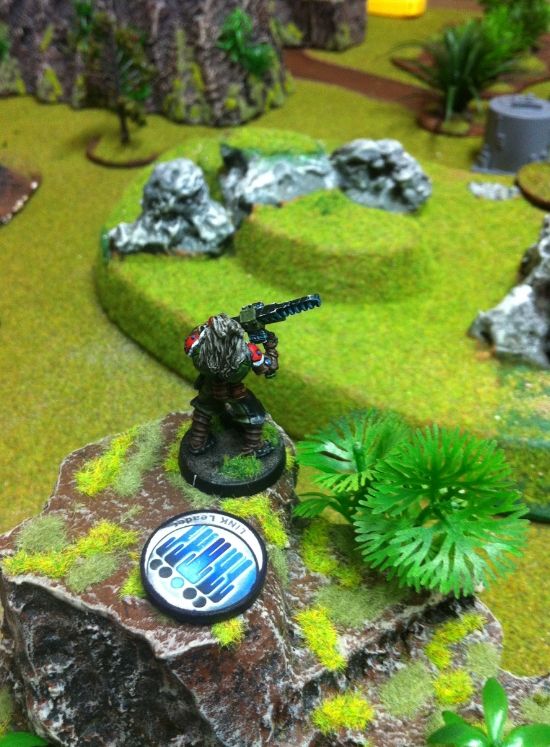
 |
| Never send a combat engineer to do an infantryman's job! |
On the other side of the battlefield, Invictus powered forward into the cover of the eastern ridge. Hefting his HMG, he aimed it at the distant Caledonian volunteer who had downed Nero with a HMG. The cringing human was blown to smithereens, with a critical and two hits being scored. Invictus grunted in satisfaction... he got a kill on his first outing. It was going to be a good day!
 |
| Run slave, run! |
 |
| Wow. Such objective. Much mine. Wow. |
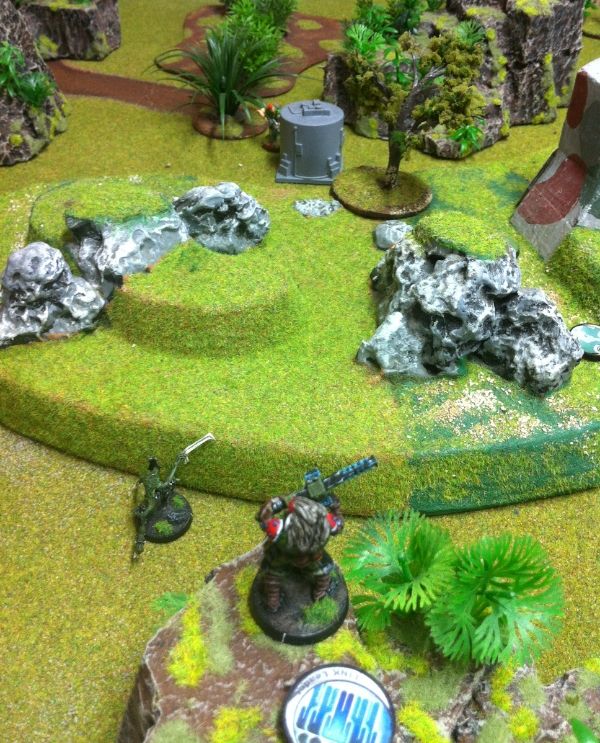
The Preta hiding behind the bunker scooted around towards the centre objective and laid a mine.
 |
| Wow. Such run. Much cover. Wow. |
My other Preta ran from the eastern stalagmite field to hide behind the central hill to wait for the eventual Caledonian assault...
TURN1- CHA
This was going to hurt.
 |
| Wulver! |
The Wulver link team snuck forward and the guy with the Mk12 took cover behind the water tank. It was a very decisive firefight- with Bacchus killed in the uneven exchange.
Yes, uneven. Link team vs link team is equal right? Wrong! A link team of 5 confers +3 BS, which coupled with +1 Burst for link team and given to a high BS model makes a Wulver link team deadly. Really. Really deadly.
Bacchus with his +1 burst, average BS and 1 armour.... not a chance.
|
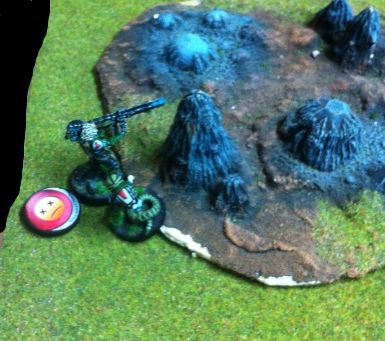
| Not another T2 shot! |
The remaining Caledonian Highlander Grey snuck out from behind the total cover of the western ridge and snapped off a few rounds at the Preta on the central hill. One round hit home but miraculously the Preta passed his damage roll!
 |
| Wow! Much hit. Such luck. Many cover. Wow! |
 |
| What?! |
The Wulvers weren't done with me yet!
The Mk12 Wulver behind the water tank then did something I'd never seen before. Utilizing Climbing Plus he moved 2 inches up to the top of the water tank and let off 2 bursts into Quintus on the right, and 2 bursts into Trajan in the centre. (Marc Antony was obscured by the rocky outcrops on the hill to be involved). Then the cunning Wulver used the last 2 inches of his movement to drop back down into total cover.
Devious!
 |
| Ouch! |
 |
| You wouldn't hit a Morat while he's down would you?! |
The Wulver's remaining 2 bursts from his Mk12, he fired at the fallen form of Vespasian in the stalagmite field. One burst hit, but luckily- the Kurgat's armour held.
Vespasian- revived- gets up and moves back to take a shot at the wounded Wulver. He hits, but the Wulver passes all 3 saves from the EXP ammo.
Wallace rolls his armour saves....
 |
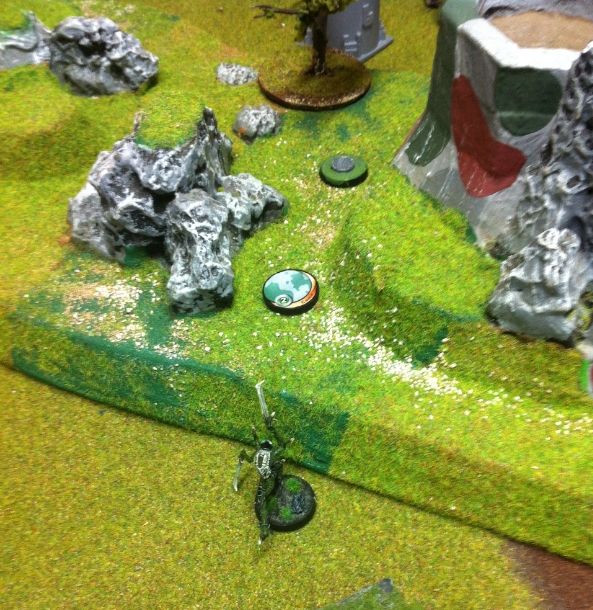
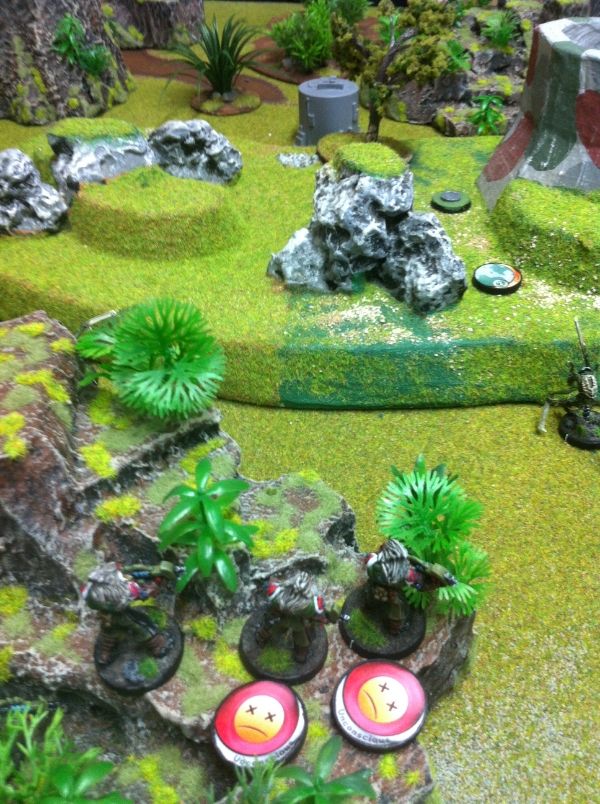
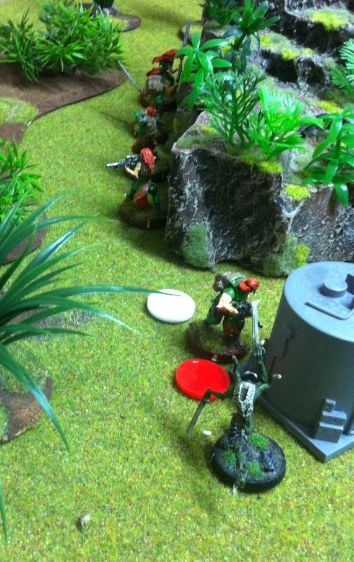
| Objective seizing! The dead Volunteer with HMG can be seen on the right (covered in blood). |
With the main threats taken out, the INTEL medic/ engineer man raced out from the cave and made contact with the beacon. He attempted to activate. Failed. Tried again. Failed. Tried again. Success!
And then he scuttled back into cover.
In hindsight, I was lucky the Intel man failed so many times. That blasted Wulver would have used those orders to kill my unconscious models and make the game totally beyond doubt (if it wasn't already).
TURN2- MAF
Impetuous moves!
|
| Wow! Much impetuous. Such T2. Many charge. Wow! |
 |
| Makes it! |
The Preta closest to the bunker races forward- not even bothering to dodge as the Highlander Grey with the T2 rifle ARO's a burst. It was a gamble! An unopposed roll hitting on a 7 or below. Luckily, the dice gods favoured the bold and the Preta makes it.
 |
| Much repeat! |
The last Preta bounds up from the bottom of the hill and into view of the Wulver with the Mk12.
 |
| Chain rifle! |
The exchange is brief. The Wulver shrugs off the chain rifle burst and inflicts a wound.
One word. Dogged.
 |
| Chain rifle again! |
The Preta pushes on, gushing alien ichor from its wounds. It fires its chain rifle again. The Wulvers blast it repeatedly- finally bringing it down.
Despite the chain rifle template covering two Wulvers, their armour and cover saves do wonders. No cigar.
 |
| Last chance! |
Again! Again!
The last Preta races forward, catching a T2 burst and the Wulver link team ARO full in the face. But not before laying down a perfect chain rifle template covering two Wulvers and Wallace!
 |
| Wow. Much template. Such ARO. Many damage. Urgh! |
The Preta- despite dying to the combined firepower- managed to kill the Wulver by the water tank and put a wound on another Wulver in the team. Wallace- lucky man- passed his armour roll handily.
Right, now it was healing time!
 |
| Medic! |
A slave drone slithered up Nero and revived him!
 |
| Resus! |
... and Vespasian!
At the same time each slave drone MOVED-HEALED, Dr. Worm was doing the same thing to the unconscious Vanguards on the hill. This Ghost: Servant proved to be a neat trick.
 |
| You're lucky I brought my Doctor's bag.... |
Not one of them killed in the process!
With his work done, Dr. Worm dropped back behind the hill. Those damn Wulvers....
 |
| Let's try it again! |
Ah crap.
Nero leapt up onto the hill and then ran right up to the bunker. Then he step out into view...
TURN2- CHA
 |
| More climbing plus! |
Another Wulver with a Mk12 clambers atop the northern mesa and trades fire with the two Vanguards.
Quintus is killed with a critical and a hit.
Trajan (in the middle) somehow avoids the incoming fire, but misses his own burst back. Unsurprising I suppose, since he needs something like 2's to hit.
 |
| ARO with the AC! Do it! |
Vespasian- seeing the opportunity, ARO's with his autocannon and lands a round with his unopposed ARO burst. Unfortunately, the Wulver saves two of the three hits from the explosive ammo. Still- that's one less wound I guess.
 |
| Not this trick again! |
The Mk12 Wulver races forward unleashing 2 bursts at Trajan and two bursts at Vespasian.
 |
| Splattered whilst Marc Antony grimaces. |
Trajan is killed outright with another critical and a hit.
 |
| Again?! Haven't I fixed you already? |
Vespasian is once again knocked unconscious.
With that, the Wulvers surged forward over the central hill.
 |
| Boom! |
One of the Wulvers charges forward to set off the mine guarding the objective. It goes off- and kills the Wulver in the process.
 |
| Wallace to the fore! |
With the mine cleared, Wallace runs forward to the central beacon.
He rolls... SUCCESS.
Caledonians 3 points, Morats 1 point.
 |
| Movement |
With their last orders, the Wulver link team (with Wallace)- swings behind the bunker.
Leaving one wounded Wulver to cover the objective from the edge of the bunker, Wallace trades shots with Invictus- the Sogarat by the eastern ridge.
 |
| Wallace versus Invictus. |
The firefight is inconclusive- Wallace is forced to duck back behind cover from the Sogarat's HMG ARO but takes no wounds.
TURN3- MAF
Things are tense now.
Impetuous moves!
 |
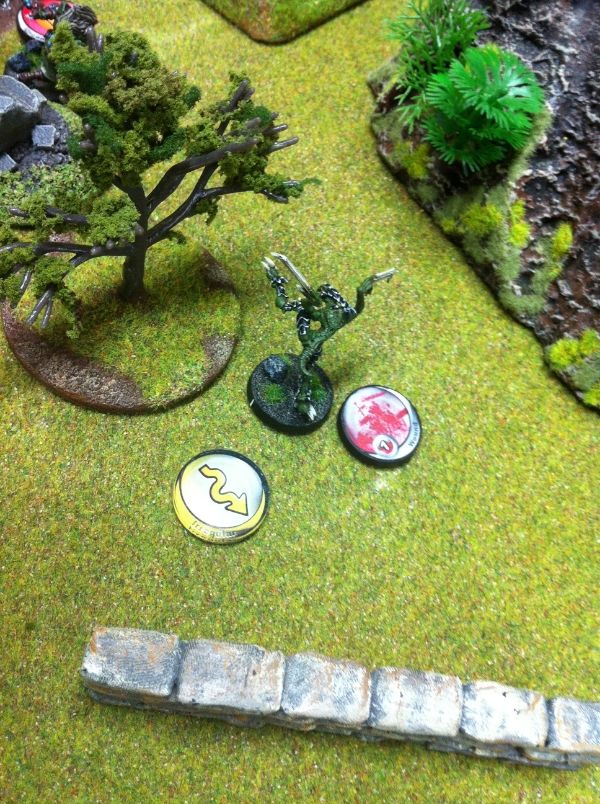
| Nero barrels forward! |
 |
| And into Chain Rifle range! |
The rear Wulver passes his armour test handily, but Wallace fails by rolling a "1"!
Luckily Wallace has no wound incapacitation so the game was still on.
Nero is not so lucky and his knocked unconscious by Wallace's flamer. Being on fire and unconscious is a bad thing- and Nero is burned to a crisp!
With only 5 orders left- one of them the Lieutenant special order- it was looking to be grim.
 |
| Octavian steps up to the challenge. |
Using his Lieutenant special order, Octavian moved into position on the hill overlooking the centre beacon. Hefting his combi rifle (burst 3 versus his panzerfaust with only 1 burst), he fired on the wounded Wulver covering the objective.
The Wulver whiffs her ARO and is struck three times. She dies.
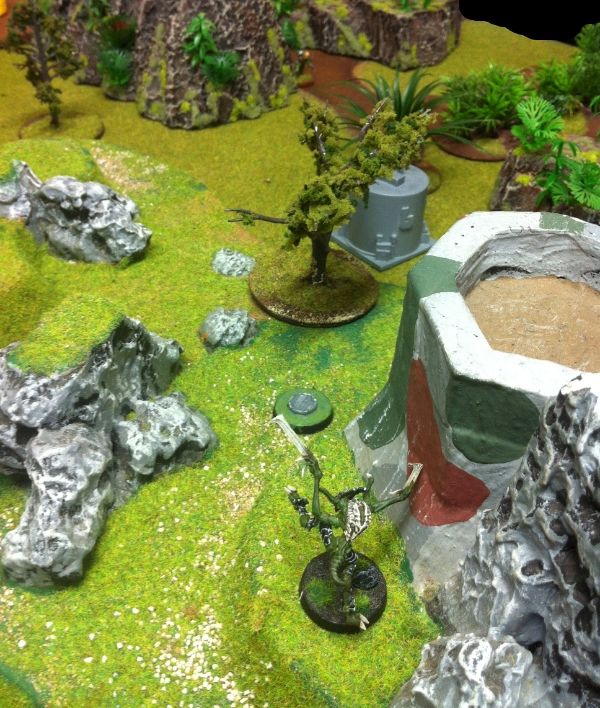
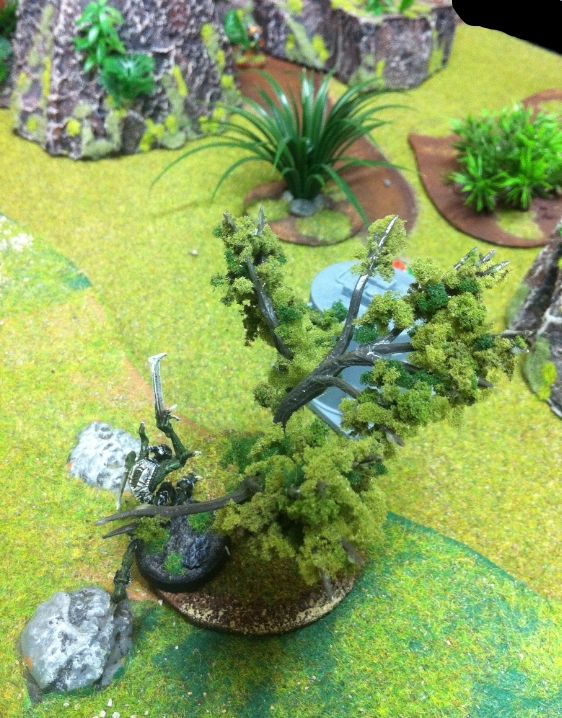
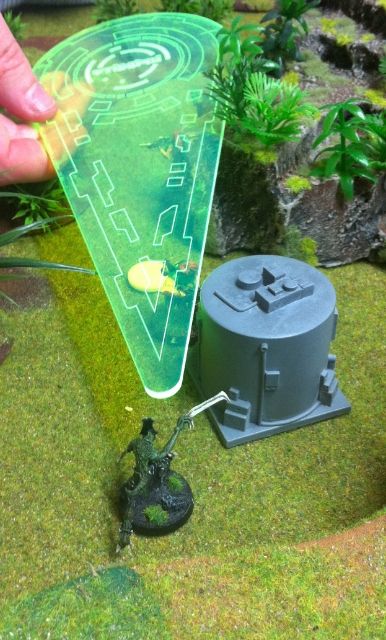
Doctor Worm sends one of his slave drones forward.
First order- move- move.
Second order- move to contact- roll to neutralize the beacon. Success! Phew.
Third order- to capture the objective....
 |
| "4" |
... A "4"! Success!
Morats 3 points; Caledonians 1 point!
 |
| The last order.... |
And the last order is given to Invictus to make sure Wallace cannot move back around to recapture that objective.
 |
| Head hunter. |
Invictus moves out of cover and into the open to engage Wallace.
Wallace fires his flame thrower in response and the last Wulver AROs with his shotgun. Invictus shrugs off their hits with his ARM6 easily and lines up Wallace with all four bursts.
 |
| Hit. Hit. Hit. Hit. |
 |
| Pass. Pass. Pass. Fail. |
The last burst of fire from the Sogarat finally kills Wallace.
Invictus grinned a malevolent alien smile behind his face plate.
Invictus grinned a malevolent alien smile behind his face plate.
TURN3- CHA
With the Caledonians in Loss of Lieutenant and in full retreat they would be unable to retake the centre beacon.
With that- the game was done.
MORAT VICTORY!
CONCLUSION
That game was tense!
I wish I could take all the credit for the win, but it's not true. There was a lot of coaching and explaining going on by my opponent. I have no doubt at all that if we had played competitively- I would have been finished from Turn 1. As I'm sure some of his opponents at CANCON have found out. His point was that playing a game and losing in the first turn doesn't teach very much- and teaching the game was what this was all about.
There were a number of important things I picked up during the match (which was the whole point of the game).
1. Impetuous can be used against you by a canny opponent.
I'd heard about it of course- on the forums- but seeing it done leaves a real impression!
2. Link teams of 5- with the +3BS makes a difference.
... a big difference.
3. Utilize your slaves in conjunction with the controller to do lots of things in different parts of the battlefield to conserve orders. I've checked the wiki and it does appear that the Medic can "move and heal" and his remote can do the same!
(If I'm wrong- someone correct me).
4. Get a Hungries controller device to make the most out of dogged and limit ARO's against Preta advances.
It was a really fun game, and I hope you enjoyed reading it as much as I did playing it!
Until next time!
I am building a MAF myself. Your BatReps are giving me much to think about. Keep them coming!
ReplyDeleteThat's great to hear. I like the MAF aesthetic and their play style is relatively uncomplicated. I hope to be able to post more batreps in the future- Infinity is great fun to play!
Delete