 |
| Warsenal Kum Biker Garage. Kum at me! |
So I have a confession to make. I have boxes of Warsenal terrain sitting in my cupboard. Shipped across many oceans and costing a pretty penny- they have sat wrapped up and unloved in a cupboard.
That stops now.
 |
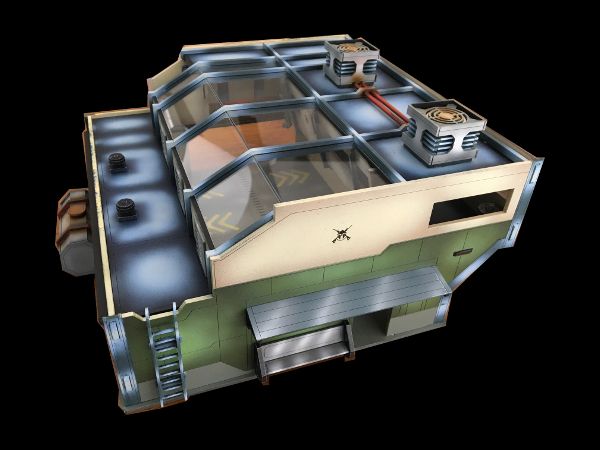
| Shiny!!! |
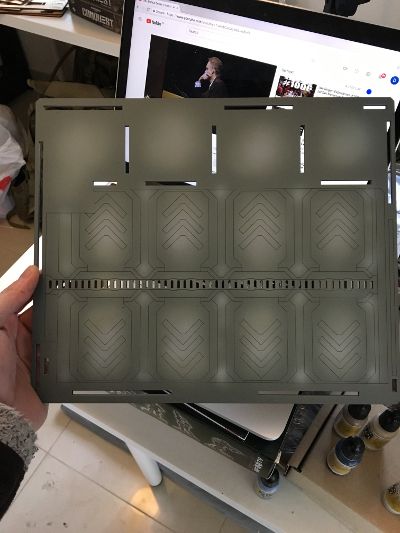
There was also a hobby competition on the local Infinity page so with killing two birds with one stone, I unwrapped this beast of a kit and got started.
 |
| Window grills left off for rifle barrels... yes, I made it to play on. |
I was intimidated but also quite excited- I am not as terrified on trying new techniques on terrain- so I was going to experiment with different colours and airburshing styles.
 |
| Come inside, don't stand there. |
As with most big kits, sub assembly is the key.
 |
| Panel highlights! |
It became clear there was going to be a lot of tape I was going to need to use.
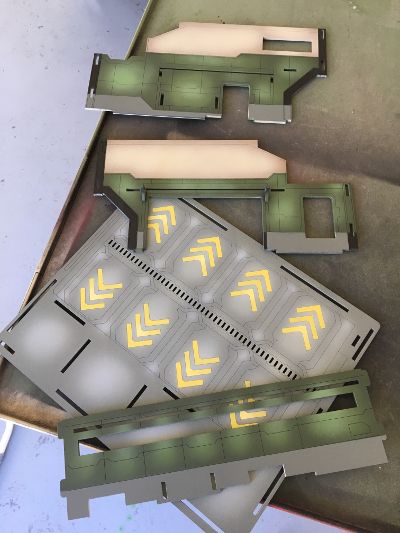 |
| Rattle can, taping and panel highlights. |
I tried to replicate the beautiful 'studio' Warsenal terrain. Each panel of their buildings is highlighted to make an amazing NMM effect. I wanted to try!
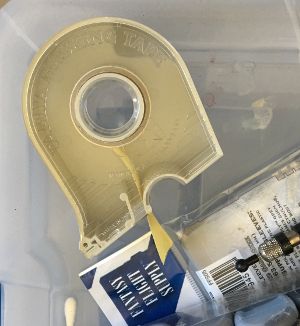 |
| A hiccup! |
So there are always hiccups with these things...
 |
| So sometimes you just gotta improvise... |
Tamiya tape is actually really expensive! I've since been informed by helpful hobbyists that painters tape at the local hardware store is almost as good- and more importantly... cheap!
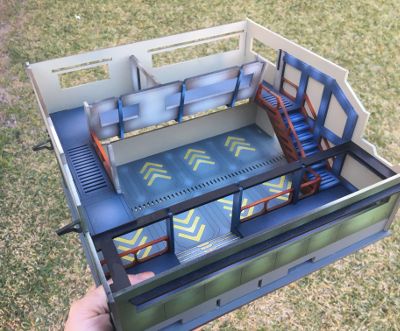 |
| Sub assemblies... assemble! |
So I didn't do this very well. There was a lot of swearing, wheedling, application of brute force and ultimately some breaking of MDF- but I jammed the internals into the frame.
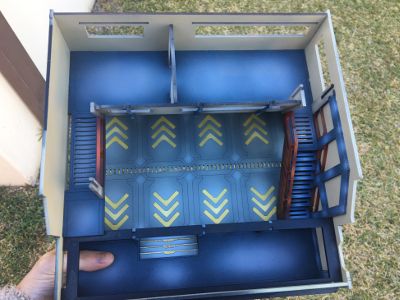 |
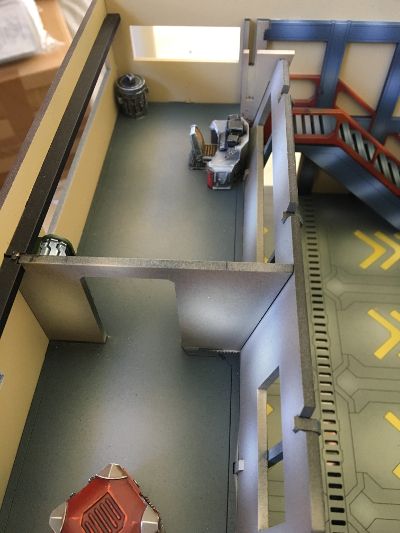
| Ooooooh... look at those arrows! |
I was quite pleased with how the panel highlights bring out the flooring effects inside the building.
 |
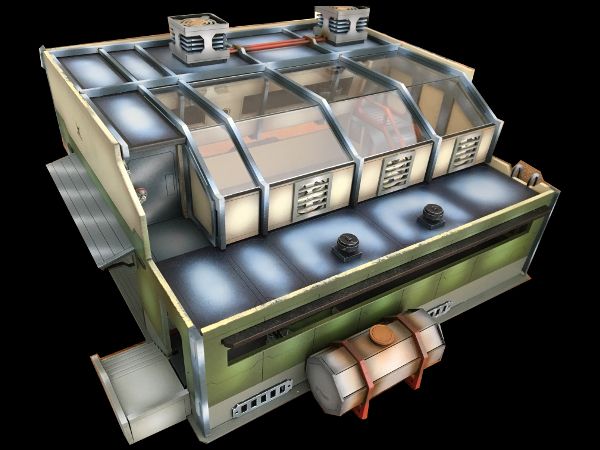
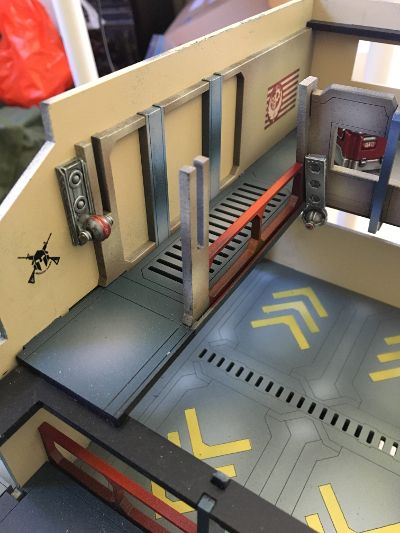
| Devil's in the details |
With the superstructure completed, I hammered away at the details. I really wanted to try various NMM techniques (the diagonal stripe highlights) with the rationale that if I wrecked it... I'd apply weathering to hide it.
The blue bin didn't work out so well- the contrast between base coat and highlight was way too stark- so I dirtied it up.
 |
| Classic brush detailing |
Some doodads were too small for the airbrush so I got on with the brush.
 |
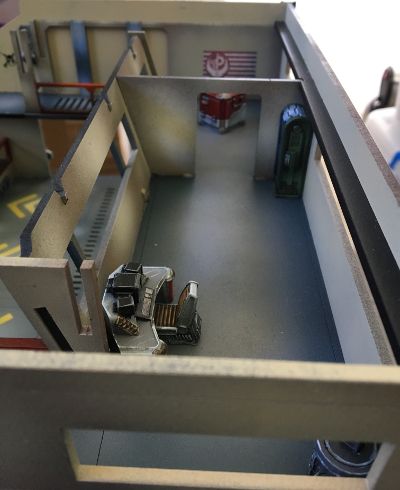
| Scatter time! |
Now I was determined to make the insides of the building pretty.
 |
| Smile, you're on camera. |
I also added some posters and decals for that homely lived in feel.
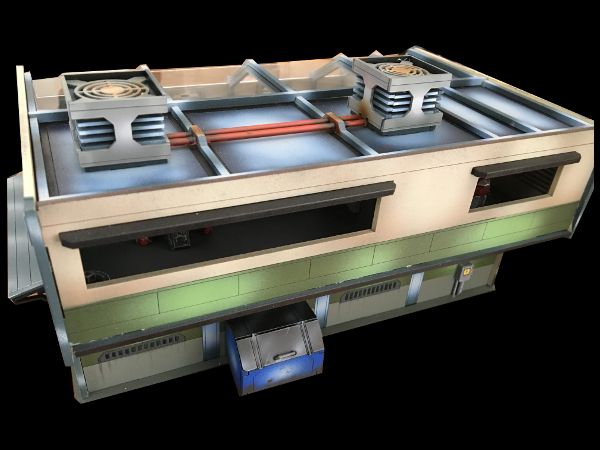
 |
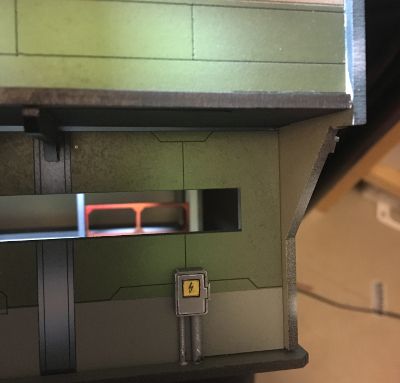
| The floor manager gets a computer. |
 |
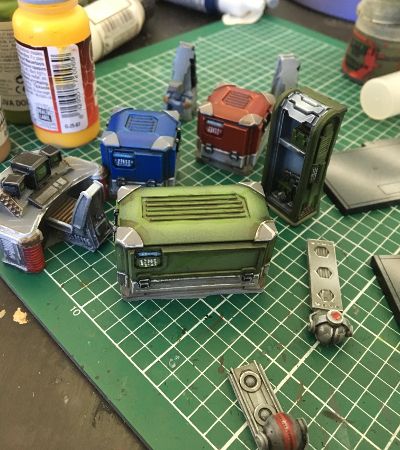
| Positioning crates |
I deliberately put the crates in areas to give some partial cover to models fighting inside the garage.
 |
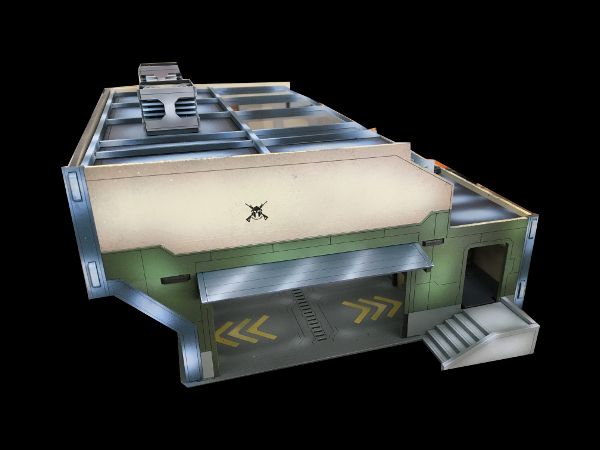
| Come and take it! |
So with one building down... it was time to attack my next piece of mdf forgotten in a cupboard.
 |
| No matter the cost! |
Until next time. Happy hobbying!

No comments:
Post a Comment