
 |
| I want your boots, your keys and your motorcycle... |
This was a friendly (re)-match at my local gaming club.
It had two goals: 1) Try out my first stab at a 250point ITS list and 2) Gain greater familiarity with ITS scenarios.
My opponent was the same gentleman who played against me in the last match. He had tweaked his list and was keen to see how he'd go with a few more orders in his pool. And just like a fortnight ago- he brought a big bag of chips! Yummy!!!!
Without further ado, let's get into it shall we?
ARMIES
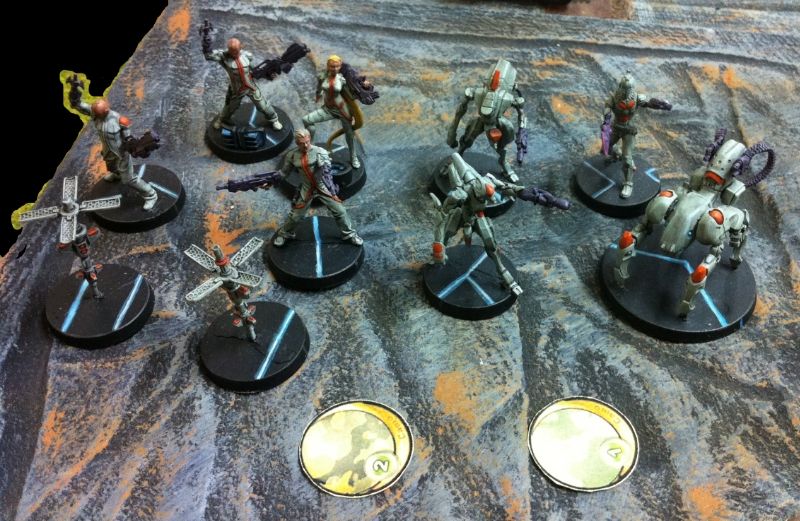
ALEPH
Deva- Lieutenant- Combi rifle
+ Deva Bot
Deva - Combi rifle
+ Deva Bot
Deva- Spitfire
Deva- Spitfire
Naga- Hacker- Camouflage
Naga- Sniper- Camouflage
Zayin Rebot- HMG- total reaction
Myrmidon- chain rifle
Netrod
Netrod
248 points/ 5 SWC
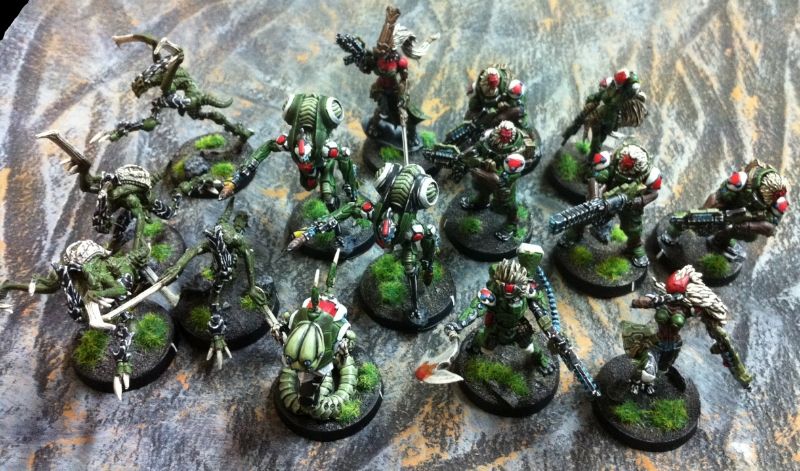
217th Expeditionary Force- MORAT AGGRESSION FORCE
Combat Group #1
Yaogat- Caesar- Spitfire
Zerat Hacker- Calonice- Combi rifle
Oznat- Lysistrata- Combi rifle/ light grenade launcher
Preta- Chain rifle
Preta- Chain rifle
Preta- Chain rifle
Preta- Chain rifle
Ikadron- Steggles
Ikadron- Ingham
Medchanoid- Combi rifle- Dr. Worm
Combat Group #2
Vanguard- Lieutenant- Quintus- Combi rifle
Vanguard- Trajan- Combi rifle
Vanguard-Marc Antony- Combi rifle
Vanguard- Bacchus- HMG
Treitak- Anyat- K12 combi rifle
248 points/ 5 SWC
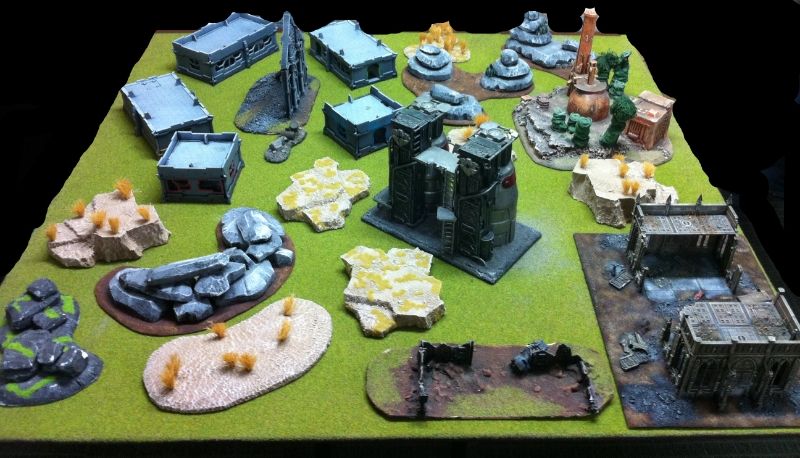
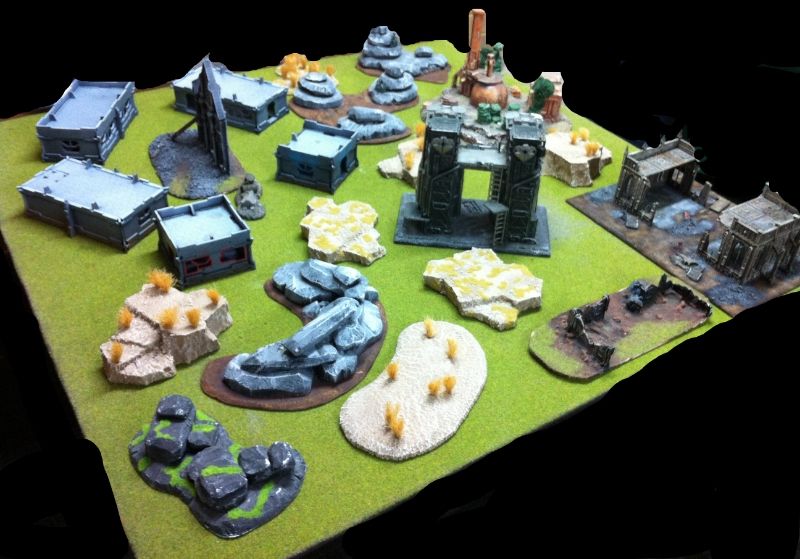
TERRAIN
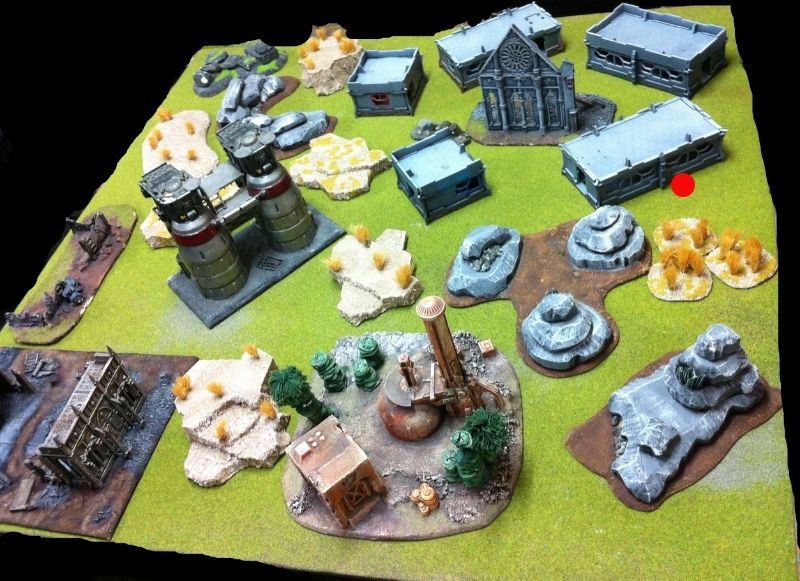
Map orientation: LEFT is south. RIGHT is north. Near ground is EAST. Far ground is WEST.
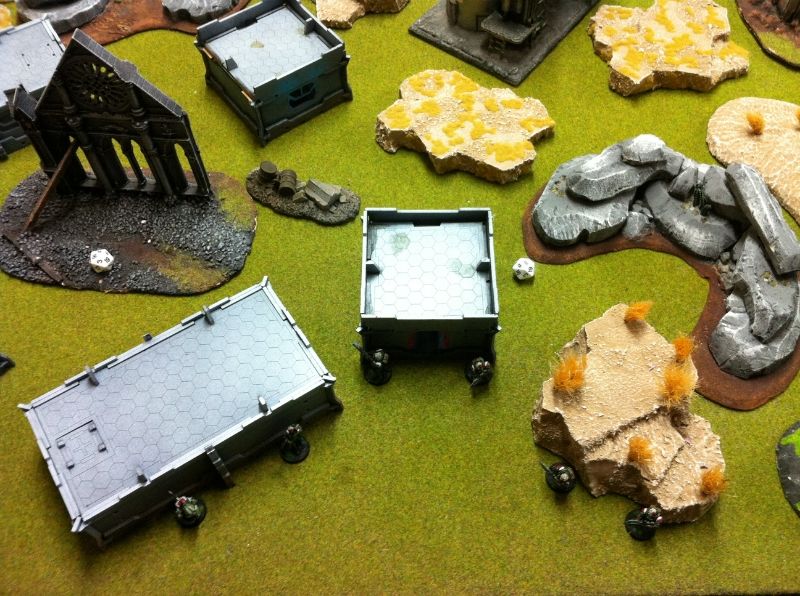
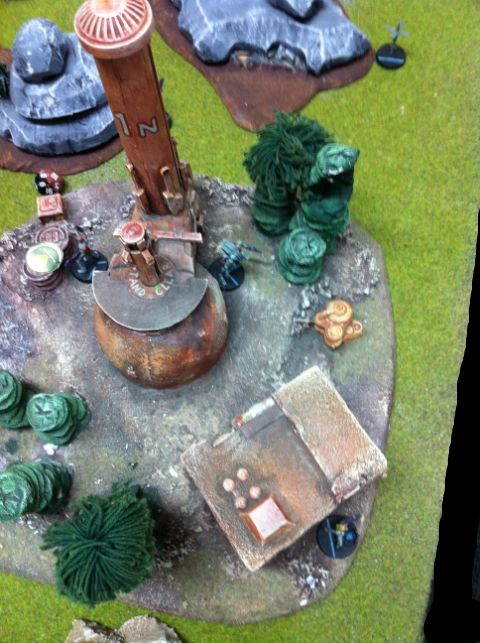
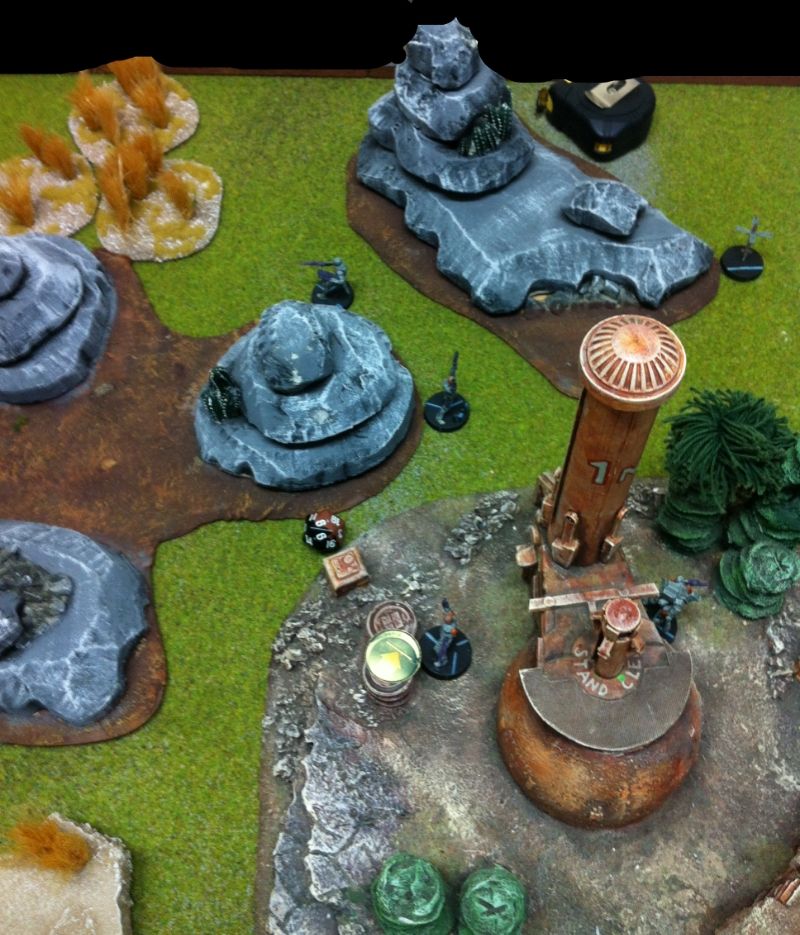
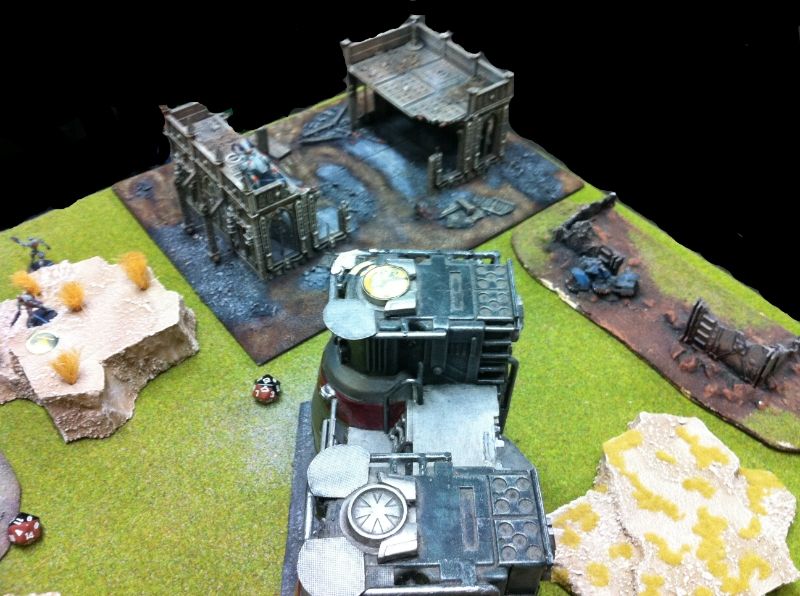
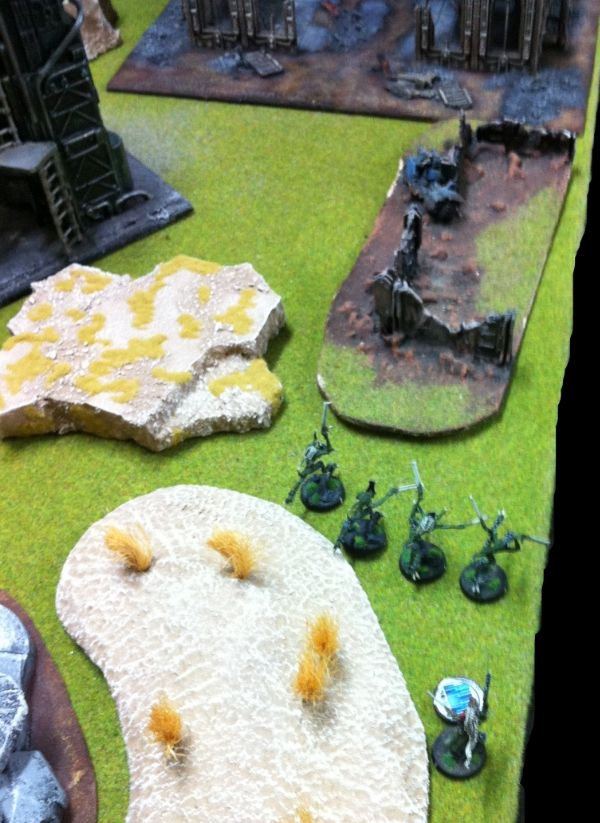
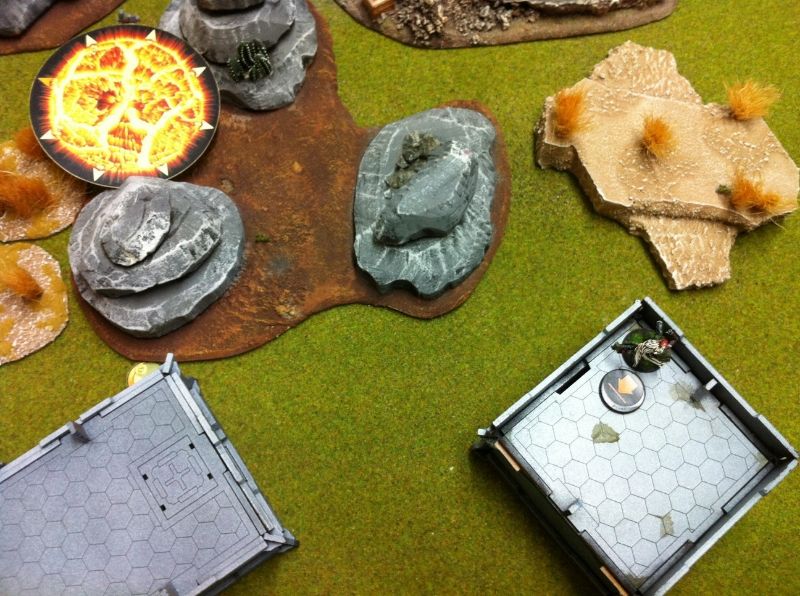
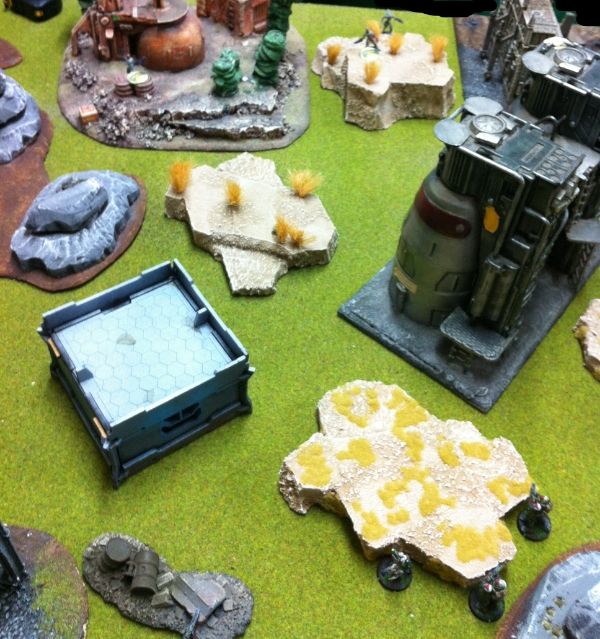
Key terrain pieces:
1. Ruined warehouse- in the north east corner.
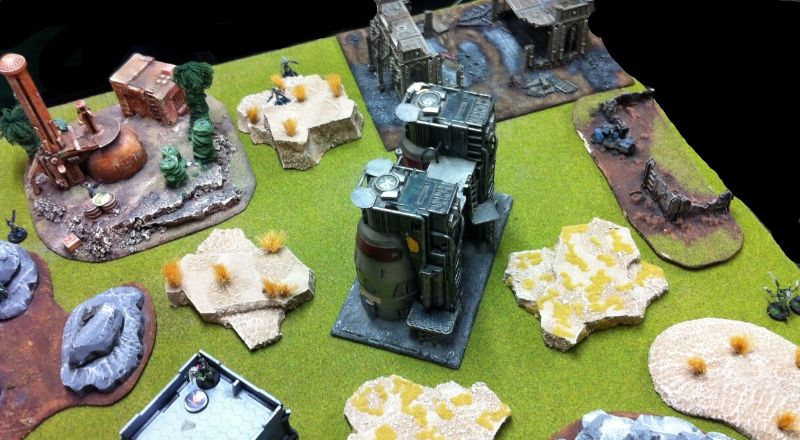
2. Twin silos- in the centre of the camp.
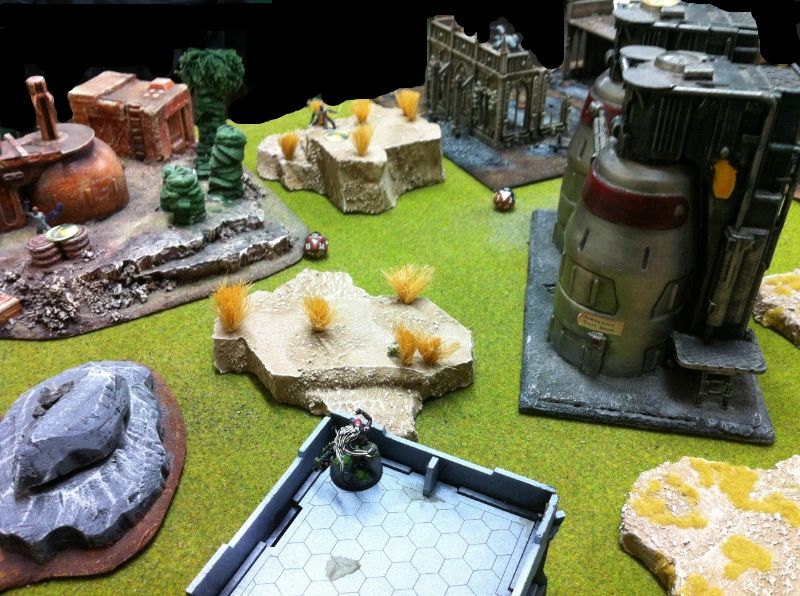
3. Cathedral facade- south west corner of the battleground, ringed by some administration buildings.
4. Power station- in the northern deployment zone.
5. Triad rock cluster- just south of the Power station.
MISSION
This was a game of Quadrant Control straight from the ITS2014 Scenario.
In this game points are scored at the end of every game turn.
If you Dominate the same number of Quadrants as your opponent- you earn 1 point.
If you Dominate more Quadrants than your opponent- you earn 3 points.
Each player also gets one Classified Objective- worth 1 point.
We were so raring to go that we totally forgot about Classified Objectives... :D!
LIEUTENANT ROLL OFF
I won the Lieutenant roll off and elected to go first- yes!
My opponent chose the NORTH side and made me deploy first on the south side with my Morats.
DEPLOYMENT
MAF
I get the first turn! How exciting! Time to deploy my guys so they can do maximum damage in turn 1.
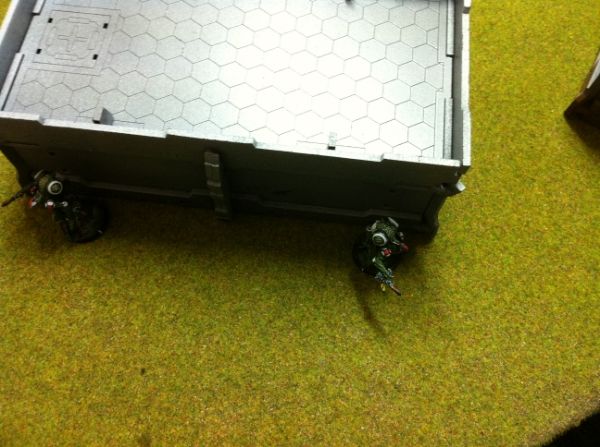
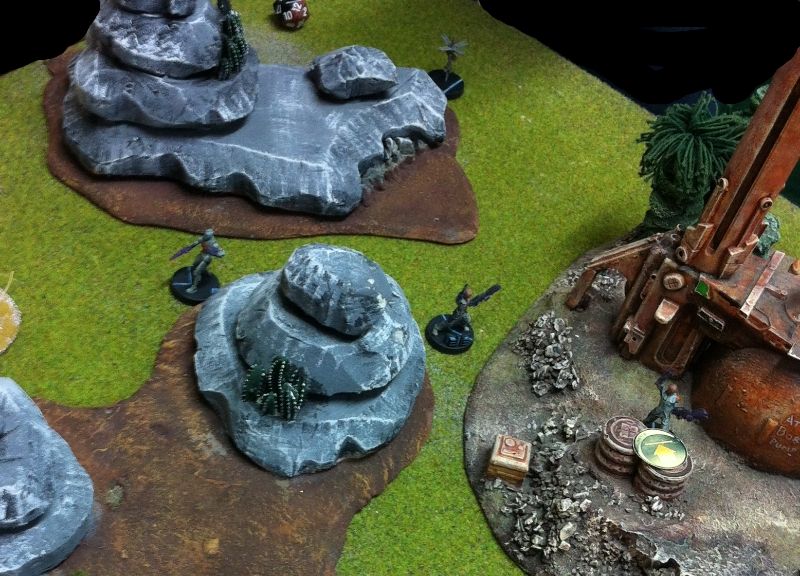
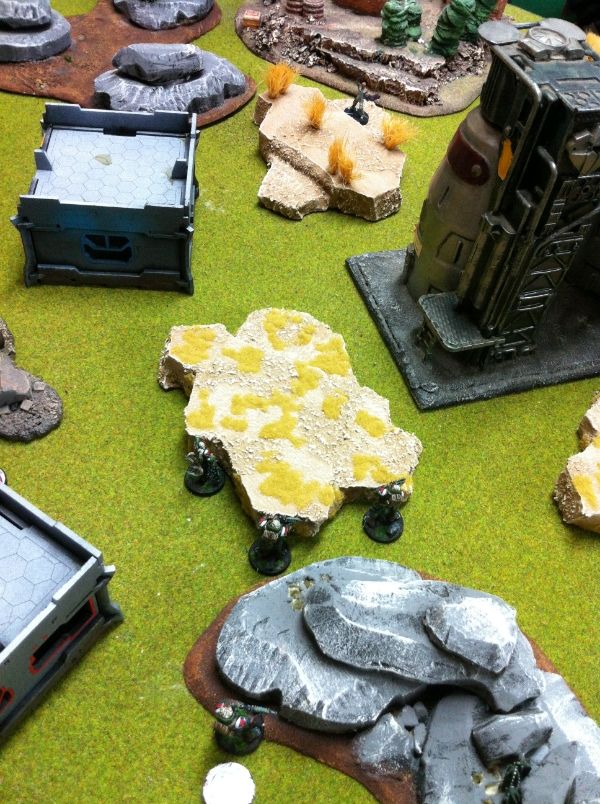
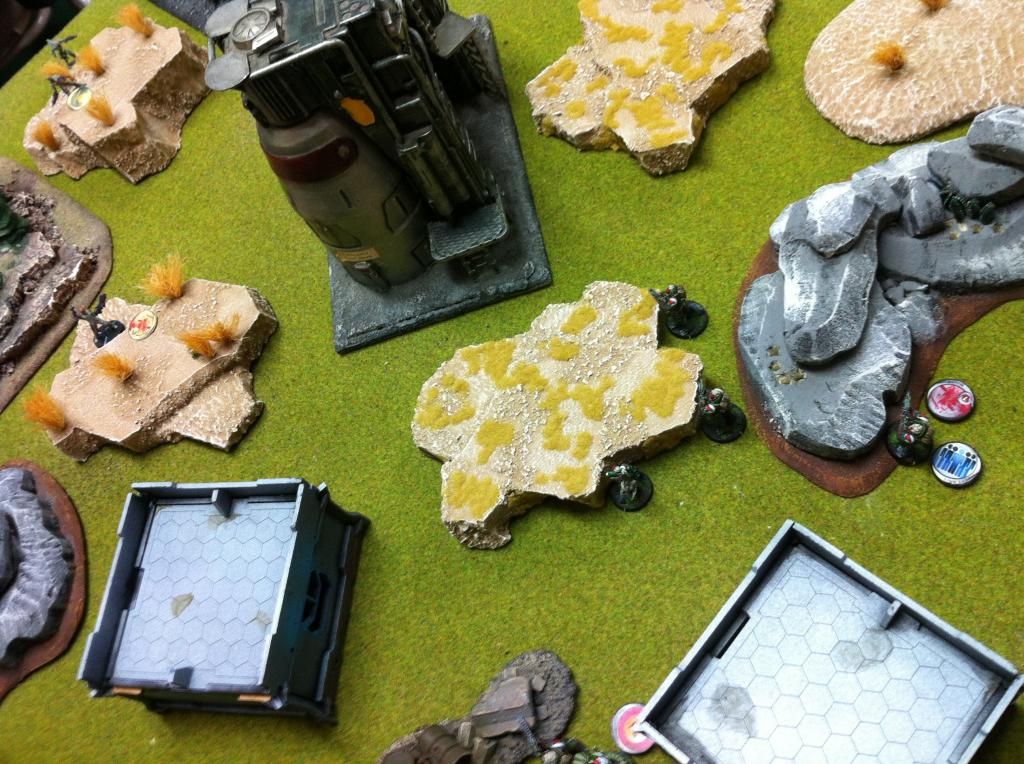
I decided to get my link team of Pretas and the Oznat positioned on the eastern flank- covered by the rocky outcrops- in order to rush the ALEPH flank.
The Morat Vanguards- with their trusty HMG heavy- covered the centre. Anyat kept close by, ready to be the fifth link team member when the Pretas were shot to bits.
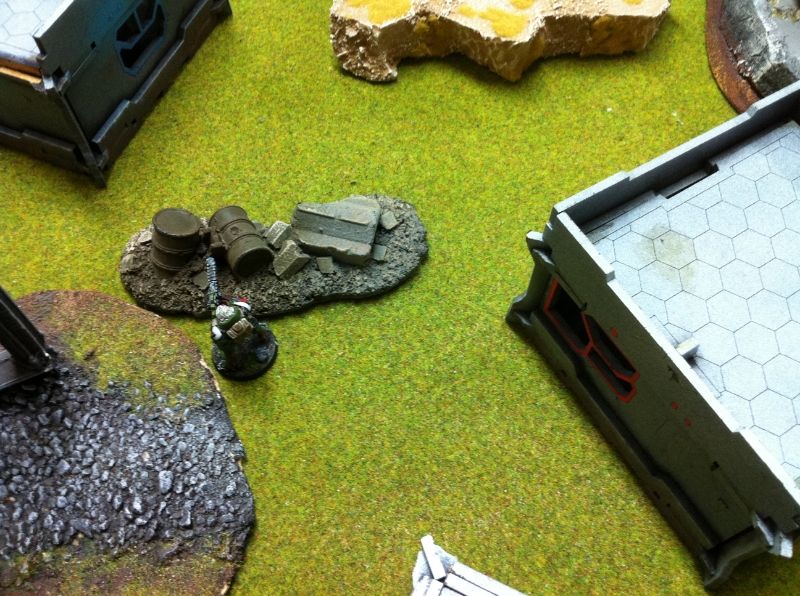
Dr. Worm hid in full cover with the Anyat.
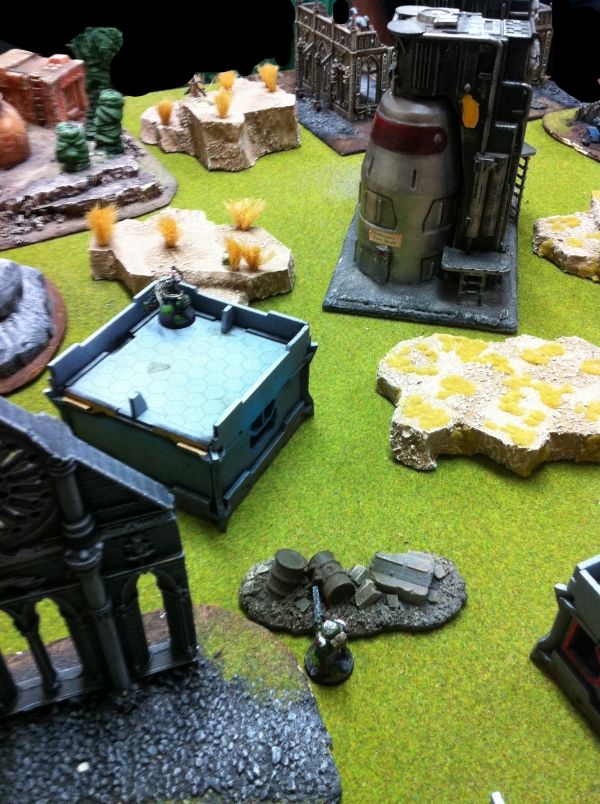
To guard the western flank (around the Cathedral facade)- I put my two Ikadrons.
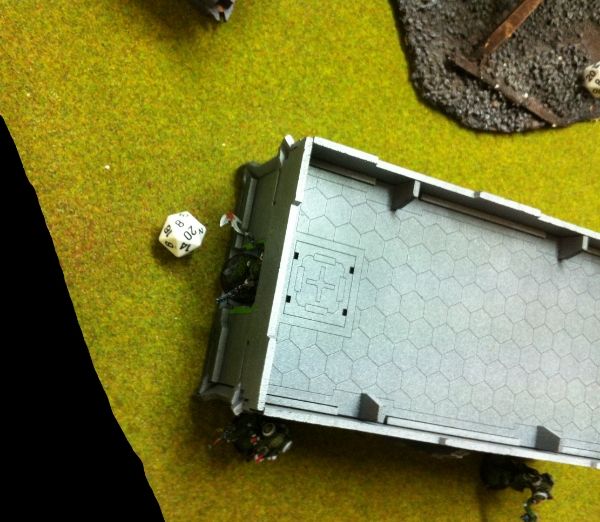
I placed my Yaogat Spitfire on the western flank too- hidden just in the doorway- to back up my Ikadrons.
ALEPH
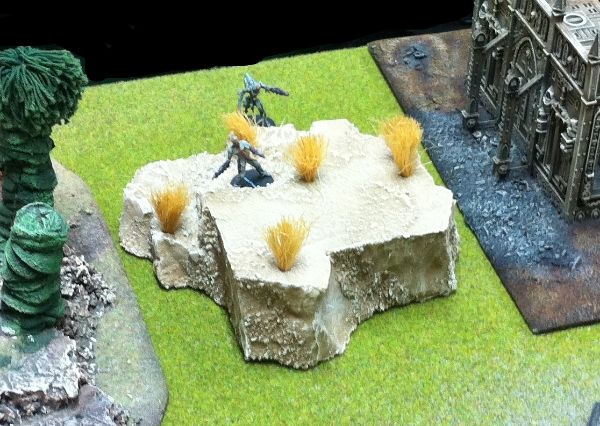
My opponent started with his Netrod aerial deployment.
Both were supposed to land behind the green rocks- but they both failed their PH rolls. One landed in full cover on his western edge. The other failed so dismally it flew off the board never to be seen again.
On his eastern flank- the total reaction remote covered the approach of my Oznat- Preta link team.
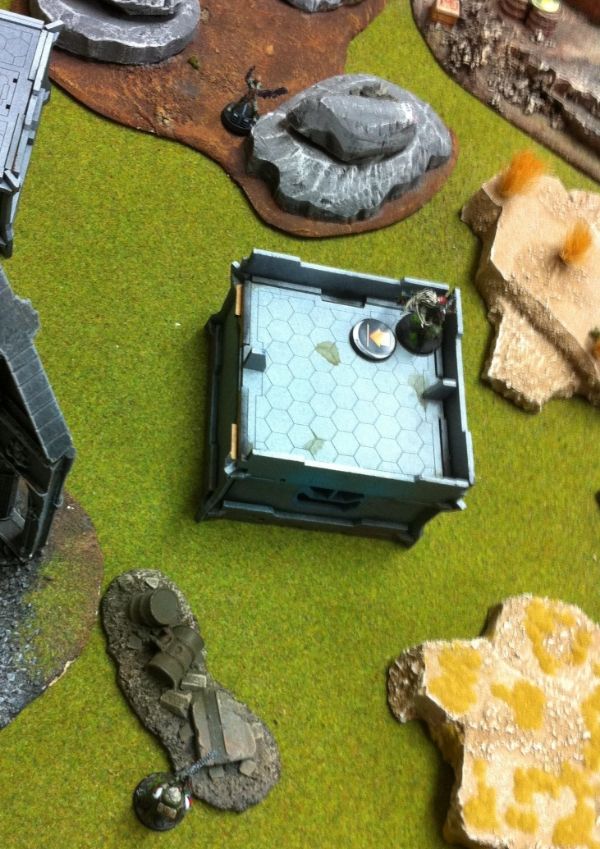
A Deva (the ALEPH Lieutenant) and his bot took up position covering the centre on a sandy hill. (I didn't know who this was at the time). He elected to go prone.
Another Deva hid behind the power plant, and another (Spitfire) went prone behind the barrels at the front of the power plant.
On the ALEPH western flank, another Deva (armed with a spitfire) took cover behind the rocks with his Myrmidon buddy.
Finally an ALEPH camo token was placed just to the north of the admin building cluster- skulking in total cover.
RESERVE PLACEMENT
Time to try out infiltration!
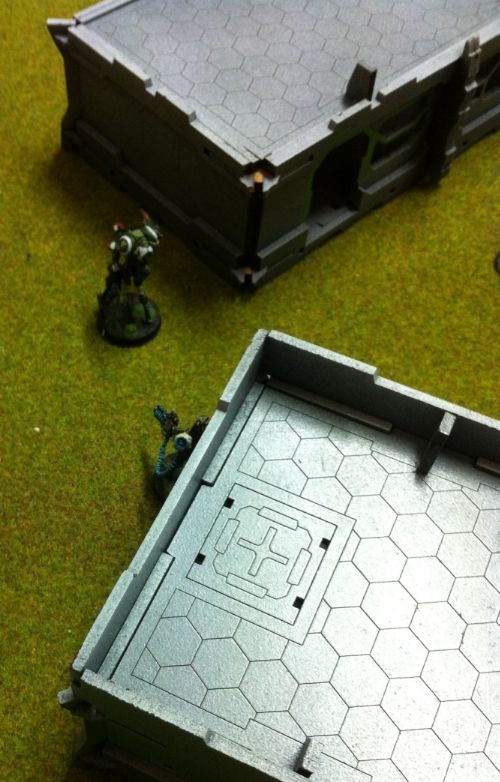
My Zerat hacker I moved up into partial cover atop one of the admin buildings. At this point I remembered she was only armed with a combi rifle... I guess we'll have to see how this goes!
The ALEPH reserve infiltrates into a commanding camouflaged position!
THE BATTLE BEGINS!
TURN 1- MAF
Right first turn! Time to unleash the hordes of Pretas.... Oh wait- there's a total reaction remote staring right at them. Intimidated by that HMG- I started looking elsewhere on the battlefield to make my mark.
Bacchus- excited to have his paint job completed- edged out of cover around the ruined cathedral and spied a distant Myrmidon with his HMG.
Unfortunately the combination of Myrmidon ODD and the +3 bonus to short ranged smoke throws meant the Myrmidon won the face to face roll handily.
Disappointed at missing his first target, Bacchus moved into cover to spy the Zayin Rebot in the distance....
OK, it's risky- but I can't afford to be stuck in my deployment zone forever. Bacchus lets loose with his 4 burst HMG....
The Zayin Rebot is destroyed. Bacchus pumped his fist in satisfaction- first outing and he gets a kill!
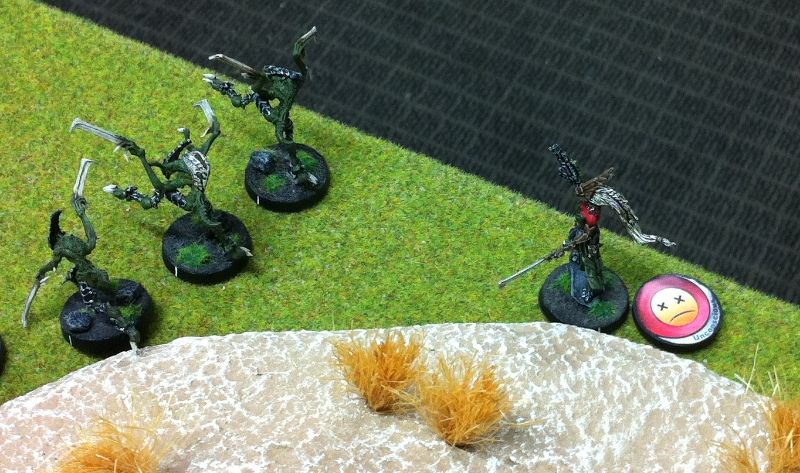
Freed from the overwatching Zayin, the Oznat and Preta link team advance. The critters were smacking their alien lips with the thought of twin chain rifles directed onto expensive ALEPH models....
... Except that ALEPH has other ideas!
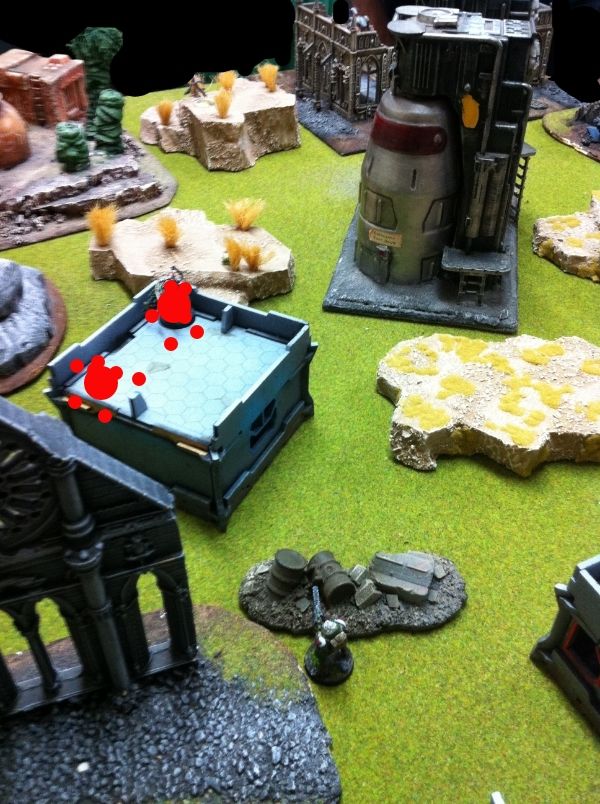
Throwing off her electronic shroud- the Naga sniper emerges at the top of one of the silos and fires at the Oznat.
Despite the Sixth Sense L2 skill- allowing a face to face roll- the Oznat fails to dodge and is knocked out.
Outrageous! How did the EI not remember that camo token was there?!
Well at least I can now put that Link Leader token onto my Vanguards and link them.
Using my Lieutenant special order, I formed a new link team with the Vanguards in the centre.
Now it's time for revenge....
Right! So now the eastern flank is clear....
No longer linked- the Pretas have become a bundle of order inefficient trouble.
Successfully dodging a spitfire ARO from that prone Deva in front of the power plant, the first Preta gets ready.
The Deva behind the hill stands in response. It'll be a quick face off!
The exchange is brief- the Preta comes around the corner and chain rifles. But the Deva and his bot pass both their saves!
The Deva's return shot misses but the trusty Deva bot flames the Preta to death.
The Deva- in standing up to face the Preta- has revealed himself to Calonice.
Surely a 3 burst combi rifle will put that Deva to sleep.
... Nope. The Deva shoots back and wins the face to face roll. Calonice passes her armour check though and holds firm.
Another Preta races forward...
I can't remember why I tried doing this a second time and didn't use my Zerat hacker to keep firing on the Deva. Must've been all the carbs I had for dinner...
The second Preta gets into position again- taking a wound from the Spitfire wielding Deva in the power plant in the process.
... Chain rifles!...
... And gets nothing. The Deva and his Deva bot are leading charmed lives- passing both armour checks handily (it was a 19 and an 18!). The Preta is not so lucky and is blown to pieces.
With my final order, I drop Calonice prone, hoping to keep her alive and claim a table quadrant.
It was a disappointing first turn for the MAF.... And now I'm about to get spitfired in the face.
TURN 1- ALEPH
And takes aim at the two distant Pretas lurking out in the open- 2 bursts each. The aliens try to dodge in response.
The Deva rampage has started very well!
Bacchus briefly contemplates dodging- but confident in his link team bonuses- fires back at the approaching Deva.
They trade a few rounds of fire but the dice are not favouring the Morats now! Bacchus is knocked unconscious without being able to wound his opponent.
Calonice wiggles to face the Deva as he moves up to the building wall.
All she could hear was a scrabbling noise and then a loud 'ooomph' as the Deva Functionary fails his PH roll. (We forgot to roll for damage!)
Undeterred- he climbs up again.
Calonice lets off a single shot that misses utterly.
The Deva's spitfire is unerring and knocks her out.
The Deva is merciless- raking the fallen Zerat with the spitfire again- and killing her outright before dropping prone.
VICTORY POINTS- TURN 1
MAF: Zero
ALEPH: 3
TURN 2- MAF
Ouch. Time to rescue the Morats from destruction!
Caesar saunters out from his hiding spot in the doorway and kills the Deva in a round of fire.
High fives!
Time to get that Vanguard link team back into action!
Doctor Worm slithered his way through alleys between the administration building and made a sudden dash towards Bacchus.
... and into the line of fire of that distant Deva.
What are the odds of that one combi rifle shot taking out Dr. Worm? I didn't calculate it- gambling on the miss.
It didn't pay off- and Dr Worm falls unconscious. And to add insult to injury- Dr Worm fails his WIP roll to heal Bacchus and kills him!
The Deva high fived his bot in celebration much to the consternation of the EI. That little guy has survived two chain rifles to the face, a combi burst and now this?!
Right... time for the EI to compose himself....
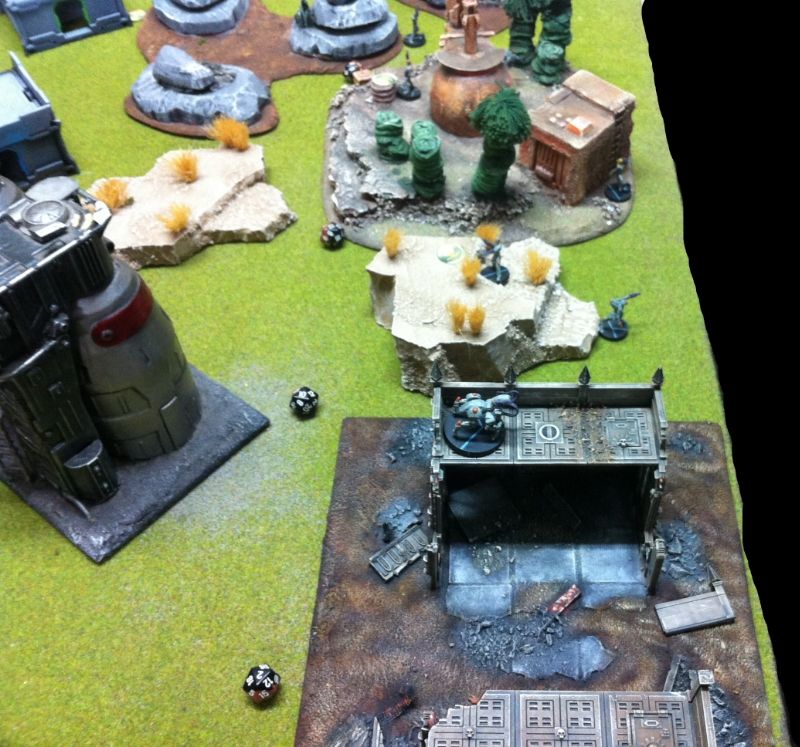
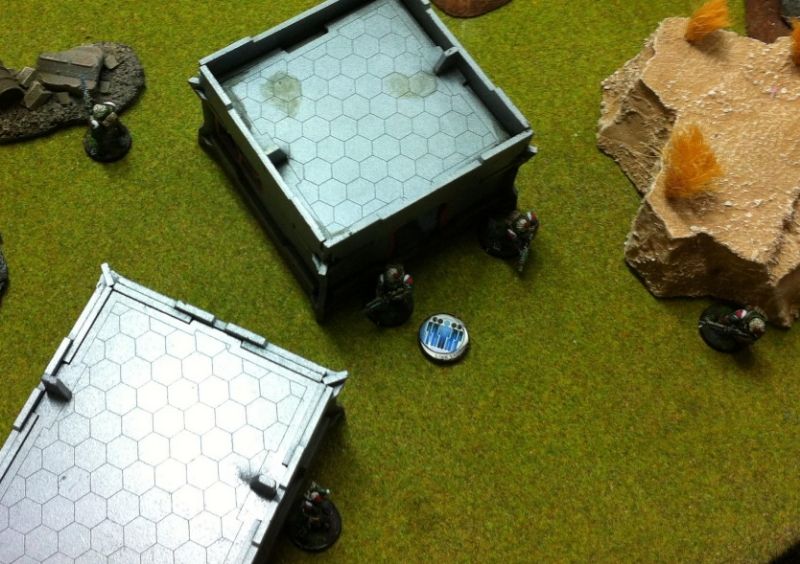
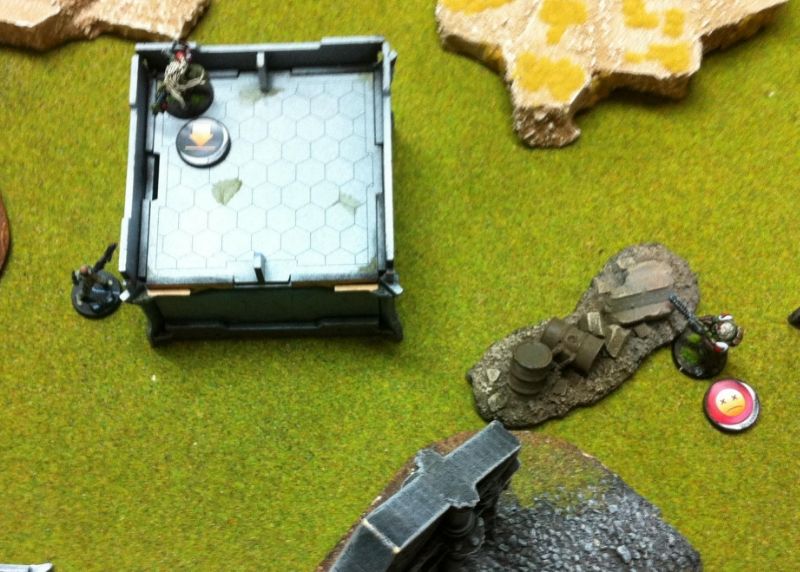
The Vanguards- somewhat chastened by the vision of Dr. Worm being gunned down whilst euthanasing Bacchus- advance cautiously into a quadrant.
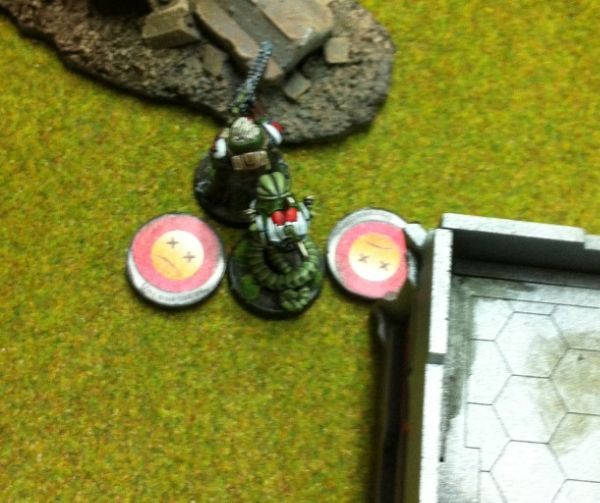
Spying a distant netrod- one of the Vanguards fires and destroys it!
Anyat moves into cover and trades fire with that dastardly Deva- and only succeed in watching a hit bounce off his armour and making him go prone.
On the western flank- I advanced one of my baggage bots to guard Caesar's flank against that camo'ed Naga on the other side of that building.
Yep... time for the ALEPH onslaught.
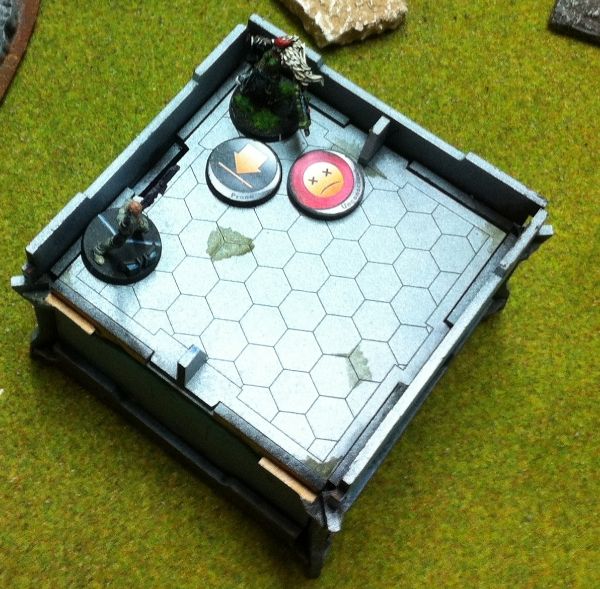
TURN 2- ALEPH
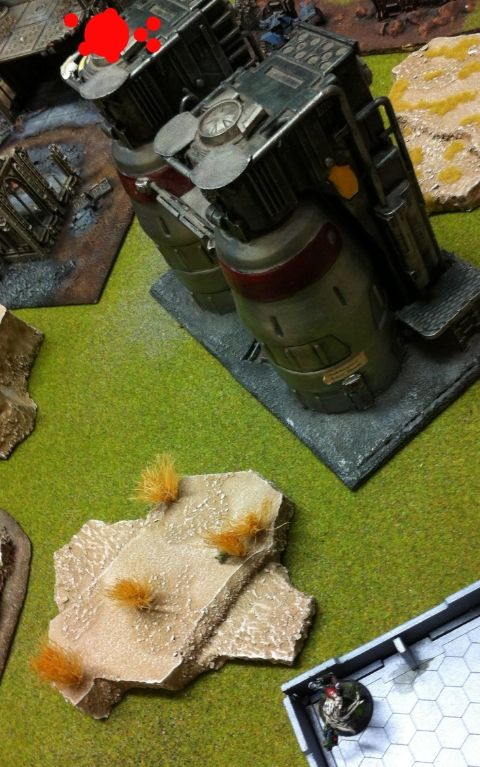
The last spitfire wielding Deva- prone behind the barrels in the power plant- stood up and dusted off his clothes.
The Vanguards and Anyat looked at each other... this was going to be interesting.
The initial round of fire goes the way of the Morats!
Anyat and the Deva both miss each other. Clearly the tension is too much for them.
Marc Antony fails his face to face roll- but at least he passes his armour check!
Quintus and the Deva trade fire. The Deva hits- but Quintus hits better!
ALEPH's luck runs out as the the Deva fails his armour check and passes into the dead state!
VICTORY POINTS- TURN 2
MAF: 3
ALEPH: 3
TURN 3- MAF
At this point- my opponent declared he was in Retreat and conceded the game as a Morat victory.
MORAT VICTORY!
CONCLUSION
That was unexpected!

ARMIES
ALEPH
 |
| ALEPH- always offering Maya connectivity one burst at a time. |
+ Deva Bot
Deva - Combi rifle
+ Deva Bot
Deva- Spitfire
Deva- Spitfire
Naga- Hacker- Camouflage
Naga- Sniper- Camouflage
Zayin Rebot- HMG- total reaction
Myrmidon- chain rifle
Netrod
Netrod
248 points/ 5 SWC
217th Expeditionary Force- MORAT AGGRESSION FORCE
 |
| Left red faced- every time.... |
Yaogat- Caesar- Spitfire
Zerat Hacker- Calonice- Combi rifle
Oznat- Lysistrata- Combi rifle/ light grenade launcher
Preta- Chain rifle
Preta- Chain rifle
Preta- Chain rifle
Preta- Chain rifle
Ikadron- Steggles
Ikadron- Ingham
Medchanoid- Combi rifle- Dr. Worm
Combat Group #2
Vanguard- Lieutenant- Quintus- Combi rifle
Vanguard- Trajan- Combi rifle
Vanguard-Marc Antony- Combi rifle
Vanguard- Bacchus- HMG
Treitak- Anyat- K12 combi rifle
248 points/ 5 SWC
TERRAIN
 |
| Camp Blake- Deployment zones on LEFT (South) and the RIGHT (North) |
Key terrain pieces:
1. Ruined warehouse- in the north east corner.
2. Twin silos- in the centre of the camp.
3. Cathedral facade- south west corner of the battleground, ringed by some administration buildings.
4. Power station- in the northern deployment zone.
5. Triad rock cluster- just south of the Power station.
 |
| View from Northern deployment zone looking South |
MISSION
Friendly forces must SEIZE Camp Blake No Later Than in 3 TURNS In Order To allow Friendly forces to continue their Norstralian offensive.
In this game points are scored at the end of every game turn.
If you Dominate the same number of Quadrants as your opponent- you earn 1 point.
If you Dominate more Quadrants than your opponent- you earn 3 points.
Each player also gets one Classified Objective- worth 1 point.
We were so raring to go that we totally forgot about Classified Objectives... :D!
LIEUTENANT ROLL OFF
I won the Lieutenant roll off and elected to go first- yes!
|
| LEFT (South)- MAF vs. RIGHT (North)- ALEPH |
 |
| South East corner (MAF Eastern flank) looking North West |
DEPLOYMENT
MAF
I get the first turn! How exciting! Time to deploy my guys so they can do maximum damage in turn 1.
 |
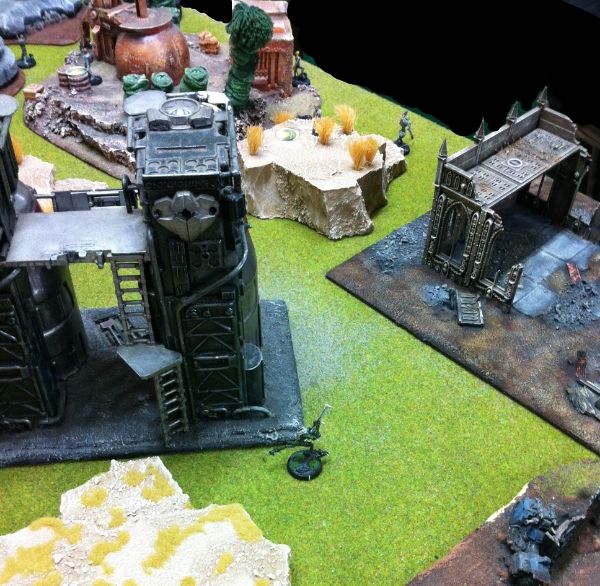
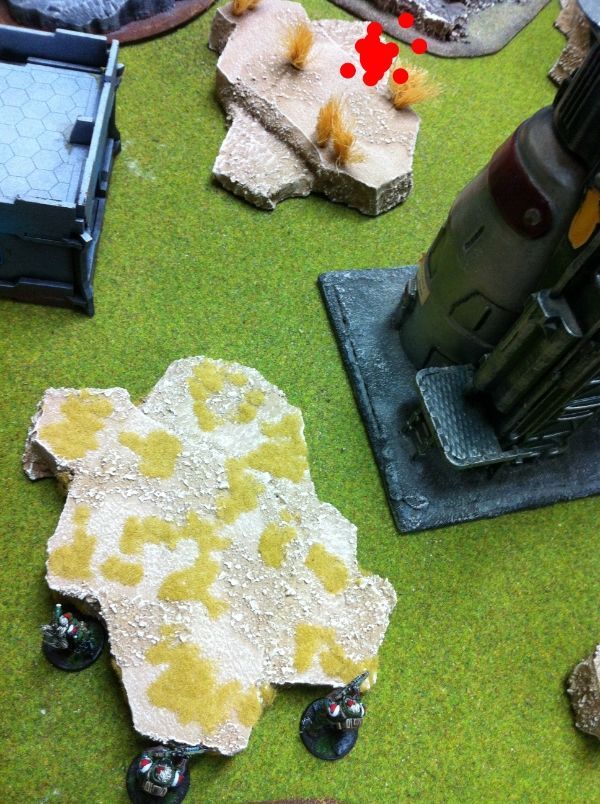
| On the MAF eastern flank: Wow! Such excitement! Much scare! Many thrill! Wow! |
 |
| MAF Centre: ICOM chatter: "Dost thou even lift, brah?!" |
Dr. Worm hid in full cover with the Anyat.
 |
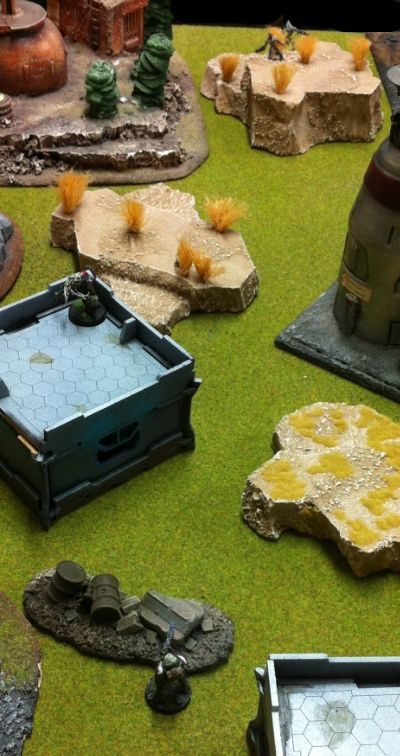
| MAF western flank |
 |
| Caesar on the Western flank. |
ALEPH
 |
| Netrods- PH rolls of peace |
Both were supposed to land behind the green rocks- but they both failed their PH rolls. One landed in full cover on his western edge. The other failed so dismally it flew off the board never to be seen again.
 |
| ALEPH- eastern flank- guarded by the total reaction Zayin rebot |
A Deva (the ALEPH Lieutenant) and his bot took up position covering the centre on a sandy hill. (I didn't know who this was at the time). He elected to go prone.
 |
| Top view of the power plant in the ALEPH centre |
 |
| ALEPH western flank |
 |
| I forgot to photograph the camo token! So here is where it was placed- approximately. |
RESERVE PLACEMENT
Time to try out infiltration!
 |
| Calonice infiltrates forward. |
 |
| Camo arrives on top of the silo. |
THE BATTLE BEGINS!
TURN 1- MAF
Right first turn! Time to unleash the hordes of Pretas.... Oh wait- there's a total reaction remote staring right at them. Intimidated by that HMG- I started looking elsewhere on the battlefield to make my mark.
 |
| I too have a HMG! |
 |
| Dropping (orange) smoke! |
 |
| Bacchus moving to a better position |
 |
| I see your HMG and raise you a HMG! |
 |
| Bacchus gets a CRITICAL! |
 |
| Wow! Such advance! Much excitement! Wow! |
 |
| Combat camo attack! |
Throwing off her electronic shroud- the Naga sniper emerges at the top of one of the silos and fires at the Oznat.
 |
| Lysistrata is shot down! |
Outrageous! How did the EI not remember that camo token was there?!
Well at least I can now put that Link Leader token onto my Vanguards and link them.
 |
| Form a link! |
Now it's time for revenge....
 |
| Calonice guns down the Naga sniper |
 |
| ... with another CRIT! |
 |
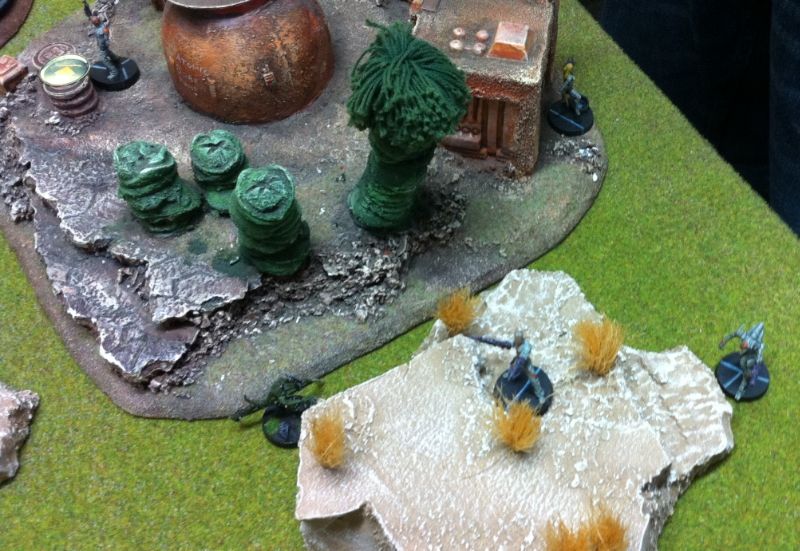
| A Preta scoots up... |
 |
| ...Closer... |
The Deva behind the hill stands in response. It'll be a quick face off!
The exchange is brief- the Preta comes around the corner and chain rifles. But the Deva and his bot pass both their saves!
The Deva's return shot misses but the trusty Deva bot flames the Preta to death.
 |
| Another target just stood up! Calonice gets excited. |
Surely a 3 burst combi rifle will put that Deva to sleep.
... Nope. The Deva shoots back and wins the face to face roll. Calonice passes her armour check though and holds firm.
 |
| Round two! |
I can't remember why I tried doing this a second time and didn't use my Zerat hacker to keep firing on the Deva. Must've been all the carbs I had for dinner...
 |
| Einstein's definition of insanity. |
... Chain rifles!...
... And gets nothing. The Deva and his Deva bot are leading charmed lives- passing both armour checks handily (it was a 19 and an 18!). The Preta is not so lucky and is blown to pieces.
 |
| Uh oh- time to hide... |
It was a disappointing first turn for the MAF.... And now I'm about to get spitfired in the face.
TURN 1- ALEPH
 |
| The Deva Spitfire moves about a little bit |
 |
| Get some! Get some! |
 |
| And the Deva kills both of them! |
 |
| The Deva advances to cover and trades fire with Bacchus. |
They trade a few rounds of fire but the dice are not favouring the Morats now! Bacchus is knocked unconscious without being able to wound his opponent.
 |
| I'm coming for you! |
All she could hear was a scrabbling noise and then a loud 'ooomph' as the Deva Functionary fails his PH roll. (We forgot to roll for damage!)
Undeterred- he climbs up again.
 |
| Are you Sarah Connor? |
The Deva's spitfire is unerring and knocks her out.
 |
| Terminated |
VICTORY POINTS- TURN 1
MAF: Zero
ALEPH: 3
TURN 2- MAF
Ouch. Time to rescue the Morats from destruction!
 |
| Spitfire in the face! |
High fives!
Time to get that Vanguard link team back into action!
Doctor Worm slithered his way through alleys between the administration building and made a sudden dash towards Bacchus.
 |
| Bacchus is actually unconscious in this photo. (ahem) |
 |
| One shot, one opportunity.... |
 |
| Nooooo! |
It didn't pay off- and Dr Worm falls unconscious. And to add insult to injury- Dr Worm fails his WIP roll to heal Bacchus and kills him!
The Deva high fived his bot in celebration much to the consternation of the EI. That little guy has survived two chain rifles to the face, a combi burst and now this?!
Right... time for the EI to compose himself....
 |
| Link team advances. |
Spying a distant netrod- one of the Vanguards fires and destroys it!
 |
| Firefight! What's this K1 ammo business? |
 |
| Things are getting desperate when the baggage bots are called forward! |
Yep... time for the ALEPH onslaught.
TURN 2- ALEPH
 |
| Pepper your angus.... |
The Vanguards and Anyat looked at each other... this was going to be interesting.
 |
| Misc... my body is ready. |
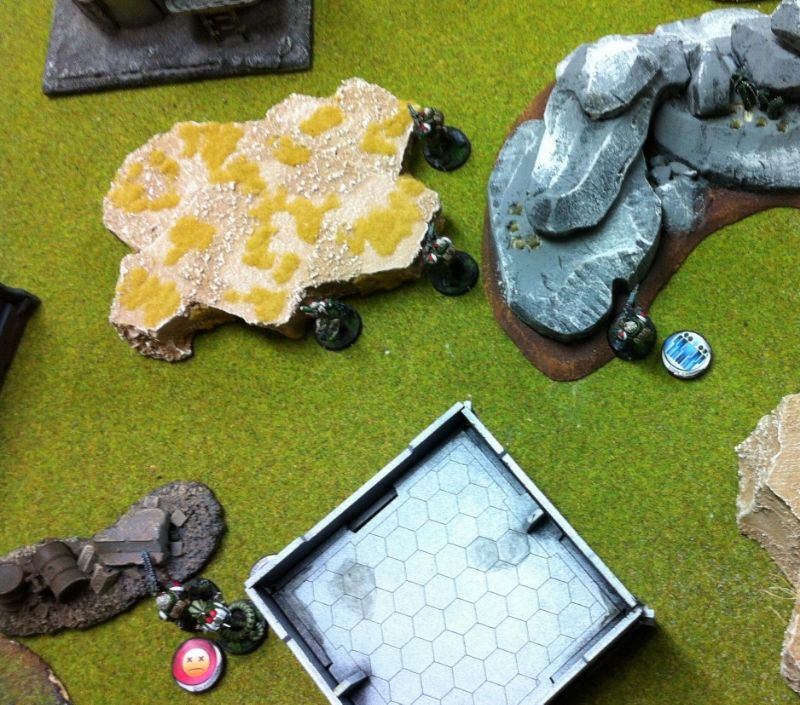
Anyat puts a wound on the Deva- whilst the two other Vanguards, despite losing their face to face rolls manage to pass their amour checks.
Undeterred, the Deva fires again- this time putting a burst against the link leader. (We didn't realise Trajan had line of fire until we examined the models a bit more closely).
 |
| The link leader- Trajan- loses his face to face roll and his knocked out.... |
Marc Antony fails his face to face roll- but at least he passes his armour check!
 |
| Das it mane. Das it. |
ALEPH's luck runs out as the the Deva fails his armour check and passes into the dead state!
VICTORY POINTS- TURN 2
MAF: 3
ALEPH: 3
TURN 3- MAF
At this point- my opponent declared he was in Retreat and conceded the game as a Morat victory.
MORAT VICTORY!
CONCLUSION
It was a real see-sawing game and tense right down to the end- and I 'won' by luck alone.
I was quite disappointed with my Hungries this game. I think it was a combination of a more open terrain board and the fact I used them poorly. I expected them to break eventually- but to lose them so early in the battle was a bit of a bummer.
Once I had a go racing one of them up and chain rifling- and having it fail- I should've given up. I would've done better allocating orders to the Yaogat to move up the western flank and picking off a few stray enemies- like the Myrmidon. Instead it turned into a orders sink for very little return!
I also found myself lacking long ranged firepower. Once Bacchus was knocked unconscious, I felt like I had nothing but combi rifles to shoot at the enemy. Against (effectively) multi-wound enemies armed with spitfires- it really doesn't help that much.
Having Caesar with his spitfire is helpful to some degree- but I think it was clear I didn't use him all that well. (And being 4-2 movement means that poor positioning will really lessen his impact on the battle).
Overall- I should just pay better attention! Get some good sleep, eat clean and keep on lifting (I did none of these things all week!). I found it confusing as to what models were what and what was armed with a spitfire and what wasn't. Having two novice players get muddled with what weapons are on what models is a recipe for disaster!
Final note: Whilst double checking the ALEPH roster- I think my opponent was in error in conceding the game. I tallied up the points- and he was actually at 57.25%- not at the 60% threhold required for retreat. Unless I've done my maths wrong or there is a special rule about netrods being lost to the army points total if they go flying off the table in deployment.
Oh well- more lessons for the lesson bank!
Hope you enjoyed reading this batrep- until next time, happy wargaming!
No comments:
Post a Comment