
| We come from a land down-under... |
This was a friendly game at another FLGS. We were itching to try some higher points games and also some of the other ITS2014 scenarios.
Having never played Antenna Field we thought it would be an excellent change from "kill em all" games that the YAMS games had lately degenerated into. It turned into a great game and I hope you enjoy the following batrep.
My opponent brought along his beautifully painted Neoterran Capitaline Army and the humans were keen for a scrap with my band of marauding Morats!
Oh, by the way, be warned that there are proxied miniatures in this batrep. Anyone who is easily offended by not seeing WYSIWYG miniatures or by seeing non-CB miniatures in a game of Infinity then this isn't the post for you.
ARMIES
Neoterran Capitaline Army
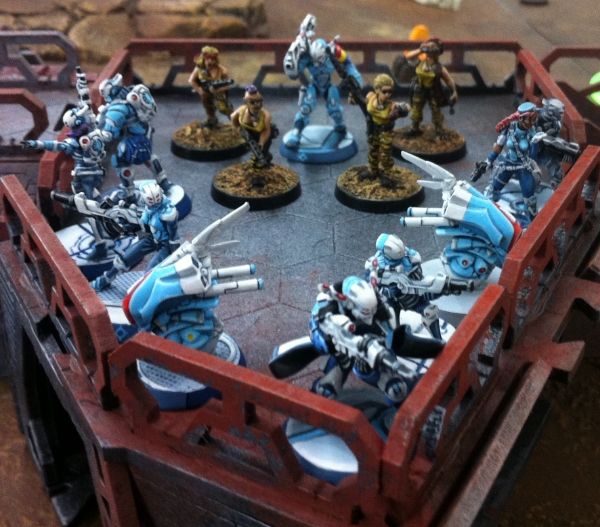 |
| Fusiliers proxied by old miniatures from ages gone past. |
Combat Group #1
Fusilier- FO
Fusilier- Paramedic
Fusilier- FO
Fusilier
Indigo Spec-Ops (12XP)- proxied by Bipandra
Auxilia with Aux bot- Forward Observer
Auxilia with Aux bot
Hexa- Spitfire- (Hidden deployment)
Aquila Guard- HMG
Swiss Guard- Rocket Launcher
Combat Group #2
Bolt- shotgun
Bolt- combi rifle
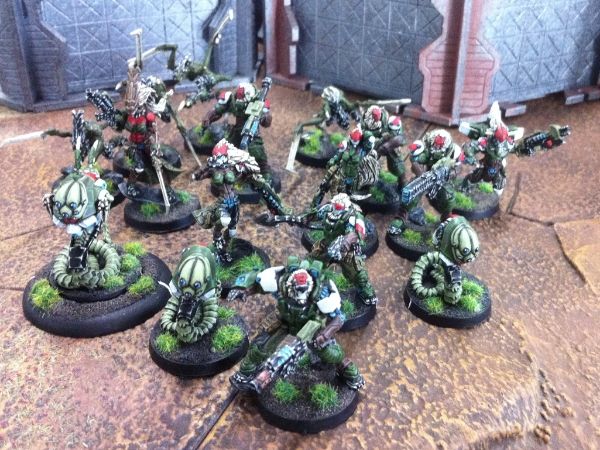
217th Expeditionary Force- Morat Aggresion Force
Combat Group #1
Vanguard HMG- Bacchus
Vanguard Missile Launcher- Thucydides
Vanguard- combi-rifle- Marc Antony
Treitak- Anyat
Treitak Spec-Ops (12XP): Polybius- Climbing Plus, Minelayer, Specialist, Plasma rifle.
Zerat Hacker- combi rifle- Calonice
Medchanoid- combi-rifle- Doctor Worm
Slave remote
Slave remote
Kornak Gazarot- Strategos Level 1, Mk12, light flamethrower
Rasyat- Suetonius- combi-rifle, zero-V smoke grenades, Aerial Deployment 3
Combat Group #2
Oznat- Lysistrata- combi-rifle and light smoke grenade launcher
Preta- chain rifle
Preta- chain rifle
Preta- chain rifle
Preta- chain rifle
(And yes, if you count closely I'm 15 points shy of 300 points. I actually forgot to put one of my cheerleaders on the table! So I've excluded it from the battle report).
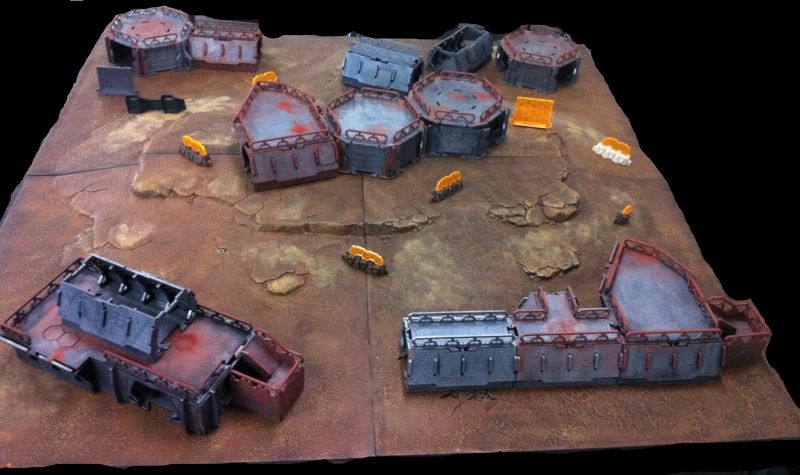
TERRAIN
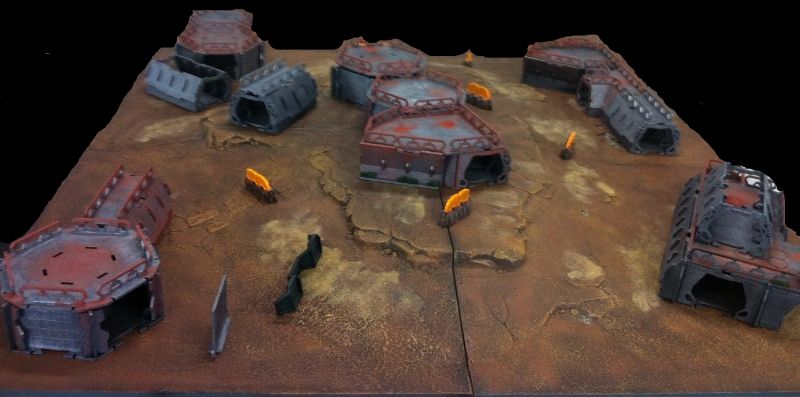 |
| South is to the LEFT, North is to the RIGHT. East is NEAR GROUND. West is FAR GROUND. |
Zone 5 is an industrial area of Norstralia which is important for the extraction and processing of rare earth metals.
Key terrain pieces are:
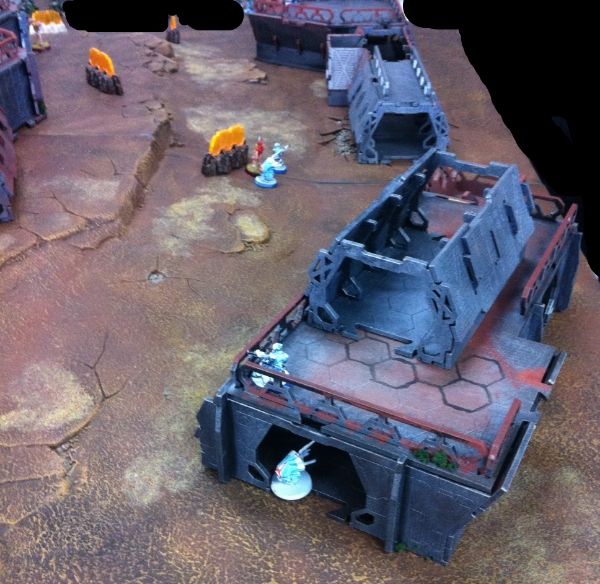
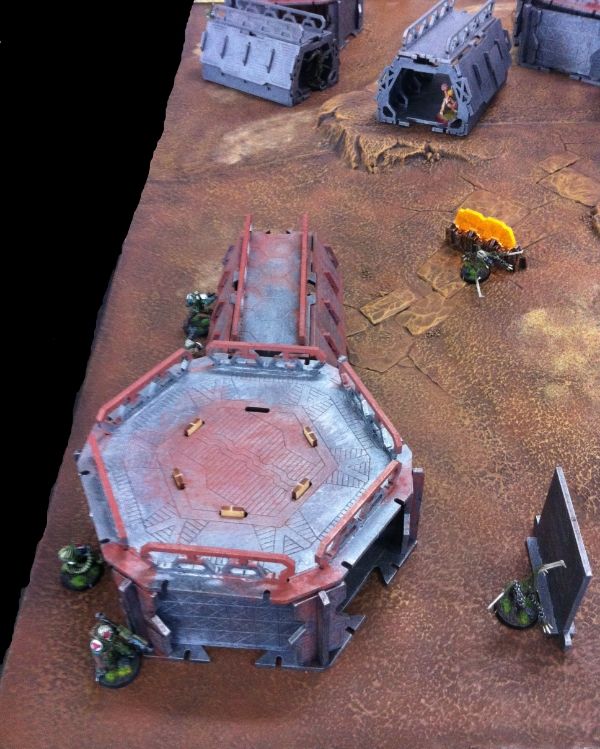
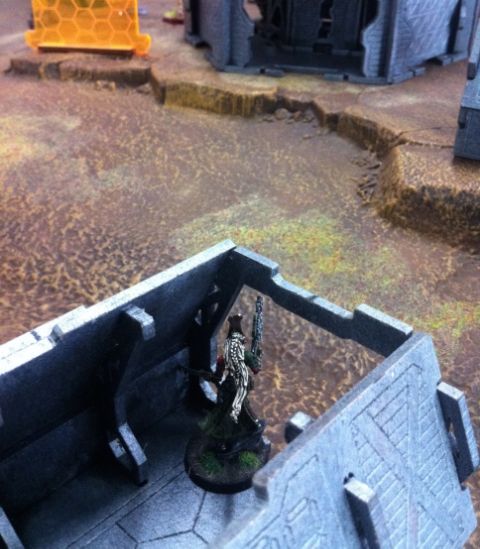
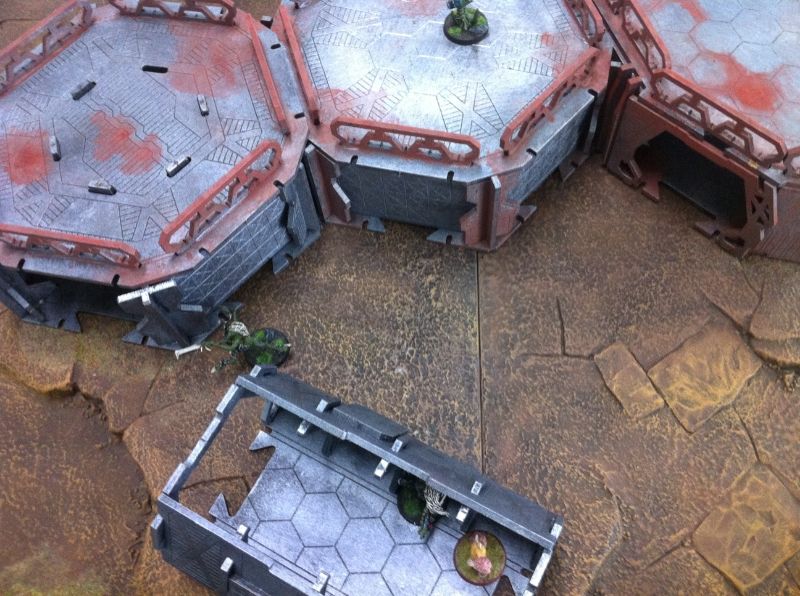
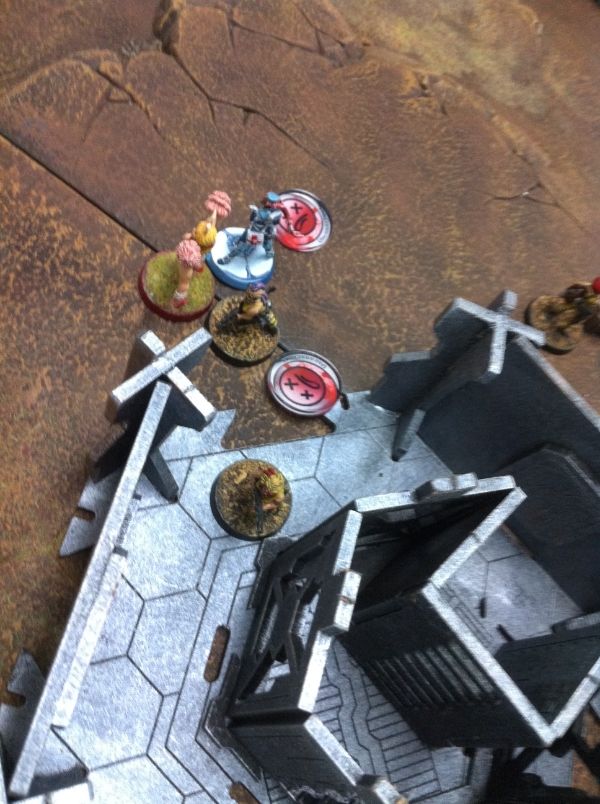
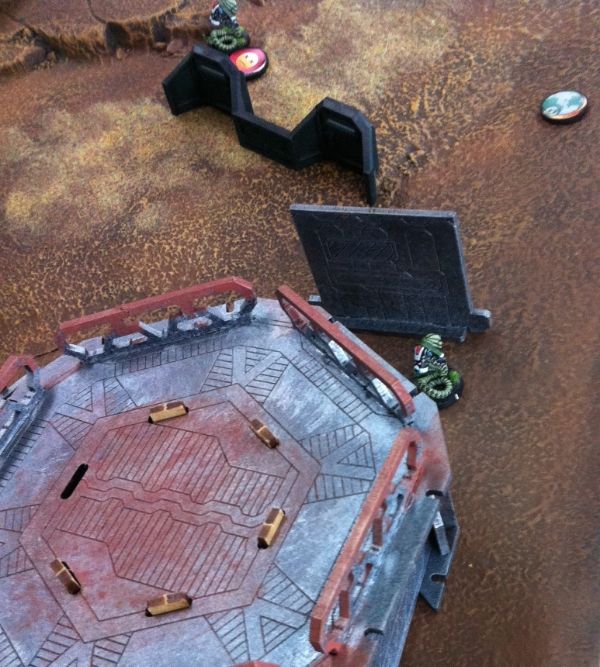
1. 145 Feature- the central plateau that dominates the centre of the board. It's elevation and rocky terrain provide good cover and concealment.
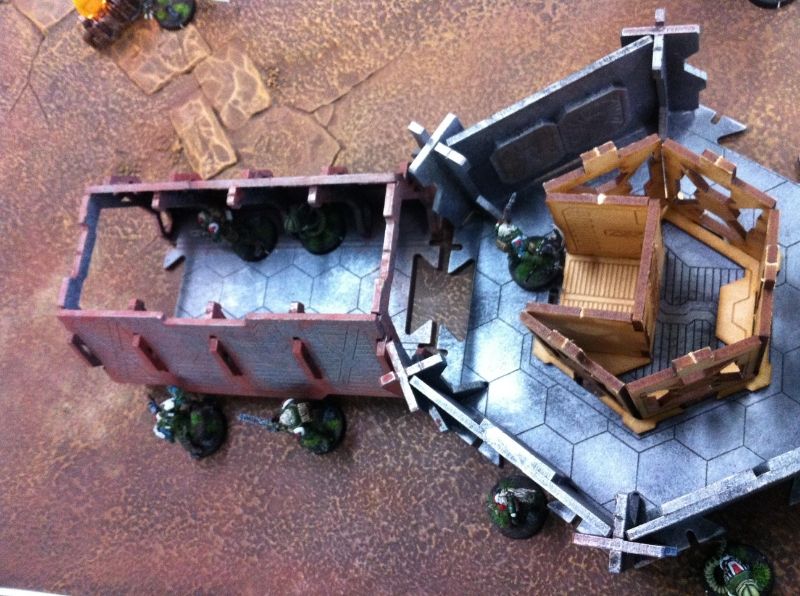
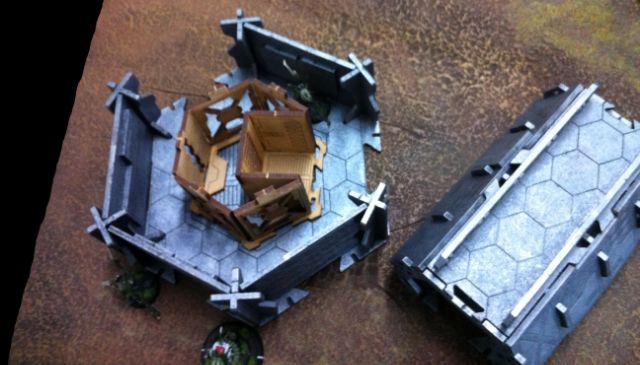
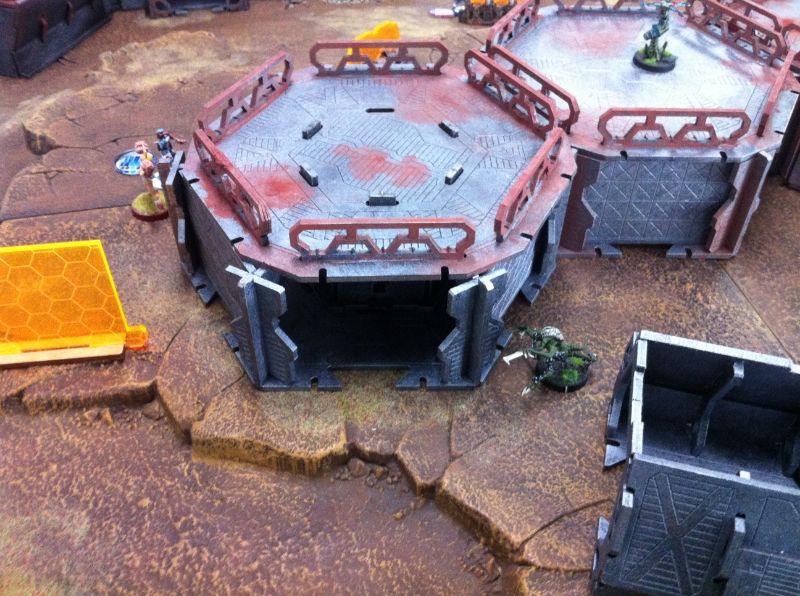
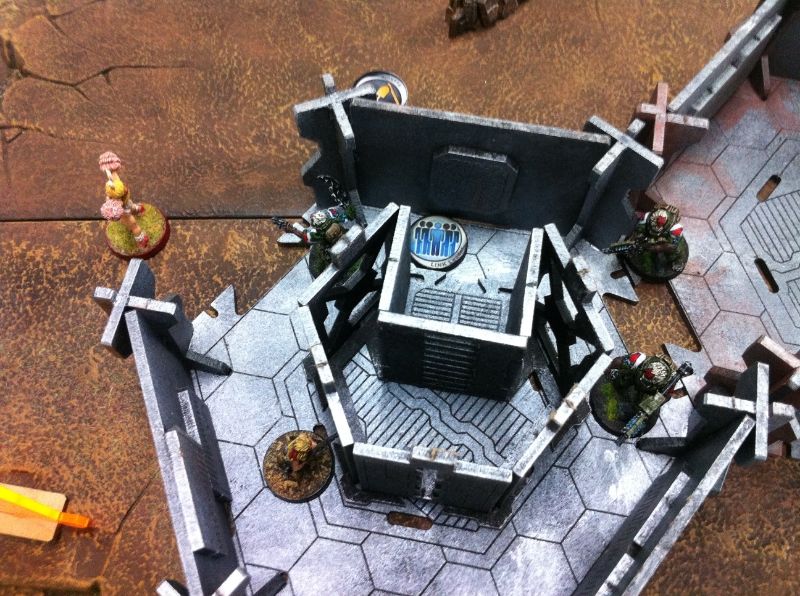
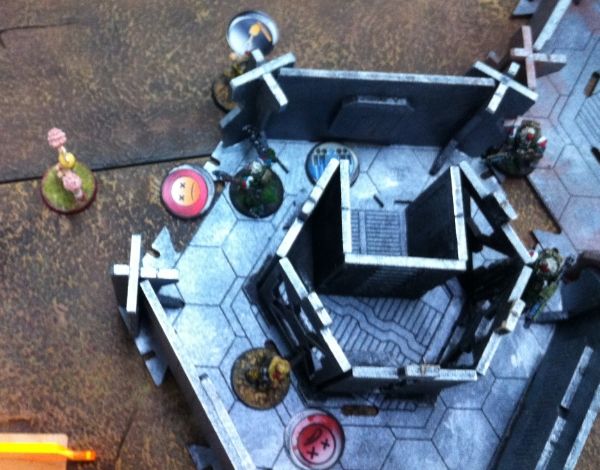
2. Central Processing: a complex of three buildings that sits atop the 145 feature.
> Access is to the complex is via 2 doorways to the East (one is visible in the above picture) and via 2 doorways in the western hexagon building.
> Access to the roof is via a single ladder in the western hexagon building.
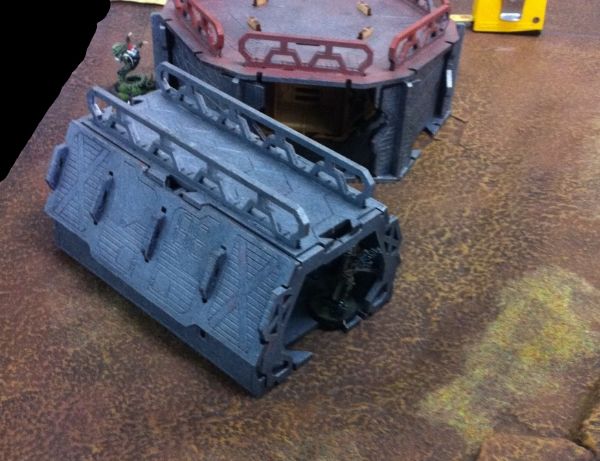
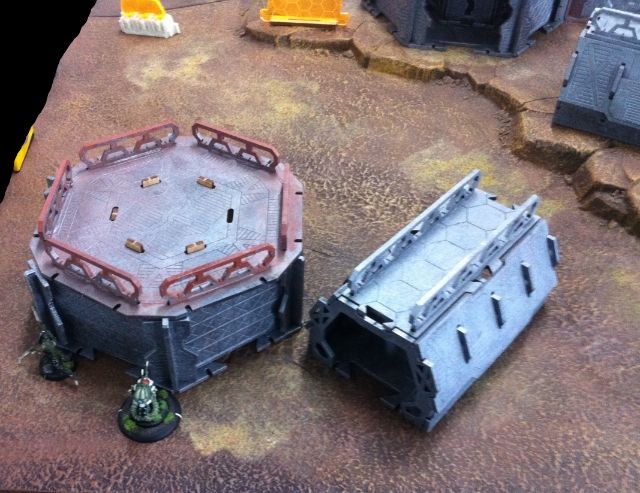
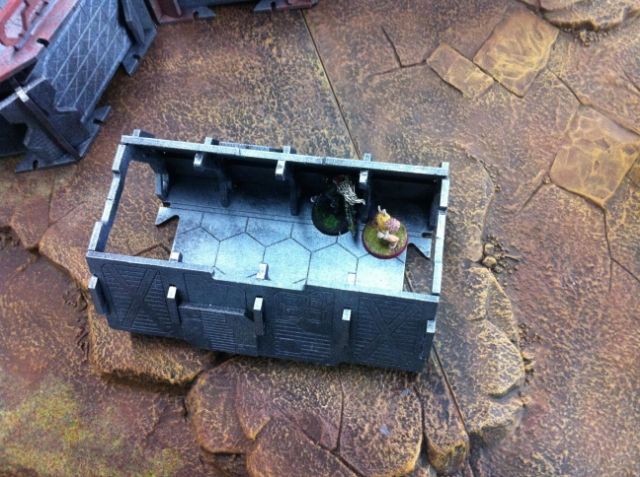
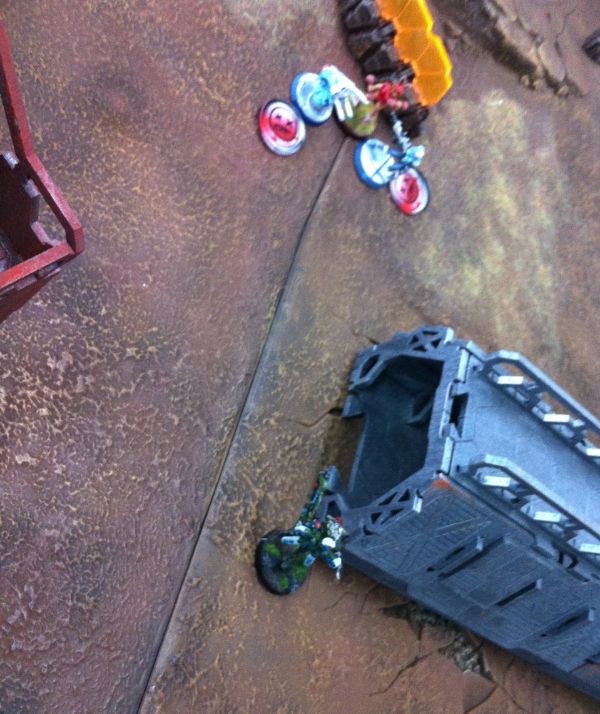
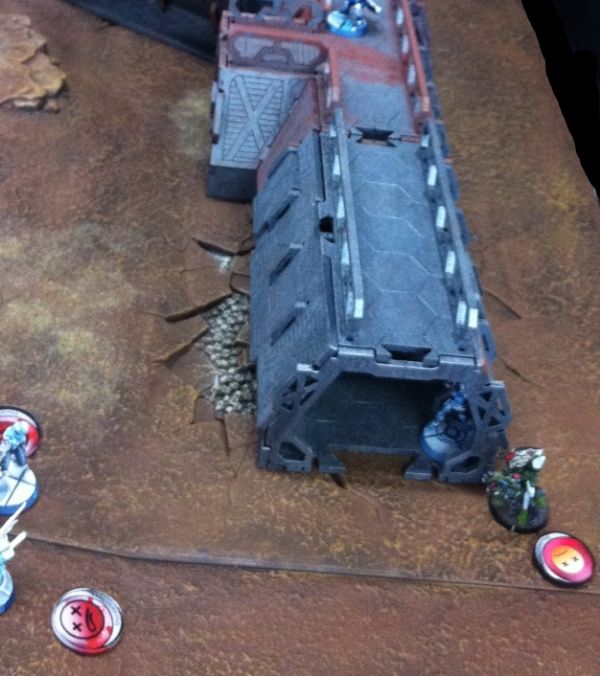
3. Storage: a single container also atop the 145 feature- and just to the south of Central Processing. It is open at both ends.
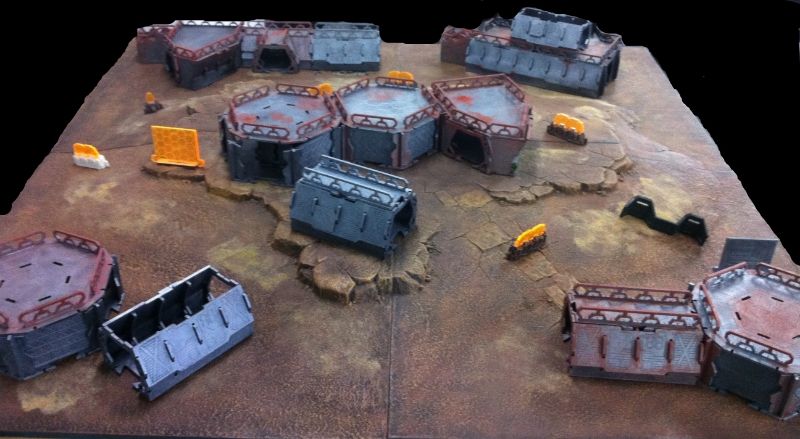
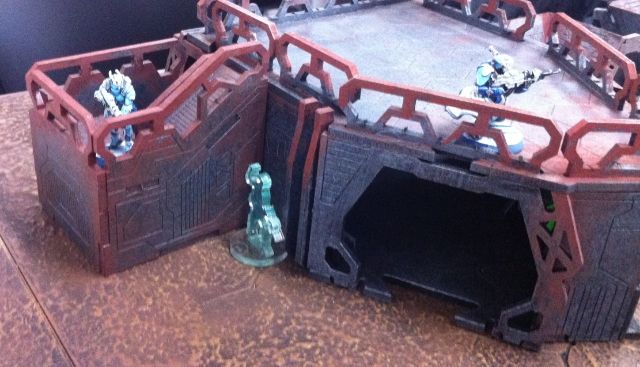
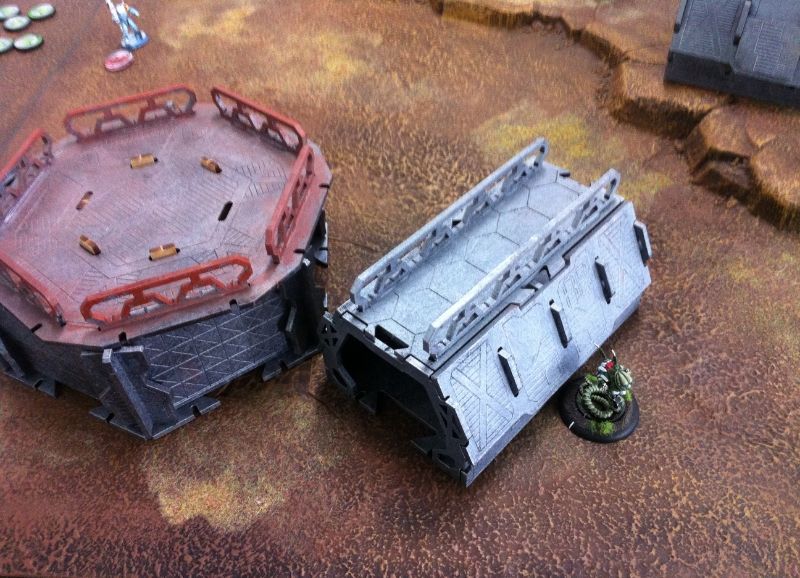
4. Helipad: a hexagonal building located in the south east corner of Zone 5. There is an enclosed corridor that runs for a short distance in a westwards direction.
5. Administration: a long building in the north west corner of the map.
6. Garage: a double storey building in the north east corner of the map.
7. Habitation: a collection of single storey buildings in the south west corner of the map.
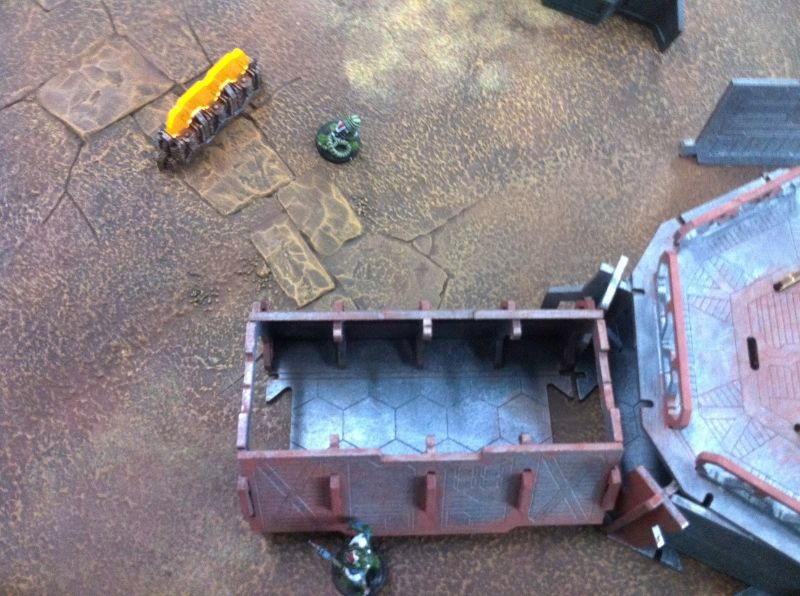
Numerous defensive barricades have been set up by human forces prior to their withdrawl from the area.
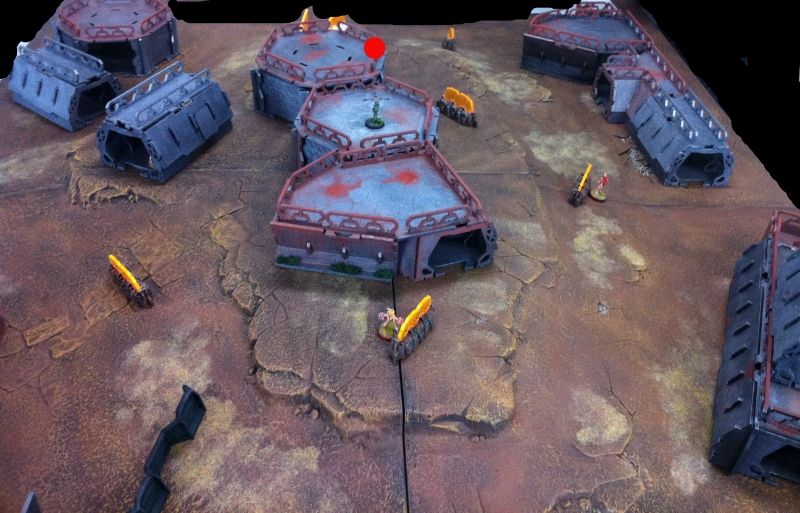
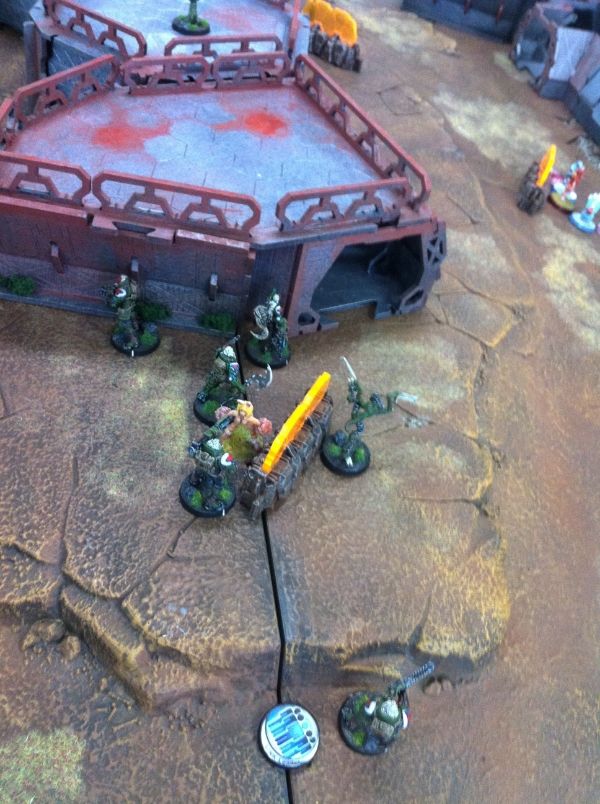
 |
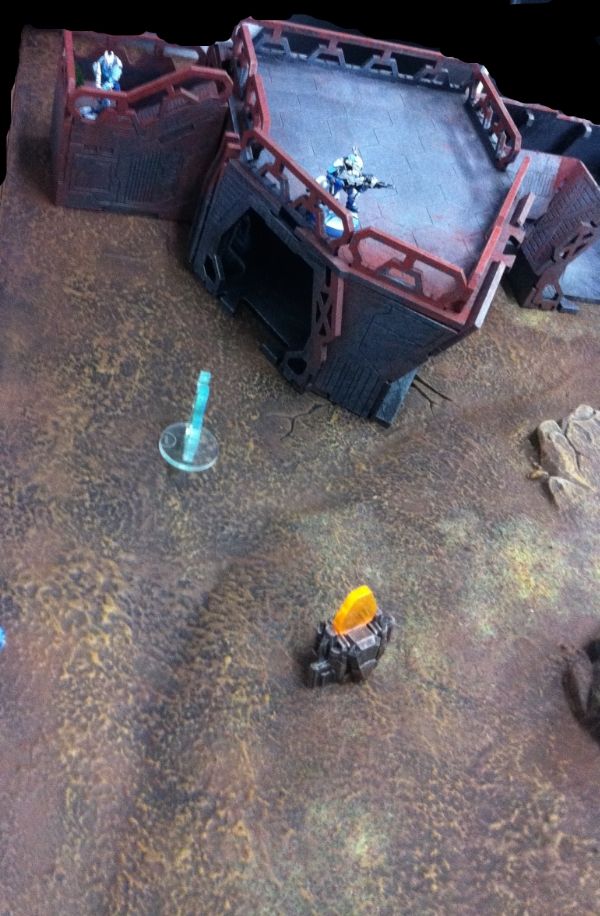
| View from the SOUTH side- looking NORTH. The southern entry points to Central Processing are prominent. |
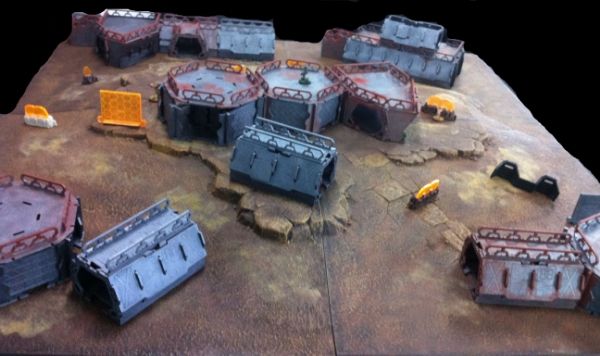
 |
| View from NORTH side- looking SOUTH. The Garage and Administration provide a strong defensive line. |
MISSION
FRIENDLY FORCES must CAPTURE the Antennae in ZONE 5 no later than in 3 TURNS in order to allow SIGINT interception of enemy AI personalities.
The mission was Antennae field from the ITS2014 pack.
 |
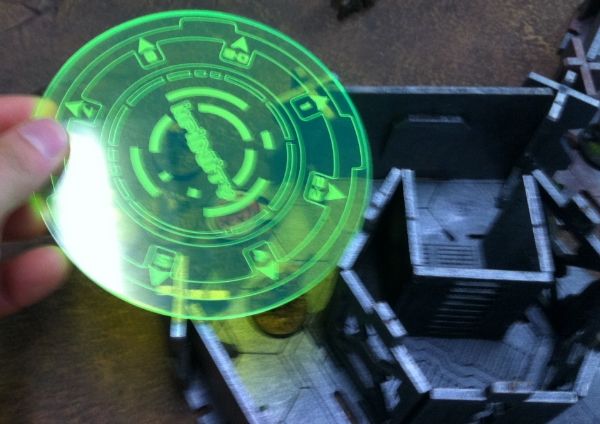
| 5 Antennae: the bunnies are running wild and the EI is having trouble controlling them. |
There are 5 antennae.
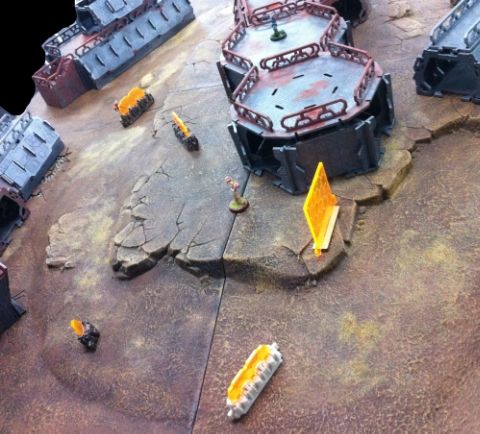
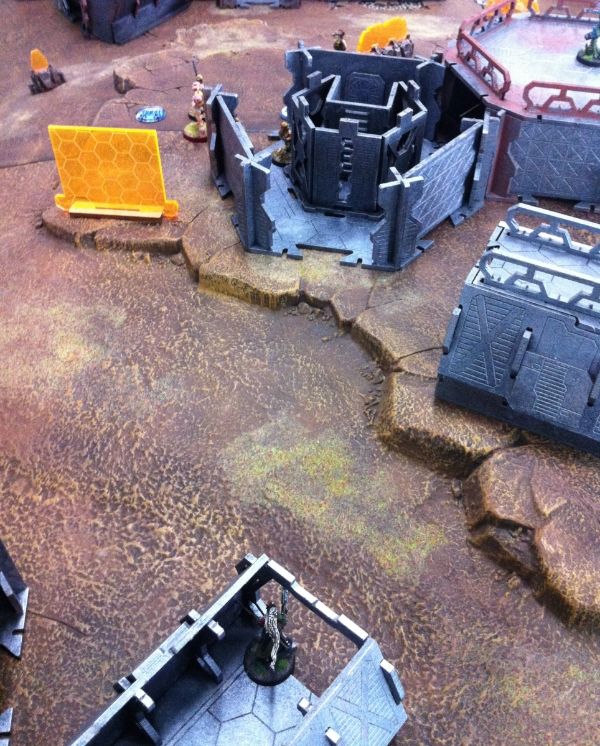
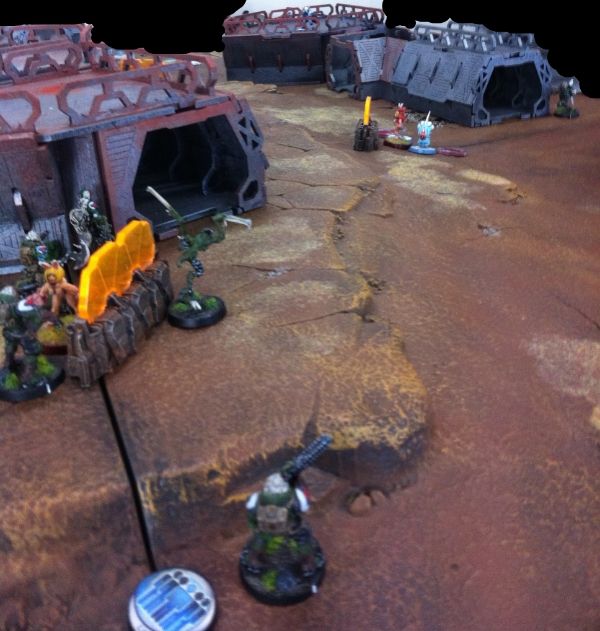
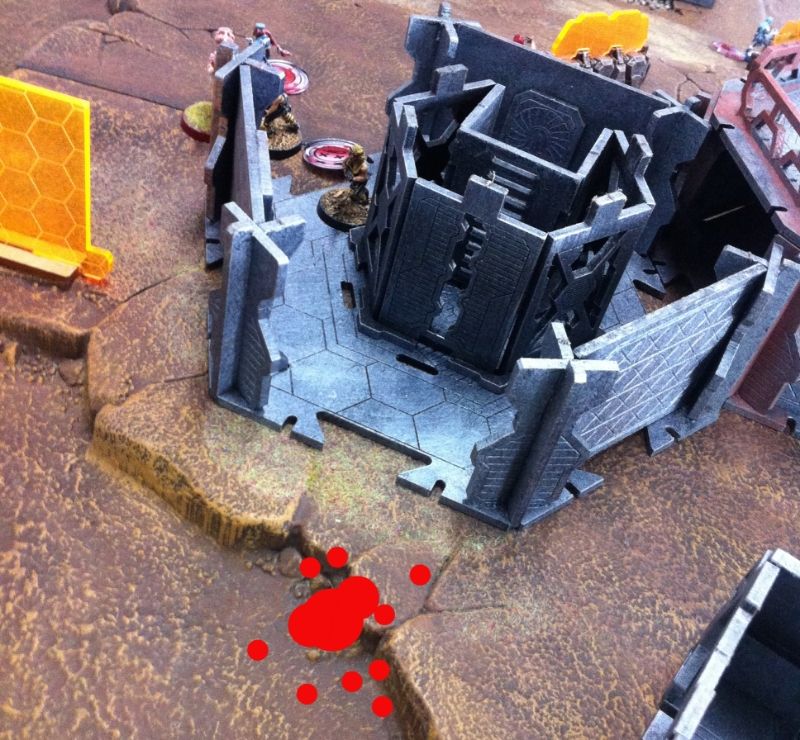
 |
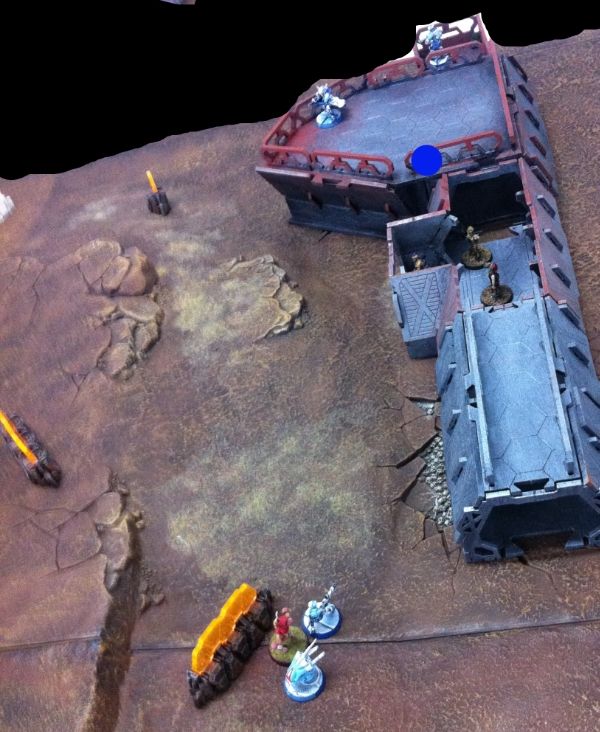
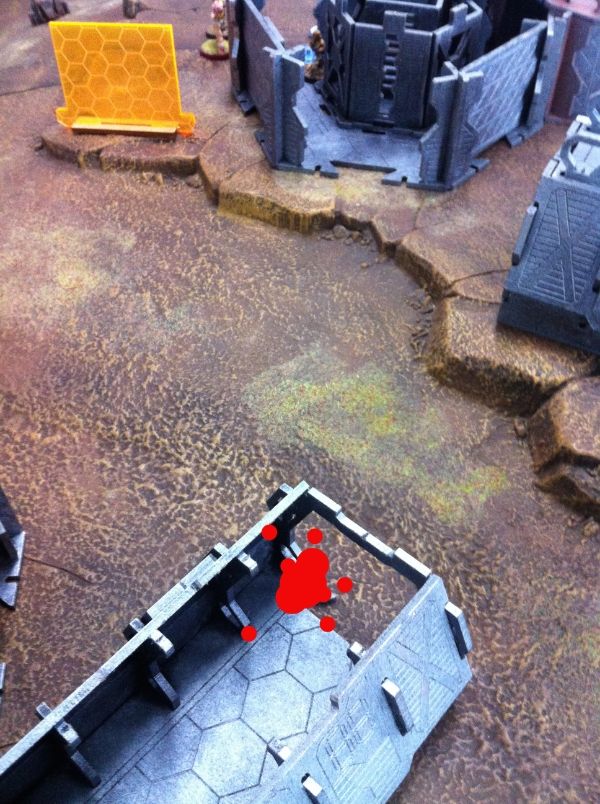
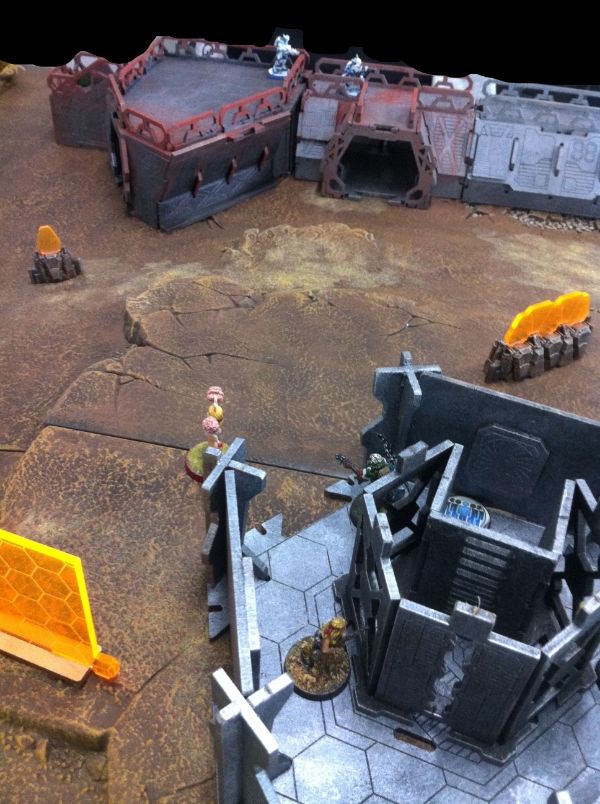
| 3 Antennae along the centre line (western most one hidden by building and represented by a red dot). The 2 outliers can be seen- one in Storage (almost completely obscured) and one behind a barricade in the north. |
 |
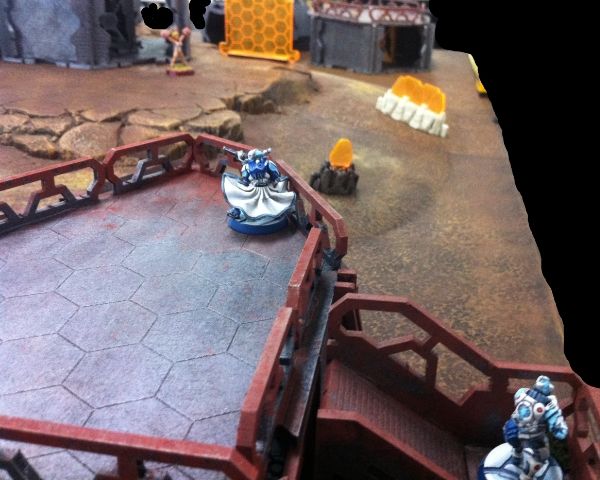
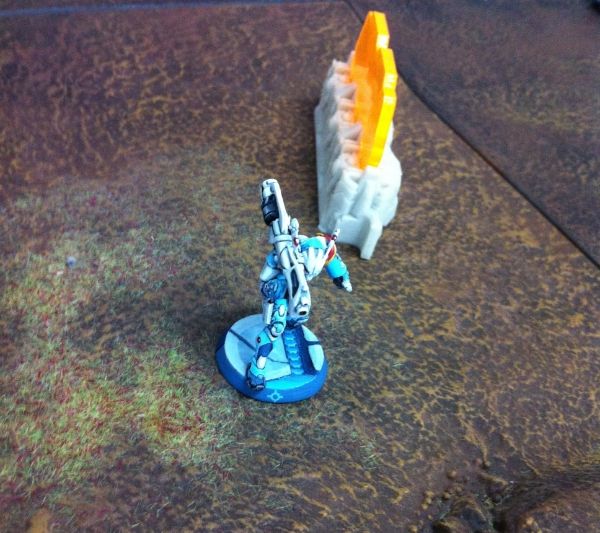
| Western antennae when viewed from the WEST looking EAST along the centre line |
There are three antennae spaced evenly along the centre line of the board. The central one (if captured at the END of the GAME is worth 2 points).
There are then 2 other antennae- each placed at the edge of the deployment zone of each side - and in line with the central antennae. If you capture the enemy's antenna at the END of the GAME it's worth 1 extra point.
Otherwise at the end of every game TURN- you accrue 2 points if you own more antennae than the enemy. If you have the same number you only accrue 1 point each.
In order to seize an antennae you have to leave a specialist in base to base contact with it. No WIP roll required.
And a quick note- Infiltrators, Impersonators, AD etc. can't deploy within 8 inches of the centre line of the board
CLASSIFIED OBJECTIVES
Unbeknownst to each other, we both rolled Experimental Drug.
The boffins in the human and alien camps were equally keen to see their research taken to live trials!
LIEUTENANT ROLL OFF
With a grand flourish I rolled a 17. Fail. Oops.
The NCA passed their roll handily and elected to go first.
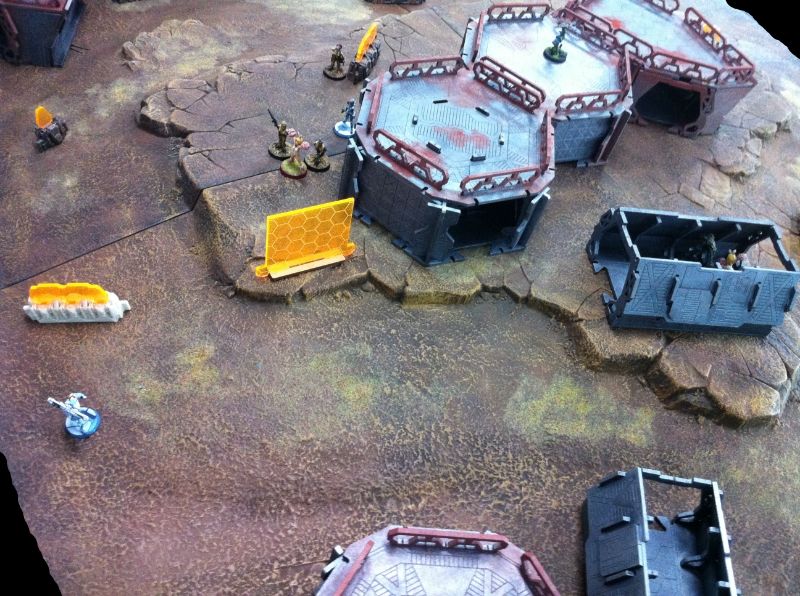
 |
| View from the MAF side of the board- looking north. |
Having been rambo'ed many times before, I chose the SOUTH side- looking for as many hard to reach places as possible.
Then I made the NCA deploy first.
DEPLOYMENT
NCA
 |
| Eastern edge of the NCA line |
Guarding the Garage was an Auxilia with his ever present Auxbot.
In the centre of the line- the Forward Observer Auxilia took possession of northernmost antennae.
 |
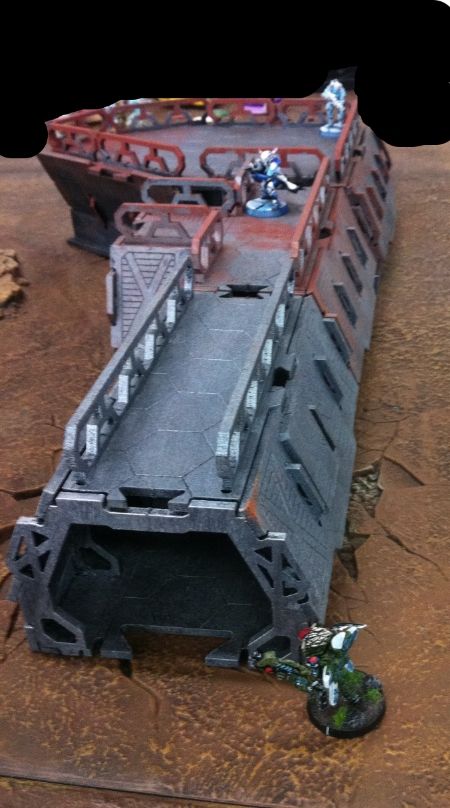
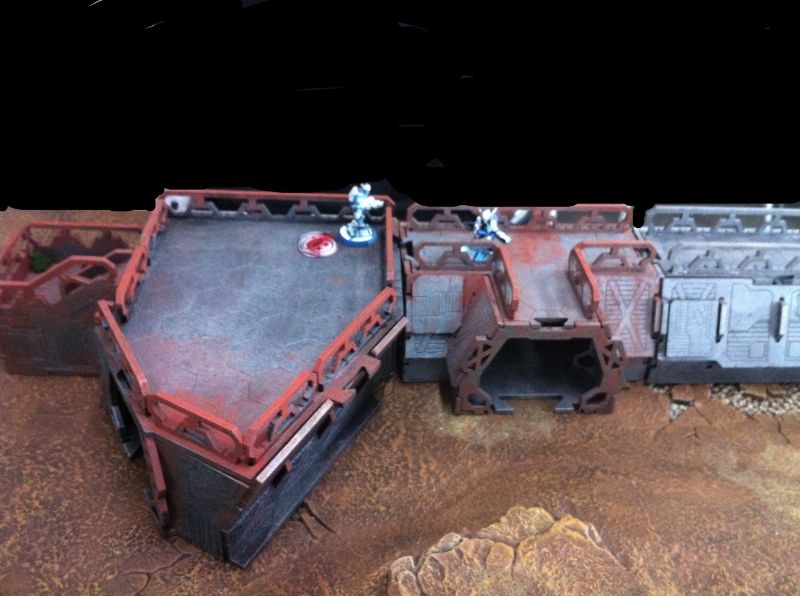
| The Administration heavily defended. Hidden Bolt denoted by blue marker. |
On the roof- a Bolt and an Aquila Guard with his HMG watched over the centre line.
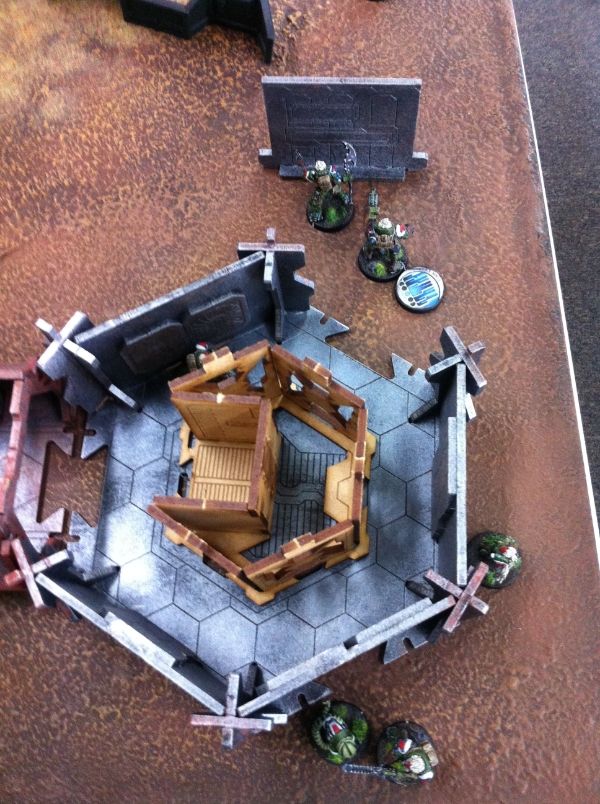
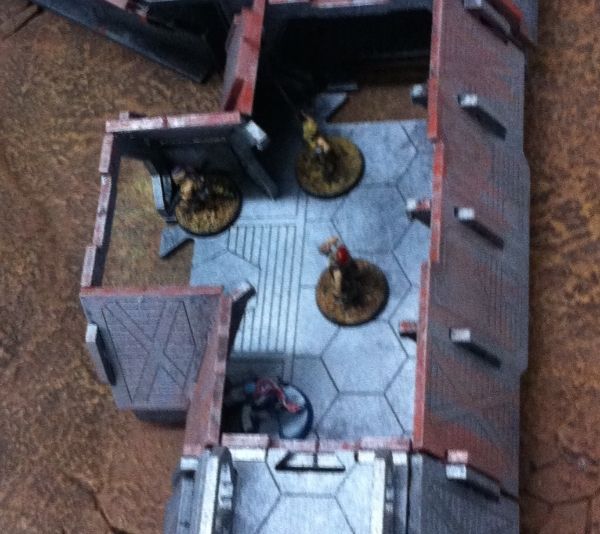 |
| Fusilier link team hidden inside the Administration complex. (The fifth member not visible). |
 |
| Aquila Guard and Bolt watching over the parapet. |
MAF
Right, it was time to do a lot of hiding! I placed my Pretas forward as picquets- a cheap screen to soak up some orders and maybe lay some mines too!
 |
| Almost everyone hides around the eastern helipad. |
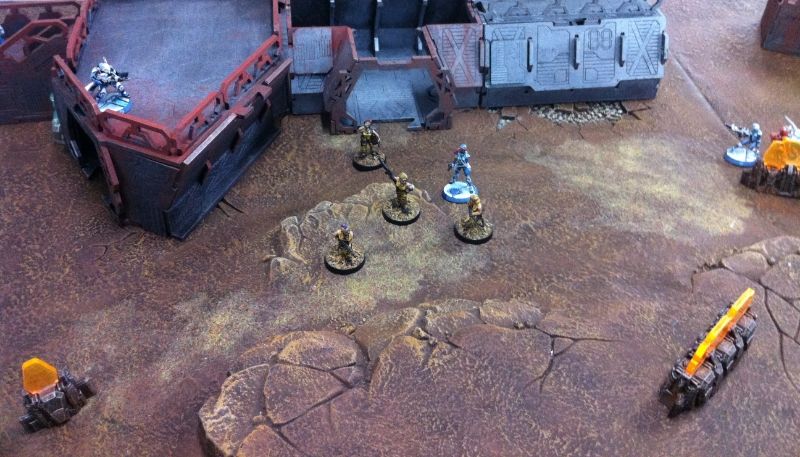
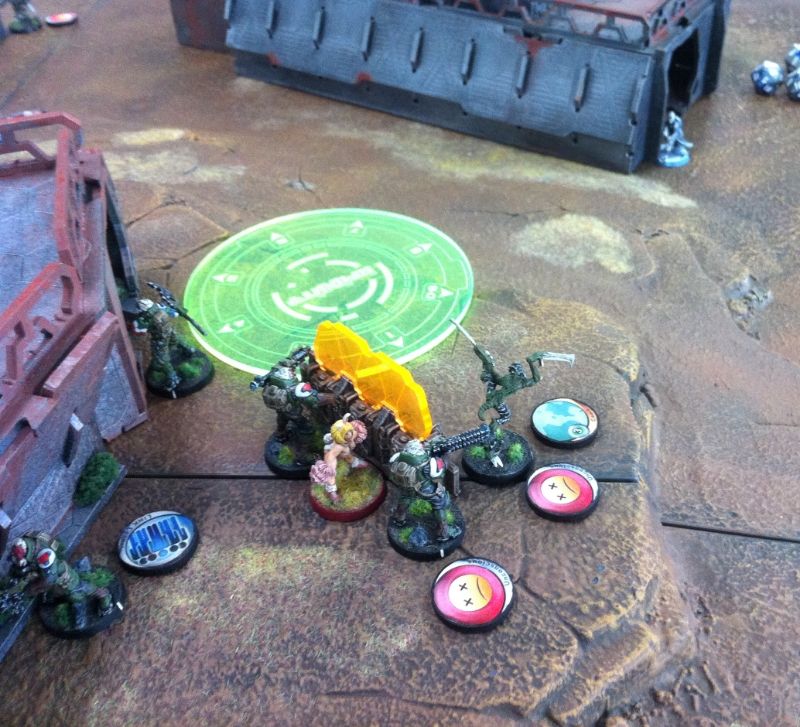
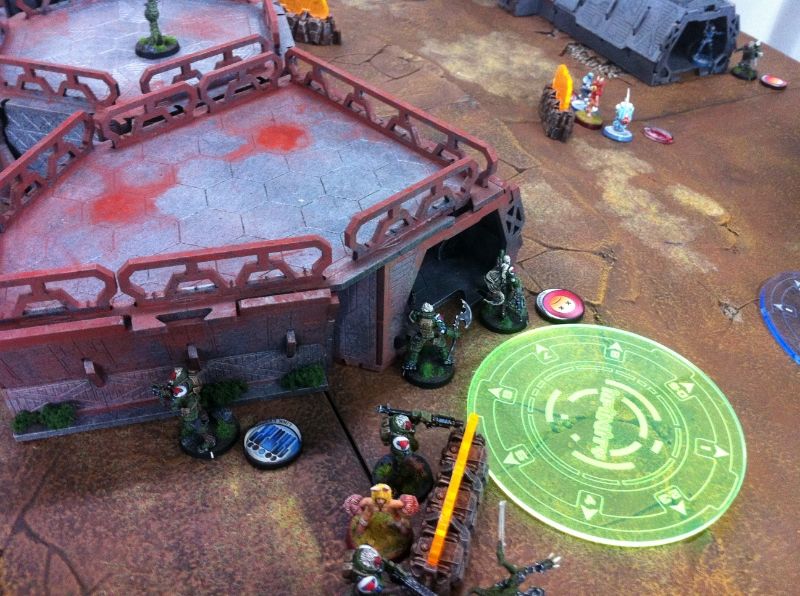
 |
| Treitaks, Vanguards, the two slave drones AND Kornak! |
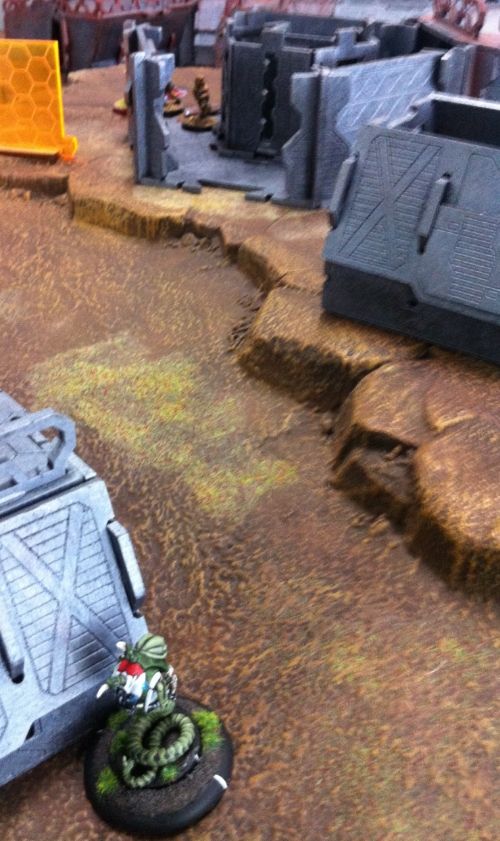
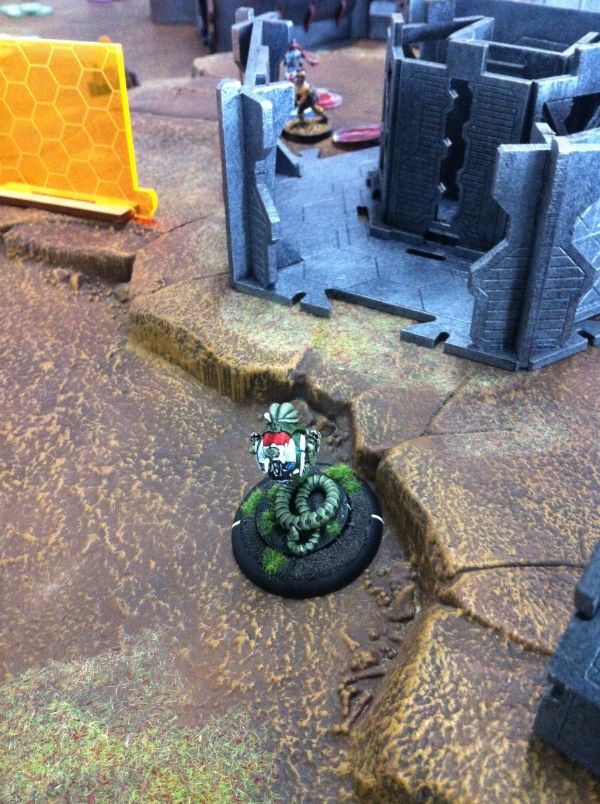
 |
| Kornak leading from the front- whilst being in the rear at the same time! |
The Morat western flank was, in comparison, thinly protected.
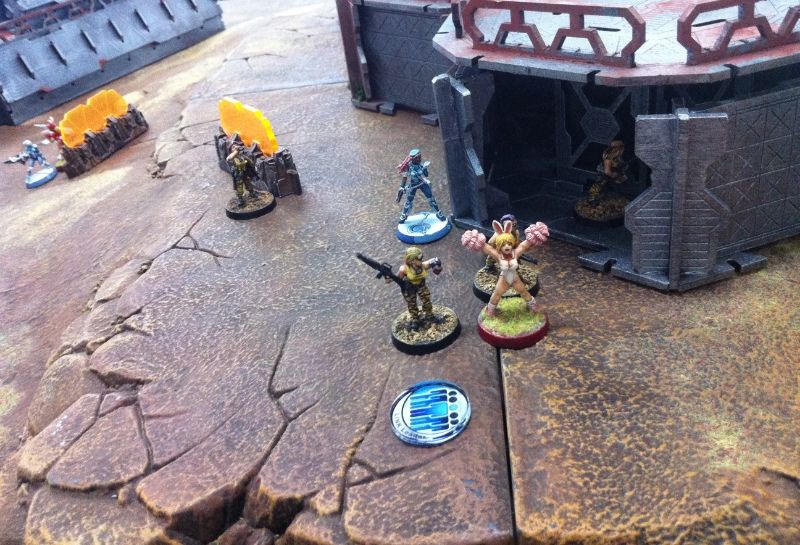
 |
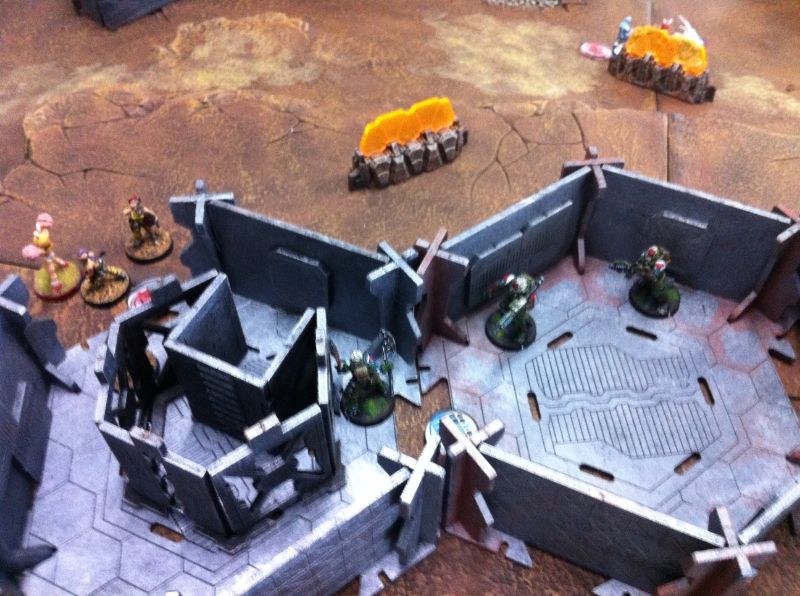
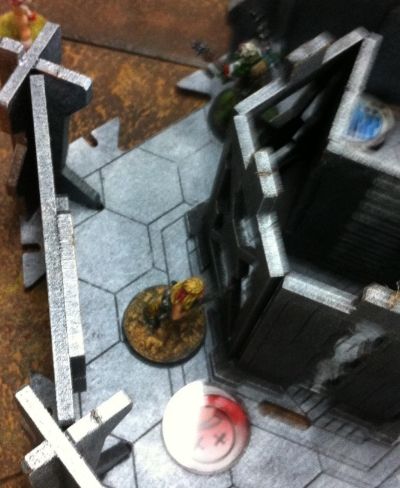
| Oznat hiding in a building. Dr. Worm well concealed behind Habitation. |
 |
| Oznat watching the western end of Central Processing. |
I hid a pair of Pretas to act as speed bumps to any rambo-ing enemies and to protect Dr. Worm.
 |
| Preta bodyguard |
 |
| Second Preta hidden in the building. |
RESERVE PLACEMENT
 |
| I wonder what that could be! |
The NCA player put down a camo marker as his reserve- siting it on the western edge of the Administration block.
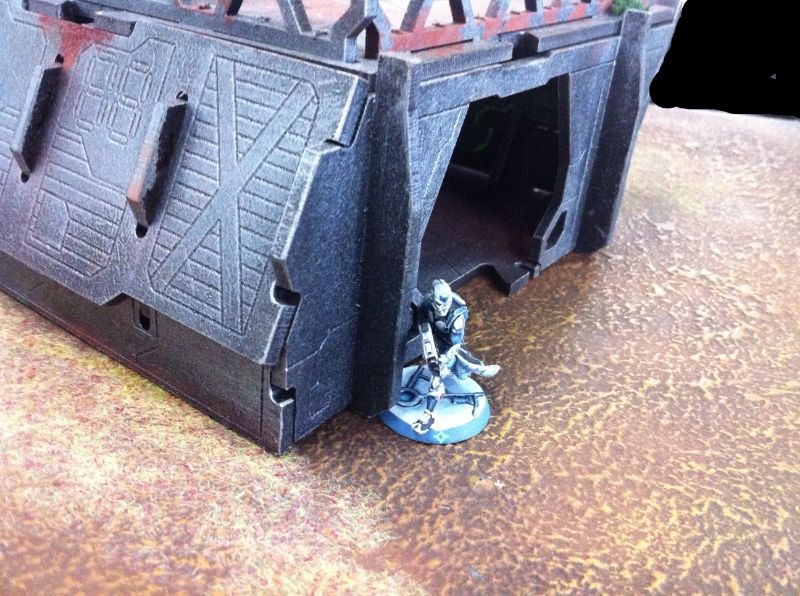
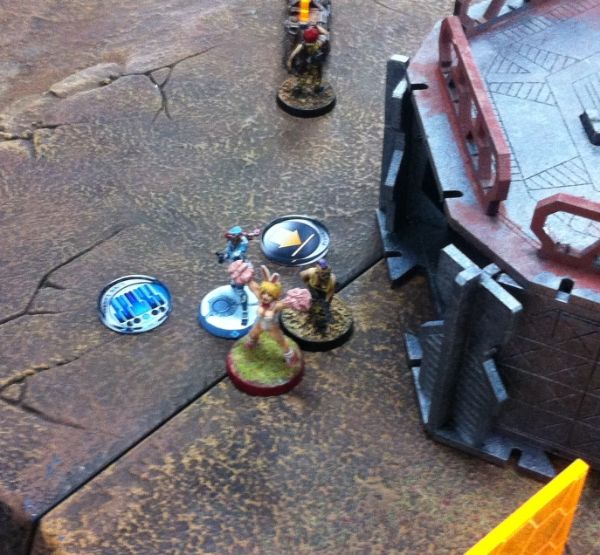
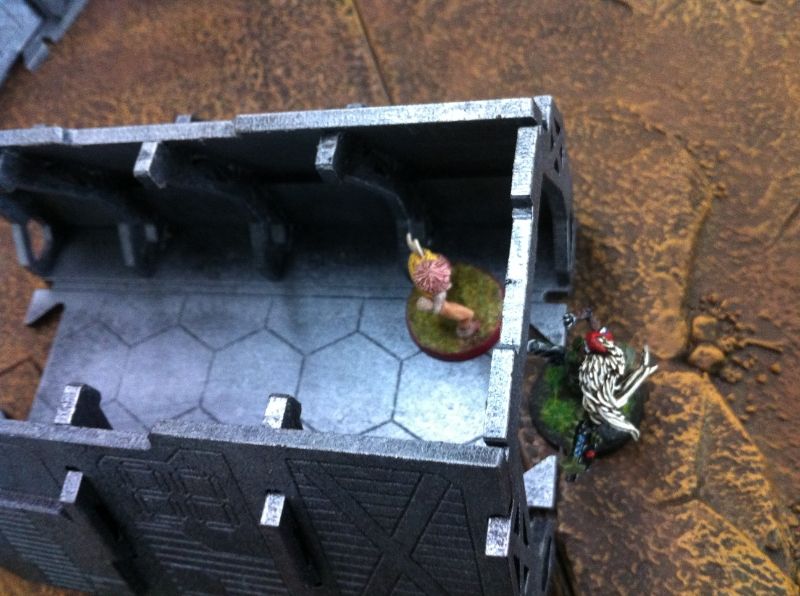
 |
| Gotcha! |
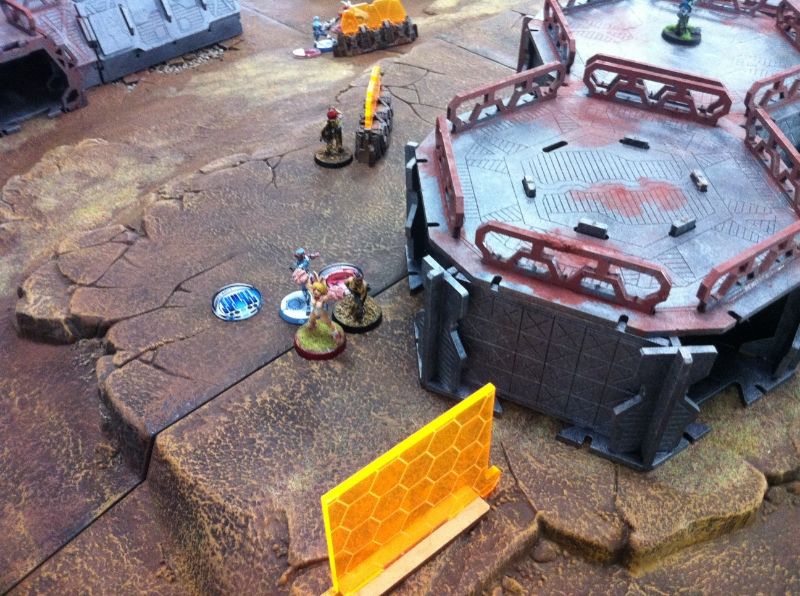
I placed Calonice- my infiltrating hacker- against the antennae in my deployment zone. If the enemy was going to start off with one antenna in the bag then I better match it!
There was the added difficulty of the 8" exclusion zone around the centre line so I figured this was the best I could do.
THE BATTLE BEGINS!
 |
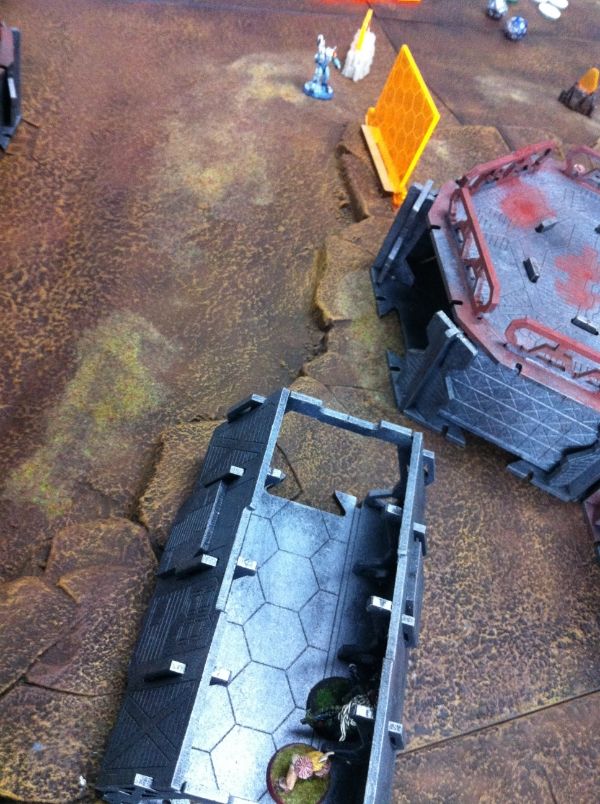
| View from the Southern (MAF) table side looking North. The centre line antennae are clearly visible. |
Turn 1- NCA
 |
| Fusilier link team advance out of Administration and head towards the western antenna |
 |
| Almost there! |
 |
| Western Antenna seized! |
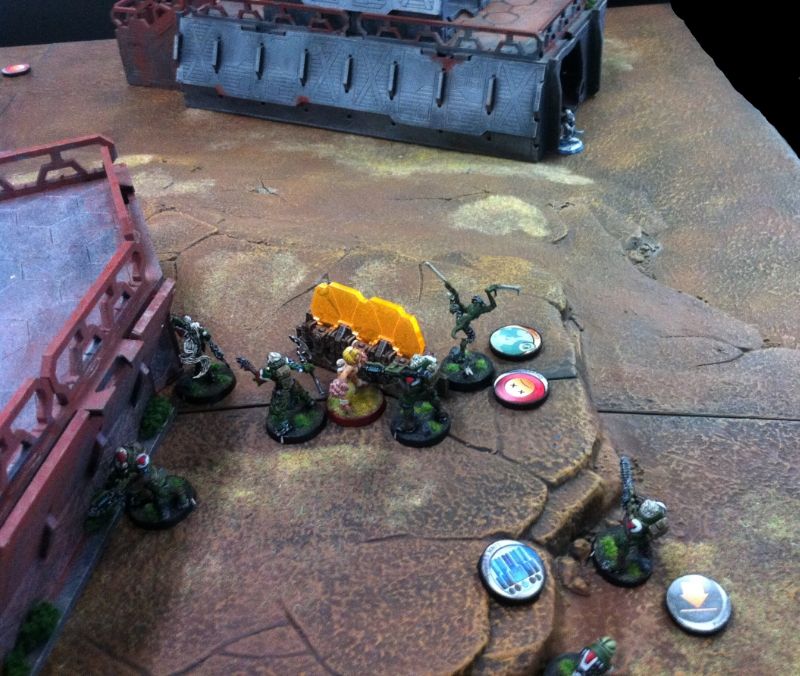
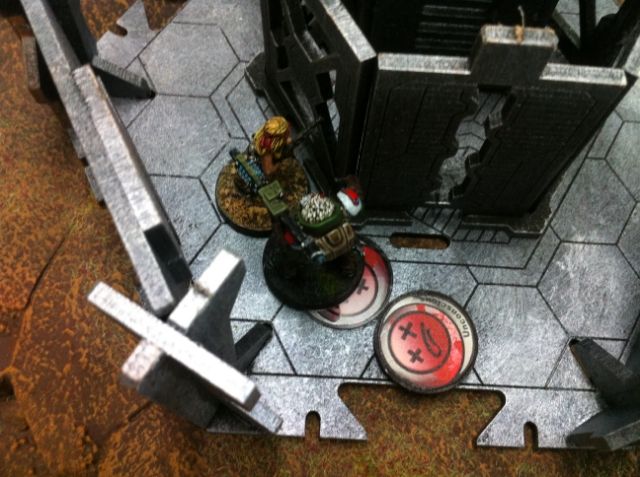
One of the intrepid Fusiliers- buoyed by the thrill of seizing and objective- wanders into Central Processing and sees the Oznat skulking in cover.
 |
| I see you! |
 |
| Dead! |
 |
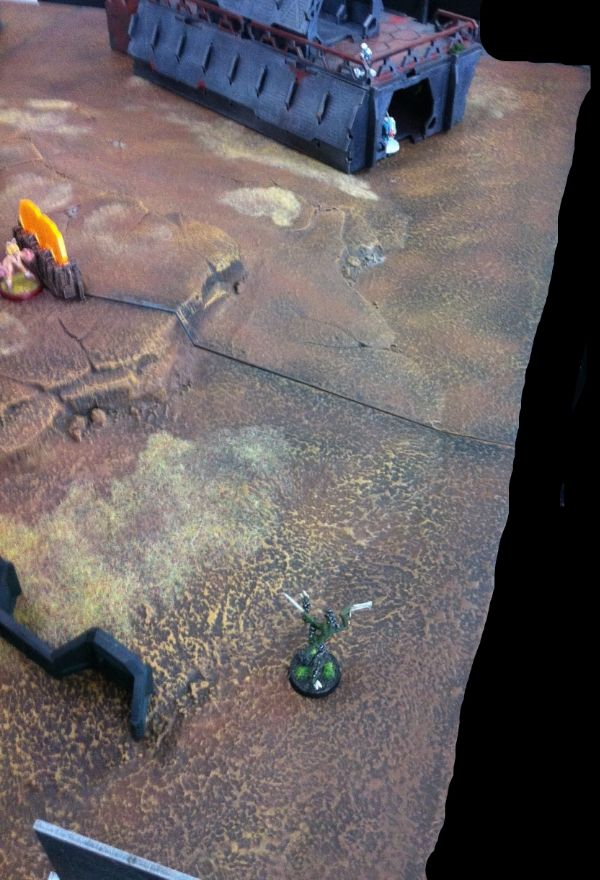
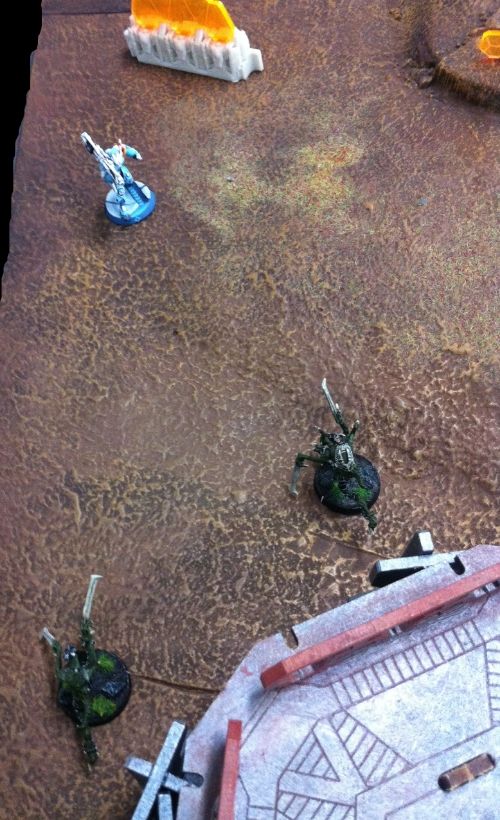
| Advancing.... |
 |
| Wait for it.... |
 |
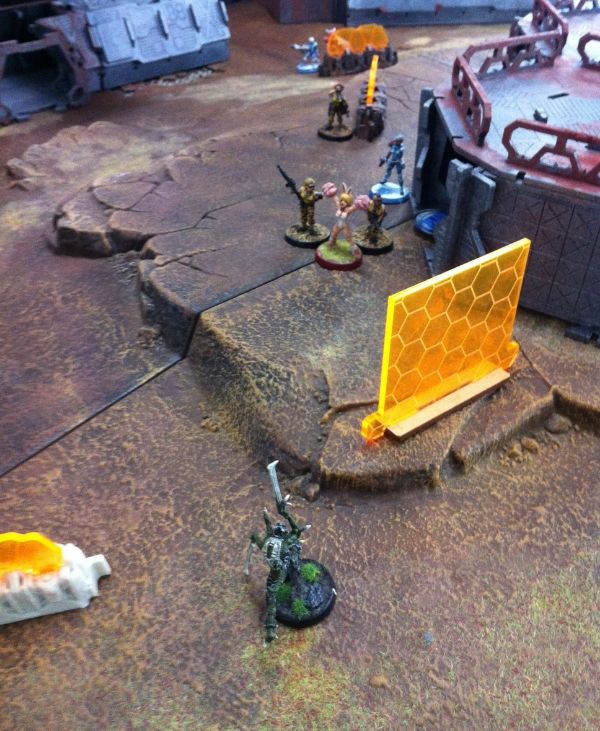
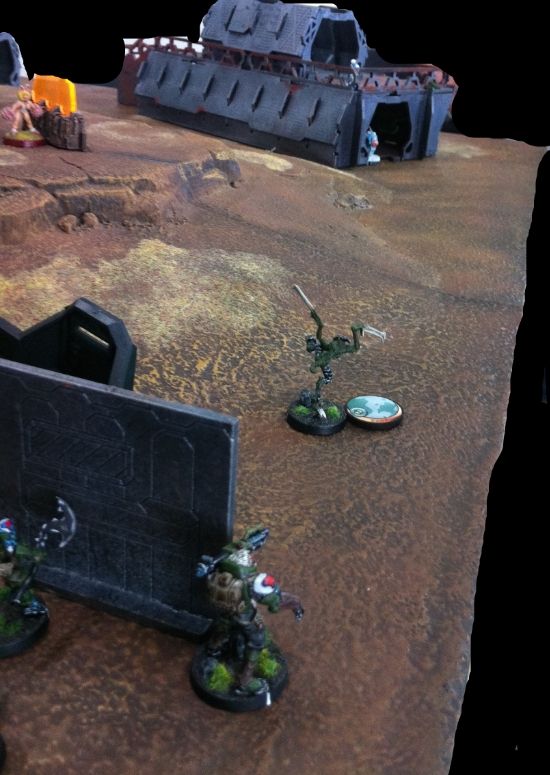
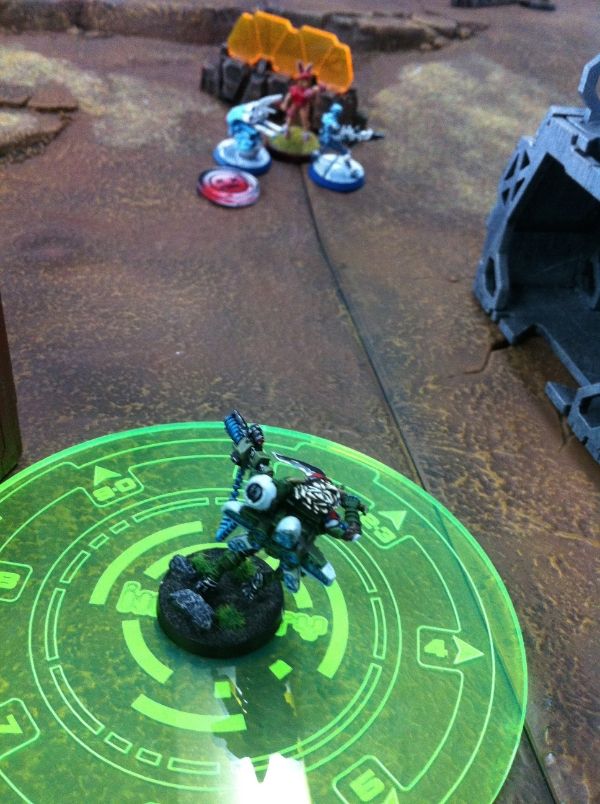
| Calonice thinks she sees some shimmering in the distance. |
 |
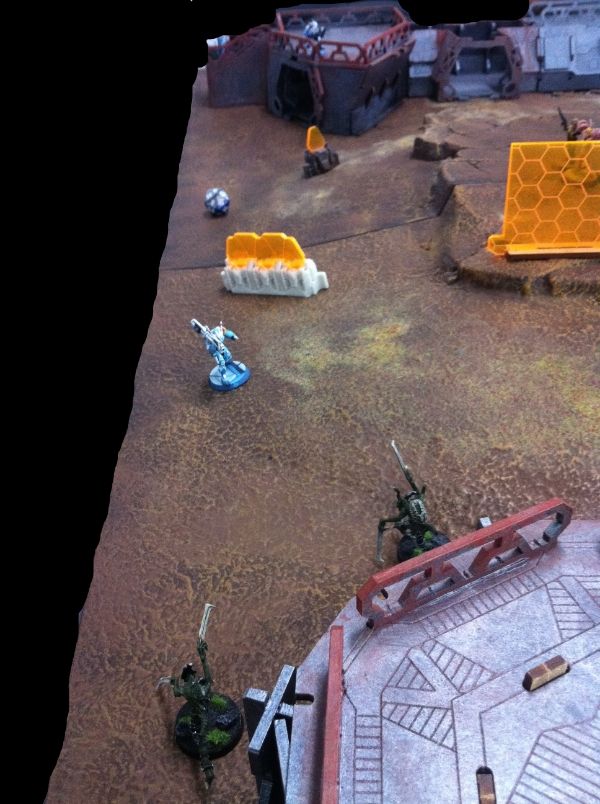
| Ta da! Swiss Guard combat camo missile launcher to the face! |
 |
| The Swiss Guard ML deactivates his cloaking to fire. |
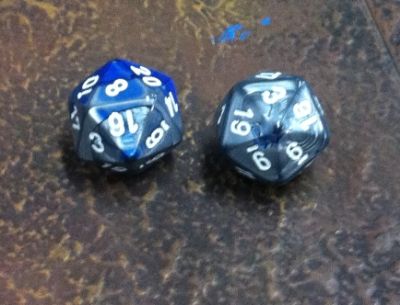
He fires...
 |
| And misses! |
Alright- I've seen some unlucky rolls before- but hey... that's so not statistical!
Calonice fires back but unsurprisingly misses. The thermo-optical camouflage on the Swiss Guard is a real bummer when it comes to shooting back at them.
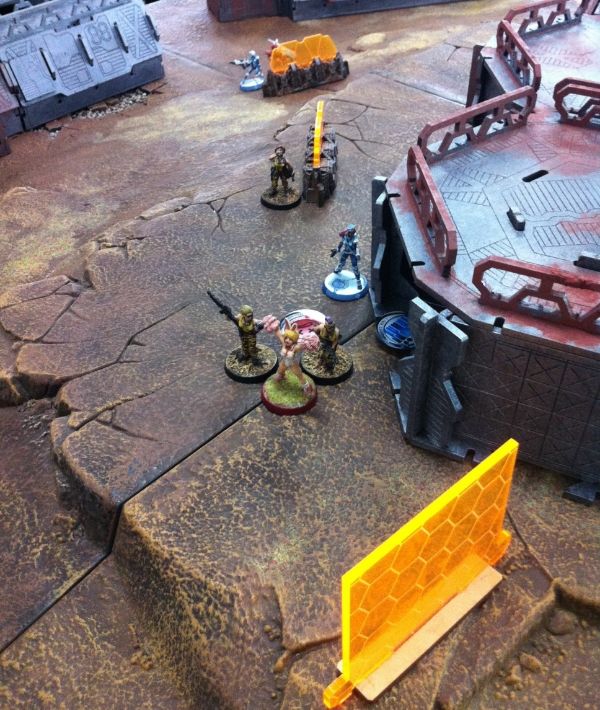
 |
| Another round! |
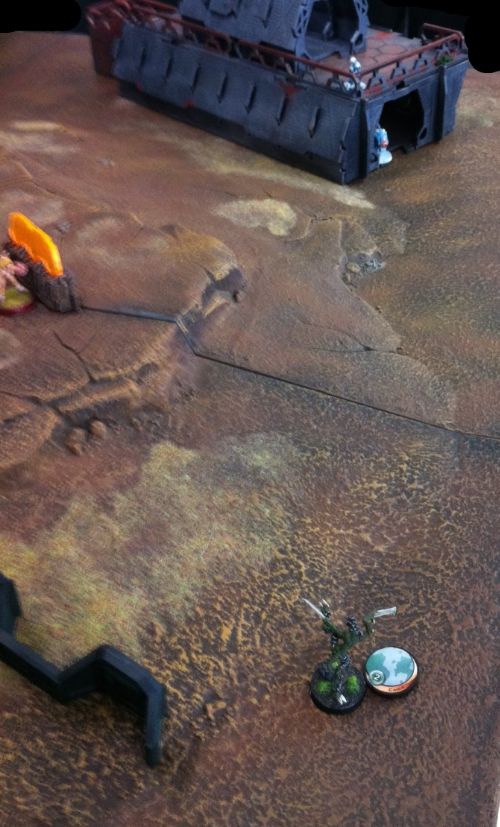
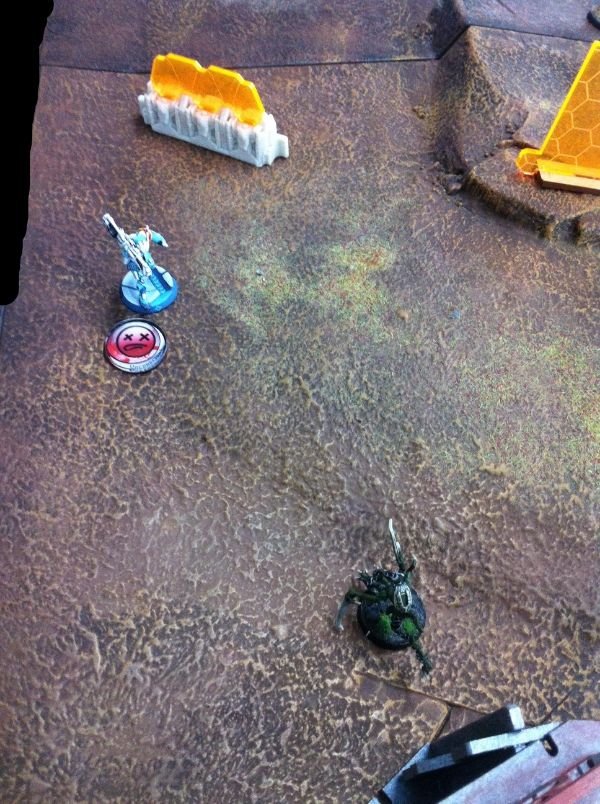
The Swiss Guard edges back out of combi rifle optimum range and re-engages Calonice. This time- she elects to Dodge....
 |
| Dodge to cover! |
 |
| Success! |
Despite the Swiss Guard succeeding with a roll of 5- he loses the face to face with the plucky Zerat who rolls an 8!
I think I dodged a bullet there (or maybe missile would've been more appropriate).
The Swiss Guard vaporizes one of the Pretas with a missile hit. The other Preta is hit by the Aquila's HMH burst but shrugs the damage off it's chitin carapace.
Turn 1- MAF
Right- so I emerged relatively unscathed! Luckily. It could've been a lot worse. First things come first so that meant Impetuous Orders!
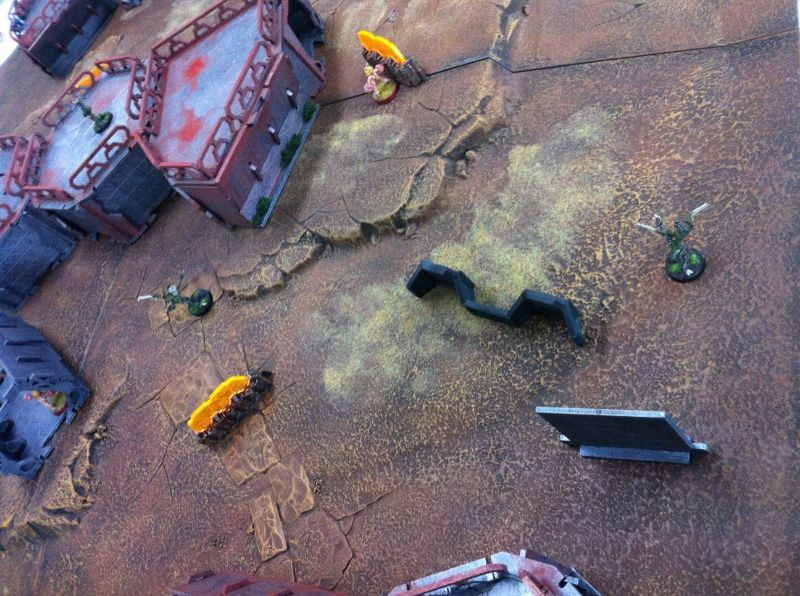 |
| Pretas on the eastern flank move out in a co-ordinated order. |
One Preta charged headlong at the distant Auxbot half hidden in the garage!
 |
| Move and mine! |
The Auxilia's distant ARO shot failed to hit and the Preta danced in delight whilst pooping out a mine.
 |
| Mining. |
 |
| Oh no! |
I failed to notice that the Swiss Guard could draw a line of fire to my other Preta. I thought that the 147 Feature and the Storage building would've been enough to keep him concealed but alas it wasn't.
The Swiss Guard had an unopposed roll and smacked the Preta in the face with a missile.
 |
| The Preta's armour roll. |
Triple saves! Much to the disgust of the Swiss Guard!!!
 |
| Wow! Such explosion! Much scare! Many saves! Wow! |
A very surprised Preta emerged from the smoke- singed and bewildered- but still alive. His mine that he just squeezed out, however, was vaporised. A small price to pay for that lucky escape.
 |
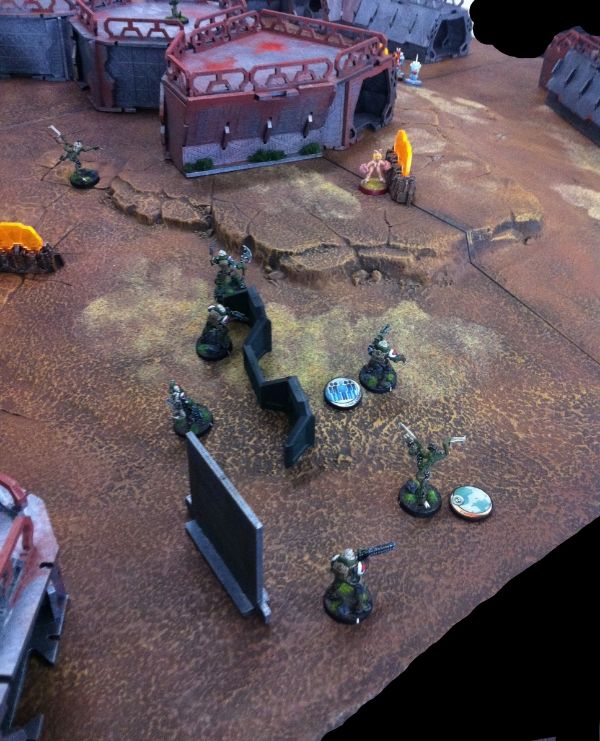
| Co-ordinated attack! |
That Swiss Guard just had to go. I co-ordinated my two remaining Impetuous Pretas to launch themselves from the Habitation block they were hiding around and chain rifle him.
 |
| The Swiss Guard ARO's one Preta with a shot, the distant Aquila Guard ARO's the other Preta with a HMG burst. |
These Pretas have definitely been eating a good breakfast!
The chain rifles bursts blanket the Swiss Guard in response. Being Armour 5- he stands nonchalant.
 |
| And then fails both armour rolls! |
 |
| Swiss Guard knocked out! |
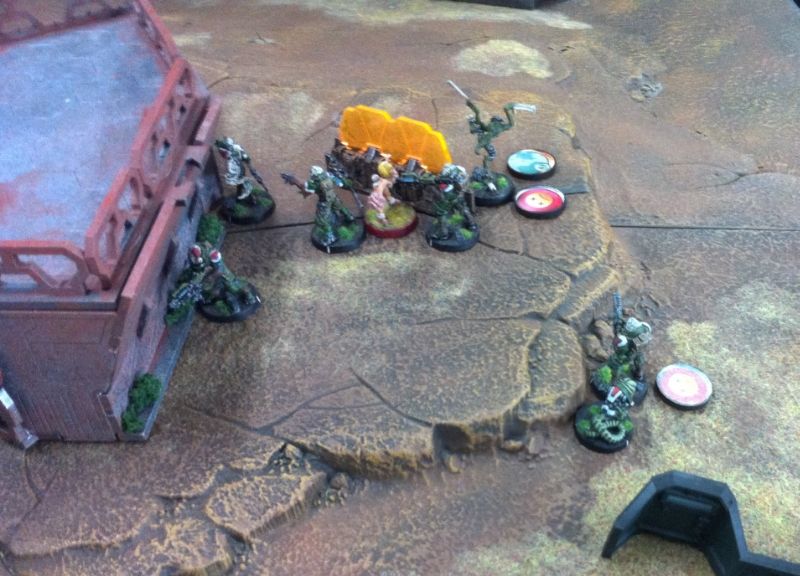
Delighted at still being alive, the Preta who had just KO'd the Swiss Guard bounded up to the edge of the plateau- spying its favourite meal- link teams!
 |
| Wow! Much excite! Such Link team! Wow!~ |
The two nearest Fusiliers fired back as the alien Preta let off a torrent from its chain rifle covering them. The Indigo Spec-Ops breathed a big sigh of relief as the template fell just short of her dainty feet!
 |
| Wow! Such burst! Much combi-rifle! Urgh! |
The Preta was shot to pieces, but not before claiming a Fusilier victim. The other Fusilier tanked the hit and dusted herself off- checking her wrist watch for the time in the process!
Well! After such a fruitful turn of events on the western flank, it was time for the Morat Vanguards to make their move.
 |
| Forward, men! Forward! |
 |
| Thucydides moves to the cover of the wall. |
 |
| ...and fires his missile launcher at the distant Auxilia. |
The Auxilia fails his dodge roll and is blasted apart.
 |
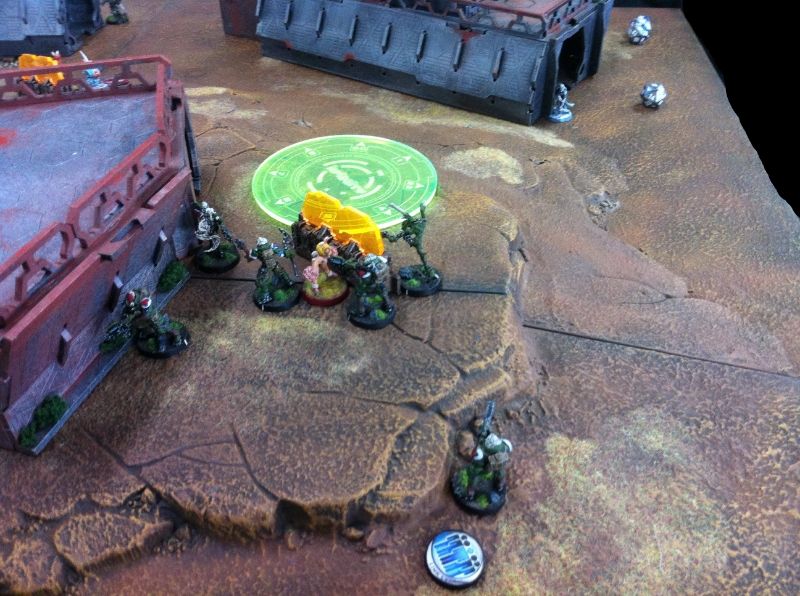
| The Vanguard link team advances! The eastern antenna is in sight. |
 |
| Eastern antenna captured. |
So now we were even with two antennae each. High fives!
 |
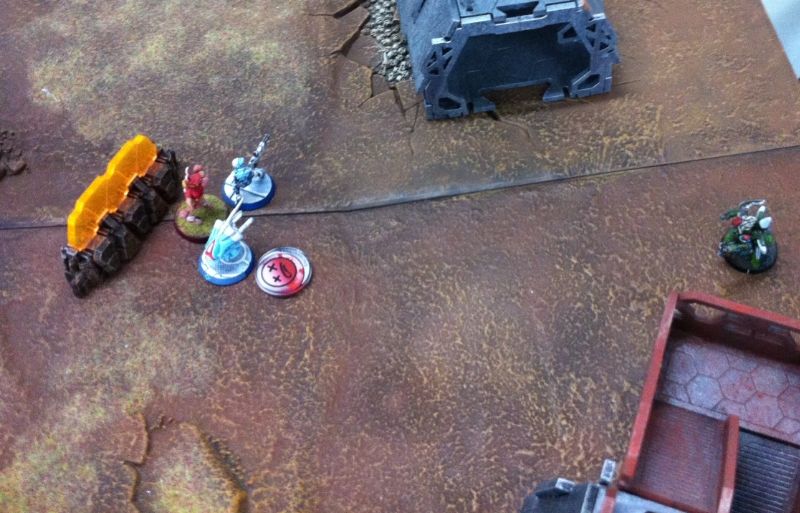
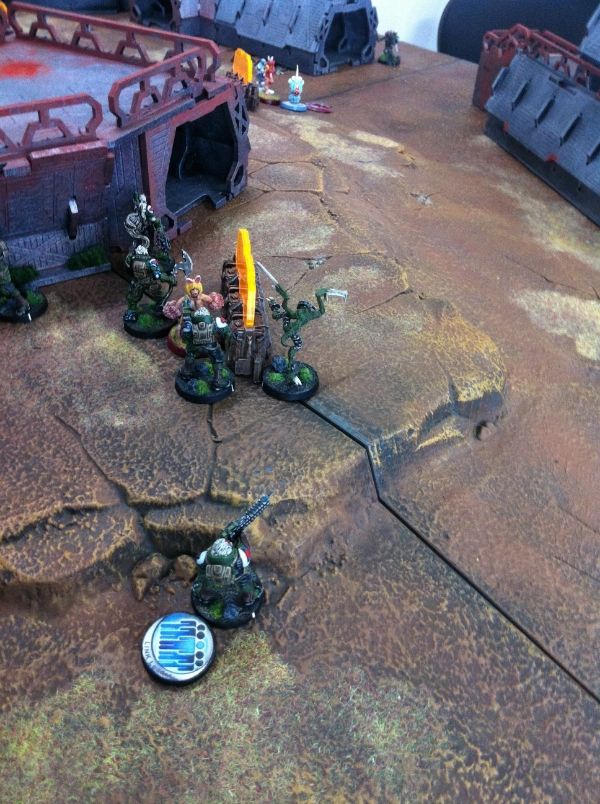
| I see an Auxbot! |
Bacchus edged around the plateau and spied the distant Auxbot. Unfortunately the antenna blocked the FO Auxilia from view but that could get sorted out with the next order. Right? Right?
The Auxbot is disabled in the subsequent fire but I couldn't get an angle on the FO Auxilia. I considered just going full rambo against the distant Aquila Guard but I decided not to (thinking that the Aquila had ODD which by the way, it doesn't).
 |
| Death from above! Oops- wrong model. |
Time for a surprise! Aerial Deployment!
Suetonius drops from orbit- passing his PH roll and landing just outside the 8" zone of control of the FO Auxilia.
 |
| Corrected! |
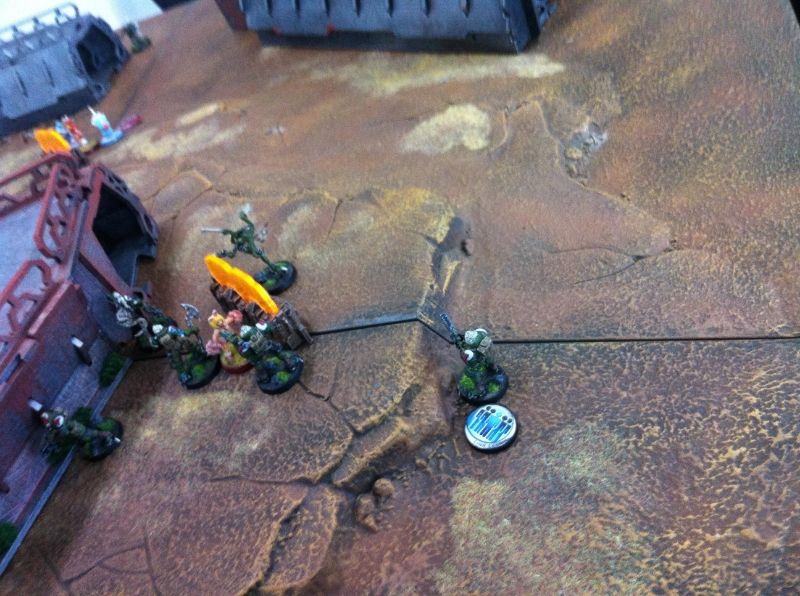
Grinning maniacally- the Rasyat fires repeatedly into the back of the Auxilia.
 |
| ... only to have his rounds bounce off and the Auxilia now turns around! |
Annoyed at his less than grand entrance, Suetonius fires again and cuts the Auxilia down. Then seeing the distant link team- the Rasyat moves forward and shoots at the closest link members.
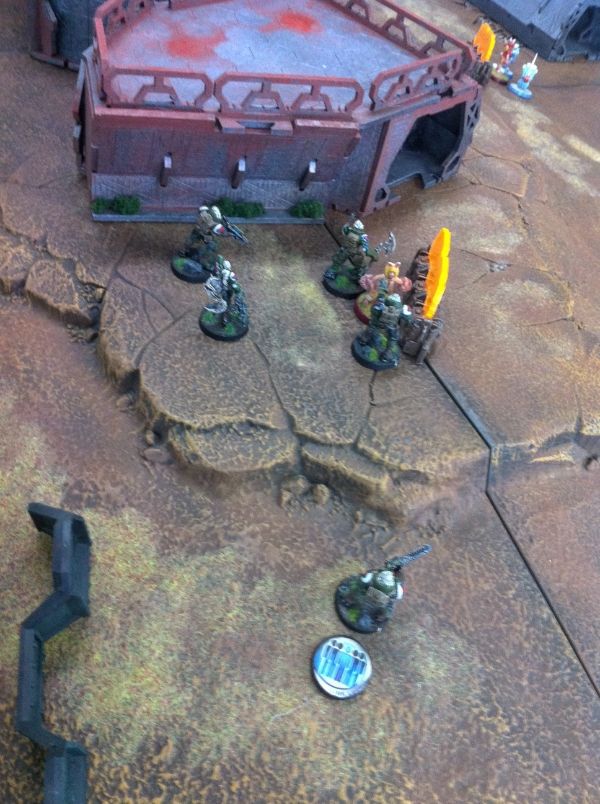
 |
| Suetonius takes on the Fusiliers! |
Of course, I had completely forgotten that the Fusiliers still had Sixth Sense L2 (they have 4 members), so the two closest Fusiliers turned and fired back with 2 burst each!
 |
| Suetonius kills the forward observer Fusilier guarding the western antenna! |
It doesn't all go his way though. He loses one face to face roll and is hit.
 |
| Move to cover! |
He passes his armour roll though and electively fails his guts roll- moving into total cover.
 |
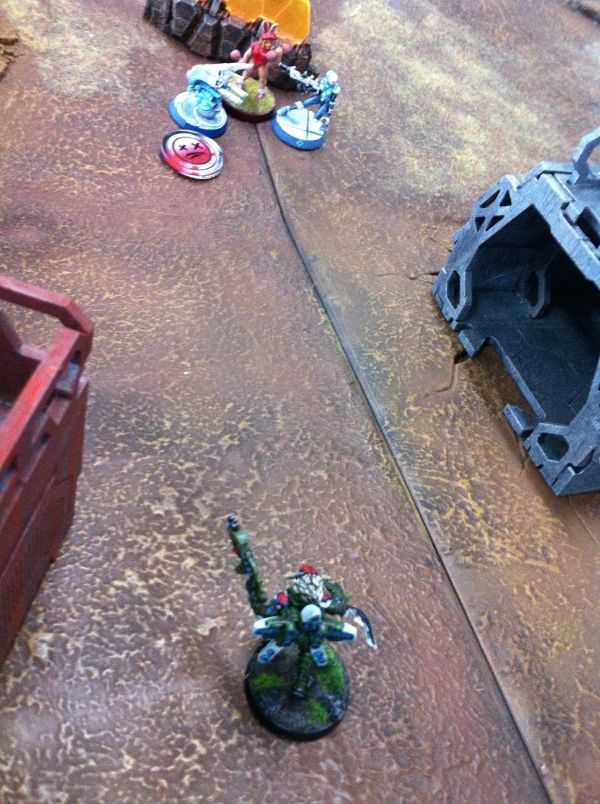
| Capture that Antenna! |
Down to my last couple of orders- I moved a Preta closer to the western entrance of Central Processing to protect my own Antenna.
 |
| Preta runs forward. |
I ran my remaining Preta forward- hoping to put some pressure on the humans next turn.
With that- my turn was done.
TURN 1 SCORE
Having shot the humans off their antennae and holding onto two of my own antennae- the Morats were in the lead.
NCA: 0
MAF: 2
Turn 2- NCA
Vengeance!
 |
| The fearsome Aquila Guard moves forward. |
 |
| And catches Bacchus congratulating himself on slaying an Auxbot. |
They fire on each other in a hail of HMG fire. I didn't fancy my chances, the Burst 4, Ballistic Skill 15 Aquila Guard is something to be feared!
Bacchus loses the face to face roll (unsurprisingly)- but luckily passes his single armour check and falls back out of view.
 |
| Falling back out of line of fire. |
 |
| Bacchus sweats as the Aquila hunts for him. |
Undeterred- the Aquila Guard moves along the Administration block roof and fires again.
The Aquila directs one burst against the Preta (who dodges out of the way) and 3 bursts against Bacchus.
Bacchus fires back but loses the face to face roll again. However he's still lucky- as his armour holds up and he retreats further around the plateau.
 |
| Bacchus will tip his armorer well tonight! |
The cocky smile got wiped off his face quickly though when a grey figure materialised out of the shadows of the Garage.
 |
| What's that? |
 |
| A thermo-optical camouflaged, hidden deployment Hexa with a Spitfire! |
A rain of cyan bolts lashed the Vanguard link team and that Preta stuck out in the open. Luckily- the Morat infantry still had Sixth Sense Level 2 and it would be some face to face rolls at least!
 |
| Anyat throws smoke, the Preta poops out a mine and Bacchus tries his luck and fires back.... |
 |
| Bacchus' luck runs out! |
Both Bacchus and the Preta are knocked unconscious. The Anyat rolls a critical success on her smoke roll! She's clearly been working out.
With the eastern flank locked down by the Hexa, the Fusiliers and the Indigo Spec-Ops move to secure the Western antenna.
 |
| The Indigo Spec-Ops moves up to the Western antenna |
And being a medic- and with a +2 WIP(!)- she passes her heal roll on the downed Fusilier as well!
 |
| Success! |
The battle continued around the Administration building as the humans tried to rid themselves of that annoying Rasyat- Suetonius.
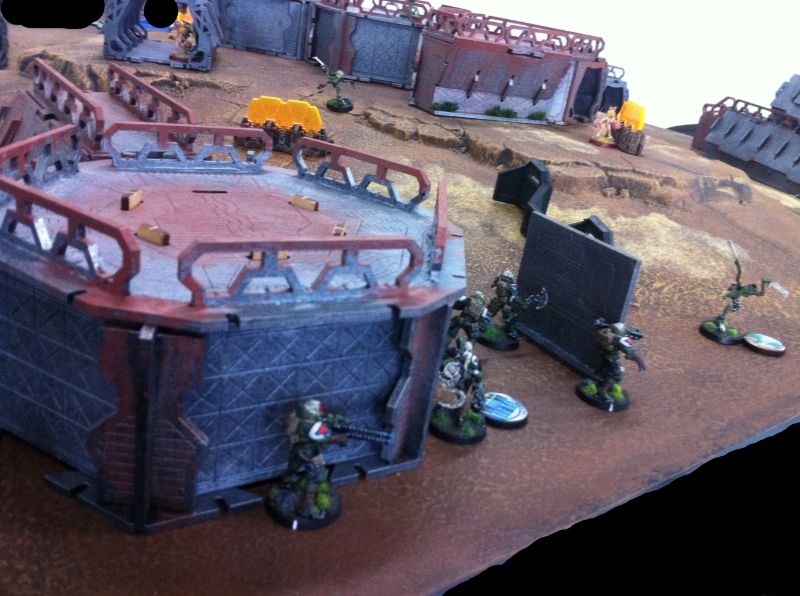
 |
| Bolt advances on Suetonius! |
Armed with a boarding shotgun, the Bolt is just out of optimum range. Suetonius ARO's with Zero-V smoke... and fails! Luckily the Bolt misses too.
 |
| Here he comes again! |
The Bolt advances again, this time into optimum range. Suetonius grabs another Zero V smoke grenade and tosses it in response.
 |
| Argh! |
Suetonius loses the face off and the Bolt guns him down. Such a shame. I had visions of him Zero-V smoking his way onto the roof and knifing that Aquila guard to death.... *sigh*.
Turn 2- MAF
Now it was my turn to reply and with Impetuous orders coming first- it's going to be a real pleasure!!!
 |
| Wow! Many link team! So Chain Rifle! Wow! |
 |
| Chain rifle time! |
 |
| No antenna for you! |
The chain rifle peppered the Fusilier link team and by the end of the exchange- a Fusilier and the Indigo Spec Ops were down. The Preta was blown to pieces by the return fire from the Fusilier in the building, but I thought it was a worthy trade.
With that out of the way, there were some wounded that needed patching up!
 |
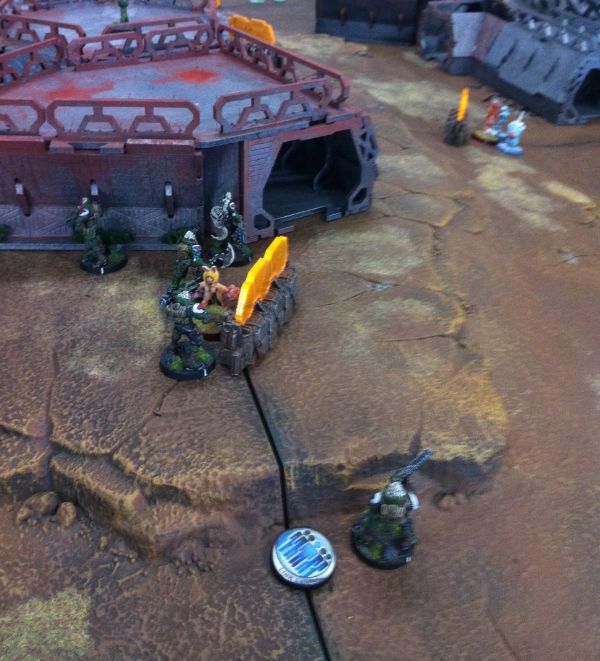
| Dr. Worm, MET call! |
 |
| Ghost Servant- slave drone moves out from cover and towards the wounded |
Using the Ghost: Servant rule- I was able to move Dr. Worm and one of his Slave Drones at the same time. No guesses as to where the drone was going....
 |
| Move-Heal |
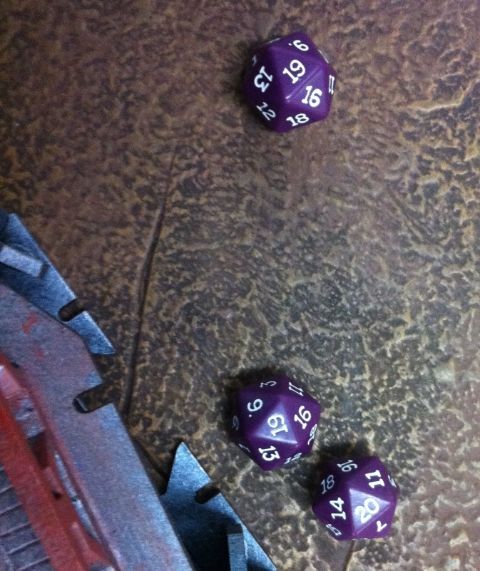
 |
| Critical success! I rolled a 14! |
 |
| Taken out by the distant Hexa. |
Unfortunately, the Hexa overlooking Bacchus' unconscious form shot the slave drone in response- disabling it with a single roll.
That being said though, I could reform my Link team with 5 members now.
 |
| Link reformed! |
 |
| Seized. |
In the centre of my line, I moved my Zerat into base contact with the antenna in Storage- hopefully cancelling out any last gasp efforts to garner extra victory points.
With now two antennae secured to the Neoterran zero- and with their specialists taken out- I was feeling confident.
I could play it safe- but that doesn't make a fun game!
 |
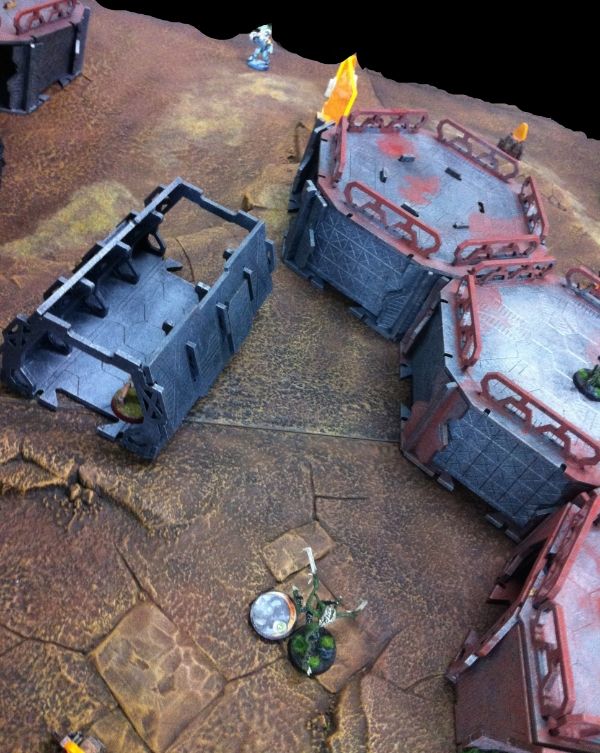
| Go for the centre beacon! |
The link team moved just into Central Processing- prepping for a turn 3 charge for the centre beacon.
But of course, Central Processing needed some cleaning out first!
 |
| That's not very Hippocratic! |
Dr. Worm slid around the corner of Habitation and fired on the Fusilier just visible in the western room of Central Processing.
The Fusilier lost her face to face roll- but passed her armour check! It would seem the dice are fickle!
 |
| Advance to contact? Me?! |
As she ducked back out of view, Dr. Worm slithered up to some cover and waited.
 |
| Not forgotten! |
The other slave drone moved forward too. You never know when you might need a healing hand (or claw)!
TURN 2 SCORE
I controlled one antennae- the Neoterrans held none. And with no specialists left- it was looking grim for the Neoterrans!
NCA: 0
MAF: 4
Turn 3- NCA
With no specialists left, the Neoterrans had no chance! Or did they???
 |
| Hexa! |
The Hexa rounded the garage gate again and fired on the Vanguard link team.
 |
| Bacchus goes down again! |
Anyat easily passes her smoke rolls (B2 when linked!).
Bacchus loses his face to face to roll- 2 burst versus 3 burst is still kind of close- but the TO Camouflage makes a huge difference. Bacchus fails his armour roll and goes back to sleep!
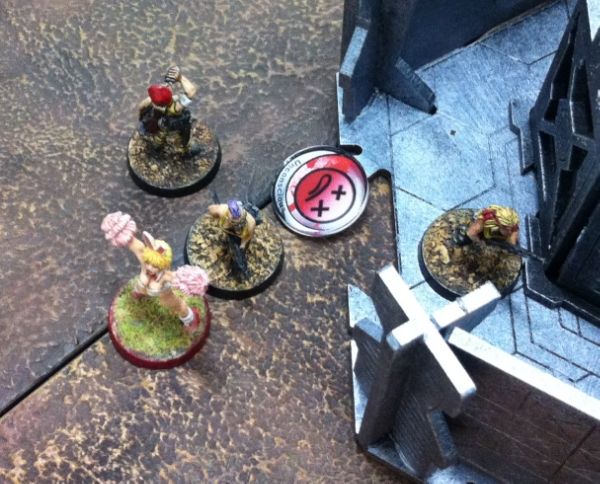
There was more action on the Western end of Central Processing as the Fusiliers made a last ditch attempt for victory.
 |
| Angry Fusilier! |
One of the last Fusiliers- tired of being picked on- leaps around the corner in Central Processing and guns down Dr. Worm mercilessly!
The final Fusilier- a paramedic- moves up to the fallen Indigo Spec-Ops....

 |
| Inadvertent euthanasia... |
And finishes her off! For shame!
 |
| Bolt sharpens her knife. |
The Bolt- hidden in the bowels of the Administration block- races towards the fallen form of Suetonius. There might be a 'coup de grace' secret objective in the offing!
Unfortunately her 4-2 movement lets her down and she falls short- and moves into cover instead.
Turn 3- MAF
The MAF have a lead in points- so the game is in the bag. However, with the MAF, the blood letting isn't over yet!
The Anyat tries something tricky- throwing smoke to block the Hexa and then climbing to the top of Central Processing...
 |
| Aquila Guard guns her down. |
... forgetting that Aquila Guards have MSV3 and see straight through her smoke!
 |
| MSV 3! |
The Anyat is gunned down with the HMG burst.
With the Aquila Guard covering the roof approach to the central antenna- Polybius- the Treitak Spec Ops- charges into Central Processing.
 |
| Blurred action shot. |
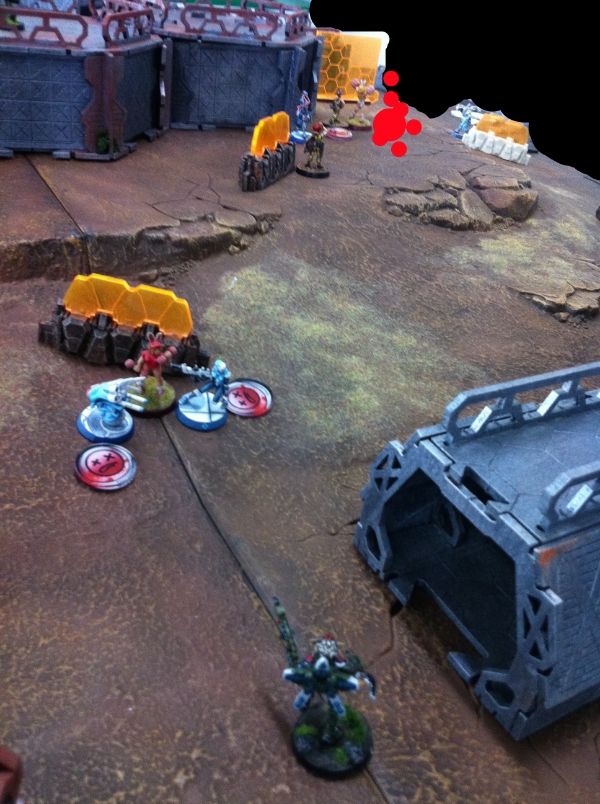
 |
| A cluster of PanO! |
Polybius grins with excitement!
 |
| Plasma rifle!!! |
The unconscious Fusilier in the centre of the blast is killed. Her paramedic friend fails her BTS roll and has her combi-rifle deactivated.
The remainining Fusilier passes everything- but fails her guts roll and moves to cover.
Polybius- sensing his moment- moves aggressively...
 |
| My time is now! |
 |
| Polybius gets greedy! |
He targets the Fusilier and the distant Bolt.
 |
| Finally down! |
 |
| And the Bolt too! |
But the ever watchful Aquila Guard- just outside the blast of the plasma rifle- gets some Neoterran revenge!
 |
| Polybius is KO'd! |
With my last few orders- I figured it was worth the risk....
 |
| Thucydides takes on the Aquila Guard. |
 |
| But is also knocked unconscious. |
The Aquila Guard remains untouched!
TURN 3 SCORE
I still controlled one antennae- the Neoterrans had lost all of theirs.
We both completed our Secret Objectives (Experimental Drug).
Leaving the final score....
NCA: 1
MAF: 7
MORAT VICTORY!!!
CONCLUSION
Wow- what an arm wrestle of a match! There were some incredibly lucky rolls, plucky defenders and furious shooting matches- a really fun game overall!
I'm sure there can be lots of meaty discussion about lists and tactics but I'll just leave a few points that I came to appreciate.
1. Aerial Deployment on an unsuspecting back line can be awesome!
2. Kornak's Strategos Level 1 is INVALUABLE. I can't believe I've only now discovered it- it's fantastic.
3. Pretas... most valuable models I had. Not only did they take down the Swiss Guard (by pure luck!)- they then savaged the Fusilier link team and kept them off the Western Antenna.
4. ODD and Multi-wound HI are still a massive pain in the proverbial. Only my Yaogats can answer them at 300 points and even then it's dicey (no pun intended). Oh yes, Sogarats and Raichos are good- but good luck bringing them along to a game where you need your specialists!
Anyway- I hope you enjoyed reading this! Feel free to comment below- as the march of the Combined Army continues!
No comments:
Post a Comment