 |
| Battle ready! |
I was lucky enough to be able to observe and report on a batrep from my gaming group between two fantastically painted armies at another FLGS.
I won't blather on too much- on with the reporting!
ARMIES
ALEPH
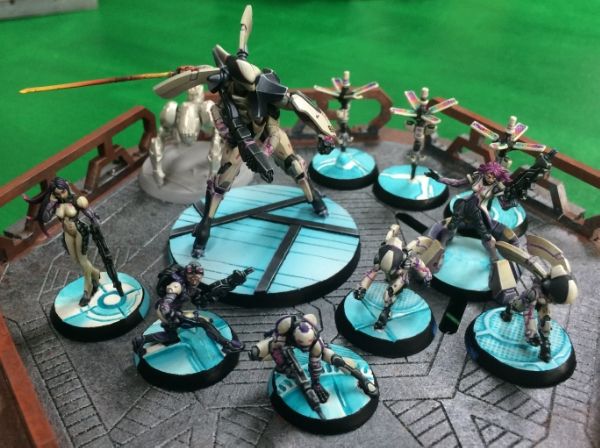 |
| Pepper thy angus! |
Marut- Lieutenant. Strategos Level 3. Multi-HMG. Heavy Flamer.
Thamyris- (proxied by Asura)
Sophotect
Yudbot x2
Naga- Minelayer.
Dasyus- Forward Observer
Zayin Rebot- Total reaction. HMG.
Netrod x3
NEOTERRAN CAPITALINE ARMY
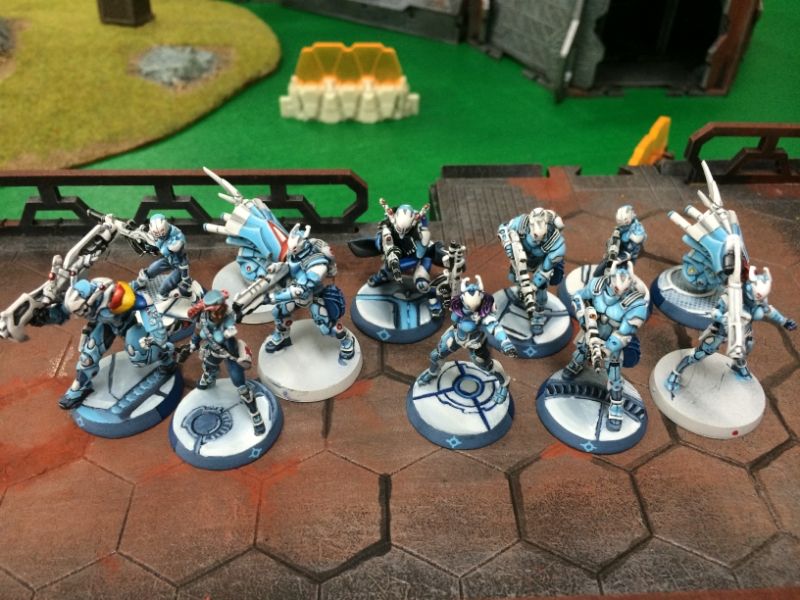 |
| Ready to rustle some jimmies |
Bolt- Lieutenant.
Bolt- Missile Launcher
Bolt- Paramedic
Bolt- Boarding shotgun (proxied by spitfire)
Bolt- Combi-rifle
Spec Ops- Hyperdynamics Level 2. WIP +2. Doctor?
Swiss Guard- TO Camo. HMG. (proxied by ML model)
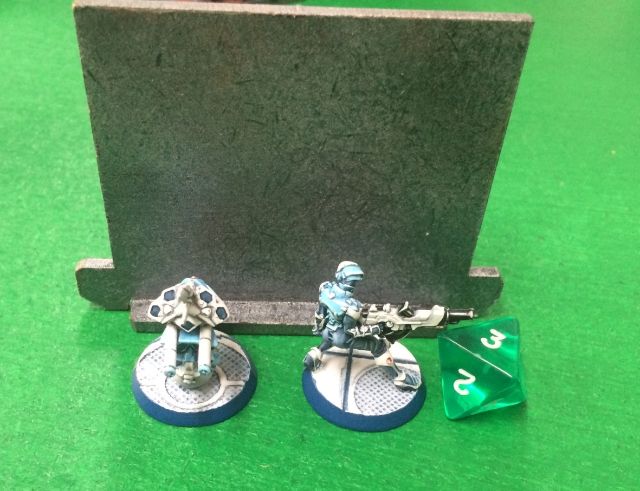
Aquila Guard- MSV3. HMG.
Auxilia- Forward Observer, combi-rifle- plus auxbot (heavy flamer)
Auxilia- combi-rifle- plus auxbot (heavy flamer)
TERRAIN
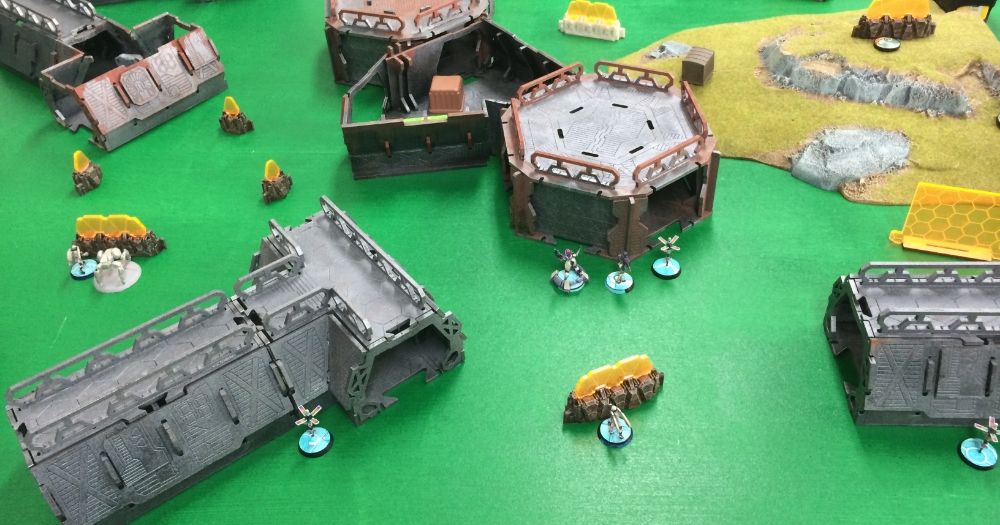
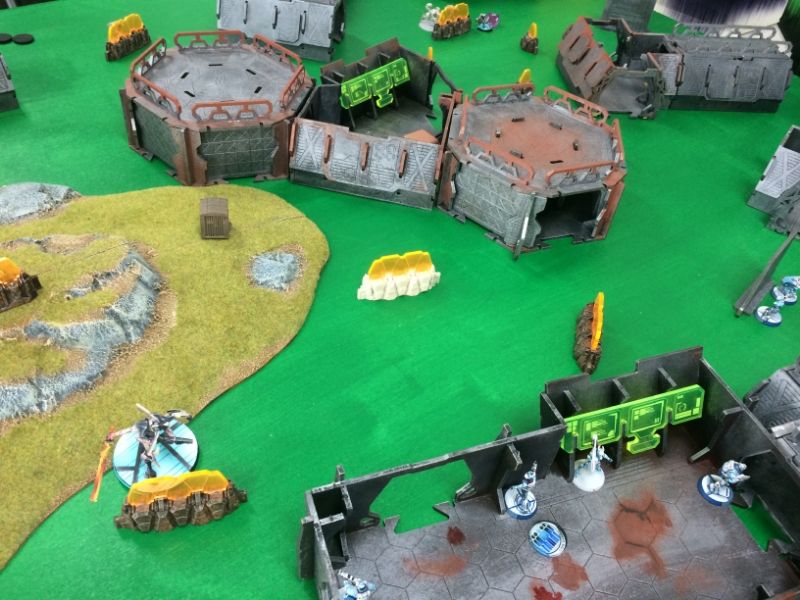
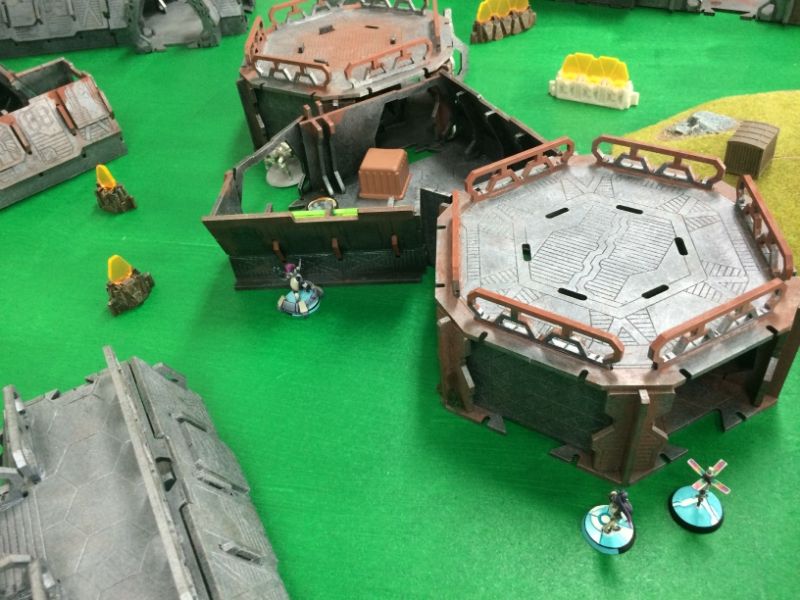
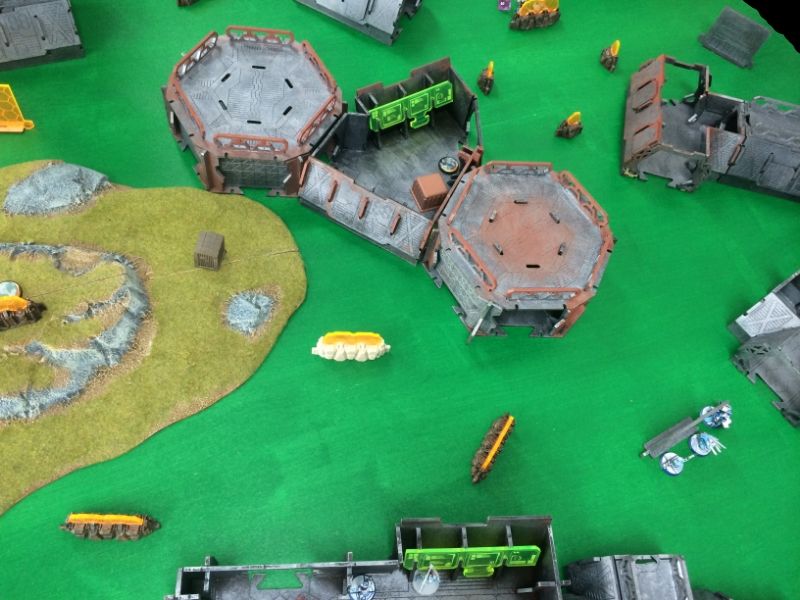
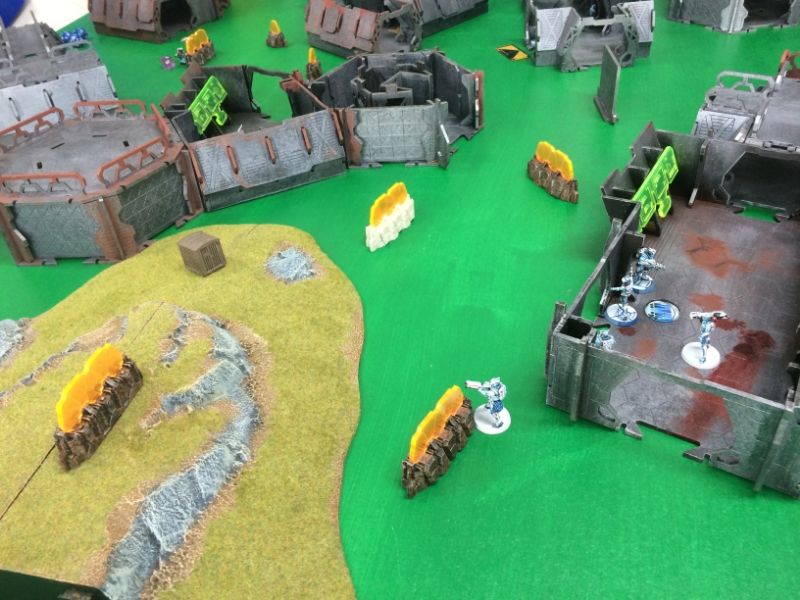
This battle was fought amongst the rusting battle scarred helo-port of District 5.
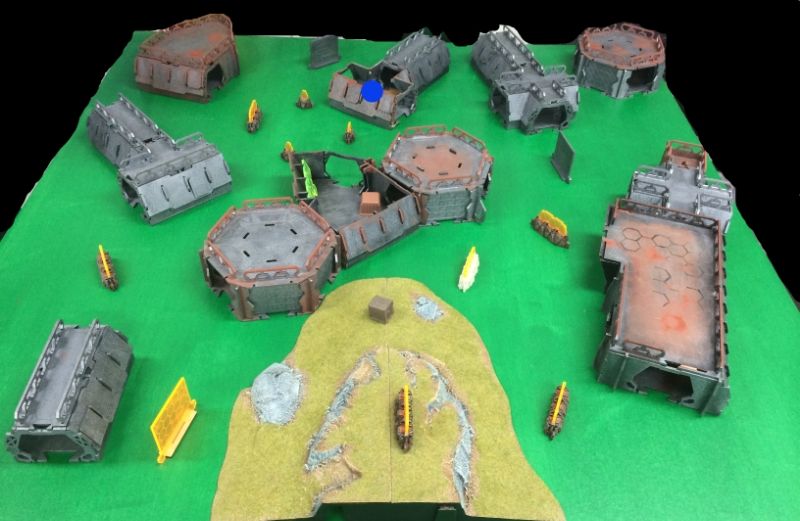 |
| South is to the LEFT. North is to the RIGHT. East is NEAR ground. West is FAR ground. |
Deployment zones run along the SOUTHERN edge (left hand side) and the NORTHERN edge (right hand side).
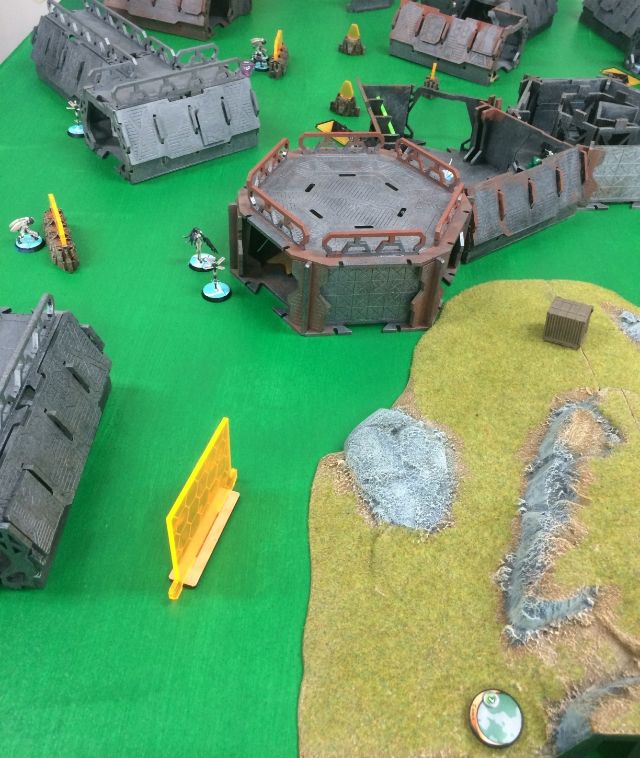
Key terrain pieces:
1.
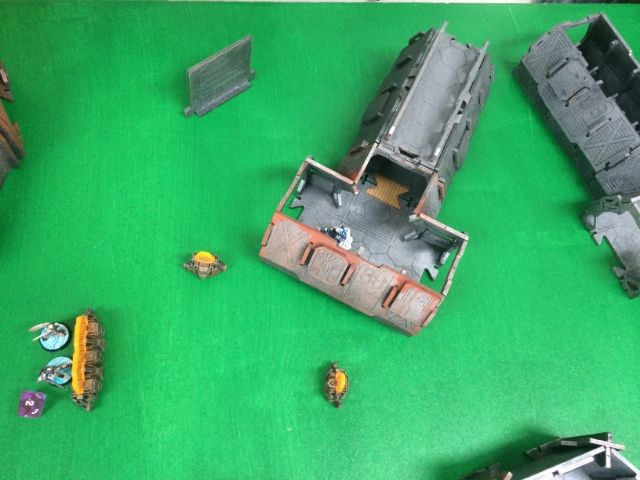
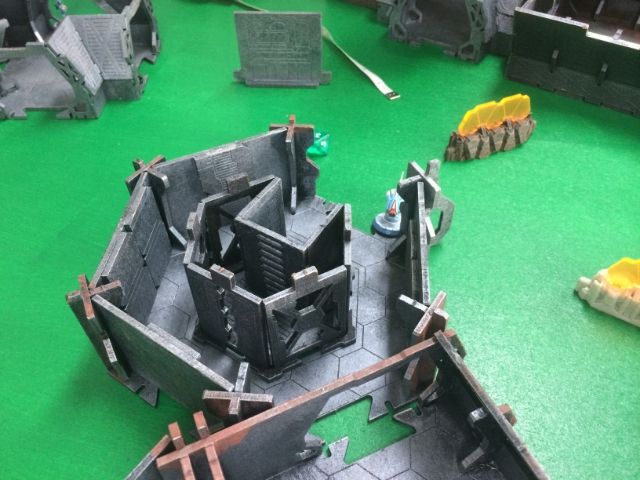
Helo-port. 3 part building in the centre of the battlefield. Two helo-pads visible joined by a control centre (consoles visible).
2.
146 feature. A spur jutting into the centre line of the battlefield from the East.
3.
Passenger Terminal. A large single storey complex stretching along the north western corner of the area.
4.
Administration South. A T shaped single storey building in the middle of the southern deployment zone.
5.
Administration North. A cross shaped single storey building in the north western quadrant of the battlefield.
Scattered single storey buildings used for storage of parts used in the helo-ports.
There are also many defensive emplacements throughout the AO.
 |
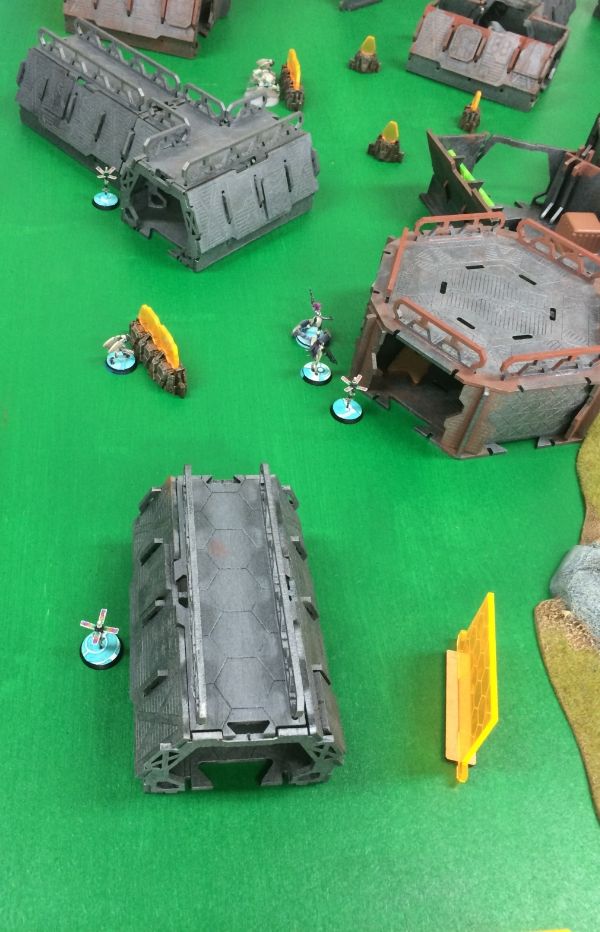
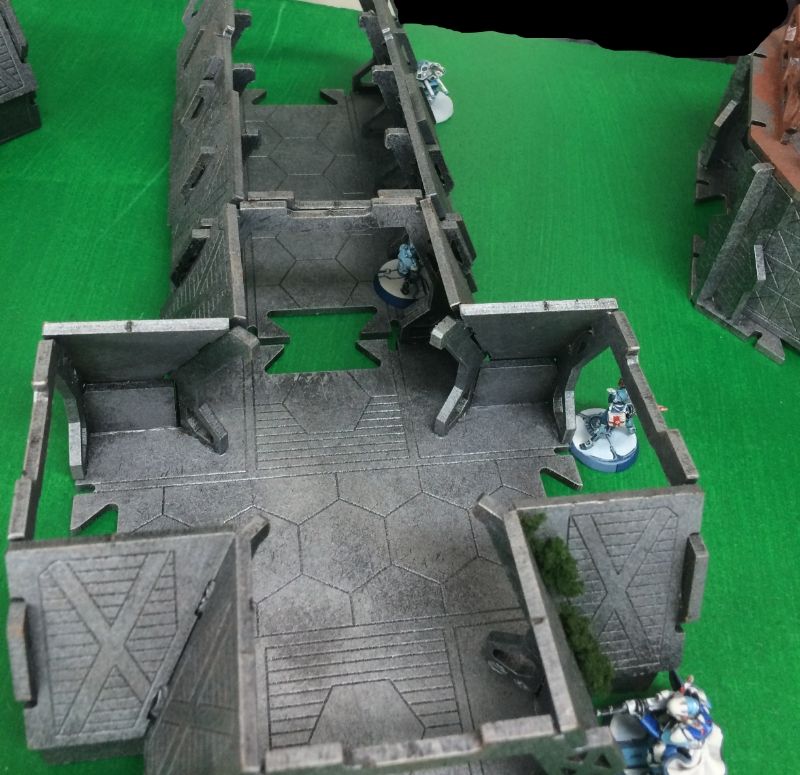
| View from the SOUTH looking towards NORTH |
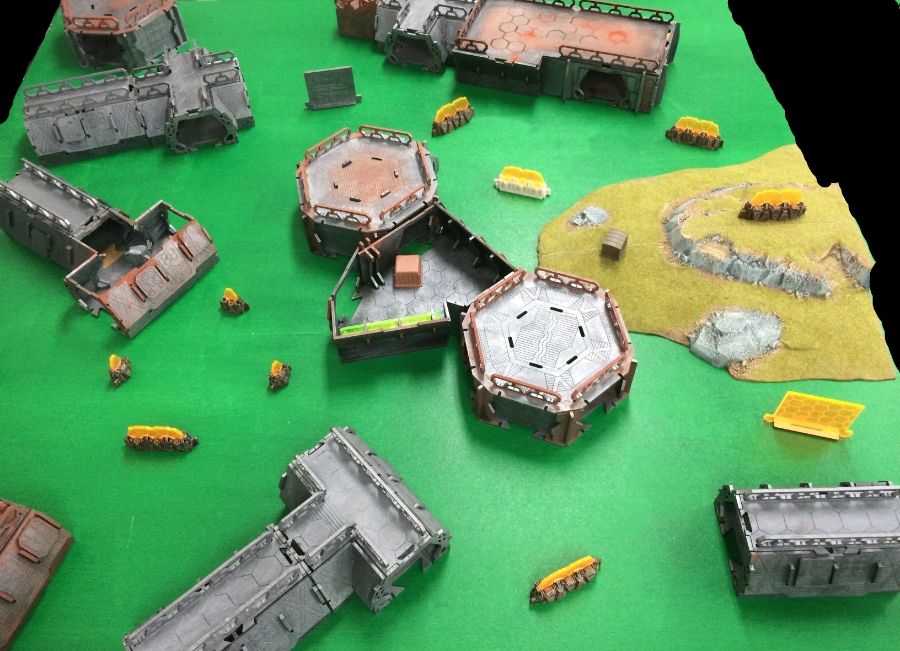
MISSION
"Friendly forces must CAPTURE three supply boxes no later than in 3 turns in order to deny Enemy forces resupply in AO District 5."
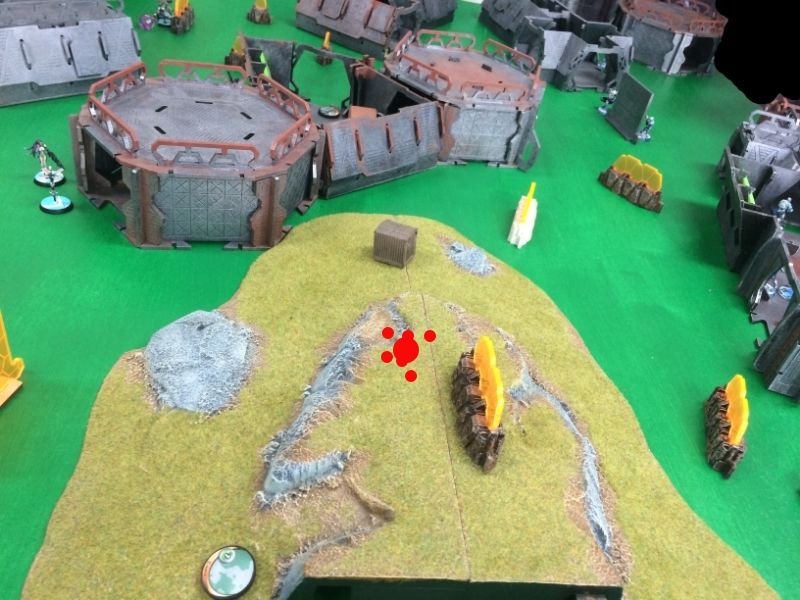
Supply run is a mission where there are 3 tech coffins- each containing a single supply box.
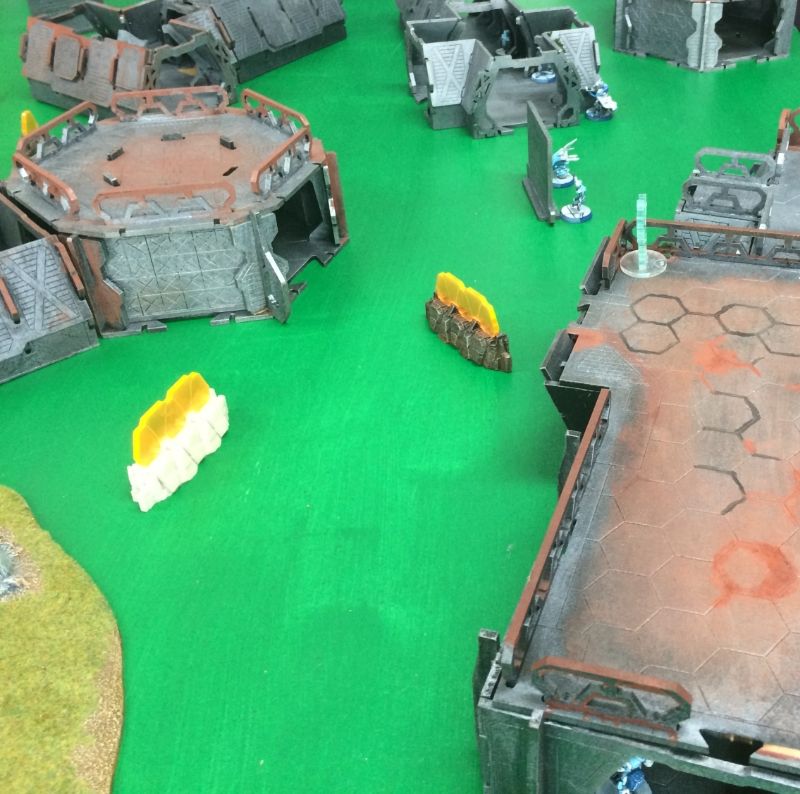
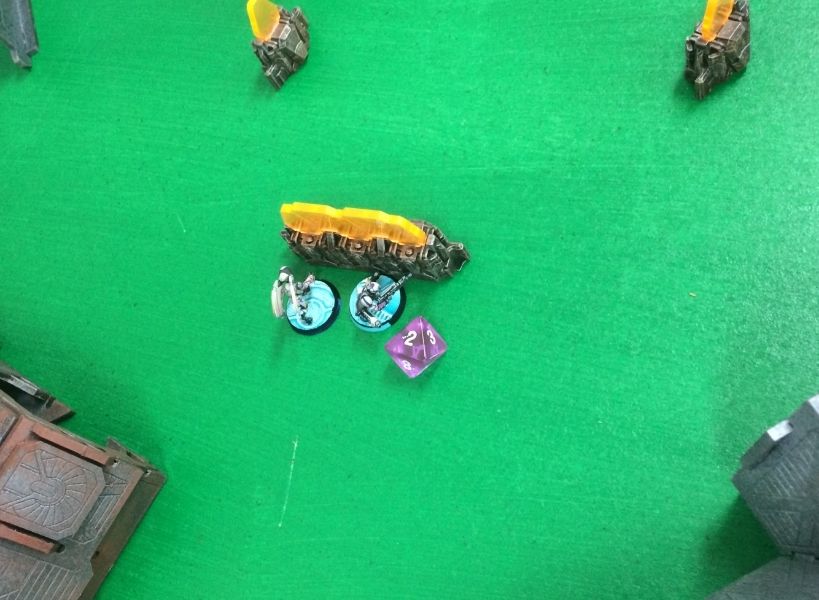
|
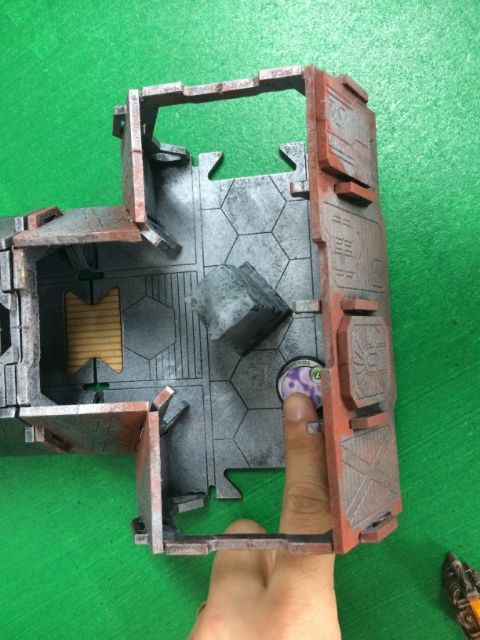
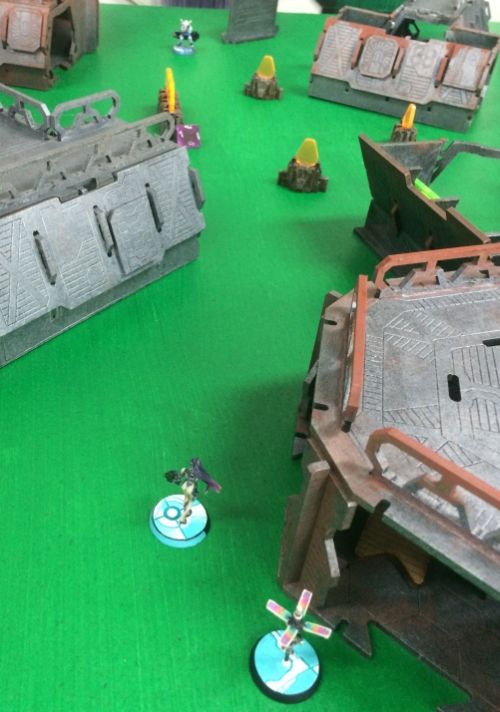
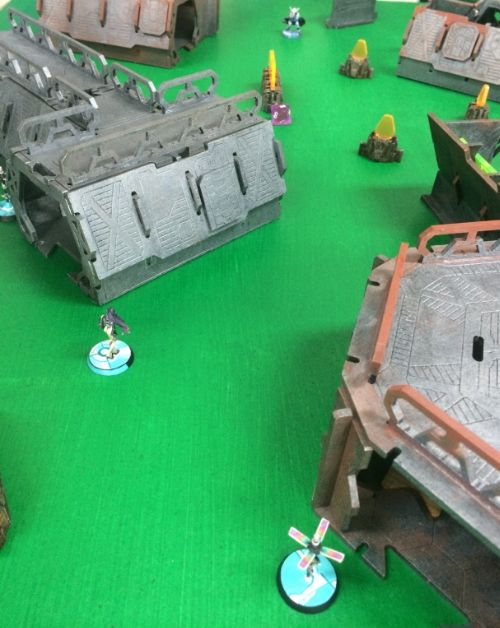
| 3 Tech coffins placed evenly along the centre line of the battlefied. Blue Dot is WESTERN coffin. |
The tech coffins must be cracked open by a specialist with a WIP roll and then the supply boxes- thus retrieved must be protected by the carrier until the end of the battle.
All points are scored at the end of the battle.
Classifieds
Each side gets 2 classified objectives each. In this case, I observed the rolls made by both sides.
ALEPH: Test Run. Data Scan.
NCA: Extreme Prejudice (Coup-de-grace). Experimental Drug.
LIEUTENANT ROLL OFF
ALEPH won the Lieutenant roll off and elected to go first. The NCA chose the northern deployment zone and opted for ALEPH to deploy first-and deploy in the Southern deployment area.
DEPLOYMENT
ALEPH
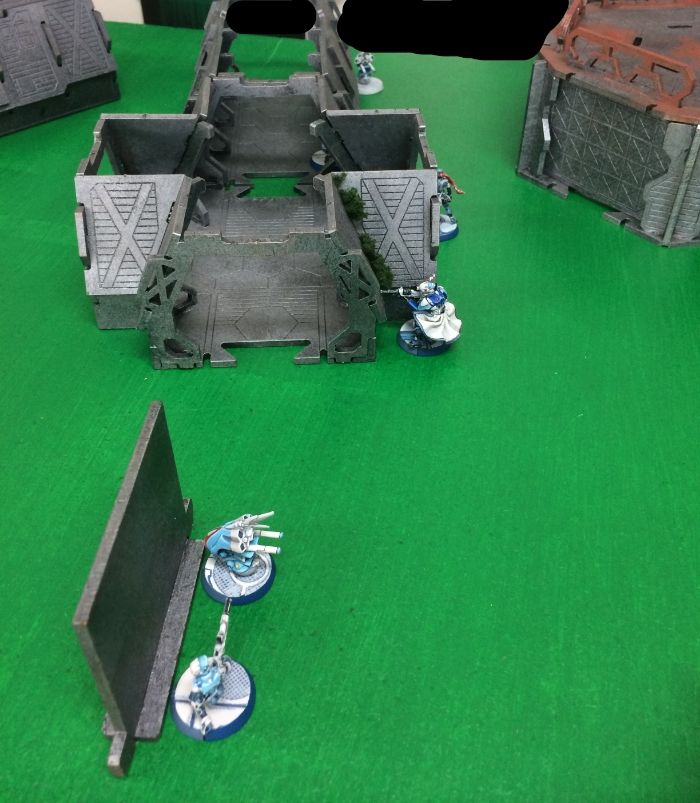
 |
| ALEPH battleline- facing NORTH. Western flank LEFT. Eastern flank RIGHT. |
ALEPH deployed well in cover. And luckily all the netrods passed their PH rolls and landed safely in cover as well!
 |
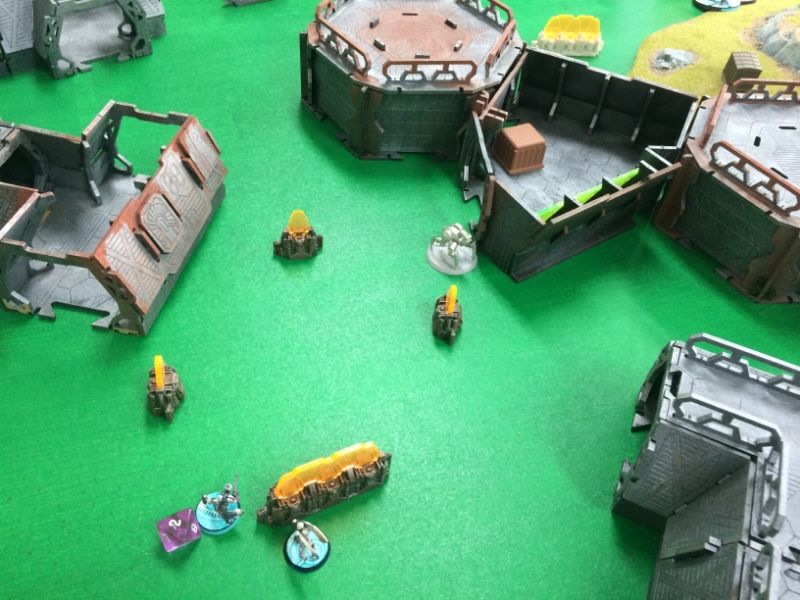
| ALEPH eastern flank looking in a westerly direction. |
Over looking eastern supply box, two camo markers on the 146 feature.
 |
| ALEPH centre |
The ALEPH centre was composed of a Sophotect and Thamyris.
 |
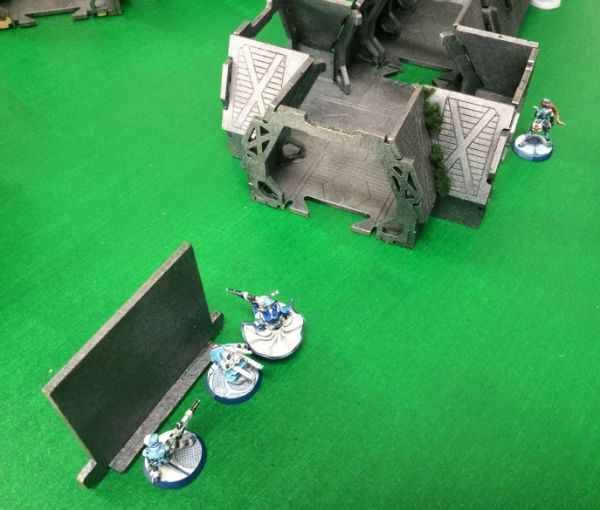
| ALEPH west flank |
ALEPH west flank was guarded by the Zayin Rebot with a helpful Yudbot close by.
With Strategos Level 3- ALEPH held back the Marut and the Dasyus Forward Observer.
NCA
 |
| NCA line- looking SOUTH. East is LEFT. West is RIGHT. |
The NCA also deployed evenly along the front line.
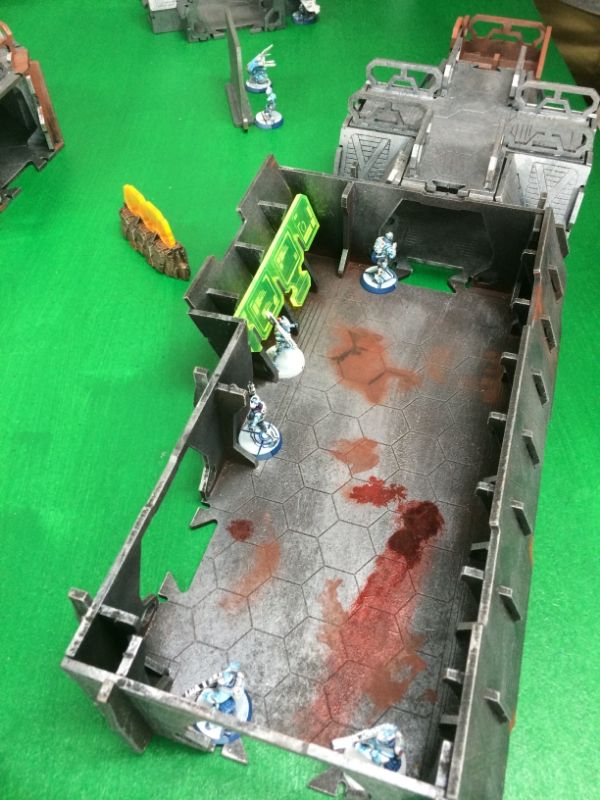 |
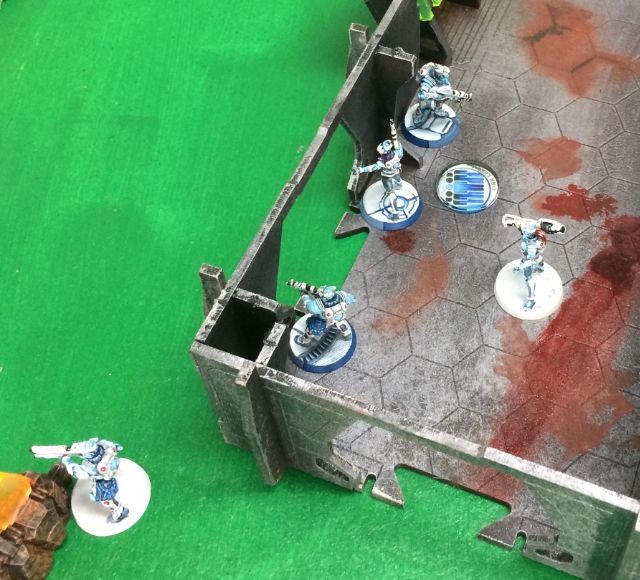
| NCA Eastern Flank |
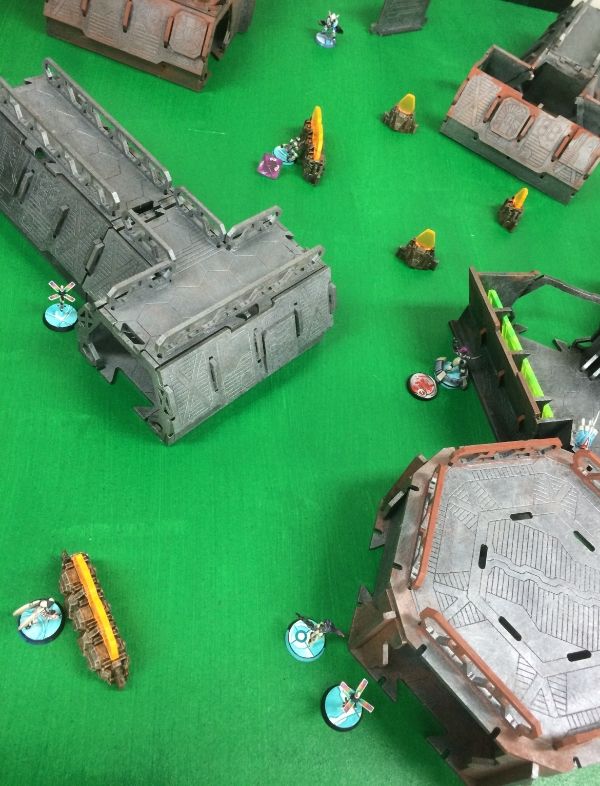
The Passenger terminal on the eastern Neoterran flank was well protected by a link team of Bolts whilst the centre of the line was held by an Auxilia (FO) and his Auxbot.
 |
| NCA Western Flank |
Behind Administration North, the NCA placed their Aquila Guard, Spec-Ops model and the other Auxilia.
 |
| Auxilia hides within Administration North |
 |
| Aquila Guard watches from a corner of Administration North. |
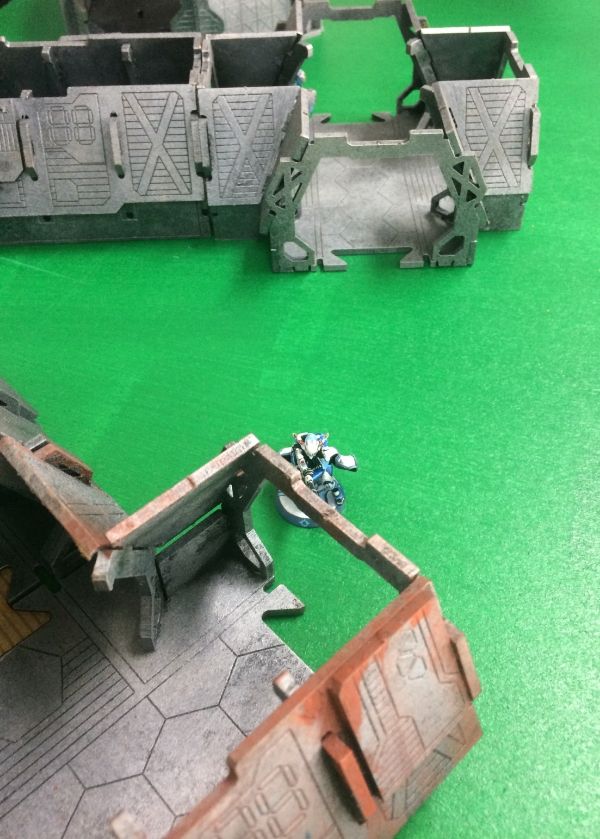
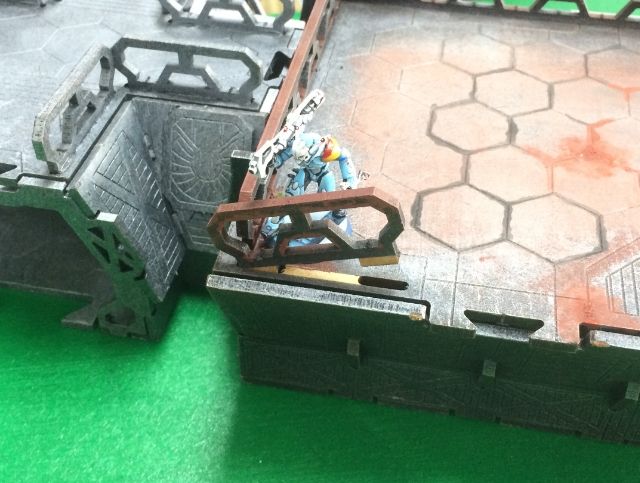
Finally, the Swiss Guard was placed in hidden deployment with good views over much of the battlefield.
 |
| Swiss Guard on the roof of the Passenger Terminal. |
RESERVE DEPLOYMENT
 |
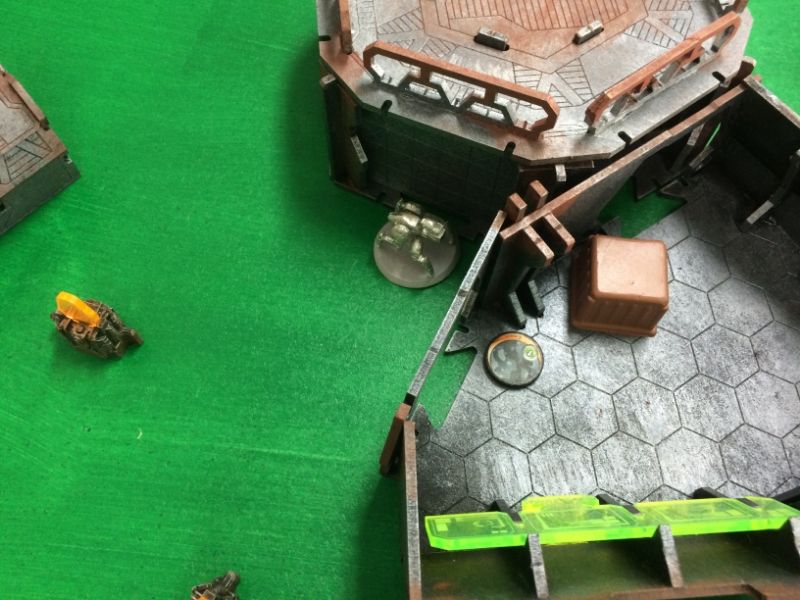
| Marut placed behind Helo-port. |
After much deliberation, the Marut was deployed just behind the central Helo-port on the ALEPH eastern flank.
 |
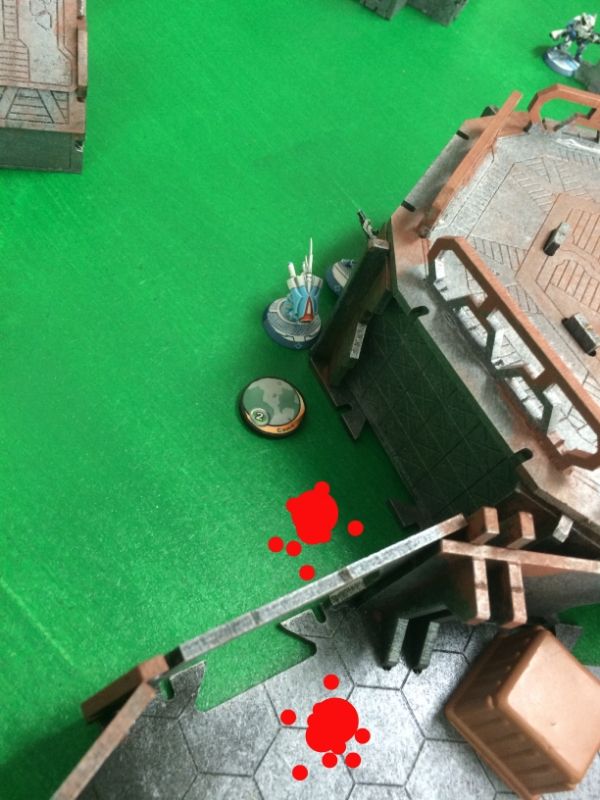
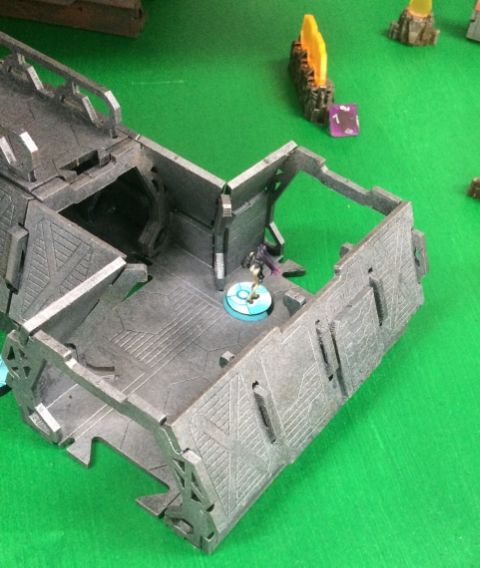
| Western tech coffin |
And the Dasyus FO was placed in hidden deployment right up close to the Western tech coffin.
There was going to be some quick objective grabbing by the looks of it!
BATTLE BEGINS....
TURN 1- ALEPH
 |
| ALEPH western flank |
 |
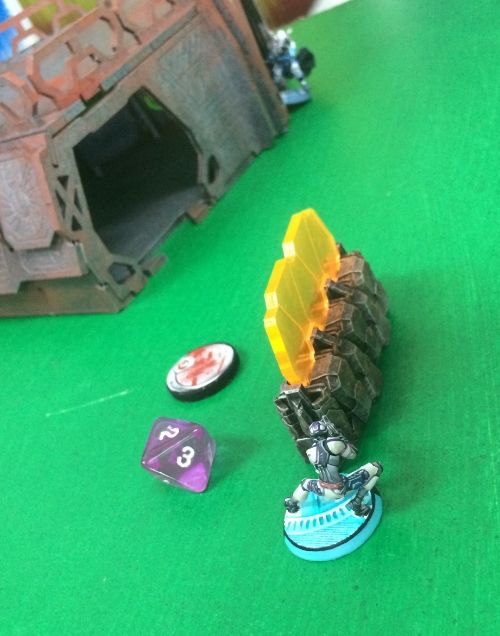
| Dasyus reveals! |
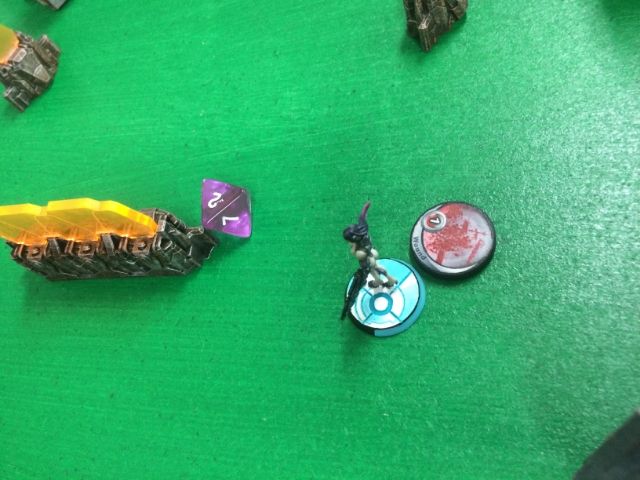
The Dasyus dropped out of hidden deployment and moved up to the western tech coffin. With a WIP 14, he passed the roll to open the coffin easily and collected the supply box inside.
 |
| Collected. |
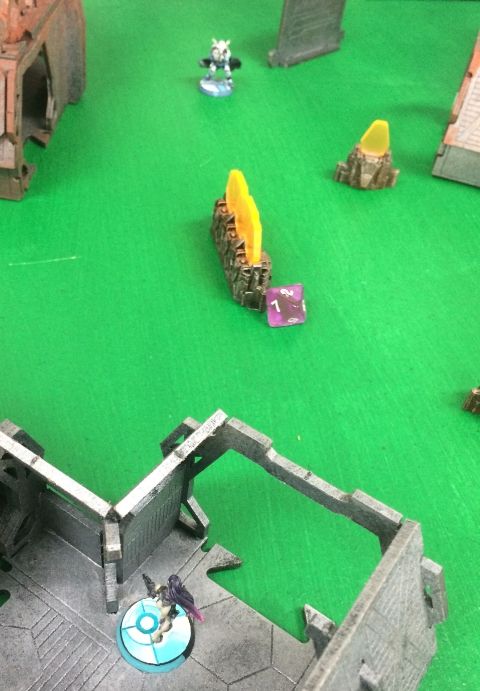
With that precious cargo obtained, the Dasyus beat a hasty retreat back towards the ALEPH battle line.
 |
| Dasyus withdraws to relatively safer grounds. |
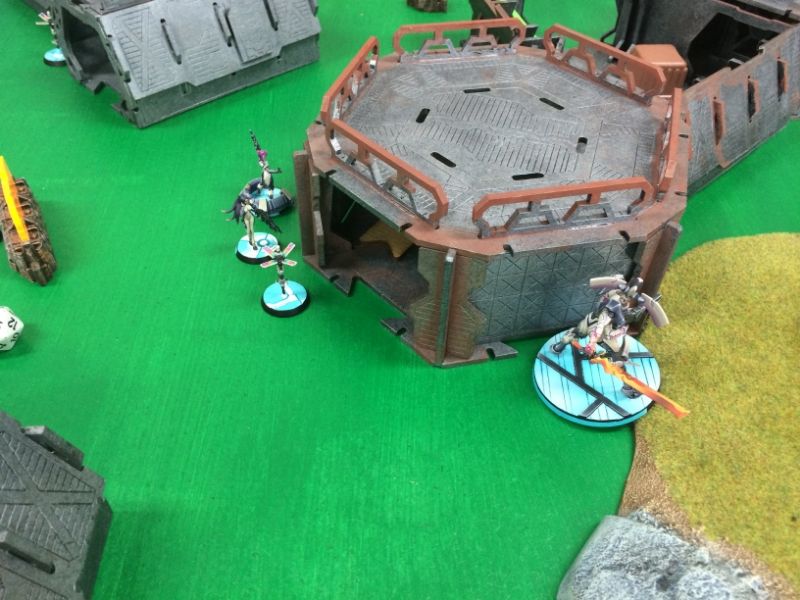
On the eastern flank, the Marut was champing at the electronic bit! It was her first outing ever and the multi-HMG was ready for action.
 |
| I'll wrek u! |
 |
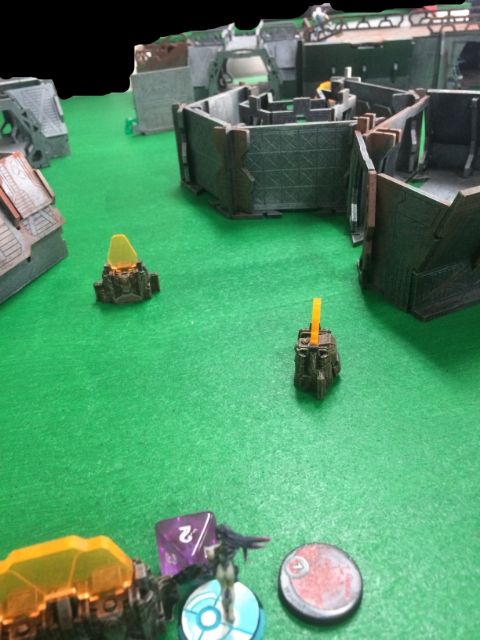
| Pepper your angus! The Marut prepares to advance up the 146 Feature. |
 |
| Advancing. |
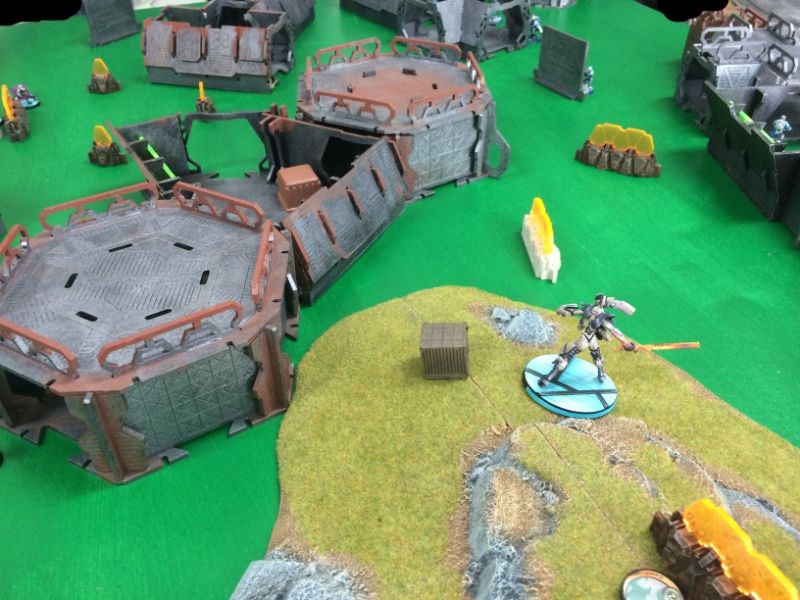 |
| I see you! |
The Marut stomped over the ridge line of the 146 Feature and saw the skulking forms of the Aquila Guard behind Administration North
and the Auxilia in the NCA centre.
 |
| Marut opens fire on the Aquila Guard. |
Without hesitation the Marut fired all 4 burst into the Aquila Guard who elected to dodge.
 |
| ...and crits his Dodge roll! |
The Marut HMG rounds fly past with no effect and the Aquila wisely backs away completely out of view.
 |
| Back! Back! Back! |
The Auxilia was transfixed with terror at the sight of the ALEPH TAG and failed his dodge roll completely.
 |
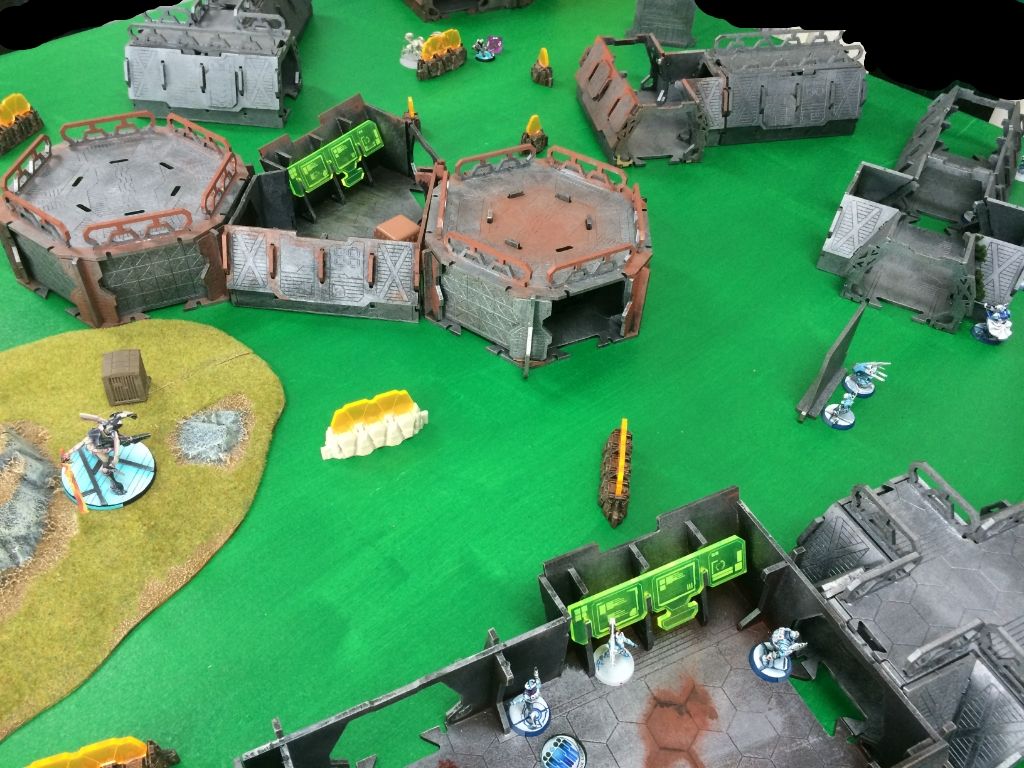
| Advancing further! |
Undeterred by the Aquila's lucky escape, the Marut advanced deeper into the northern half of the battlefield. Spying a few members of the Bolt team hiding in the Passenger terminal and with the Auxilia in view, the TAG hefted it's HMG again.
 |
| The Marut fires! |
The Marut puts two bursts into the Bolt link leader and two bursts into the Bolt with the boarding shotgun.
The Auxilia- thanking his lucky stars- fires off a burst from his combi-rifle. Despite not being in good range, he hits. With an armour of 8, the Marut should shrug off such puny fire. Unfortunately, ALEPH rolls a '3' and the TAG is wounded!
That was unlucky!
The Marut trades fire with the two Bolts- and loses both face to face roll offs! Still- with armour 8- the Marut confidently takes it armour checks.
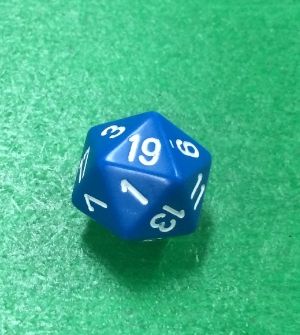
And rolls '3' again.
... And again!!!
 |
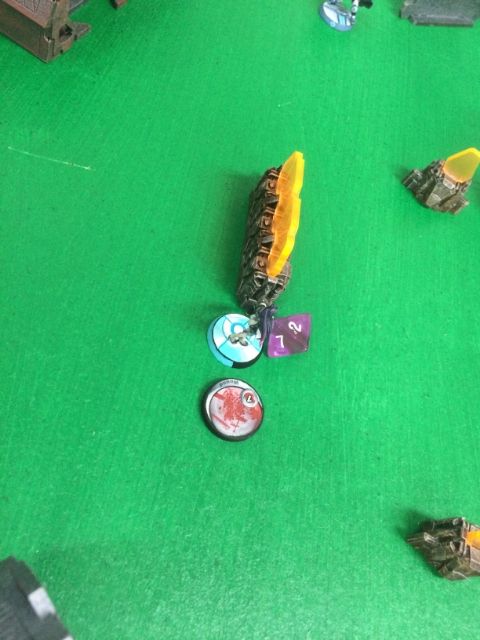
The Marut is mauled by ARO fire- but is NWI due to Remote Presence
(Editors note- This is not actually the case, the Marut does NOT have NWI and would have been "DISABLED") |
Cursing his dice- the ALEPH player grabbed four other dice and went to concentrate on another part of the battle space.
 |
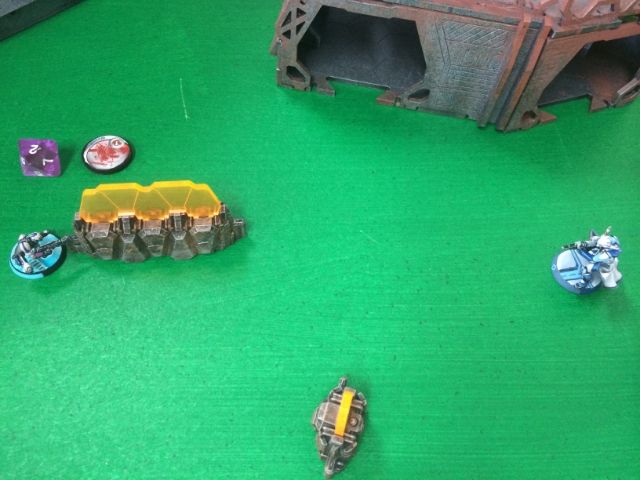
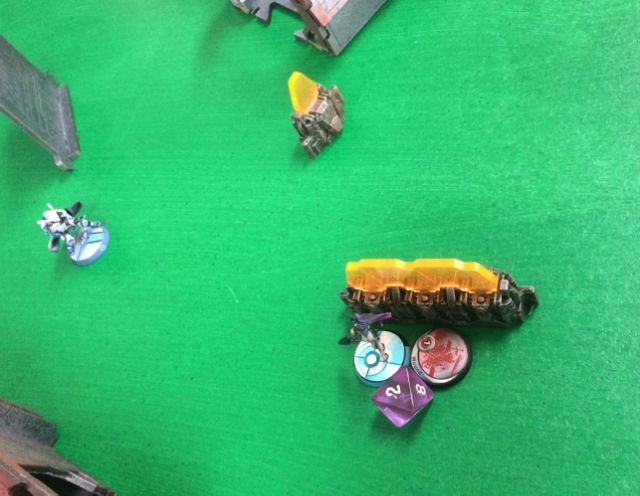
| The rebot advances.... |
Seeking to deny the centre tech coffin, the Rebot advances towards the helo-port.
 |
| Closer.... |
 |
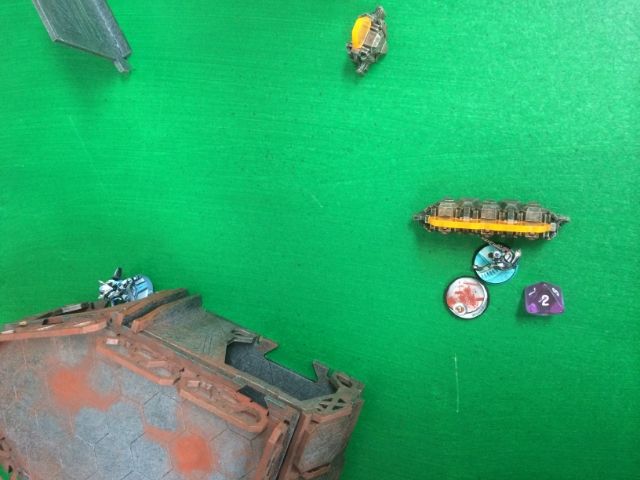
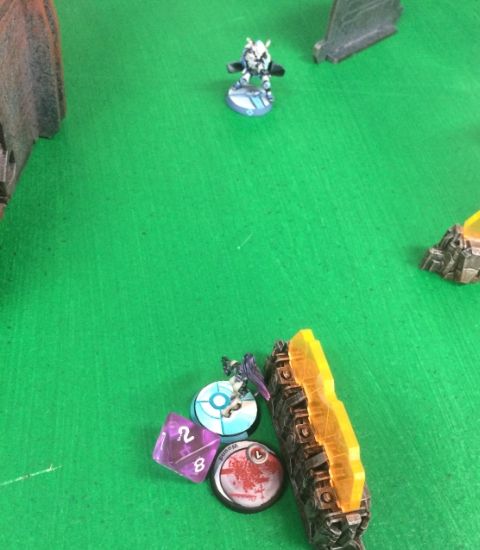
| Left a present! |
The Rebot sneakily moved close the centre tech coffin- laid a monofilament mine- and moved out to guard the western approach to the objective.
 |
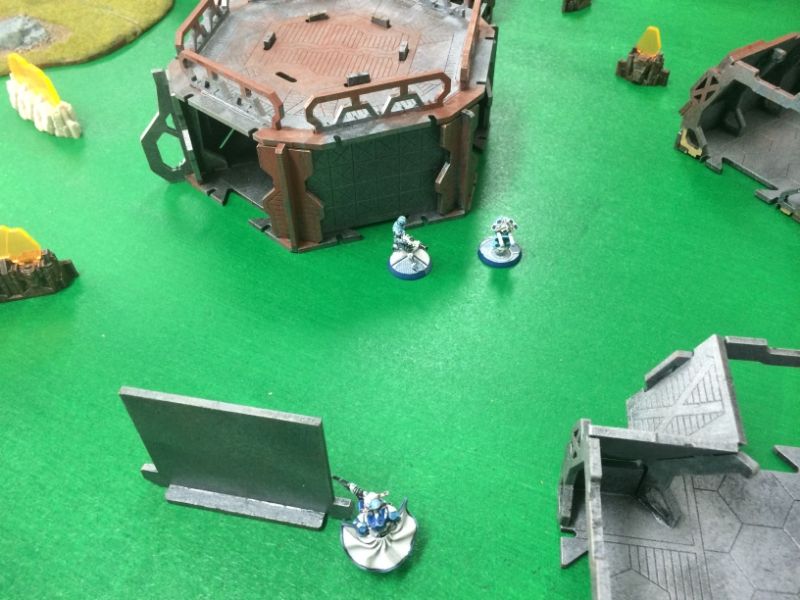
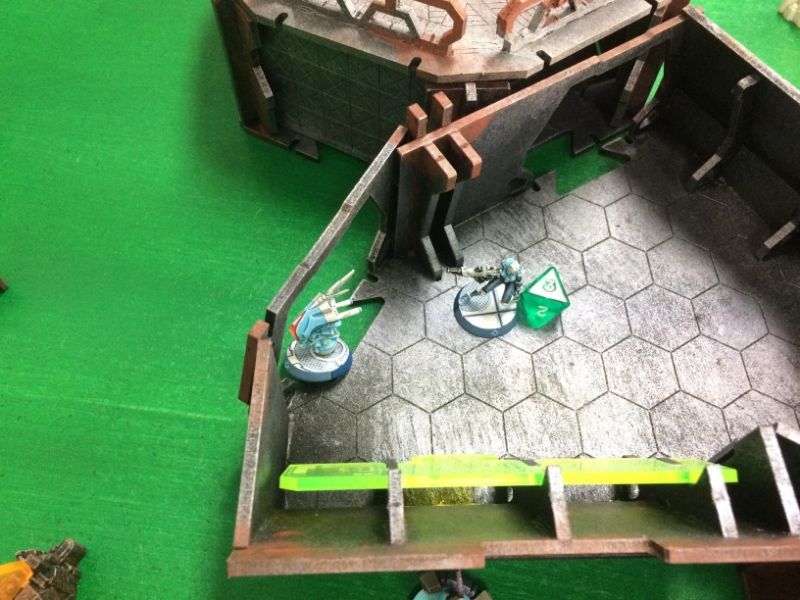
| Full cover. |
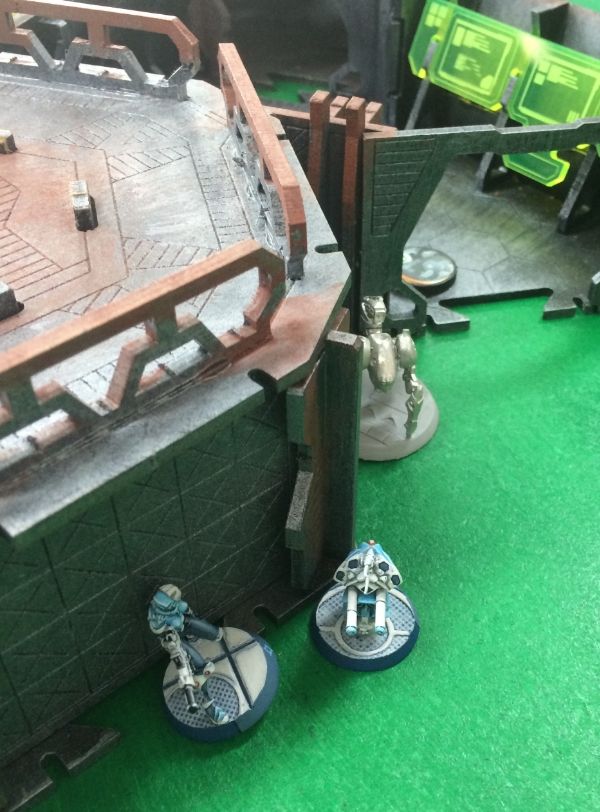
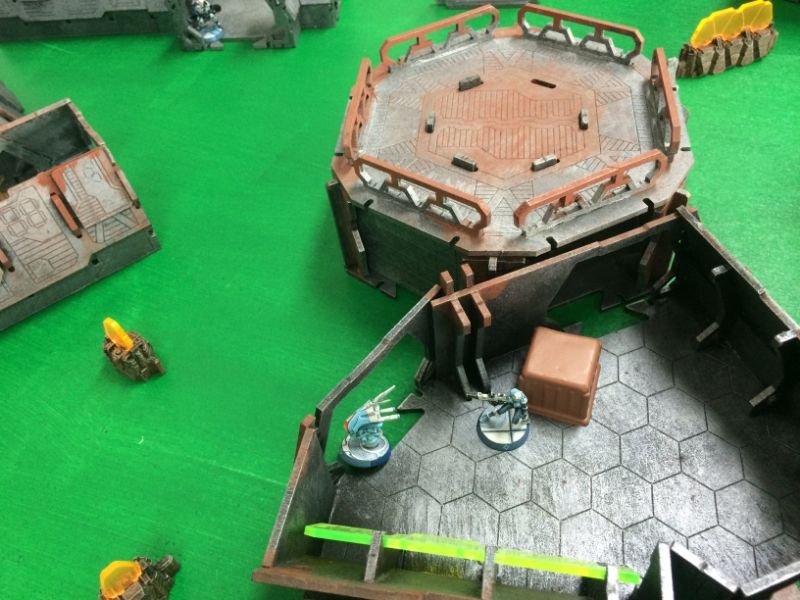
With space behind the western barricade freed up by the rebot's advance, the Dasyus moved into the added protection of the barricade.
Back on the eastern flank, the Marut reactivated to fire on the Bolts again.
 |
| Firing again with the multi HMG on the two Bolts. |
 |
| First target! |
The Bolt link leader fired...
 |
| CRIT and HIT! |
 |
| Shotgun! |
The Bolt with the boarding shotgun fired....
 |
| Another CRIT! |
The Bolt team high-fived each other at their incredible run of luck.
If it was any consolation, the distant Auxilia hit with his combi-rifle but the Marut passed it's armour check narrowly with a roll of '6'.
With utter disbelief on its cybernetic face, the Marut was removed from the table.
 |
| Sophotect moves closer to the central tech coffin. |
On their last order, a shell shocked ALEPH Sophotect skirted around the edge of the Helo-port- getting ready to try and deny the central tech coffin.
The ALEPH turn was done. The Marut was killed. And they were in Loss of Lieutenant.
TURN 1- NCA
With a full complement of orders, the Neoterrans found themselves in a commanding position. Still, they weren't taking any chances.
 |
| Move to cover. |
The Aquila Guard peeled himself off the wall of Administration North- where he had been hiding from the Marut- and peered across the battlefield.
 |
| And spies a camo marker! |
With MSV 3- he ascertains that it is a mine- and blows it away with his HMG.
 |
| Aquila Guard blows up the mine with 4 burst HMG. |
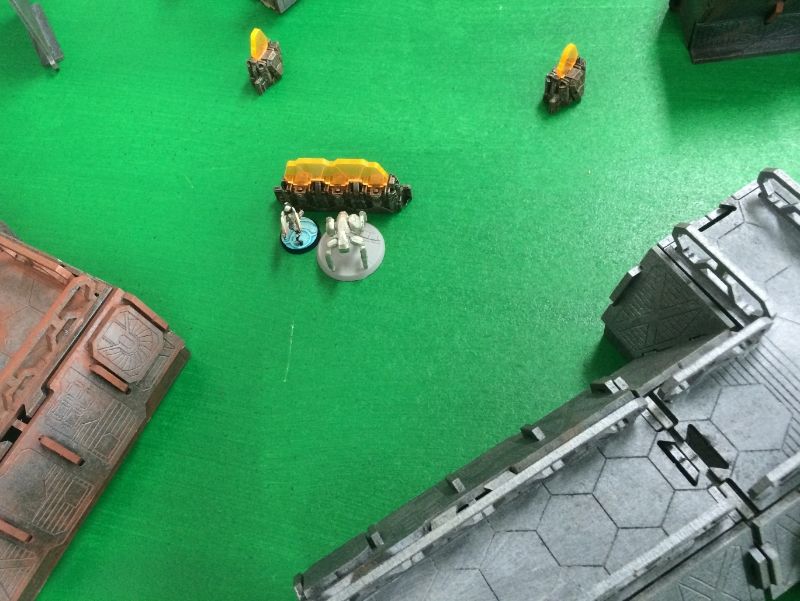
With that camo marker taken care of, the Auxilia FO next to the Aquila Guard advanced out of cover.
 |
| Auxbots- the best. |
Careful to send the Auxbot first, the Auxilia engaged the Zayin Rebot behind the Helo-port.
 |
| Auxbots... expendable. |
The Rebot elected to drop another mono-mine instead of firing- hoping to deny access to the central tech coffin.
 |
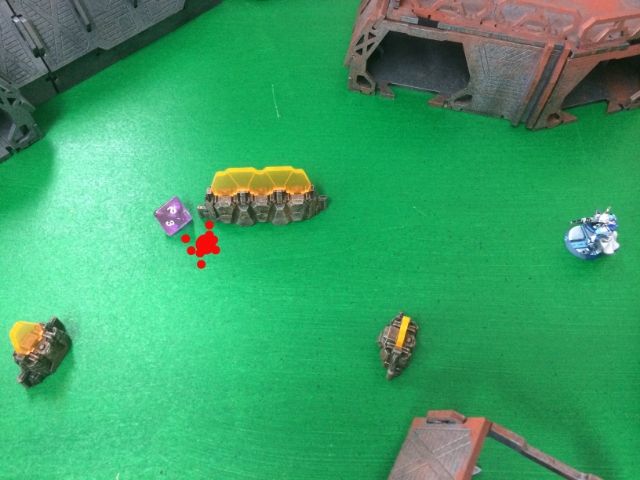
| Toast |
Unfortunately the Auxbot heavy flamer laid waste to the Rebot and the mono-mine guarding the tech coffin.
 |
| MSV3 help, please! |
 |
| Lemme see! |
The FO Auxilia's advance stymied by the new mono-mine just laid down, the Aquila Guard shifted position into Administration North. Drawing line of sight to the newly laid mine, he fired and knocked out the booby trap.
With that out of the way, the FO Auxilia advanced into the flight centre.
 |
| Access to the coffin! |
 |
| And cracks the code... with WIP 12 on the first go! |
With a supply box in safe hands, the FO Auxilia beat a hasty retreat deeper into the Helo-port building.
 |
| Tactical withdrawl. |
And then as extra cover for the Auxilia's escape...
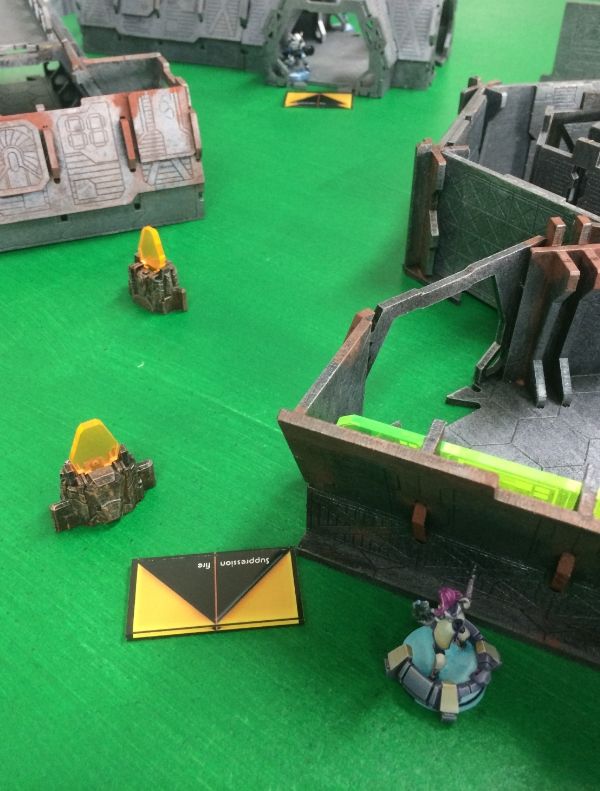 |
| Suppressive fire! |
... the Aquila Guard begins putting suppressive fire down the western edge of the Helo-port.
 |
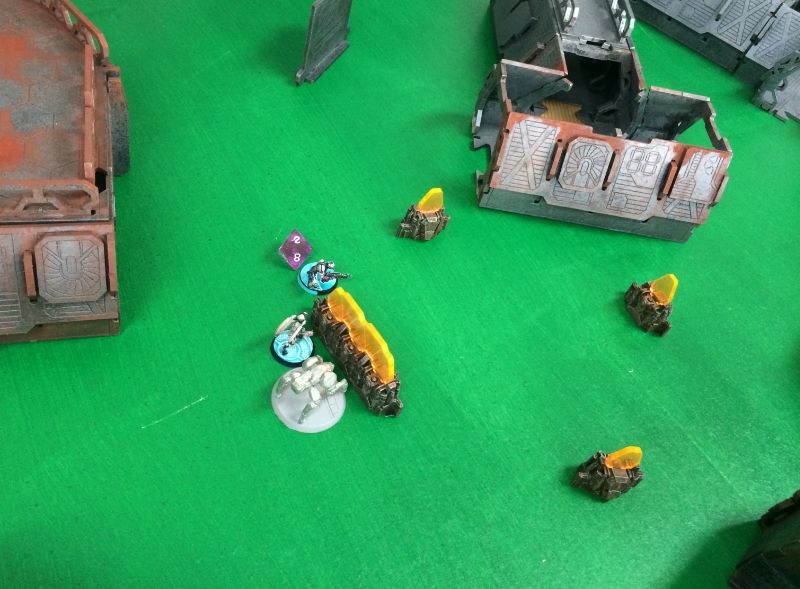
| Move out! |
With only the eastern tech coffin left untouched, the Bolt link team move about of the Passenger terminal to cover it.
 |
| Covering. |
TURN 2- ALEPH
 |
| ALEPH battle line- locked in stasis. |
With only two regular orders- ALEPH spent it's turn sorting out a new Lieutenant.....
TURN 2- NCA
 |
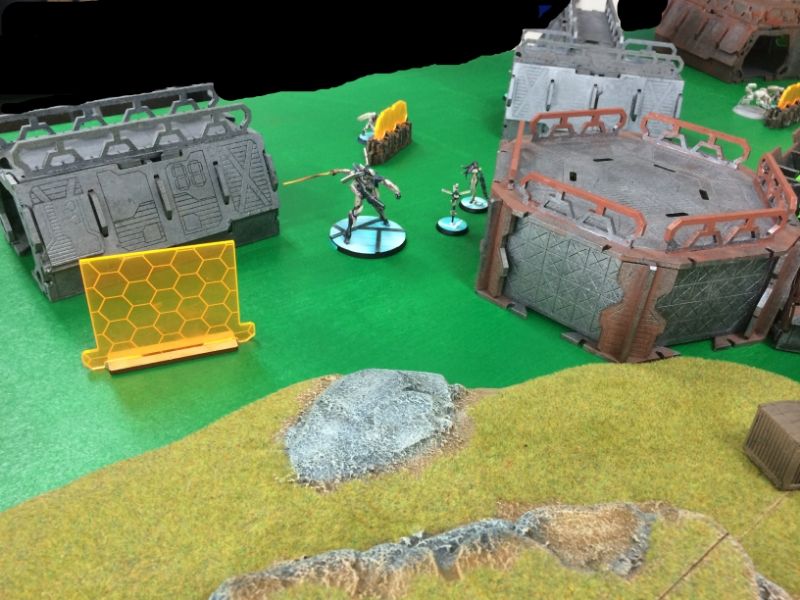
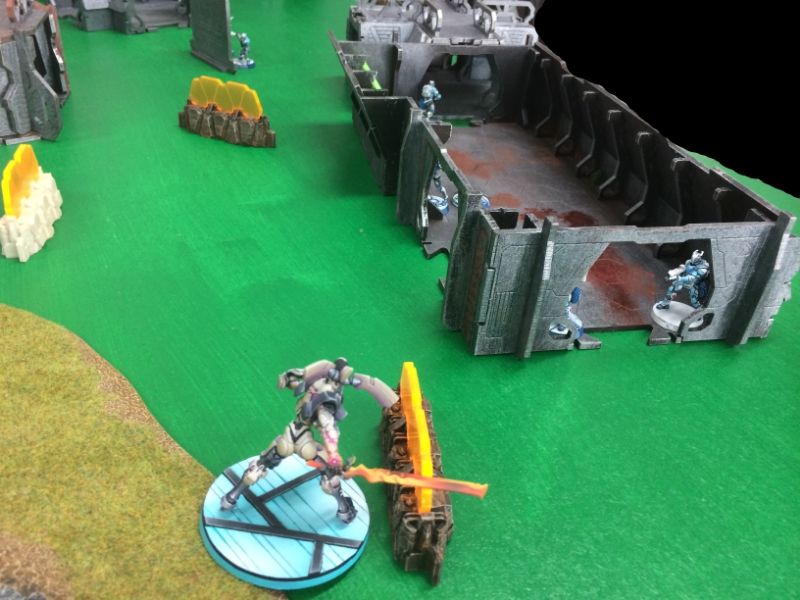
| Hunting.... |
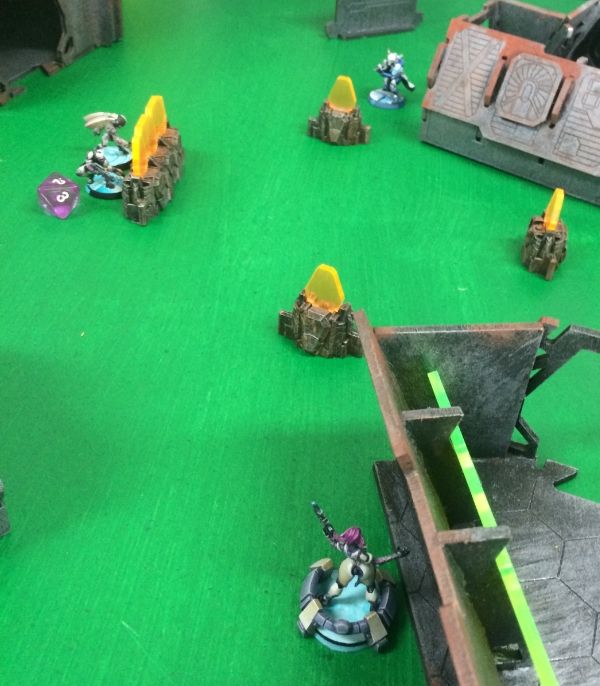
Smelling blood in the water, the Aquila advanced south of Administration North- moving towards the ALEPH line.
 |
| Looking for the Dasyus. |
 |
| Surprise! |
As the Aquila crept out, the Sophotect fired out a first from her combi-rifle. The burst hit, but the dastardly Aquila made his armour save easily and ducked back into cover.
 |
| Ahem... shall we try that again? |
The Aquila Guard- having survived the Sophotect's rifle burst- then moved back into the open. Careful to make sure his targets were in optimum range, he unleashed his HMG.
The Sophotect ARO'd with "Alert" and Yudbot tried to dodge...
 |
| ALERT! ALERT! |
But it wasn't enough....
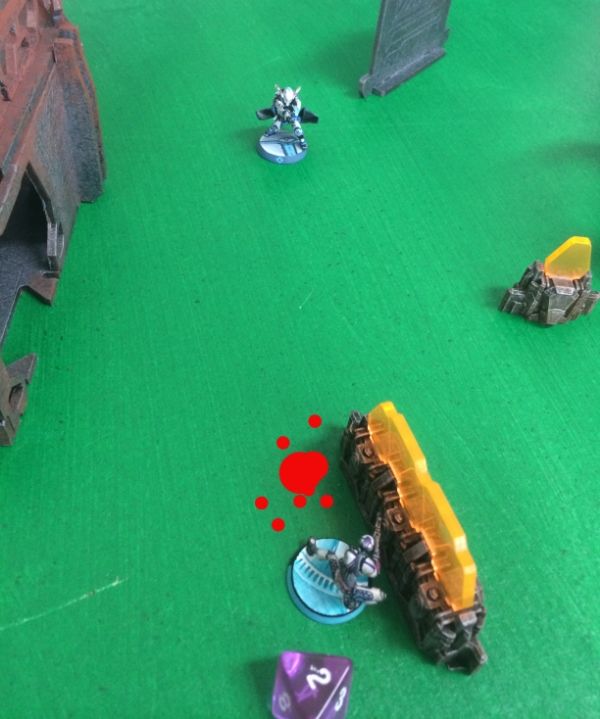 |
| Yudbot obliterated |
 |
| Sophotect wounded. |
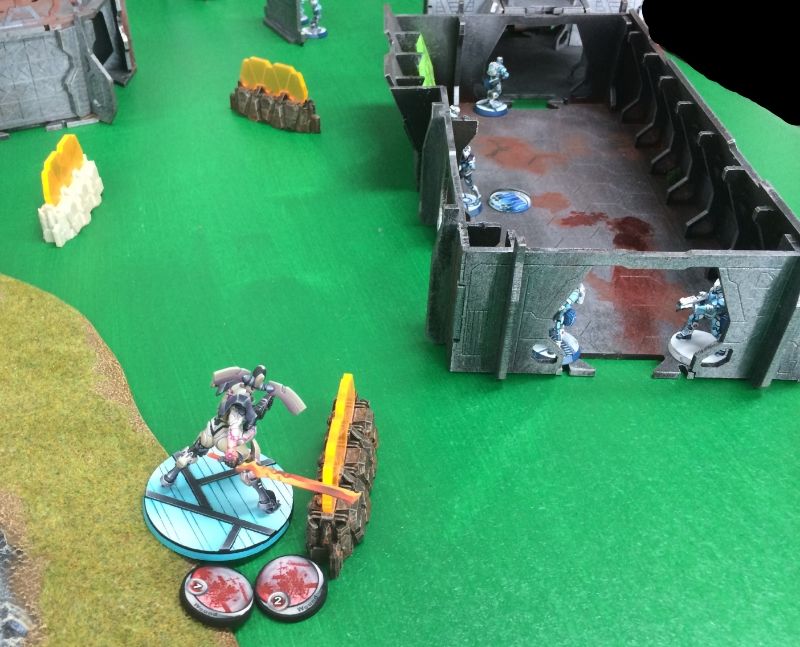
Despite a good round of shooting, the Aquila Guard hadn't got to his target yet- the Dasyus.
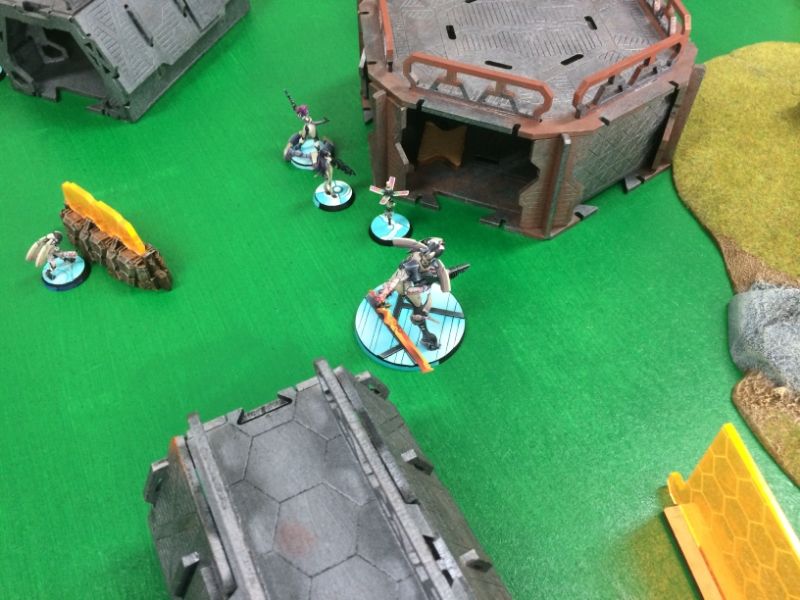
 |
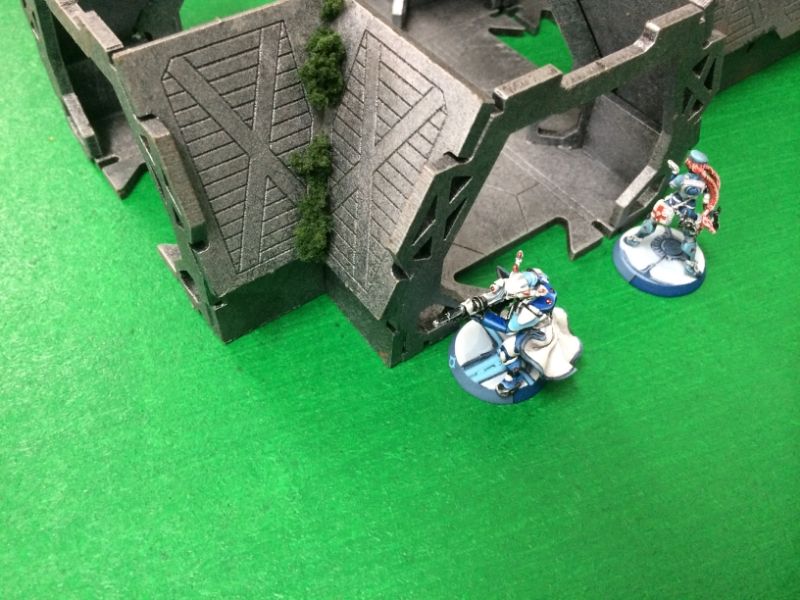
| The Aquila Guard moves into a better angle to engage the Dasyus and the Sophotect. |
The Sophotect is killed in the ensuing exchange. And the Dasyus fairs only a little better- getting wounded. Thamyris could only look on helplessly from the distance- his pistol useless at such range.
 |
| Thank goodness for NWI. |
 |
| Dasysu fails guts check- moves out of view. |
But the Aquila gives chase- leaving his own cover to bag this prize.
 |
| Shot lined up. |
 |
| Dead! |
The Dasyus is killed- leaving ALEPH with no supply boxes!
 |
| Time to withdraw.... |
With the Aquila Guard laying havoc to the ALEPH line, the Auxilia FO quickly scampered out the back of the Helo-Port.
 |
| And safely into cover back at the Neoterran deployment zone. |
 |
| Safe! |
Much damage had been wrought, but could ALEPH pull off a draw?
TURN 3- ALEPH
Things were looking grim for ALEPH, but with a supply box so close a draw might very well be a possibility.
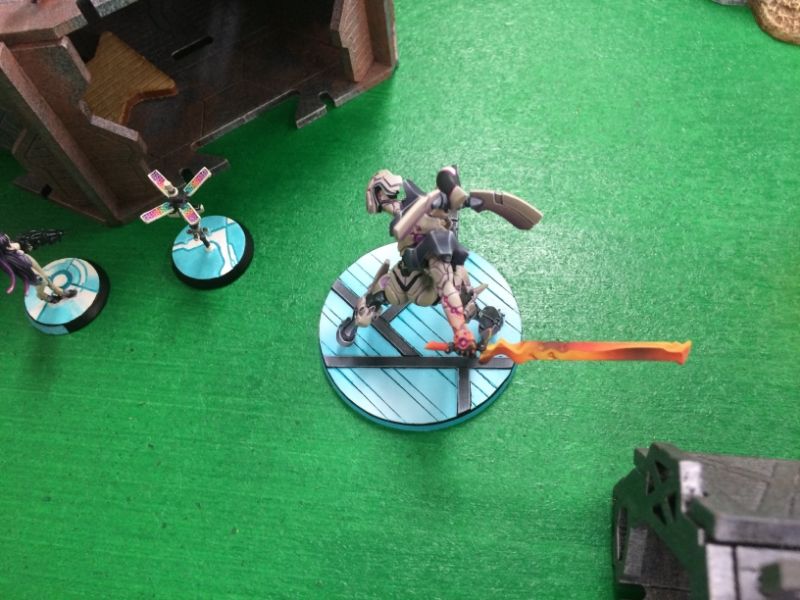
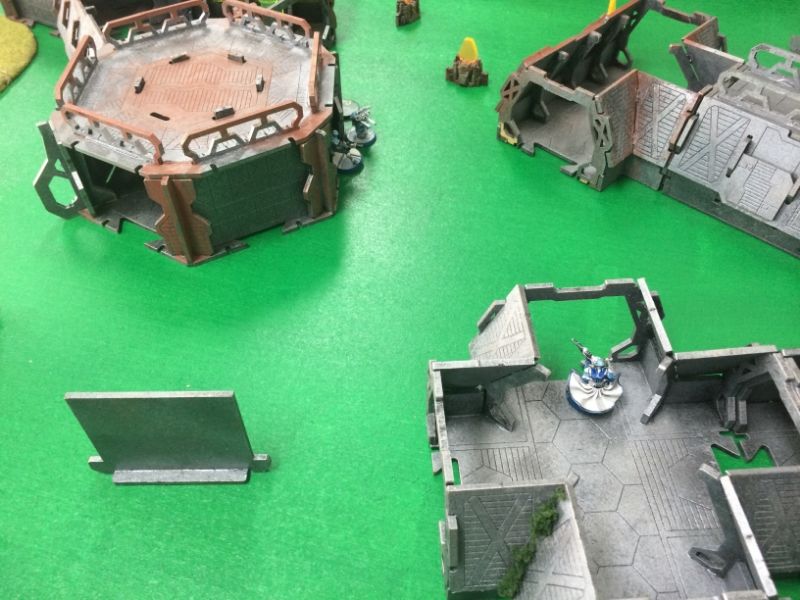
 |
| Thamyris MOVES and DODGES |
The Aquila cracked off a shot but it beaten in the face to face roll.
 |
| Success! |
Out of view of the Aquila, Thamyris ducked into Administration South.
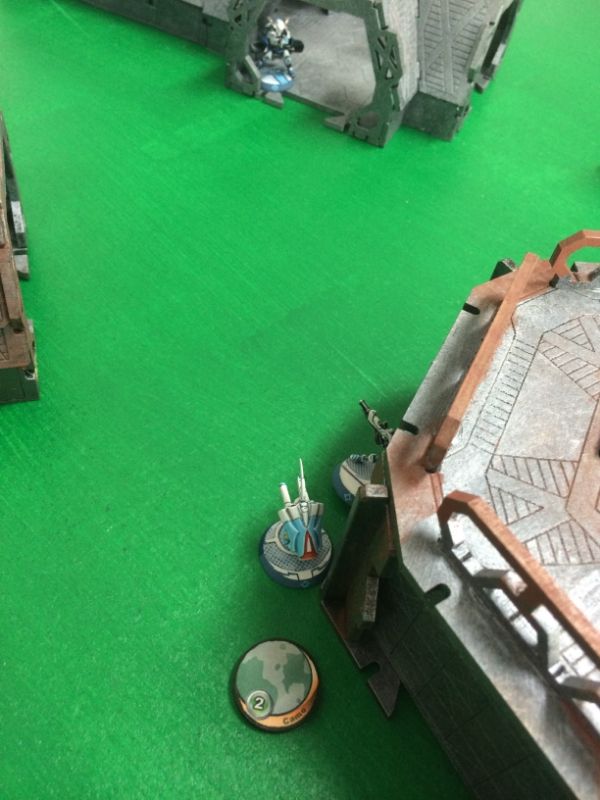
 |
| So close. |
 |
| The supply box is guarded.... |
With a big breath, Thamyris runs and dodges.
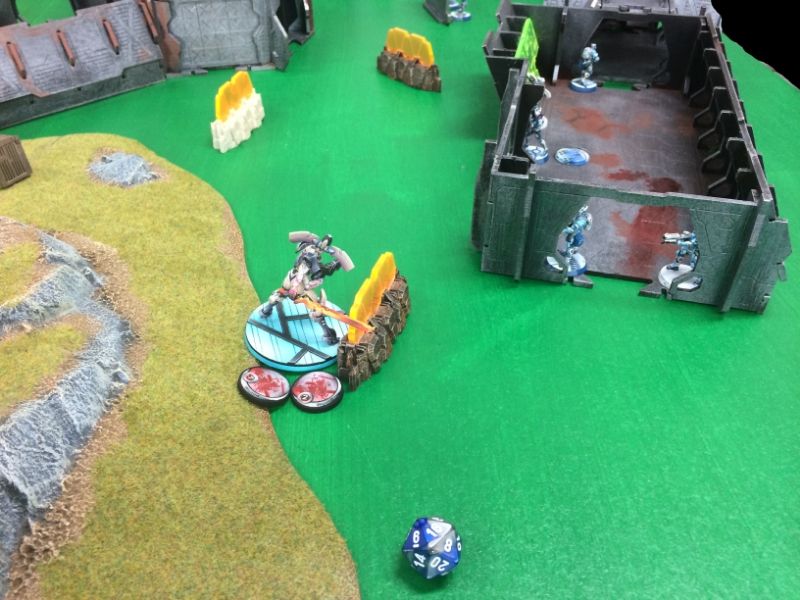
 |
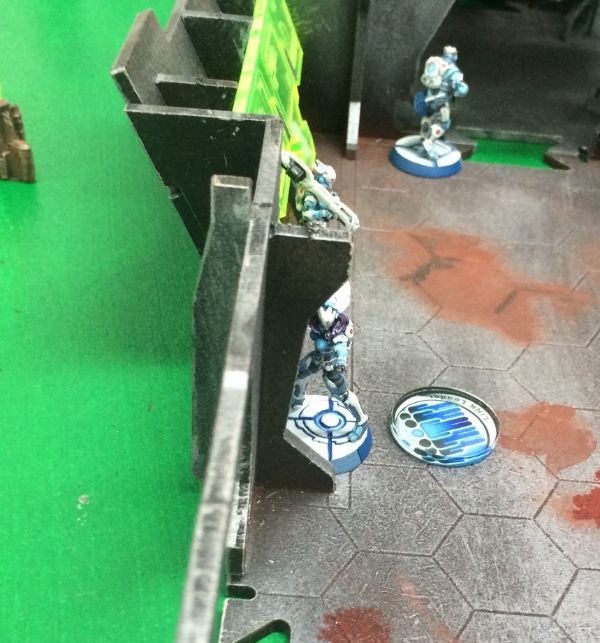
| The Swiss Guard reveals himself and fires! |
 |
| HMG Swiss Guard... |
Thamyris evades one burst of fire but is wounded from another.
 |
| No Wound Incapacitation! |
Thamyris races for the Supply Box.
 |
| HMG fire everywhere! |
 |
| Thamyris is hit again! |
 |
| But the armour check is passed! |
Thamyris fails the gut's roll though and moves into... questionable safety....
 |
| Out of the frying pan.... |
TURN 3- NCA
 |
| Say Hello to my little friend.... |
The Aquila Guard goes cyclic... and Thamyris is reduced to pink mist.
And with that- we all decided to call the game..
CONCLUSION
A crushing Neoterran victory. It started with the Marut being wrecked and then killed outright in Turn 1 and it got steadily worse from there.
It was terrible, terrible rolling from ALEPH and lucky rolling from the Neoterrans that really set off the chain reaction of events.
Apart from that- a few lessons I took away as the observer/ referee.
1. Have more than one offensive component to your force.
2. Going Rambo is highly risky!!
3. Treat your lieutenant- even if it's a TAG- with some caution. (See point 2).
4. When bad luck strikes.... just LoL.
Until next time- happy hobbying!

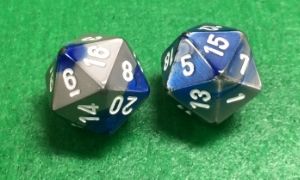
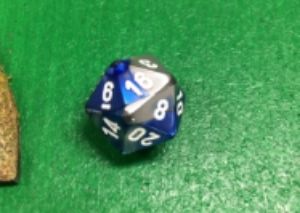
The die gods were so cruel to me this game. Serves me right for using unpainted minis!
ReplyDeleteLove the painting tho. 3 crits very oftern set the game
ReplyDeleteThey do indeed. It was a great game to spectate on- gorgeous models on good terrain. The tension, the gnashing of teeth! A great game.
ReplyDelete