
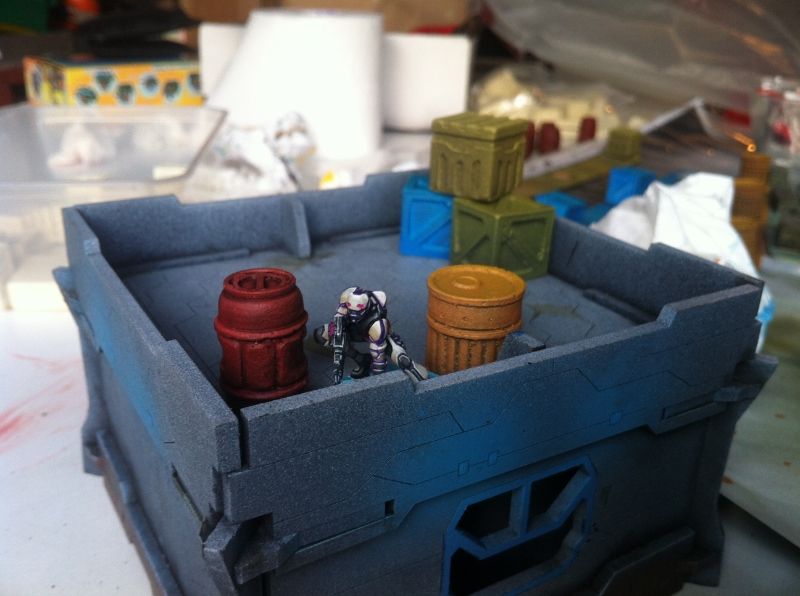
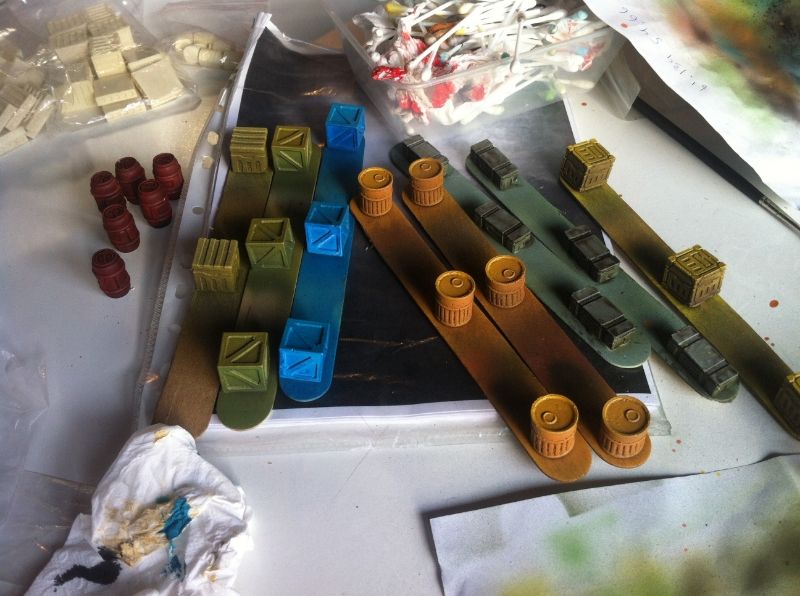
Yesterday, I headed over to a mate's house to try out his airbrush on some scatter terrain.
The airbrush was a standard beginner's airbrush with a stock standard compressor. The paints were Vallejo Model Colour/ Game Colour (all very diluted) and some Vallejo Air Colour (also diluted slightly). The terrain was resin terrain that was washed in dish washing liquid and then dried by hand.
Firstly, it was good fun!Priming in Black
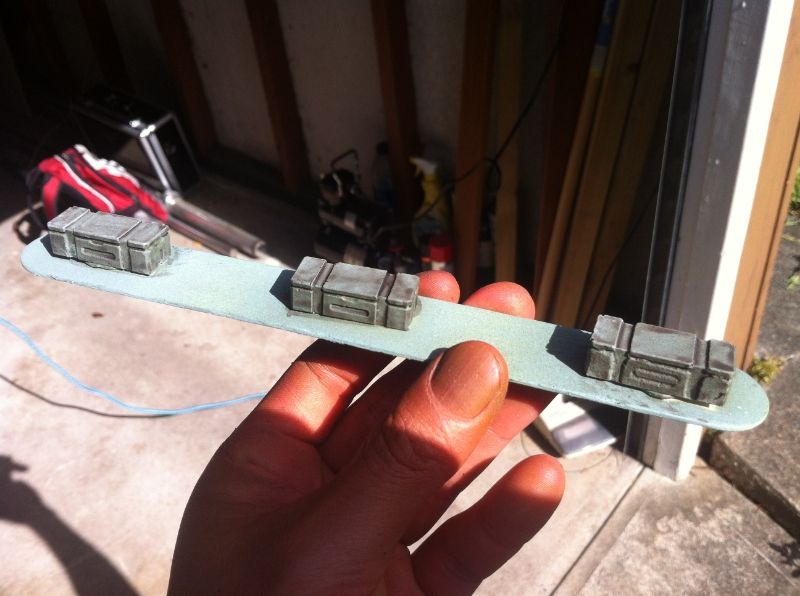
Once we found a well ventilated area with a power socket- (and some hardware store dust masks) we primed each set of scatter terrain. We tried Gray, White and Black primers- and my opinion is that black is the best.
We had to super meticulous with the primer as resin is unforgiving when you miss parts. There was a lot of twisting the model to make sure we had covered every nook and cranny. It was a bit a of a pain but having the air brush makes it much less time consuming than having to do it by hand.
The black leaves some natural shadowing when the base coat misses areas- which is the main advantage of using it.
It also dries very quickly which is a huge bonus.
Choosing Colours and Spray Angles
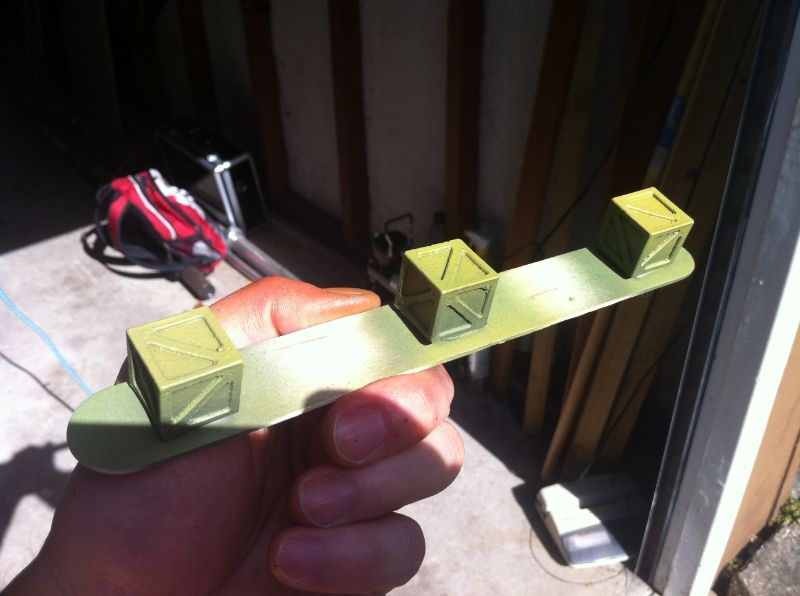
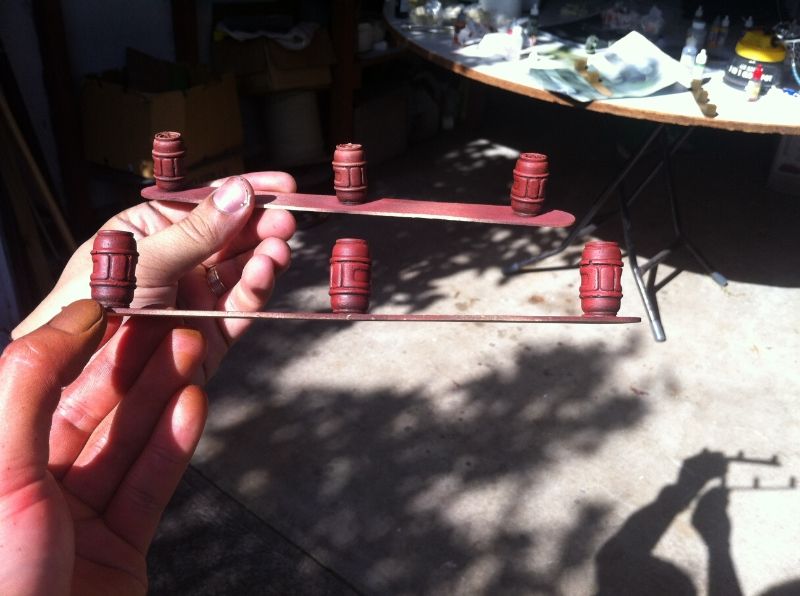
One thing that needs perfecting is picking the correct progression of colours- undercoat, base coat, highlight and then making sure that they complement each other. There were a few colours that didn't quite match and ended up looking a little odd.
The other thing to perfect is learning the angle of the incidence of the spray. Out default setting was- 90 degrees, 45 degrees, then 15 degrees for undercoat, base coat and highlight coat. The down side was that a lot of the highlight colour was landing on the top surface of the boxes and very little on the sides.
In future, I'll try 90 degrees, 60 degrees, 45 degrees and see how that goes.
Paint Switching and Thinning
Paint switching is a process that involves cleaning out the feeding chamber of the air brush with thinner, then cleaner and then using a Q-tip to wipe out residual pigment.
Depending on how thick the pain it, unscrewing the nozzle and cleaning it out is also required. Cleaning the needle may also be required too.
Lesson from that?
Grab all the terrain that will be that colour and do it all in one go. Constant switching can turn into a chore.
Thinning the paint is necessary. Initially we were aiming for a milk like consistency- but it was choking up the brush. When disassembled, the air brush showed large amounts of residue caking along the nozzle. We subsequently thinned the paints to consistency of almost water like quality and found the brush much easier to clean between colour changes.
BTW- we used dedicated paint thinner (I don't know what brand).
Airbrush Equipment Lessons
Basic Setup
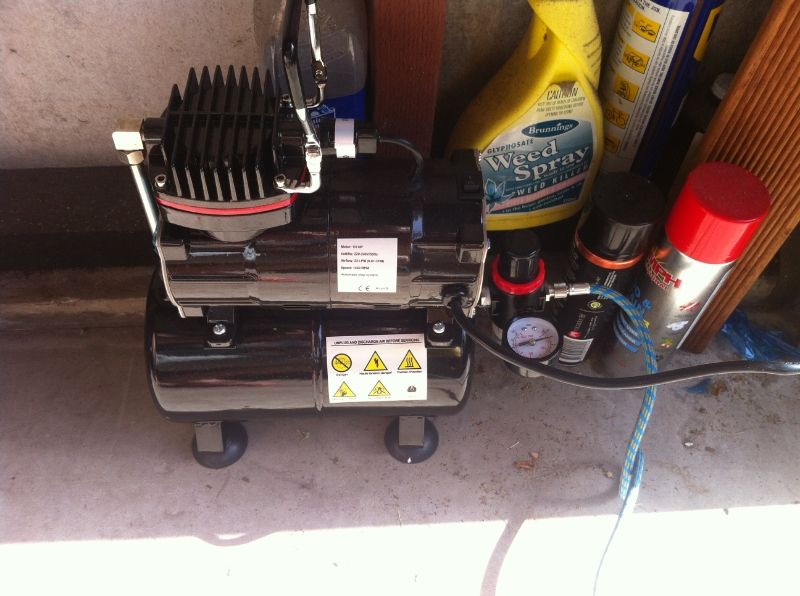
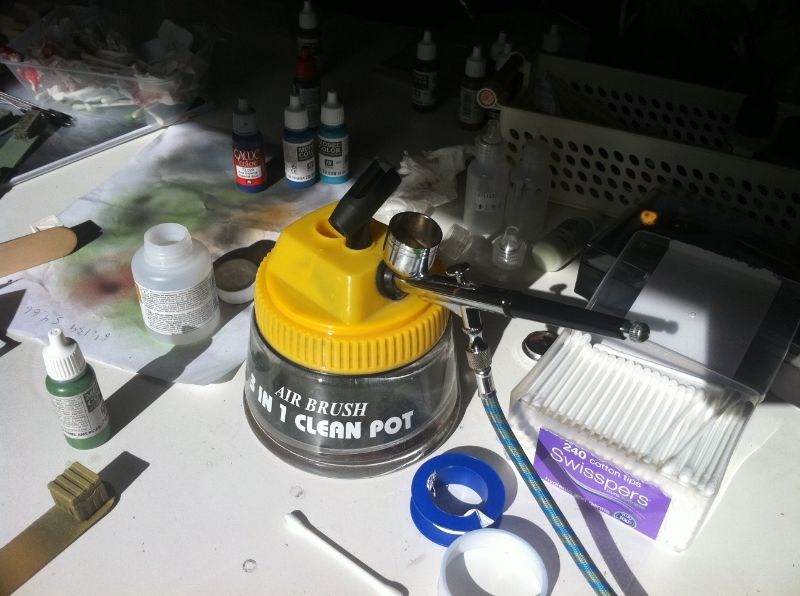
For the totally uninitiated (like me)- the air brush consists of a compressor (which needs a power supply), a regulator to control pressure, a hose which connects to the brush, an air brush with all it's paraphenalia and then a cleaning pot (where you blast cleaner into to clean out the chambers).
A standard air brush is fine to use for starters because- as we found out- damaging the brush (the needle in particular) is VERY VERY EASY.
Overzealous Q-Tip Cleaning of the Chamber WILL RUIN YOUR NEEDLE
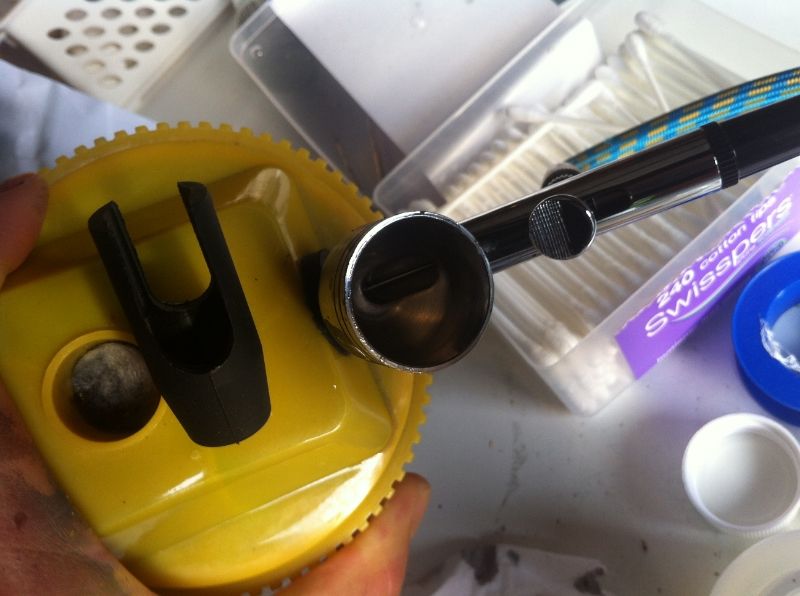
This shot is over the (open) paint chamber. Deep in a recess at the bottom of the chamber is a needle sitting in the air brush 'barrel'. This needle (and the barrel for that matter) runs the entire length of the airbrush. When the trigger is depressed, the needle retracts a little bit from the opening in the front nozzle and allows compressed air (carrying the paint) to be sprayed out.
Sticking a Q-tip down there to clean the barrel will bend the needle.
This leads to the needle retracting at odd angles meaning the cone of spray paint is at an angle. This makes the air brush difficult to aim and more importantly sends too much paint into the side of the nozzle- creating a big pool of paint that splatters over your terrain piece.
Overtightening Joins WILL BREAK COMPONENTS
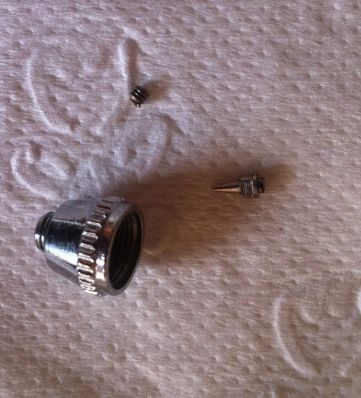
This is a nozzle that fits over the shooting end of the air brush. As you can see, the threading shaft of the nozzle has snapped off the nozzle head.
Do not over stress the components.
Overall- Great Tool
It made sorting out scatter terrain enjoyable and quite easy once we got more familiar with it. I wouldn't be happy to try it on a model just as yet- but terrain making is quite easy.
Problems to Iron Out....
Paint "SPLATTER"
For some reason blobs of paint are still being spat out from the air brush as part of the fine mist of paint. This was even after a complete clean of the airbrush AND changing the needle and appropriate nozzle.
Don't know why this is happening.
Paint Consistency
I have a suspicion that paint that are too thin make splatter much more likely. However, ultra thinned down paint doesn't clog the brush.
Perhaps 'milk' like consistency is the happy medium between clogging the chambers and minimizing splatter?
There is more scatter terrain to play with, so more experimentation is in order.
Until next time.
Really Amazing, interesting content. The Best.. keep it up. Airbrush compressor
ReplyDeleteAirbrush Makeup Compressor
Best Airbrush Makeup Compressor
Airbrush Makeup Compressor reviews
Best compressor for airbrush
airbrush makeup compressor kit
Visit Website