
 |
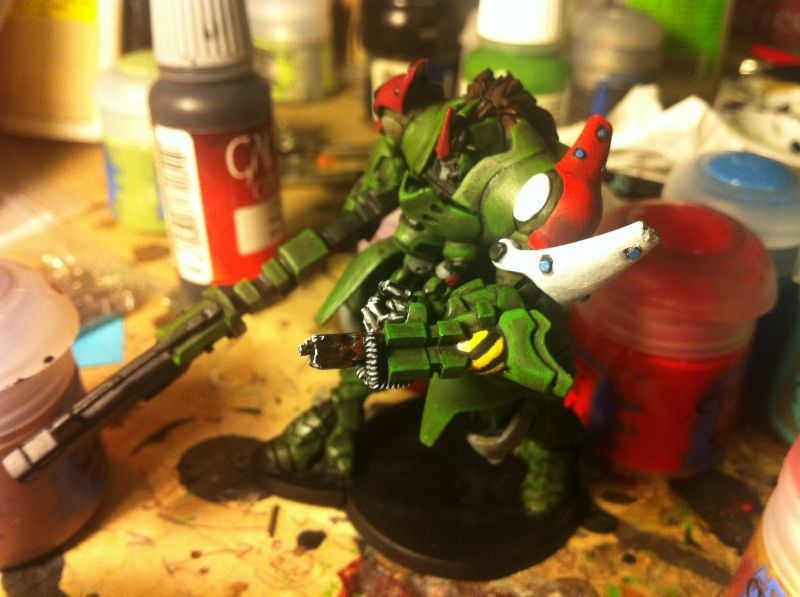
| One arm finished…. sort of. |
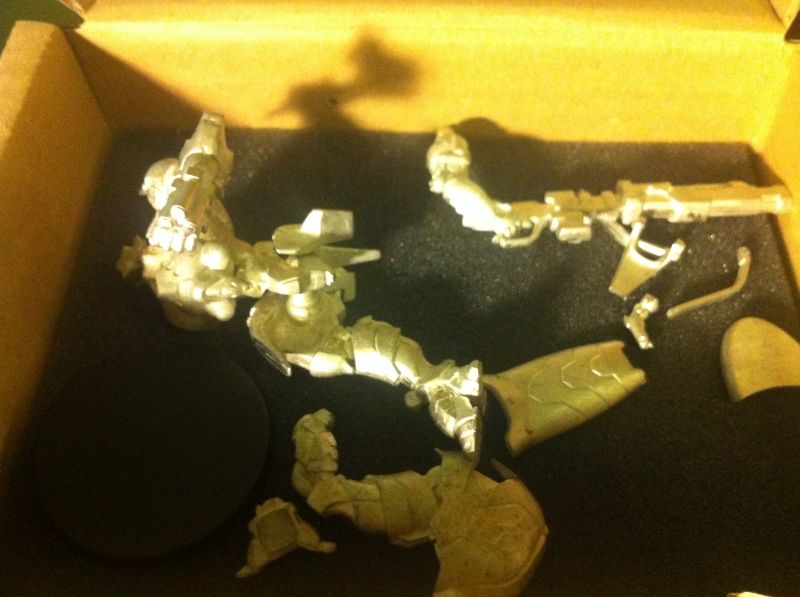
So I started on my last Morat miniature that I bought so many months ago at the gaming convention. Since it comes without instructions for assembly, I thought I'd be helpful and put together a suggested guide for assembling and prepping the model for painting.
I'll start off with an image of how I'd recommend you assemble the model BEFORE applying paint. You will see that I am advocating painting it in parts and then assembling it. Final highlights to be done after assembly.
 |
| Partial assembly makes painting MUCH easier. |
But of course, I didn't do the above. Instead, I assembled the upper body separate to the lower limbs. This creates numerous crannies and nooks where no paintbrush is ever going to be able to reach! It's extremely annoying and although I hate painting things in parts and then assembling, this is one of those times that I think it's necessary.
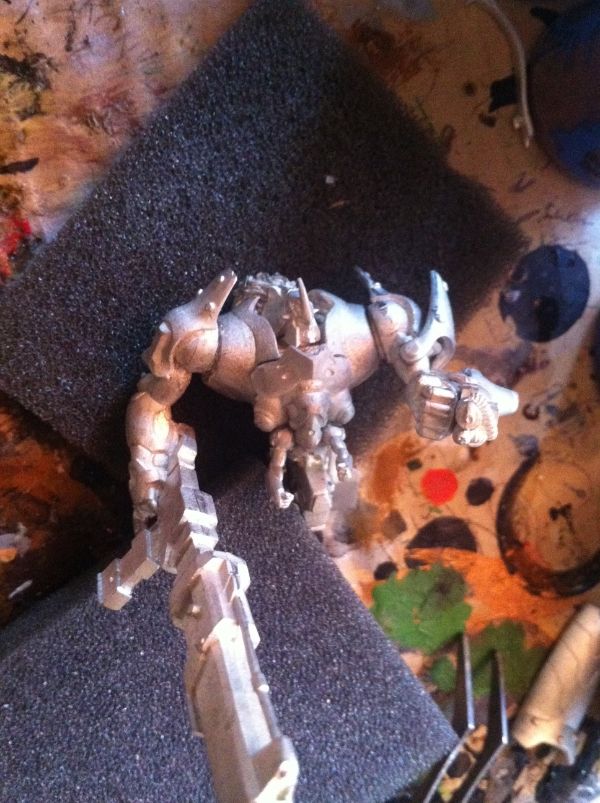 |
| Piling up the foam leads to an OK scaffold. |
 |
| That round thing is a heel and it affixes to the rear leg. |
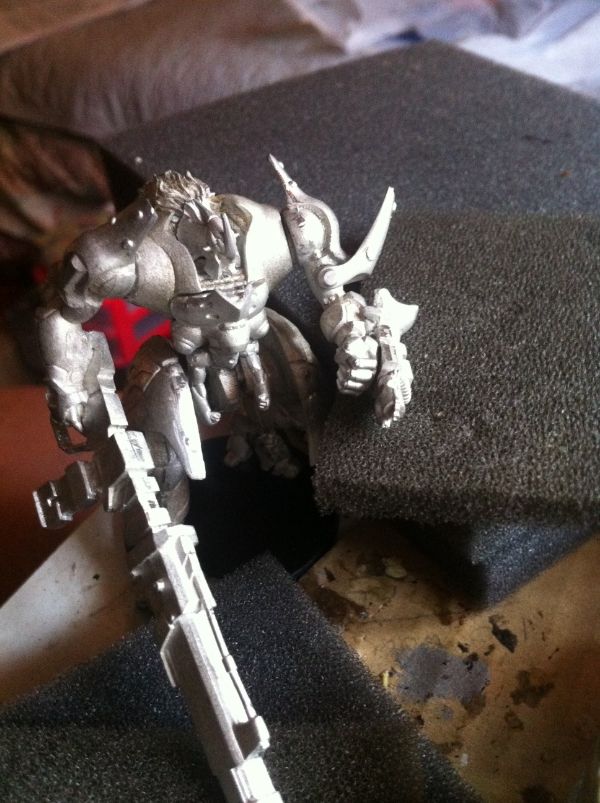 |
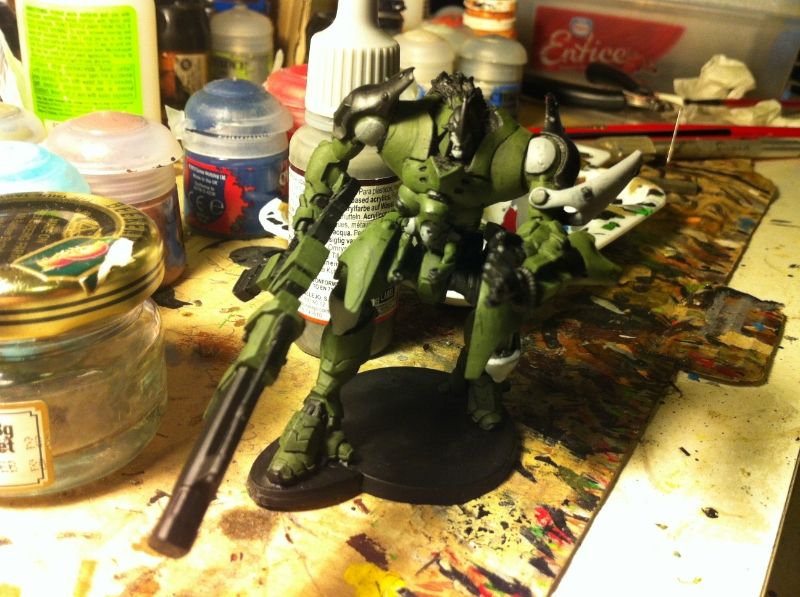
| Sitting on it's scaffold- assembled finally BUT hard to paint! |
I did drill and pin it together with some steel pins. I think it was unnecessary for this model- adding much to the complexity of construction and not much to the stability. The hip joints in particular are prone to rotating- leading to flexion and extension of the torso at the pelvis. This problem can't be addressed by a single pin through the hip joint.
So what I recommend is a tiny drop of araldyte and a tiny drop of super glue (in my case I used Zap-a-Gap- which isn't ideal I admit) and then hold firmly almost as soon as the two surfaces are opposed. Then support the semi-stable join that's forming with a bit of scaffolding. If you're a wizard with a few model holding vice/ clip things then you can do that.
Then I started painting- and it was looking very uninspiring….
 |
| Ultra dull. |
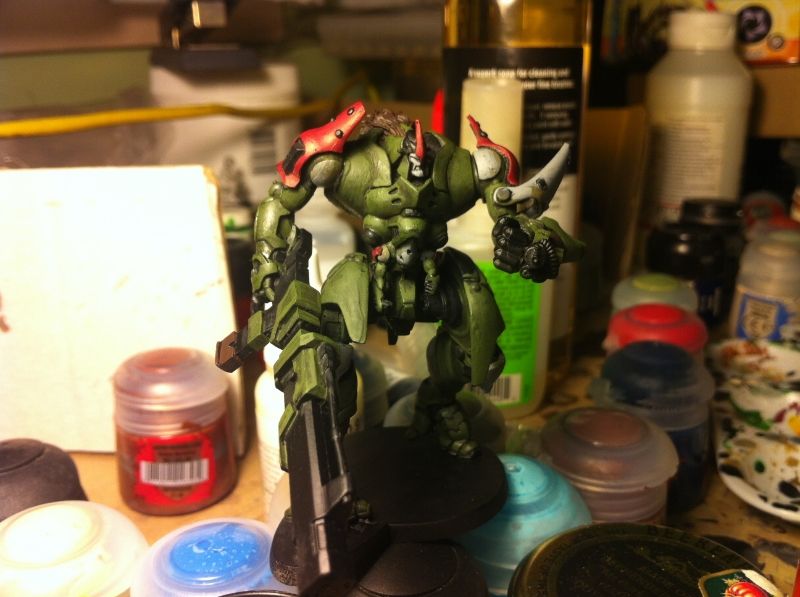 |
| Ultra dull- with red! And after a wash with Athonian Camoshade and another highlight of base coat. |
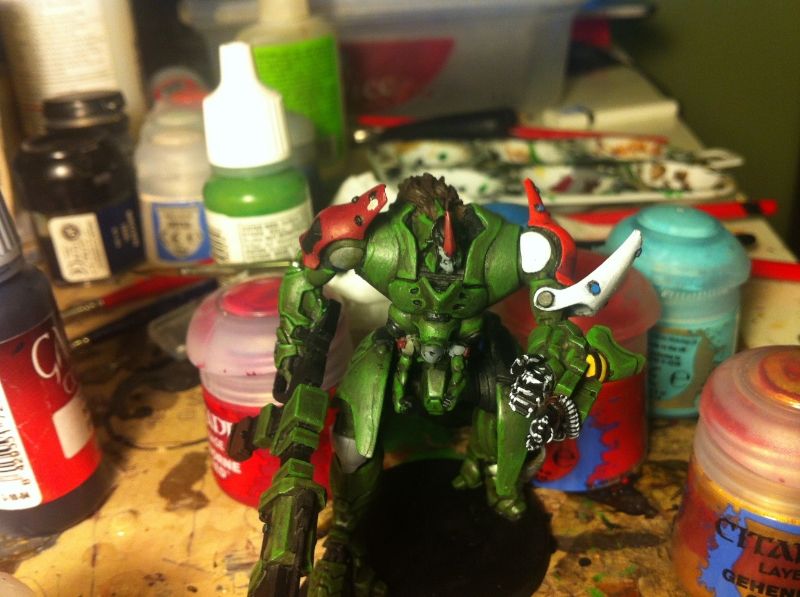 |
| After a further highlight and dry brush of VMC Uniform Green. |
Perhaps it's the light of the lamp (it's not a day light bulb), but the colours that work so well on the Yaogat don't seem to translate too well onto the much larger scale Raicho.
But as I've seen before- none of my MAF looked good UNTIL THE FINAL HIGHLIGHTS. So I'll have to bite the bullet, stick with the scheme and evaluate only at the end.
To that end, I worked on the left arm just to see how the scheme looks partially complete. It looks OK- not fantastic- but OK. So that's comforting.
I'll work a bit more on it- around the requirements of Real Life- and hopefully we'll see something finished by New Year's Eve.
Until next time…..
No comments:
Post a Comment