
 |
| ALEPH |
Hello again!
It's been a long time since my last post as real life finally caught up with me. I have, however, finally got my painting on and lined up a game at my local gaming club. It was a friendly match to work out a few more rules issues and get more familiar with the ITS format.
Without any further ado....
ARMIES
ALEPH
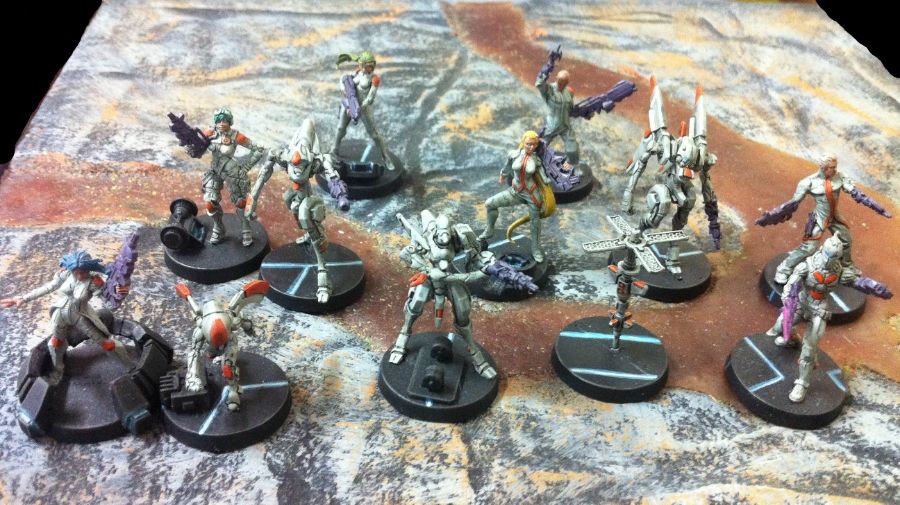 |
| ALEPH- 300 points. |
Deva- Hacker- combi-rifle
Deva (Chandra model proxy) with combi-rifle + Devabot
Sophotect
Yudbot
Garuda HMG
Netrod
Dakini Tacbot HMG
Asura Spitfire
Deva + MSV2+ Spitfire
Myrmidon
I'm fairly sure that was the construct of his army. The individual load outs of the Devas I can't be too sure about as I didn't get to look at the list.
MORAT SECTORIAL: 217th Expeditionary Force
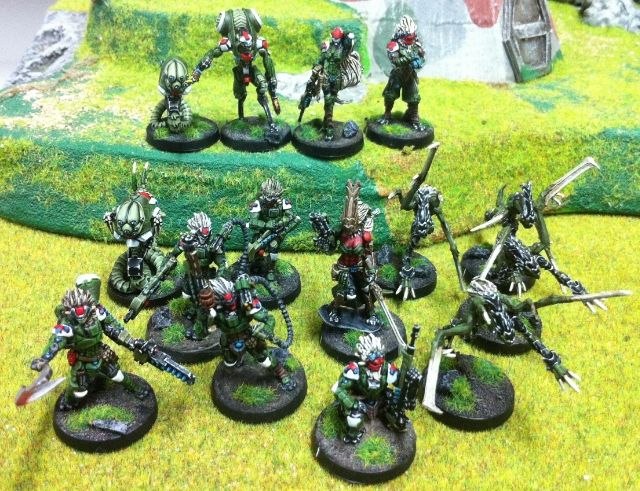 |
| The MAF is back! |
#1st Combat Group
Yaogat Lieutenant- Octavian- Combi rifle + Panzerfaust
Yaogat Spitfire- Caesar
Yaogat Shotgun- Crassus- Shotgun + Panzerfaust
Yaogat Rifle- Brutus- Combi rifle + grenades
Yagoat Sniper- Cicero- MSR
Medchanoid- Galen aka Dr. Worm
Slave Drone
Treitak- Anyat- K1 Combi rifle
Morat Vanguard Hacker- Seneca
Ikadron Baggage Remote- Steggles aka The Robot Chicken
#2nd Combat Group
Oznat- Lysistrata
Preta
Preta
Preta
Preta
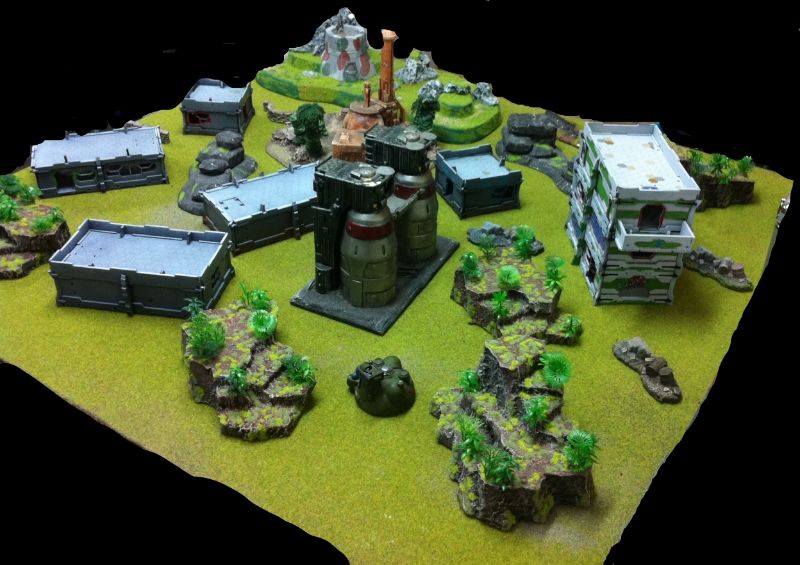
TERRAIN
The township of Ursus and it's immediate surrounds.
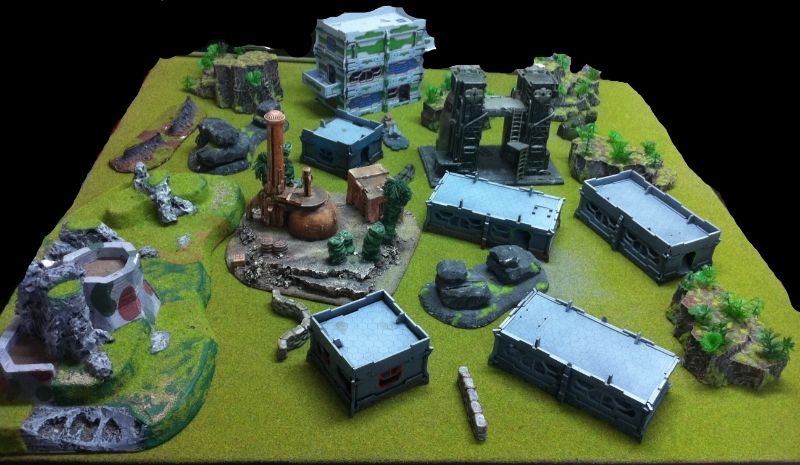 |
| Deployment Zone A is on the Left. Deployment Zone B is on the Right. |
Key terrain features to note:
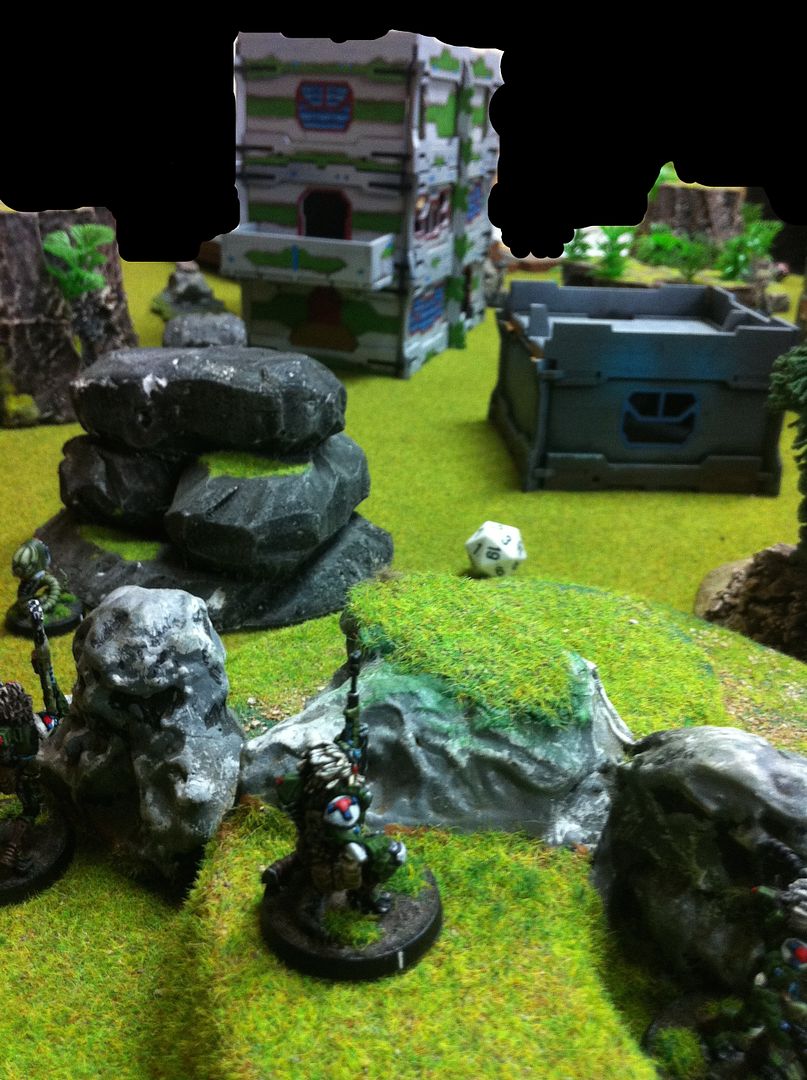
1. Bunker Hill- a large rocky hill dominated by a bunker on one end.
2. The Mesa- a large mesa in the south east corner
3. The White Tower block- a three storey structure with balconies
4. The Processor- a twin columned structure that processes the ore pumped from the Refinery
5. The Refinery- a golden coloured dome like building with a separate control room
6. The Slag Heap- a grey coloured pile of slag sitting between the grey administration buildings of Ursus
 |
| View from SOUTH EAST looking towards NORTH WEST |
 |
| Opposite view: view from NORTH WEST looking SOUTH EAST |
 |
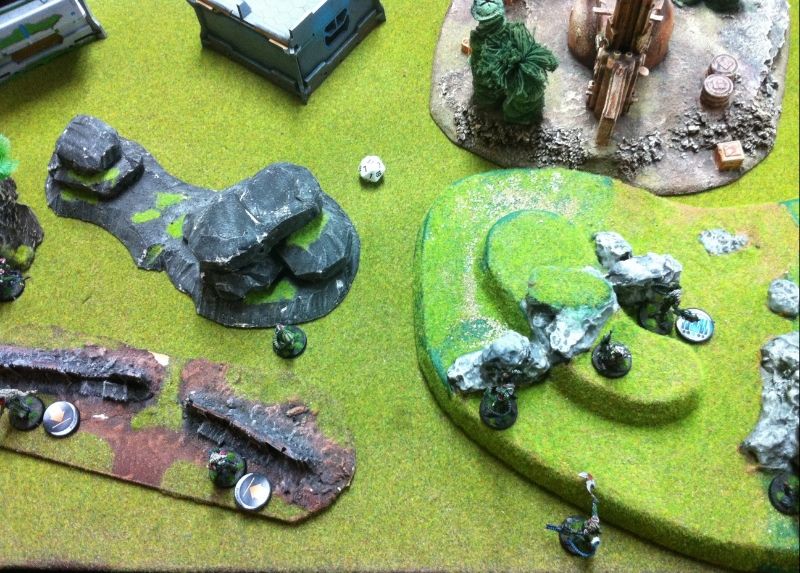
| View from NORTH looking towards the SOUTH. Slag Heap provides good cover from Bunker Hill. |
MISSION
Friendly forces must SEIZE Ursus Township No Later Than in 3 TURNS In Order To allow Friendly forces to continue their Norstralian offensive.
In this game points are scored at the end of every game turn.
If you Dominate the same number of Quadrants as your opponent- you earn 1 point.
If you Dominate more Quadrants than your opponent- you earn 3 points.
Each player also gets one Classified Objective- worth 1 point.
I rolled Experimental Drug for my Classified Objective. I don't know what my opponent rolled as it never came up to be honest.
LIEUTENANT ROLL OFF
I failed my Lt WIP roll with a dismal 20, whilst my opponent scored a 14!
ALEPH chose to go first, so I decided to make him deploy first.
I also chose the side closest to me because I was a bit lazy and didn't want to move all my models to the other side!
|
| MAF deploy on the LEFT. ALEPH deploy on the RIGHT. |
DEPLOYMENT
ALEPH
 |
| Pass! |

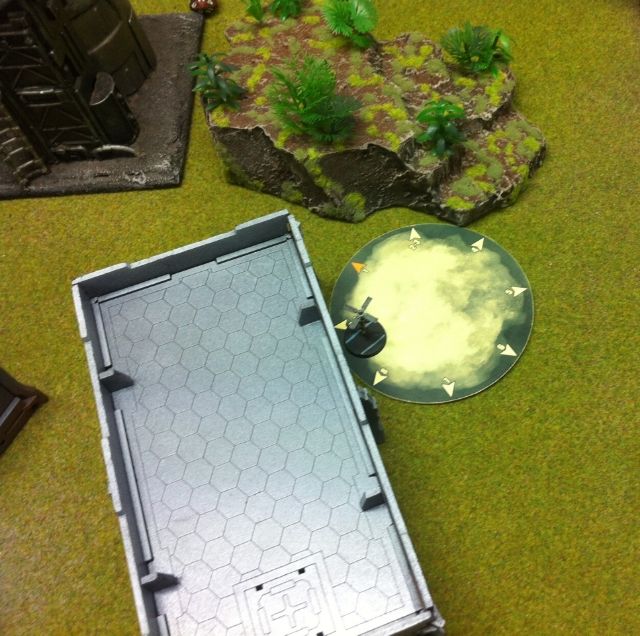
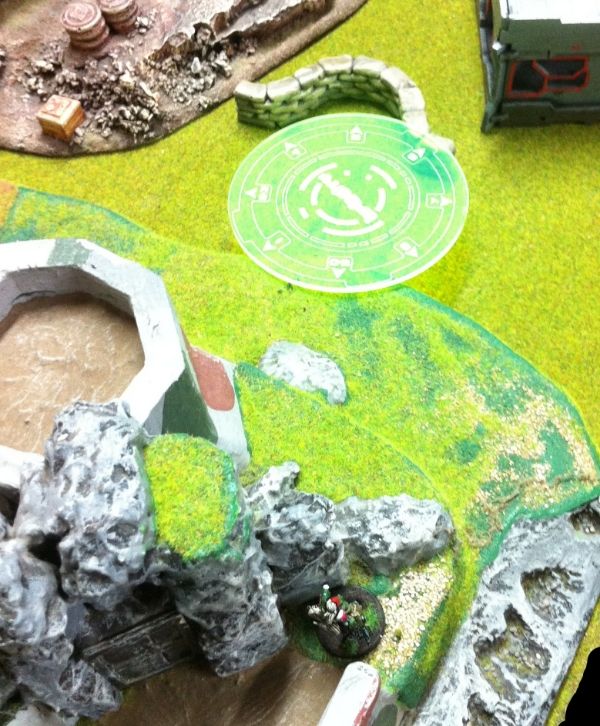
He then puts his HMG tacbot on the building just in front of the Netrod. In that position the HMG provides a commanding view over the slag heap and Bunker Hill (on the other side of the board).
 |
| Ready to advance! |
 |
| ALEPH western flank |
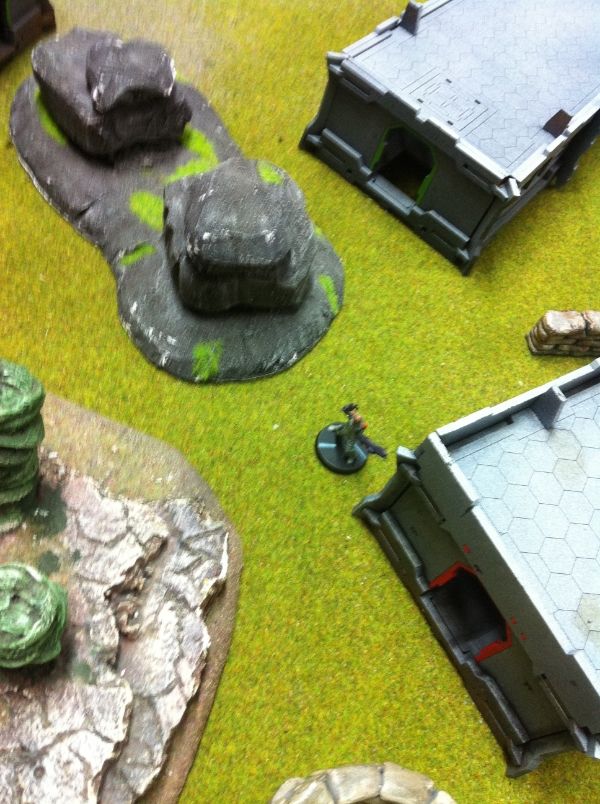
Note that the 'Chandra' Deva and her Deva Bot are on the extreme western flank of the line, on the other side of that hill and thus out of view.
 |
| Deva party! |
 |
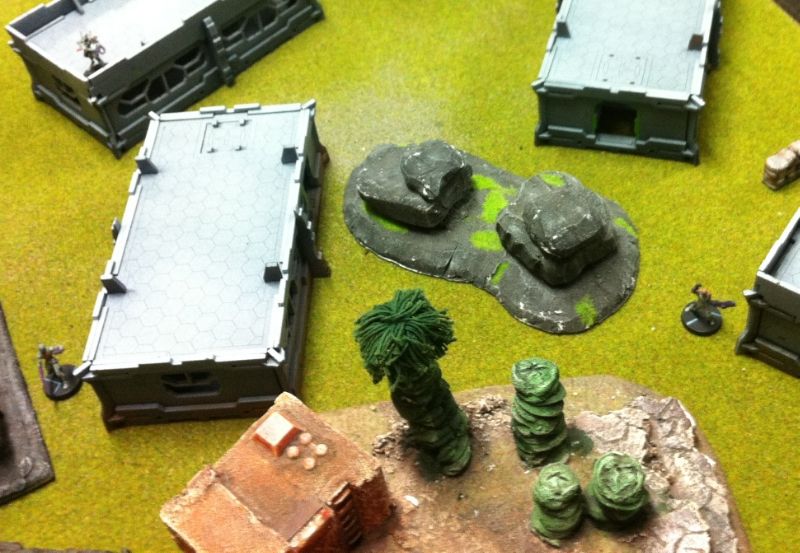
| Blurred aerial shot of the centre of the ALEPH battle line. |
MAF
I hate going second. Infinity is one of those games that rewards the alpha strike- and getting the first turn really helps.
I decided I would try and make things as hard as possible and as time consuming as possible to come and get to me. So I strung my models out along my back field- usually in total cover- but leaving a few key figures being able to give AROs.
 |
| MAF eastern flank- Yaogats on Bunker Hill. |
Octavian (link leader and Lieutenant) covered the eastern approaches, Crassus covered the west. Brutus and Caesar- with his spitfire- covered the rear.
 |
| Pretas behind the Mesa. |
 |
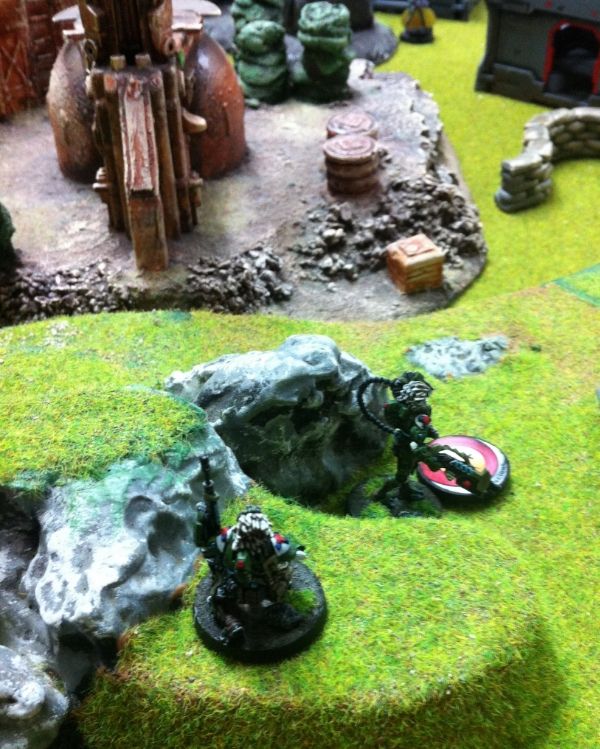
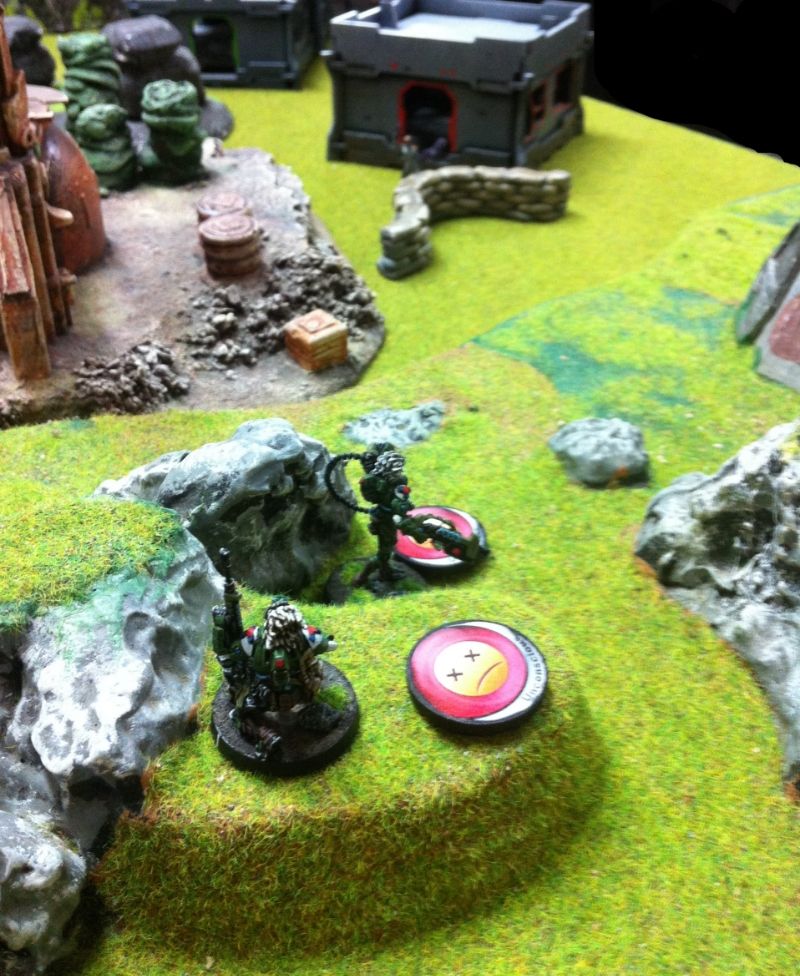
| Prone hacker and Slave drone behind a rock. |
Dr Worm was tucked away behind the bunker providing some rear protection for the Yaogat link team. His slave I put between the two combat groups- figuring it could dart between the two reviving miniatures knocked unconscious.
 |
| Dr Worm behind the bunker. |
 |
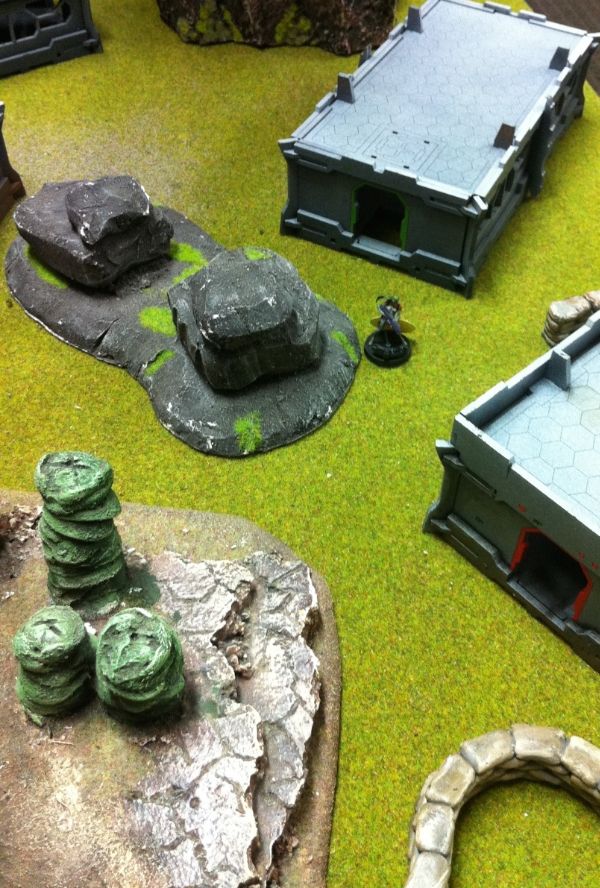
| Deva with Spitfire placed! |
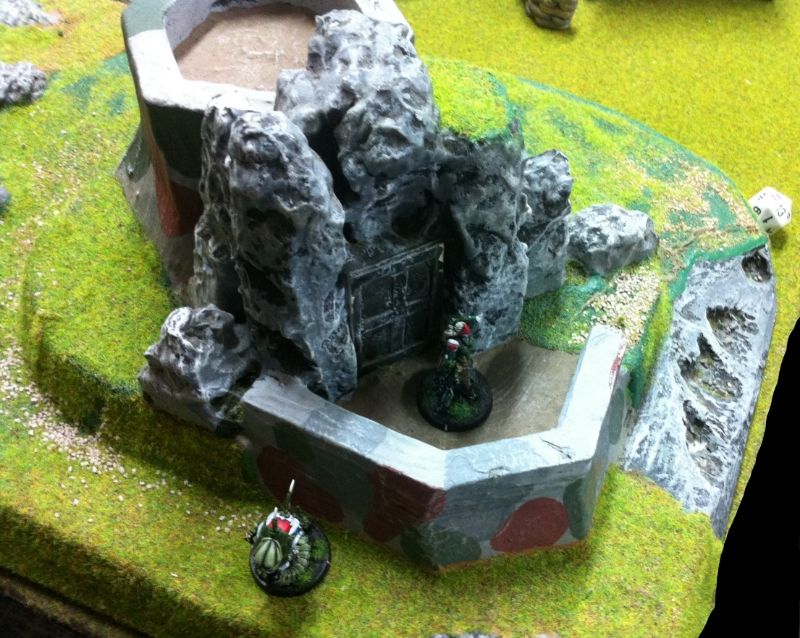 |
| Anyat- in total cover |
THE BATTLE BEGINS!
TURN 1- ALEPH
 |
| Deva advances with Deva bot! |
 |
| I see you! |
 |
| Slice that pie. |
 |
| Asura spitfire is deadly! |
Cicero on the other hand- loses the face to face roll and cops a Spitfire round to the face. Luckily his armour holds and so does his nerve!
 |
| AROs! |
 |
| Held off one- now another tries his luck! |
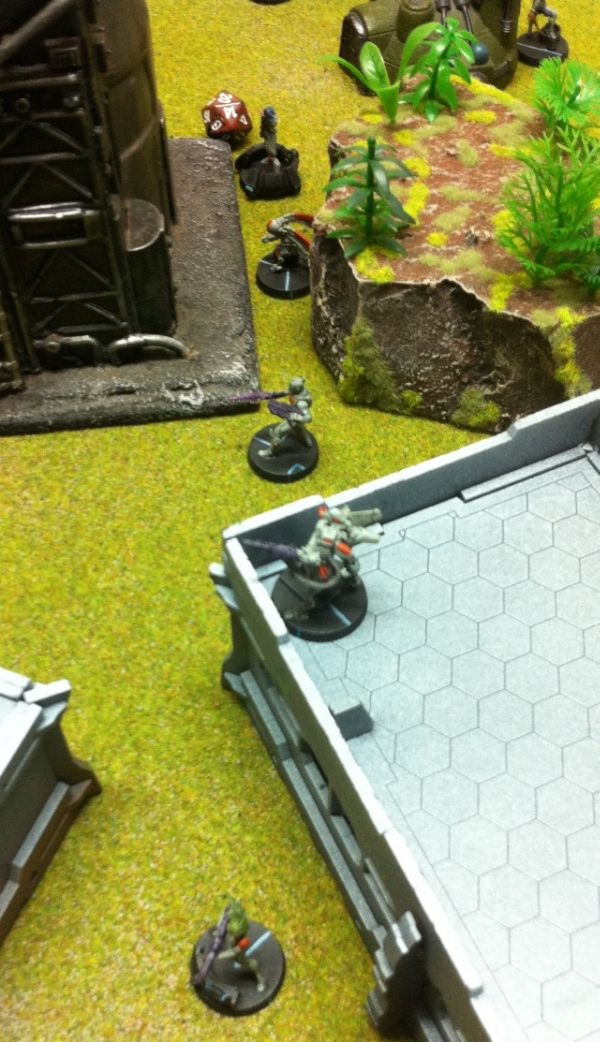
The male Deva saunters around the slag heap and trades fire with Cicero. The Yaogat armour holds suprisingly well! And the two figures fail to injure each other.
 |
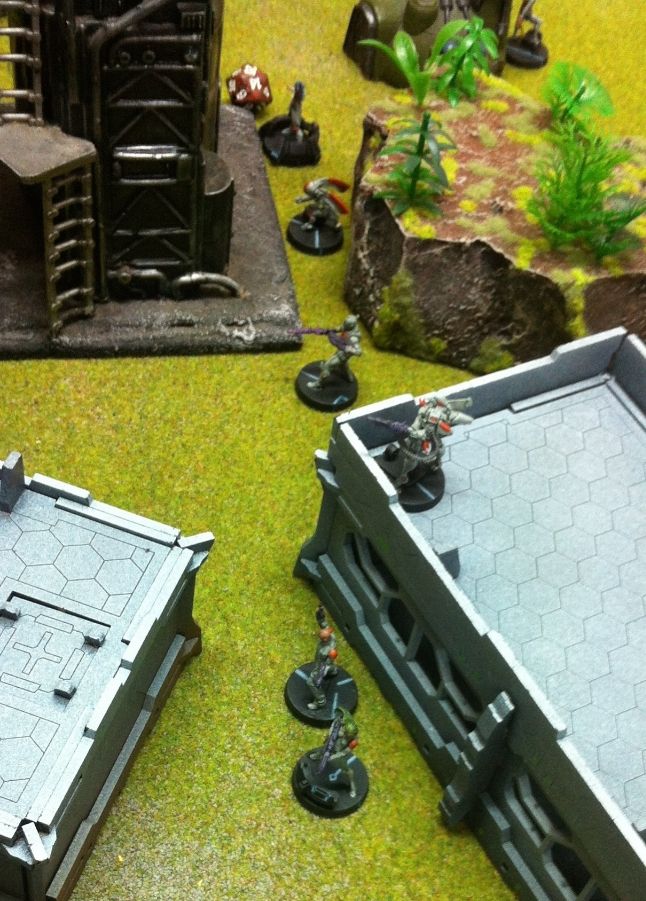
| Myrmidon advances between the Processor and an admin building |
 |
| Deva with Spitfire moves to sandbag cover and fires on the Yaogats! |
 |
| Bodies are being peppered with Spitfire shots. |
The Deva isn't that unhappy, however, as he is sitting unopposed in a new Quadrant.
TURN 1- MORAT
OK, my turn 1 and I'm in Loss of Lieutenant. But hey, that's a regular occurence with me, so....
I quickly elect new Lieutenant and then reform the link team of Yaogats.
(Having a quick re-read of the Infinity wiki- this isn't allowed! I would have got the Lt. Special Order in my Turn 2).
 |
| Spitfire to Spitfire! |
Worried about more enemy attention, the Deva drops prone behind the sandbags.
At this point I remember that my Impetuous orders need to come first! Luckily all my Impetuous models are all over on the other side of the battlefield and would have had no impact on the firefight that just happened. Phew! Would've hated to have to replay that.

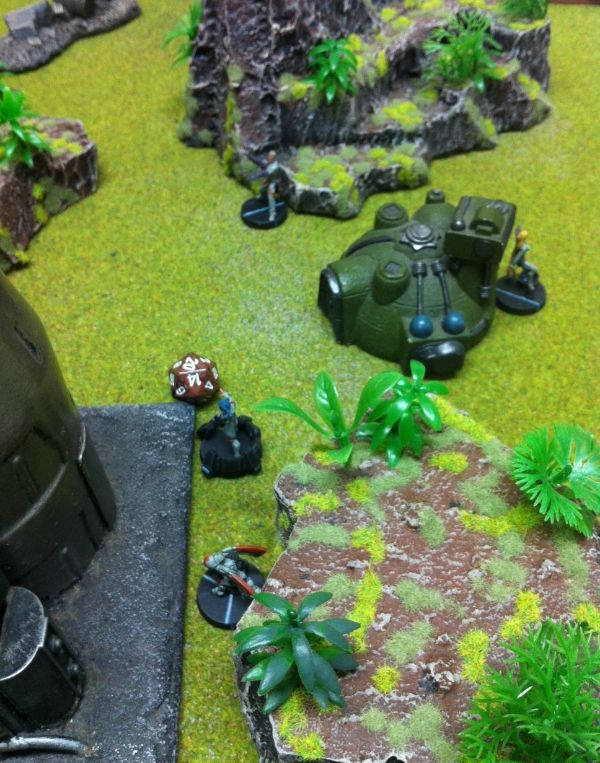
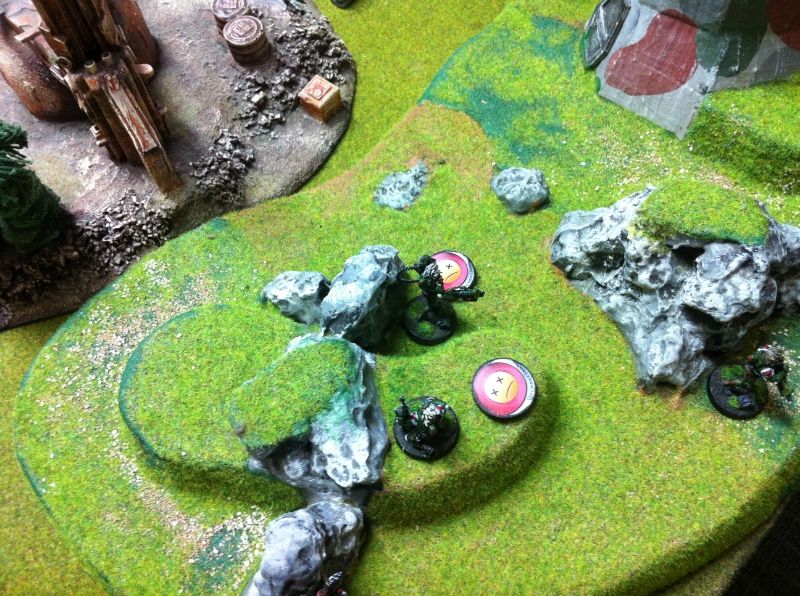
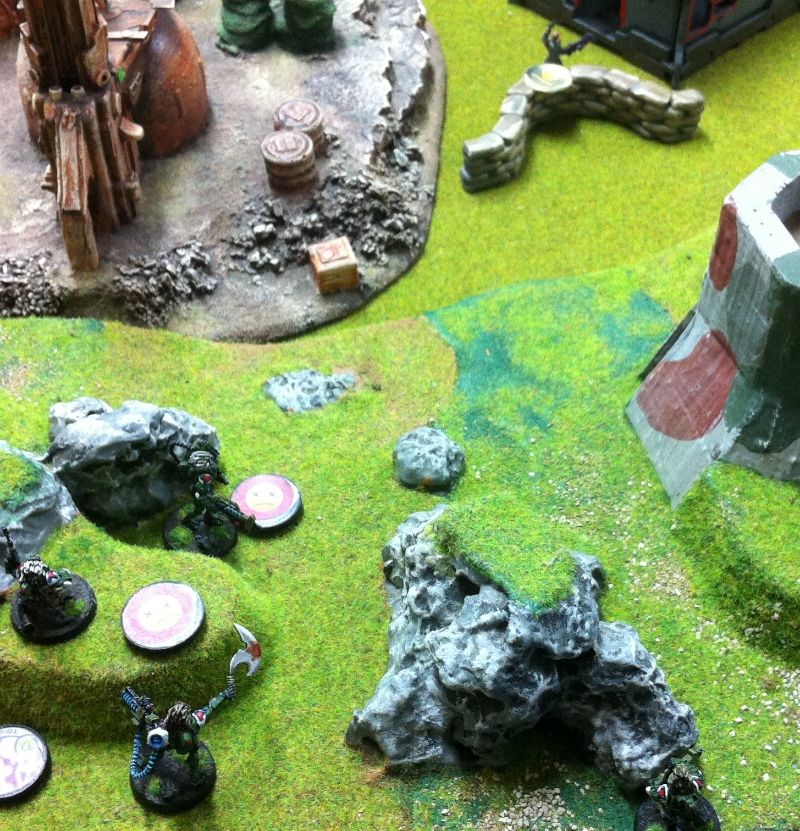
The Pretas and Oznat advance into cover.
 |
| One Preta- luckily- is missed by the ARO from the HMG tacbot. |
 |
| Caution rules the roost.... Except for that one Preta that races into the open. |
 |
| A Preta advances up the western flank. |
(Another rules error: when in LoL- Impetuous models get their Impetuous order- but not their Irregular order).
 |
| Another Preta moves up to the tower and puts down a mine- wary of HMG AROs. |
 |
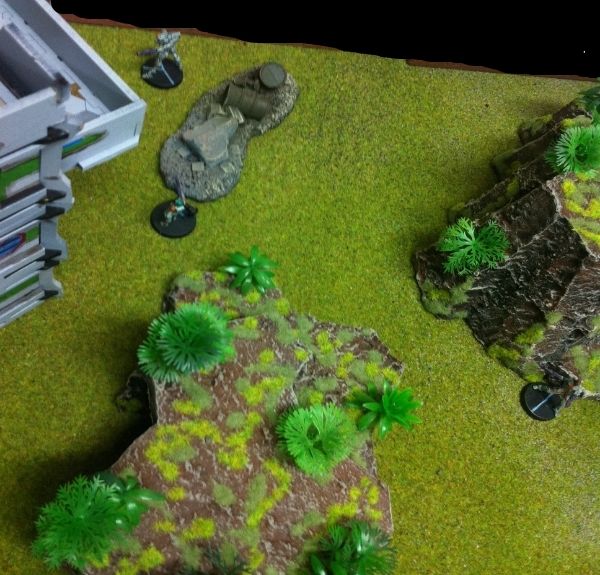
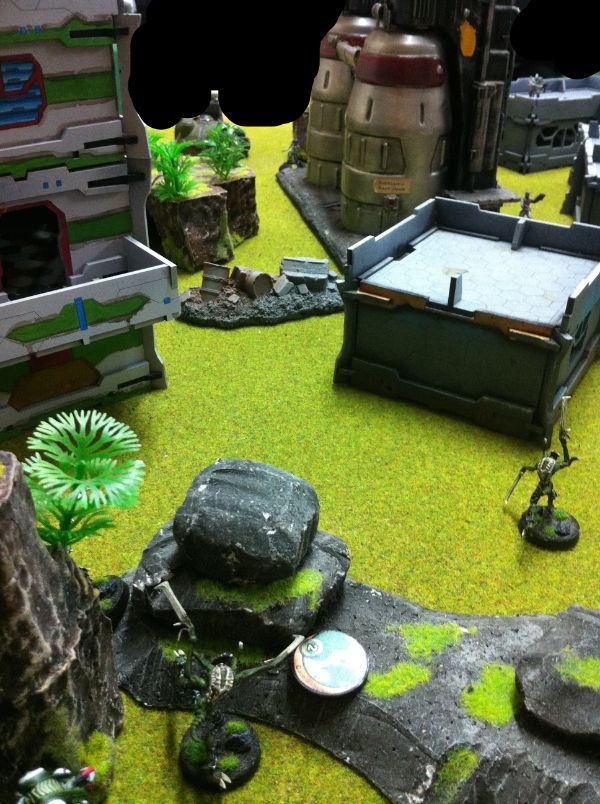
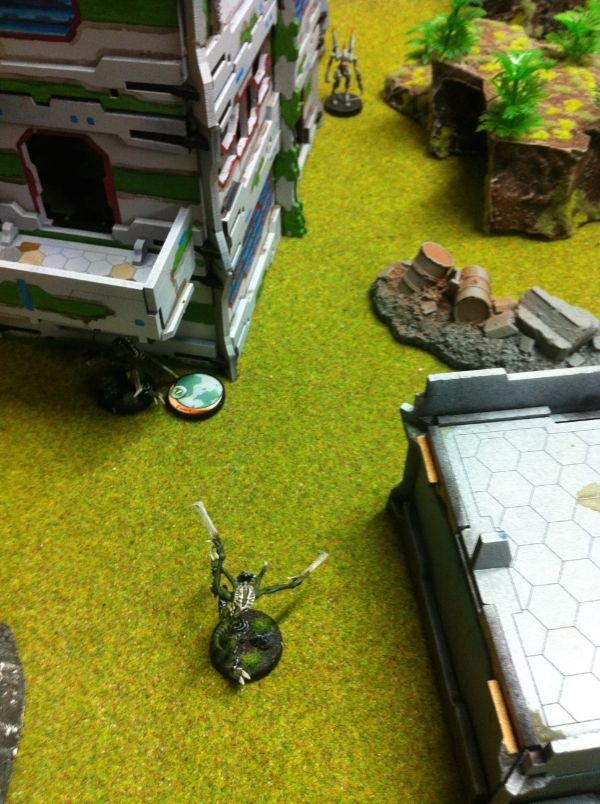
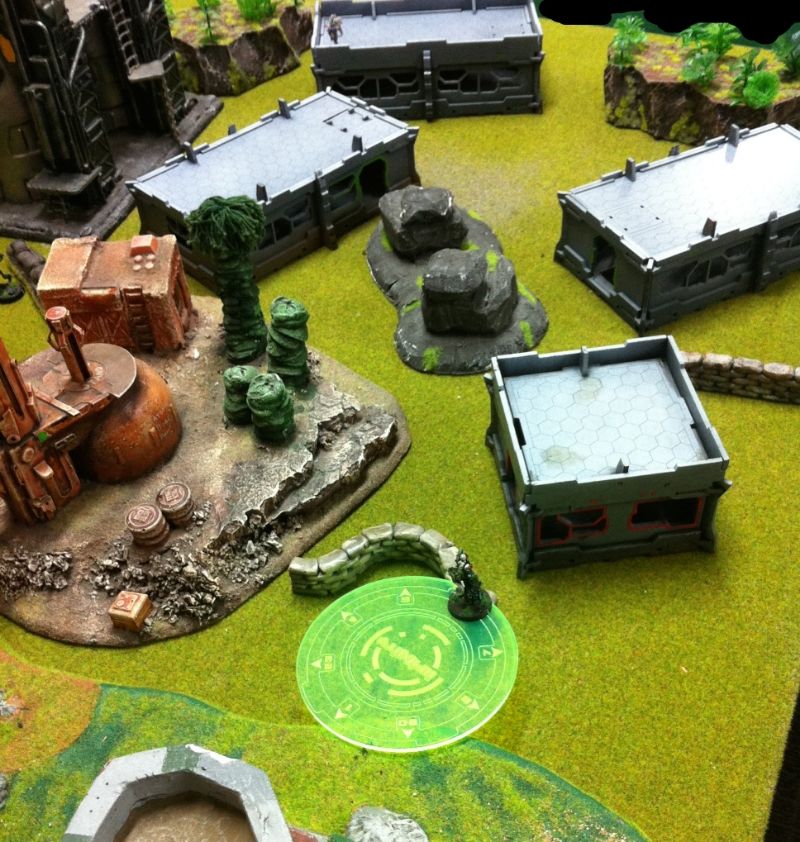
| A Preta moves towards the Processor. The nearby Myrmidon pops smoke as his ARO. |
 |
| Crassus takes aim at the Myrmidon. |
He launches a panzerfaust at the Myrmidon that streaks through the smoke with deadly effect.
 |
| 2 failed armour rolls later... dead Myrmidon. |
 |
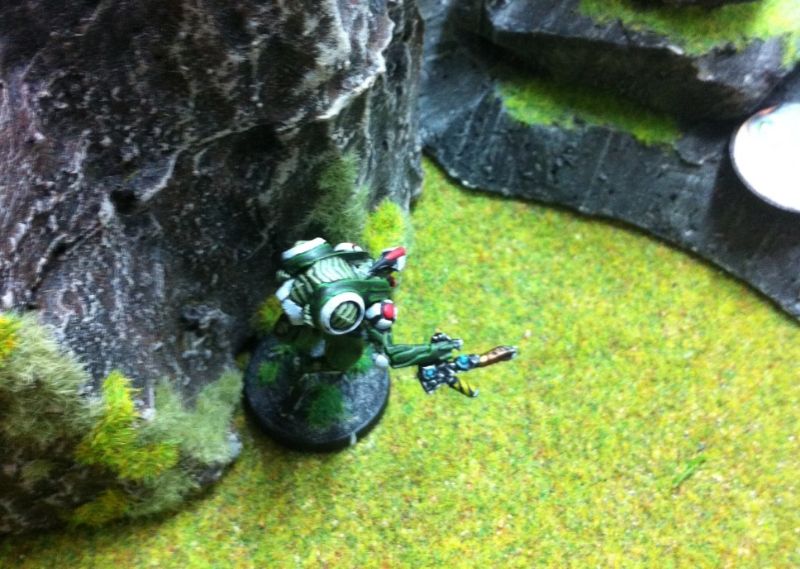
| Brutus- the Yaogat armed with a Combi rifle- moves to cover the Deva (prone). |
 |
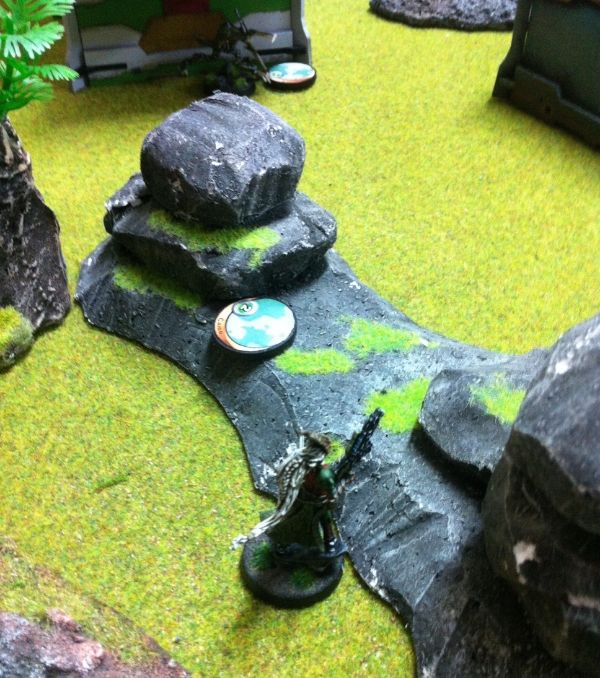
| Anyat comes around the corner of the rocks to cover the Deva's position with her first short skill. |
VICTORY POINTS- TURN 1:
With one quadrant each- the game is tied!
ALEPH: 1
MORAT: 1
TURN 2- ALEPH
|
| Would the real Slim Shady please stand up? Please stand up? Please stand up? |
Two dice on Caesar- spitfire to spitfire- and then one die each to Brutus and Anyat.
 |
| Caesar fails his guts roll, Brutus comes out swinging! |
This was the last bit of luck the Deva had- as he misses Brutus and Anyat.
 |
| Combi-rifle proves useful. Brutus finally kills something! |
(We didn't bother rolling Anyat's shot as the Deva missed her totally in their face to face roll.)
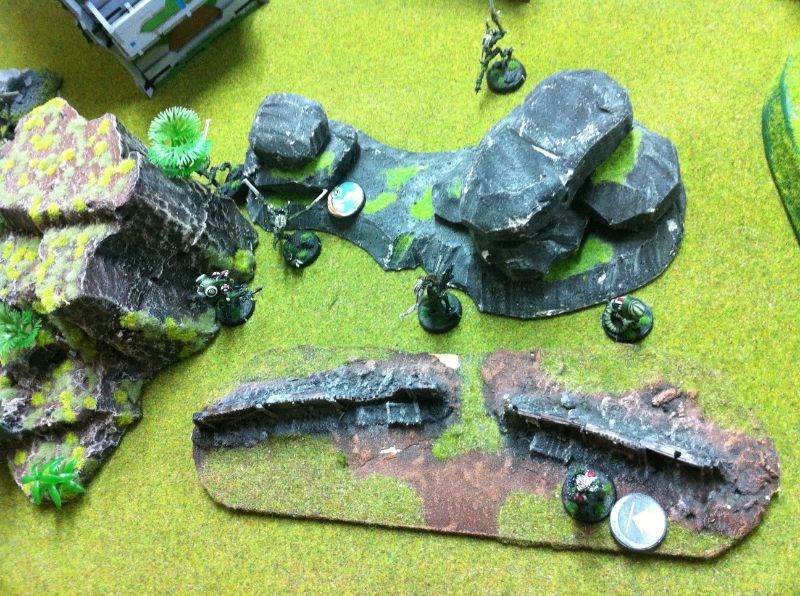
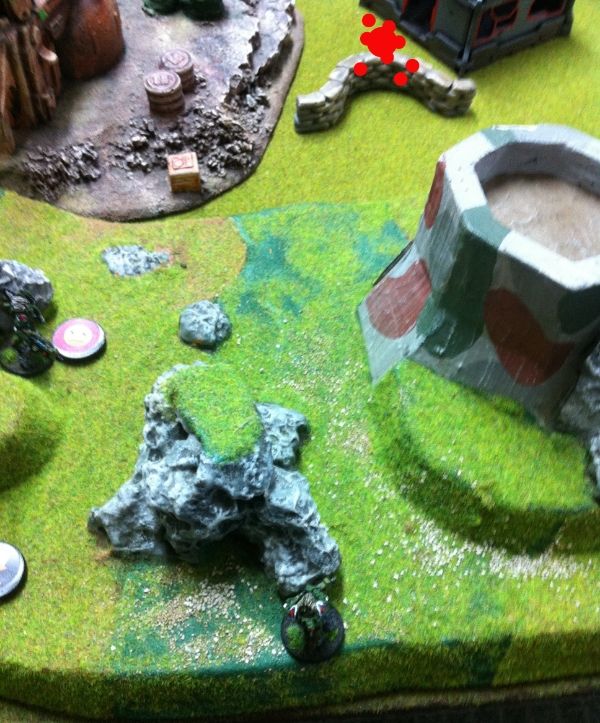
With the eastern flank sorted out... a nasty little surprise walked onto the western flank!
 |
| Catch me if you can! |
The Garuda wasn't deterred and raced over to line up a HMG burst onto the critter. Luckily, in his eagerness to engage- the Garuda walks into chain rifle range!
 |
| Yeah buddy! |
It's not all my way, as the Garuda shrugs off the Preta's chain rifle shot and has another shot!
|
| Deja-vu... |
.... and pass again!
The Garuda passes his armour roll too!
Sensing he was consuming too many orders on this 5 point critter, the Garuda moves on...
 |
| To hunt more Pretas! |
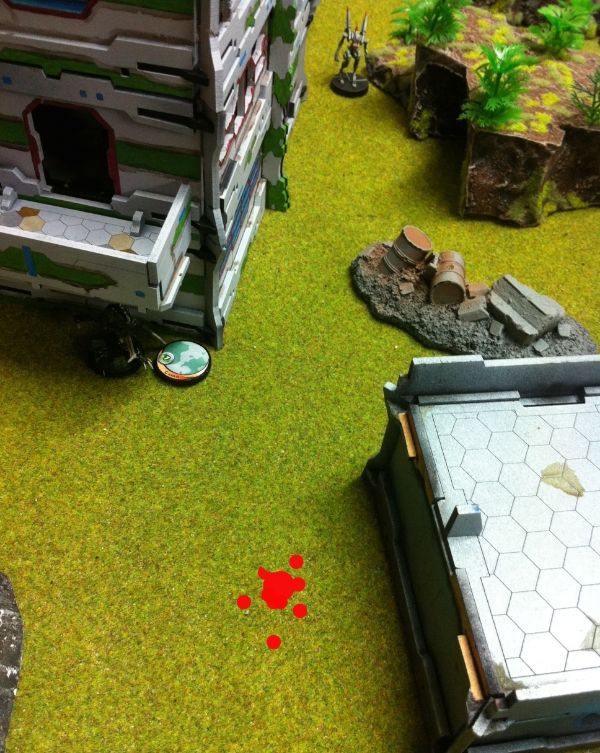 |
| Splat! |
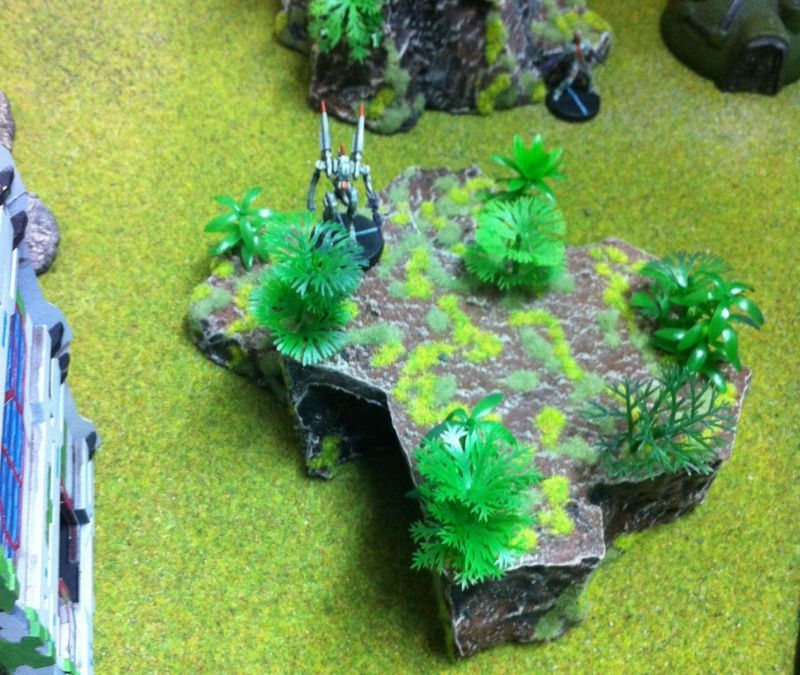 |
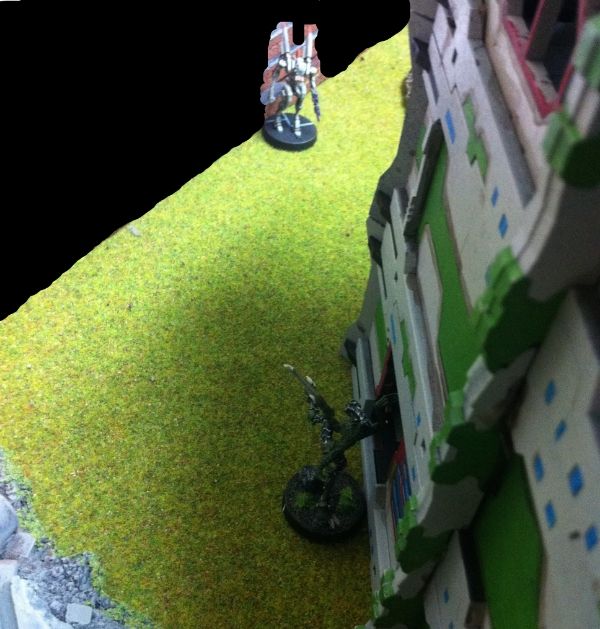
| Climbing onto the nearby hill, the Garuda spies another Morat! |
 |
| ... The Oznat! |
 |
| The Garuda shifts position and draws a bead on.... |
 |
| I feel like chicken tonight! |
The Ikadron drops a flash pulse (not a bad chance actually- requiring a 13 or less)- but the dice gods have abandoned me by this point and the Ikadron is blown to scrap.
 |
| ...fried robot chicken! |
TURN 2- MORAT
Right... having killed an Asura, the Deva spitfire, a Myrmidon and a Deva + Devabot- they must be close to the Retreat threshold now. If I can nail a few more figures, this will be the last turn.
With that in mind, Impetuous Orders go first!
 |
| Chain rifle time! |
 |
| Chain rifle kill! |
 |
| Run and dodge! |
The Preta passes his Dodge roll but it's not needed as the Deva's ARO shot misses. (Clearly panicked by the thought of a 5 point model chain rifling him to death!)
 |
| Dodge! |
 |
| Time to use the Experimental Drug! |
 |
| Back in the fight! (Ignore that TO marker- it's a Link leader marker proxy). |
Who can I shoot at?
 |
| You! You want some! |
 |
| The round of fire is brief... |
Both! Aren't you supposed to be a sniper or something?!
To add insult to injury, the HMG bot's return fire knocks Cicero unconscious.
Some things just aren't meant to be.
 |
| If not by strength, then maybe by guile... |
 |
| Advance under cover of smoke! |
I considered pushing my Pretas forward and chain rifling the nearby enemies- the Morat is strong in me. But the mission was Quadrant control- not smash the enemy in the face.
With ALEPH in Retreat, this would be the last turn. I flipped my last couple of orders over.
VICTORY POINTS- TURN 2:
I now had 3 quadrants- whilst the remaining ALEPH forces were in their deployment zone. I had also completed my Classified objective.
ALEPH: 1
MAF: 5
Morat Victory!
CONCLUSION
It was a fun game and a big thanks to my opponent who was a great sport (and who also brought along a big bag of chips to share!)
Those rules errors I made and only picked up when writing this batrep I'll hopefully not make again. The good thing is that I've picked it up now and not a few months down the track in the middle of a more competitive game.
Apart from the rules I got wrong- I was impressed with the Yaogat Link team. It's very expensive but also very effective.
The downside is that the panzerfaust toting Lieutenant- despite costing ZERO SWC- is vulnerable as he is leading from the front. It seemed that he was fated to die- even if the first Asura succumbed to the twin panzerfausts- the second one would have been able to take him out.
Having a cheap hide able Lieutenant option continues to be an elusive goal for the MAF.
Being able to go second actually worked out OK in Quadrant Control- but it still feels uncomfortable. I don't like being reactive and as my Yaogat link team found out- they don't much enjoy it either!
I hope you enjoyed reading this batrep and got something out of it!
Until next time, happy wargaming!
This comment has been removed by the author.
ReplyDeleteWhy did the game end so abruptly?
ReplyDeleteIf Aleph was in retreat there should have been one more turn, Aleph's turn.
When one side starts their turn in Retreat, the game ends at the end of THAT player's turn.
You big mean Morat player, not giving the Aleph player his final turn. :P
That was a rules error we made during the game.
DeleteYou are correct: if a player begins his active turn in 'retreat' then he should complete his turn and then the game ends.