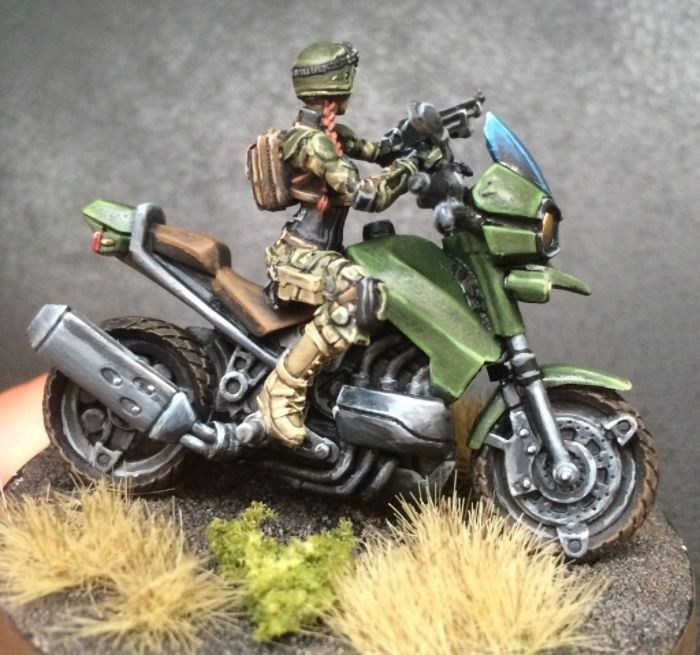
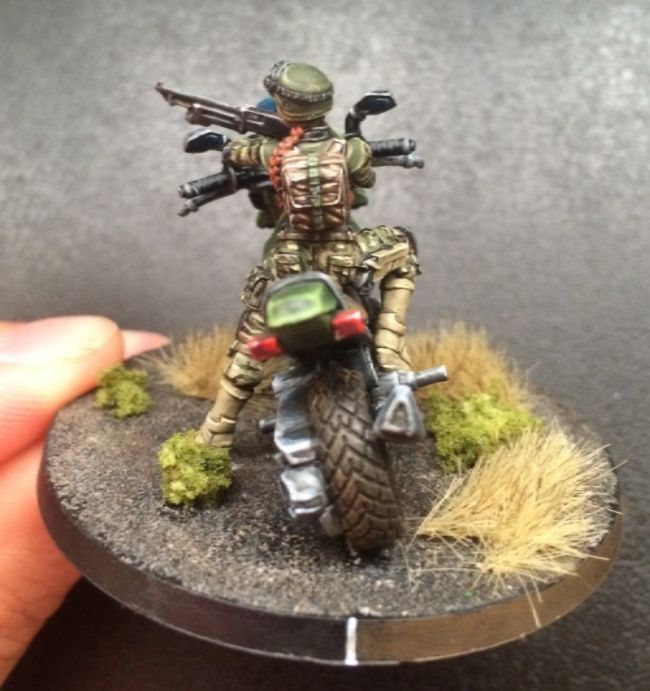
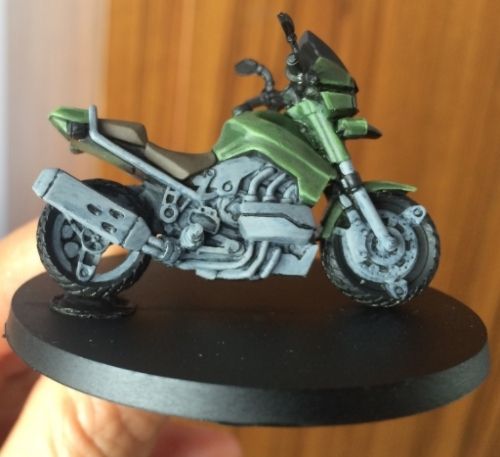
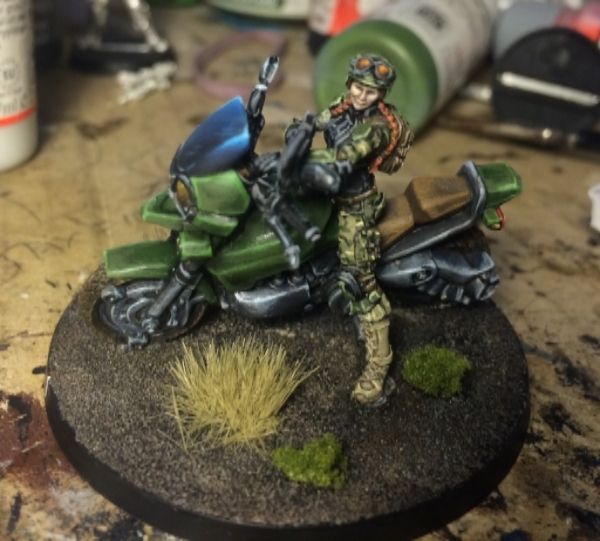
Well, I finished another model today.
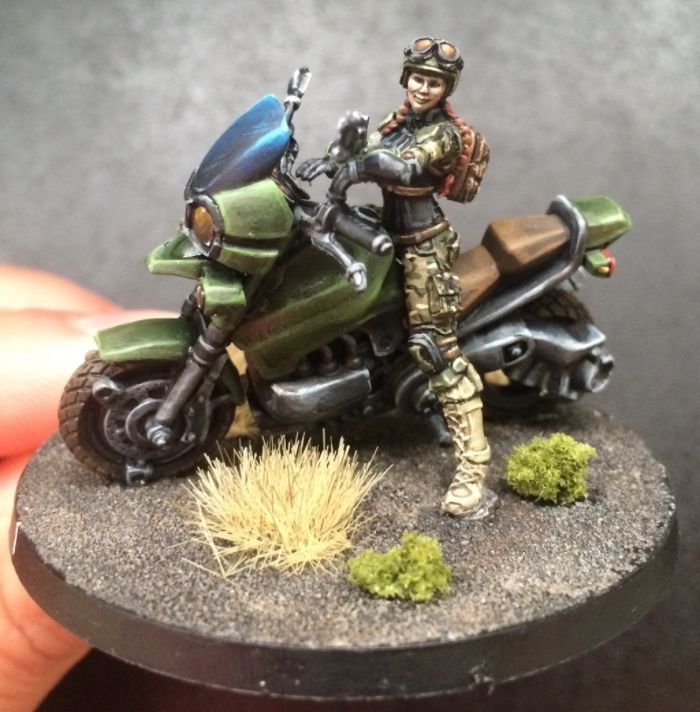 |
| Smirking gun. |
I experimented with a few different techniques. Chiefly non metallic metal.
 |
| NMM- sort of. |
It was a long, painful, involved process and I'm trying to think of better ways of doing it.
 |
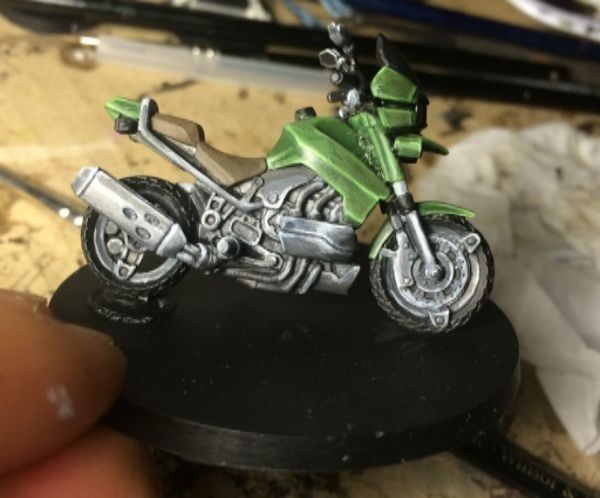
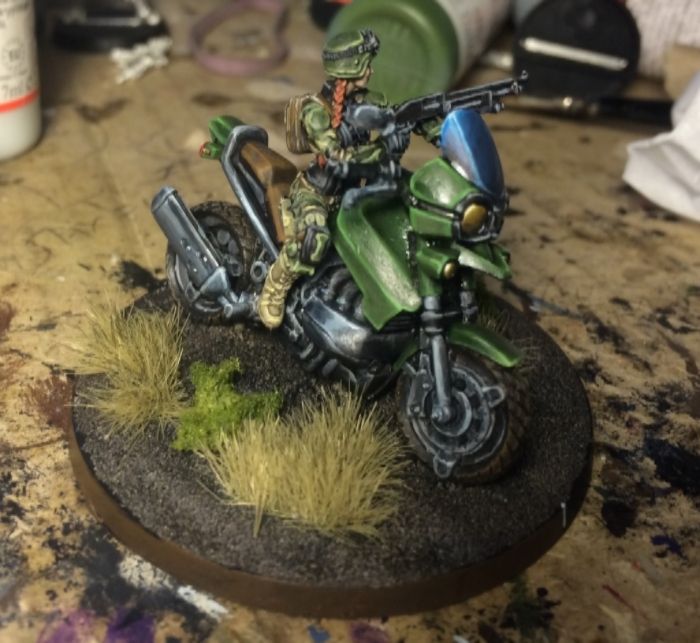
| Attempting break lights... with some success. |
I'm reasonably pleased with how she has turned out for a first time attempt.
 |
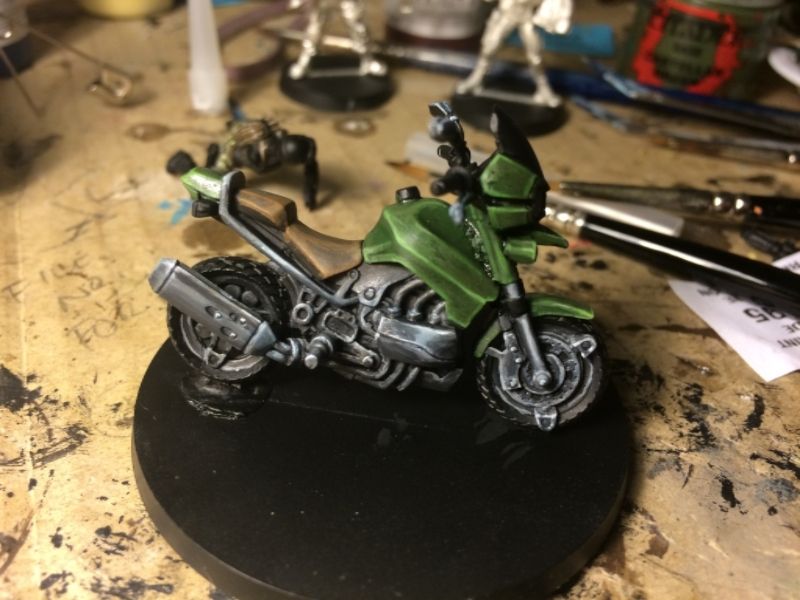
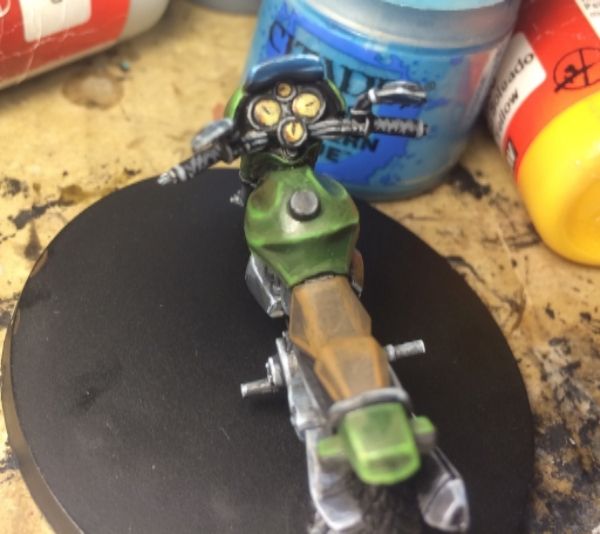
| Dials. |
Now for a few abbreviated step by steps....
Non Metallic Metal
The best tutorial I could find on the internet is this one:
Empire Greatsword.
I essentially copied his technique as closely as possible... though my blends have not turned out as well.
You will need a wet palette as there is a fair amount of mixing and thinning needed.
You wil also need a high definition reference picture to see where the highlights and shadows have been applied (I just google imaged 'USAriadna Maverick'.
Stage 1: VGC Cold Grey
 |
| Leave the black lines alone. |
Stage 2: Highlights/ Shades
 |
| Progressive highlighting/ darkening. |
There's an alternating process- adding a bit of white to the VGC Cold Grey and painting where the light would catch. Then adding a bit of black to the VGC Cold Grey and painting the 'shadows'.
This process is then repeated- with more white (and alternately more black added) to highlight the highlights and shadow the shadows.
Stage 3: Glazing
 |
| Post glazing |
In order to try and capture a 'blue steel' look to the metal, I glazed the metal with a very thin film of thinned out VMC Prussian Blue.
Stage 4: Final Highlights/ Shadows
Using (almost) pure white and pure black (for the black lining).
Painting Windshields at 28mm Scale
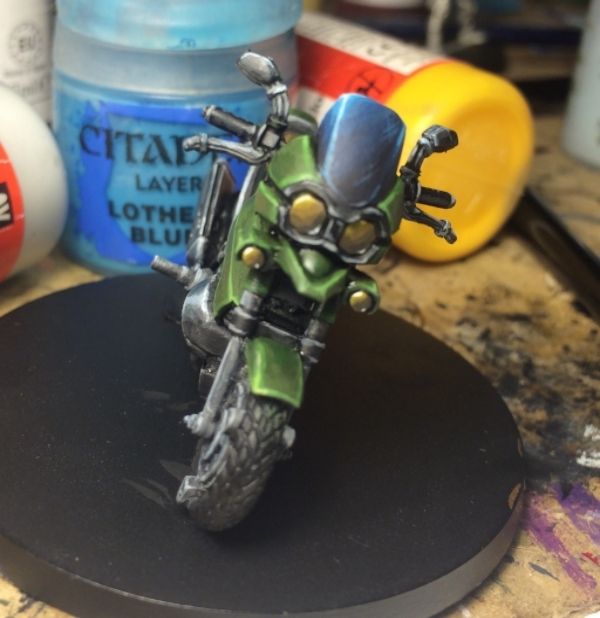 |
| Gem... but in reverse. |
There are some windshield tutorials out there but they are mostly for 15mm vehicles.
I found an excellent 28mm windshield WIP on
this blog- but it was far beyond my skill to replicate.
The best summary was on lead-adventure which basically said- "Gems but in reverse."
I started with Citadel Kantor Blue and painted it on as a base coat. Then I added some black to it and painted it into the bottom diagonal third of the wind shield.
 |
| Progressive blue highlights |
I then successively highlighted up towards the top left hand corner using thinned out Citadel Teclis Blue, Lothern Blue and finally highlights with Baharroth Blue and Blue Horror.
 |
| Highlights on the upper edge where it catches the light. |
Periodically, I would mix two blues, thin them out- and then paint over the transition zone to smooth it out.
The headlights I painted with base coat of VMC English Uniform, added some black for shading the bottom right corner, then added some yellow for the top left corner. I finally highlighted with some VMC Dark Sand.
Painting Dials
 |
| Keep it simple. |
I painted the dials with VMC Dark Sand and then washed it with thinned down Citadel Brown Ink.
I then use some thinned Black and a fine tipped brush to put the arms in on the dials.
Conclusion
A worthy experiment- but I'm looking forward to something a lot more straight forward to paint in the near future.
Until next time.


No comments:
Post a Comment